When we bought Ziggy, I was aware that the frost valve was supplemented with a clothes peg… that way it stayed up and did not drop the contents of the water tank. Though an effective solution – I just don’t like things that do not work. These are not cheap to buy – even via Amazon you are talking £150 …. However, I found one in a flash sale for a tad over £100 as a returned item 🙂
Jobs a good un I thought – disconnect everything, take the old one out and pop new one in and screw it down. BUT – it was not that simple – but i did learn a few things along the way and that’s always fun. All the connections are John Guest and they are easy to use – this video makes it look easy. But, this is on fittings that are not over twenty years old – with that in mind i had a close look at the space and started to work out what I needed in a worst case scenario.

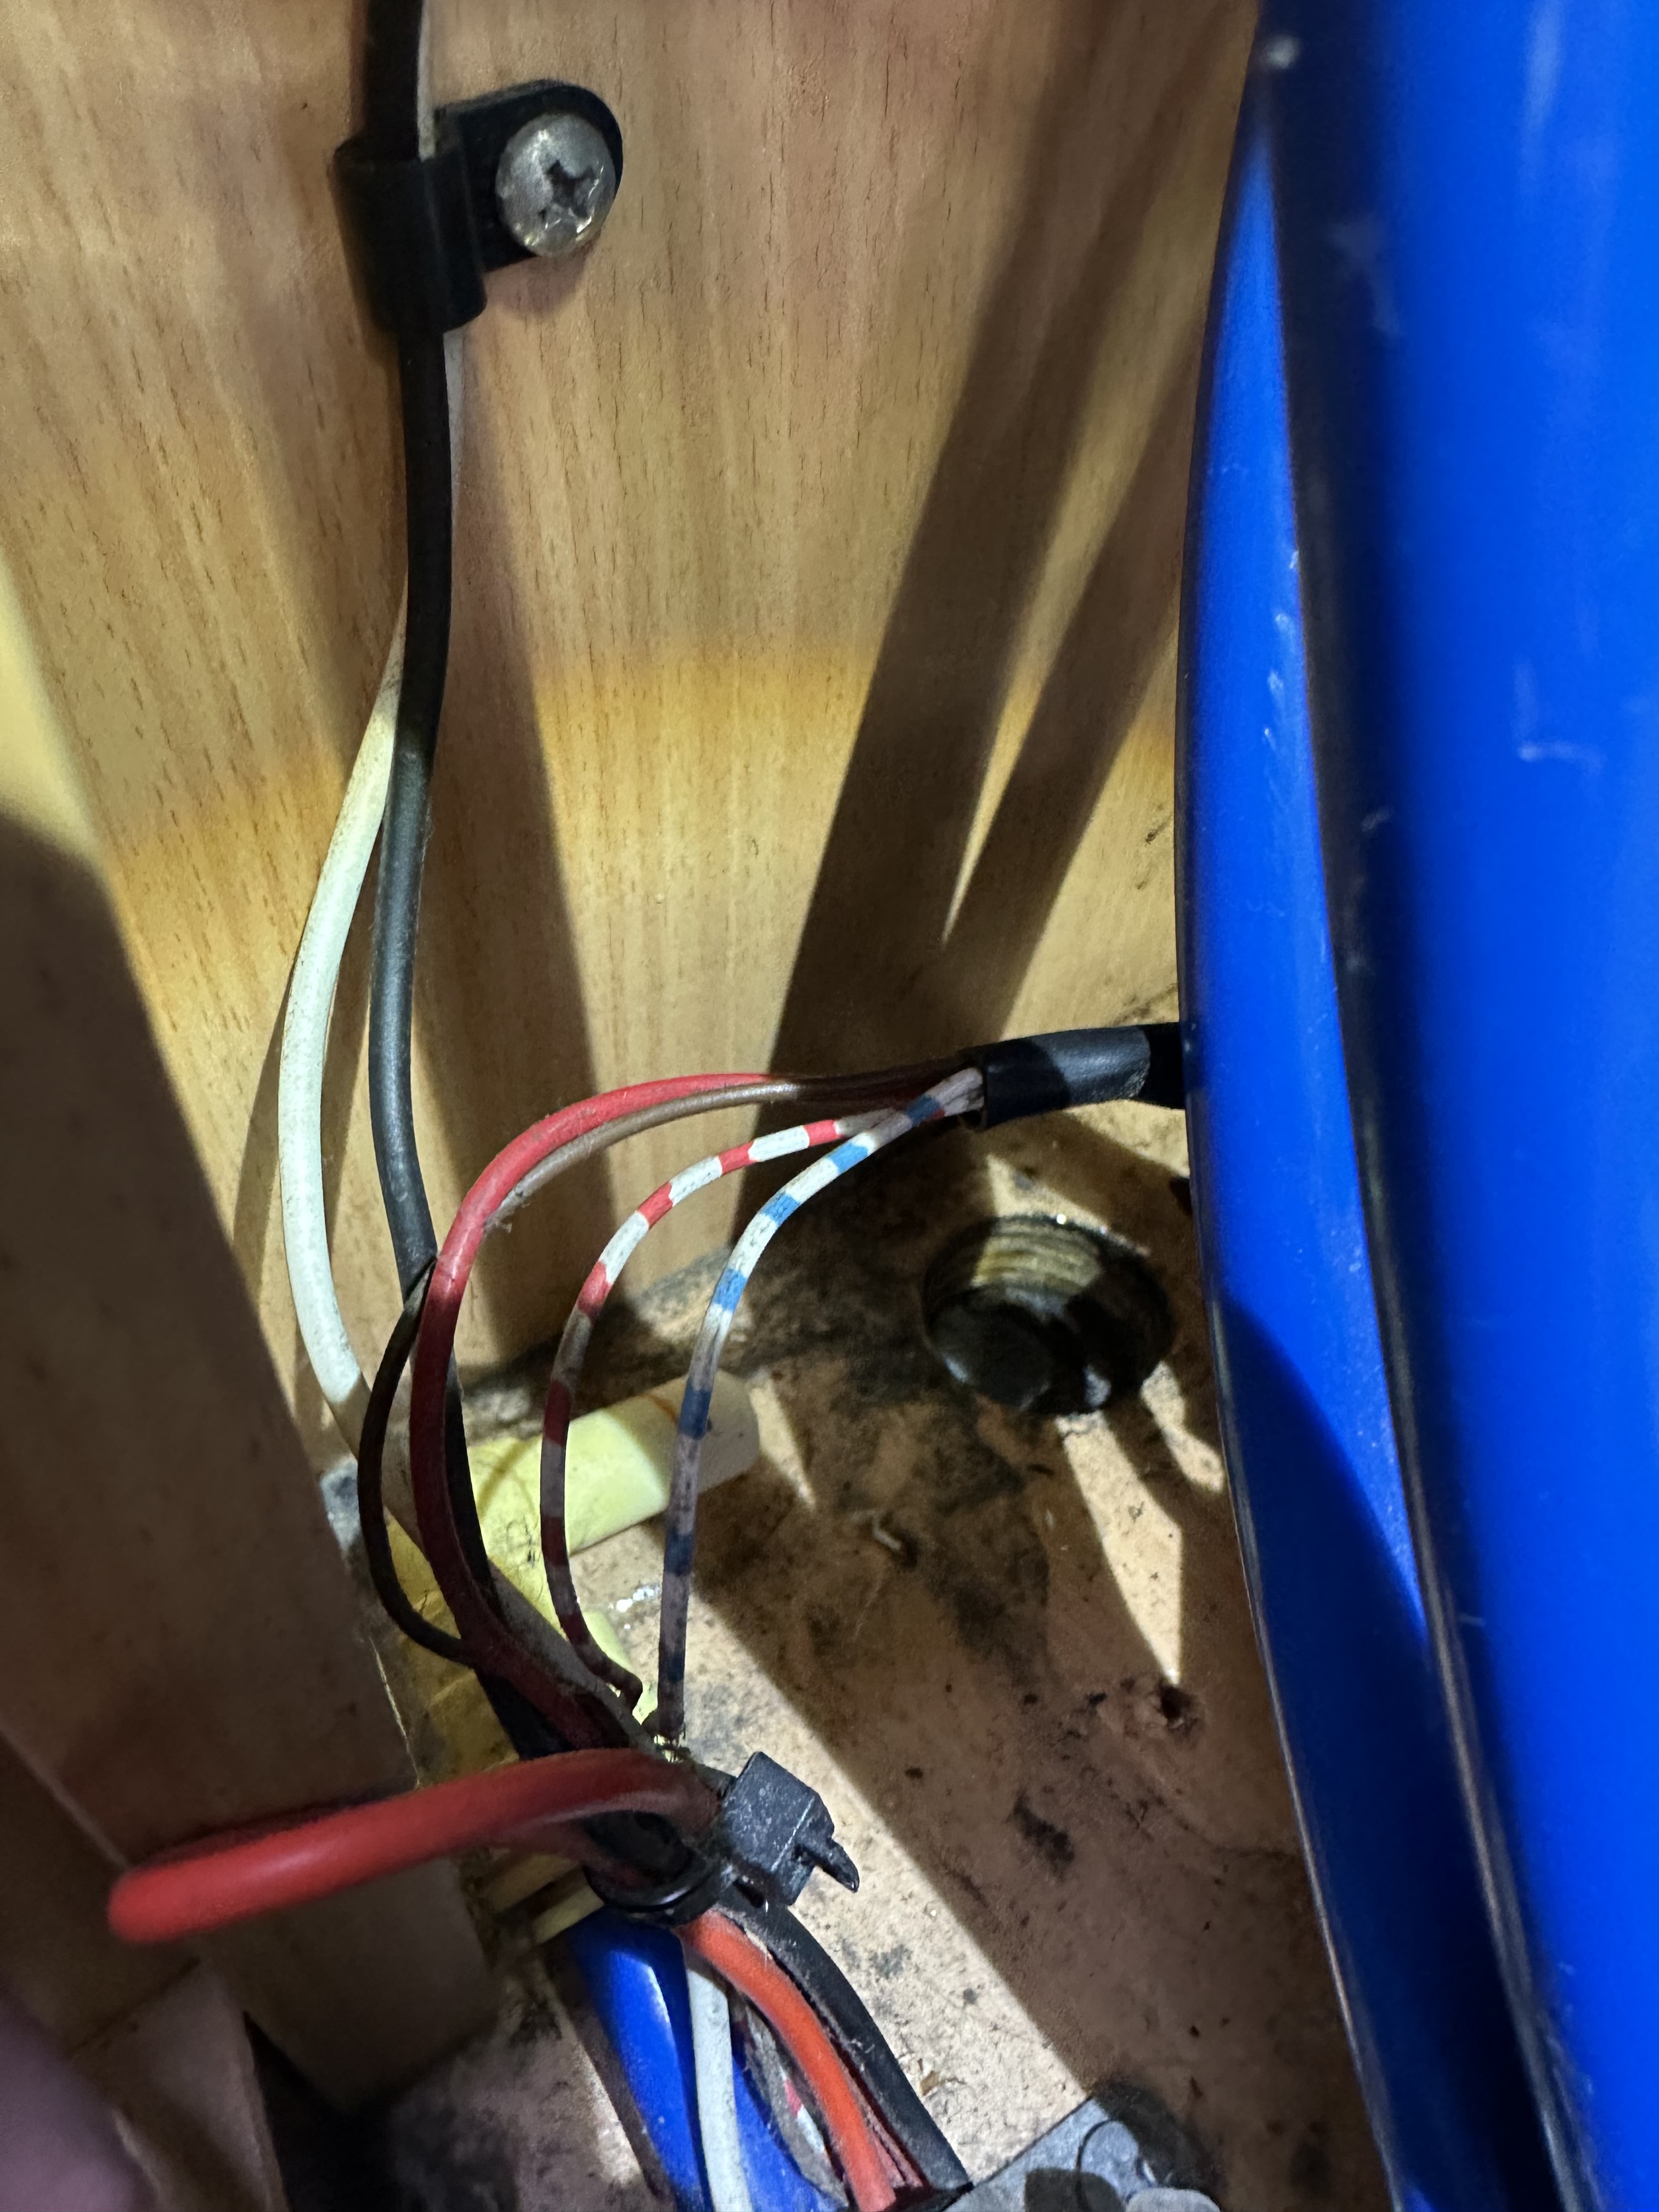
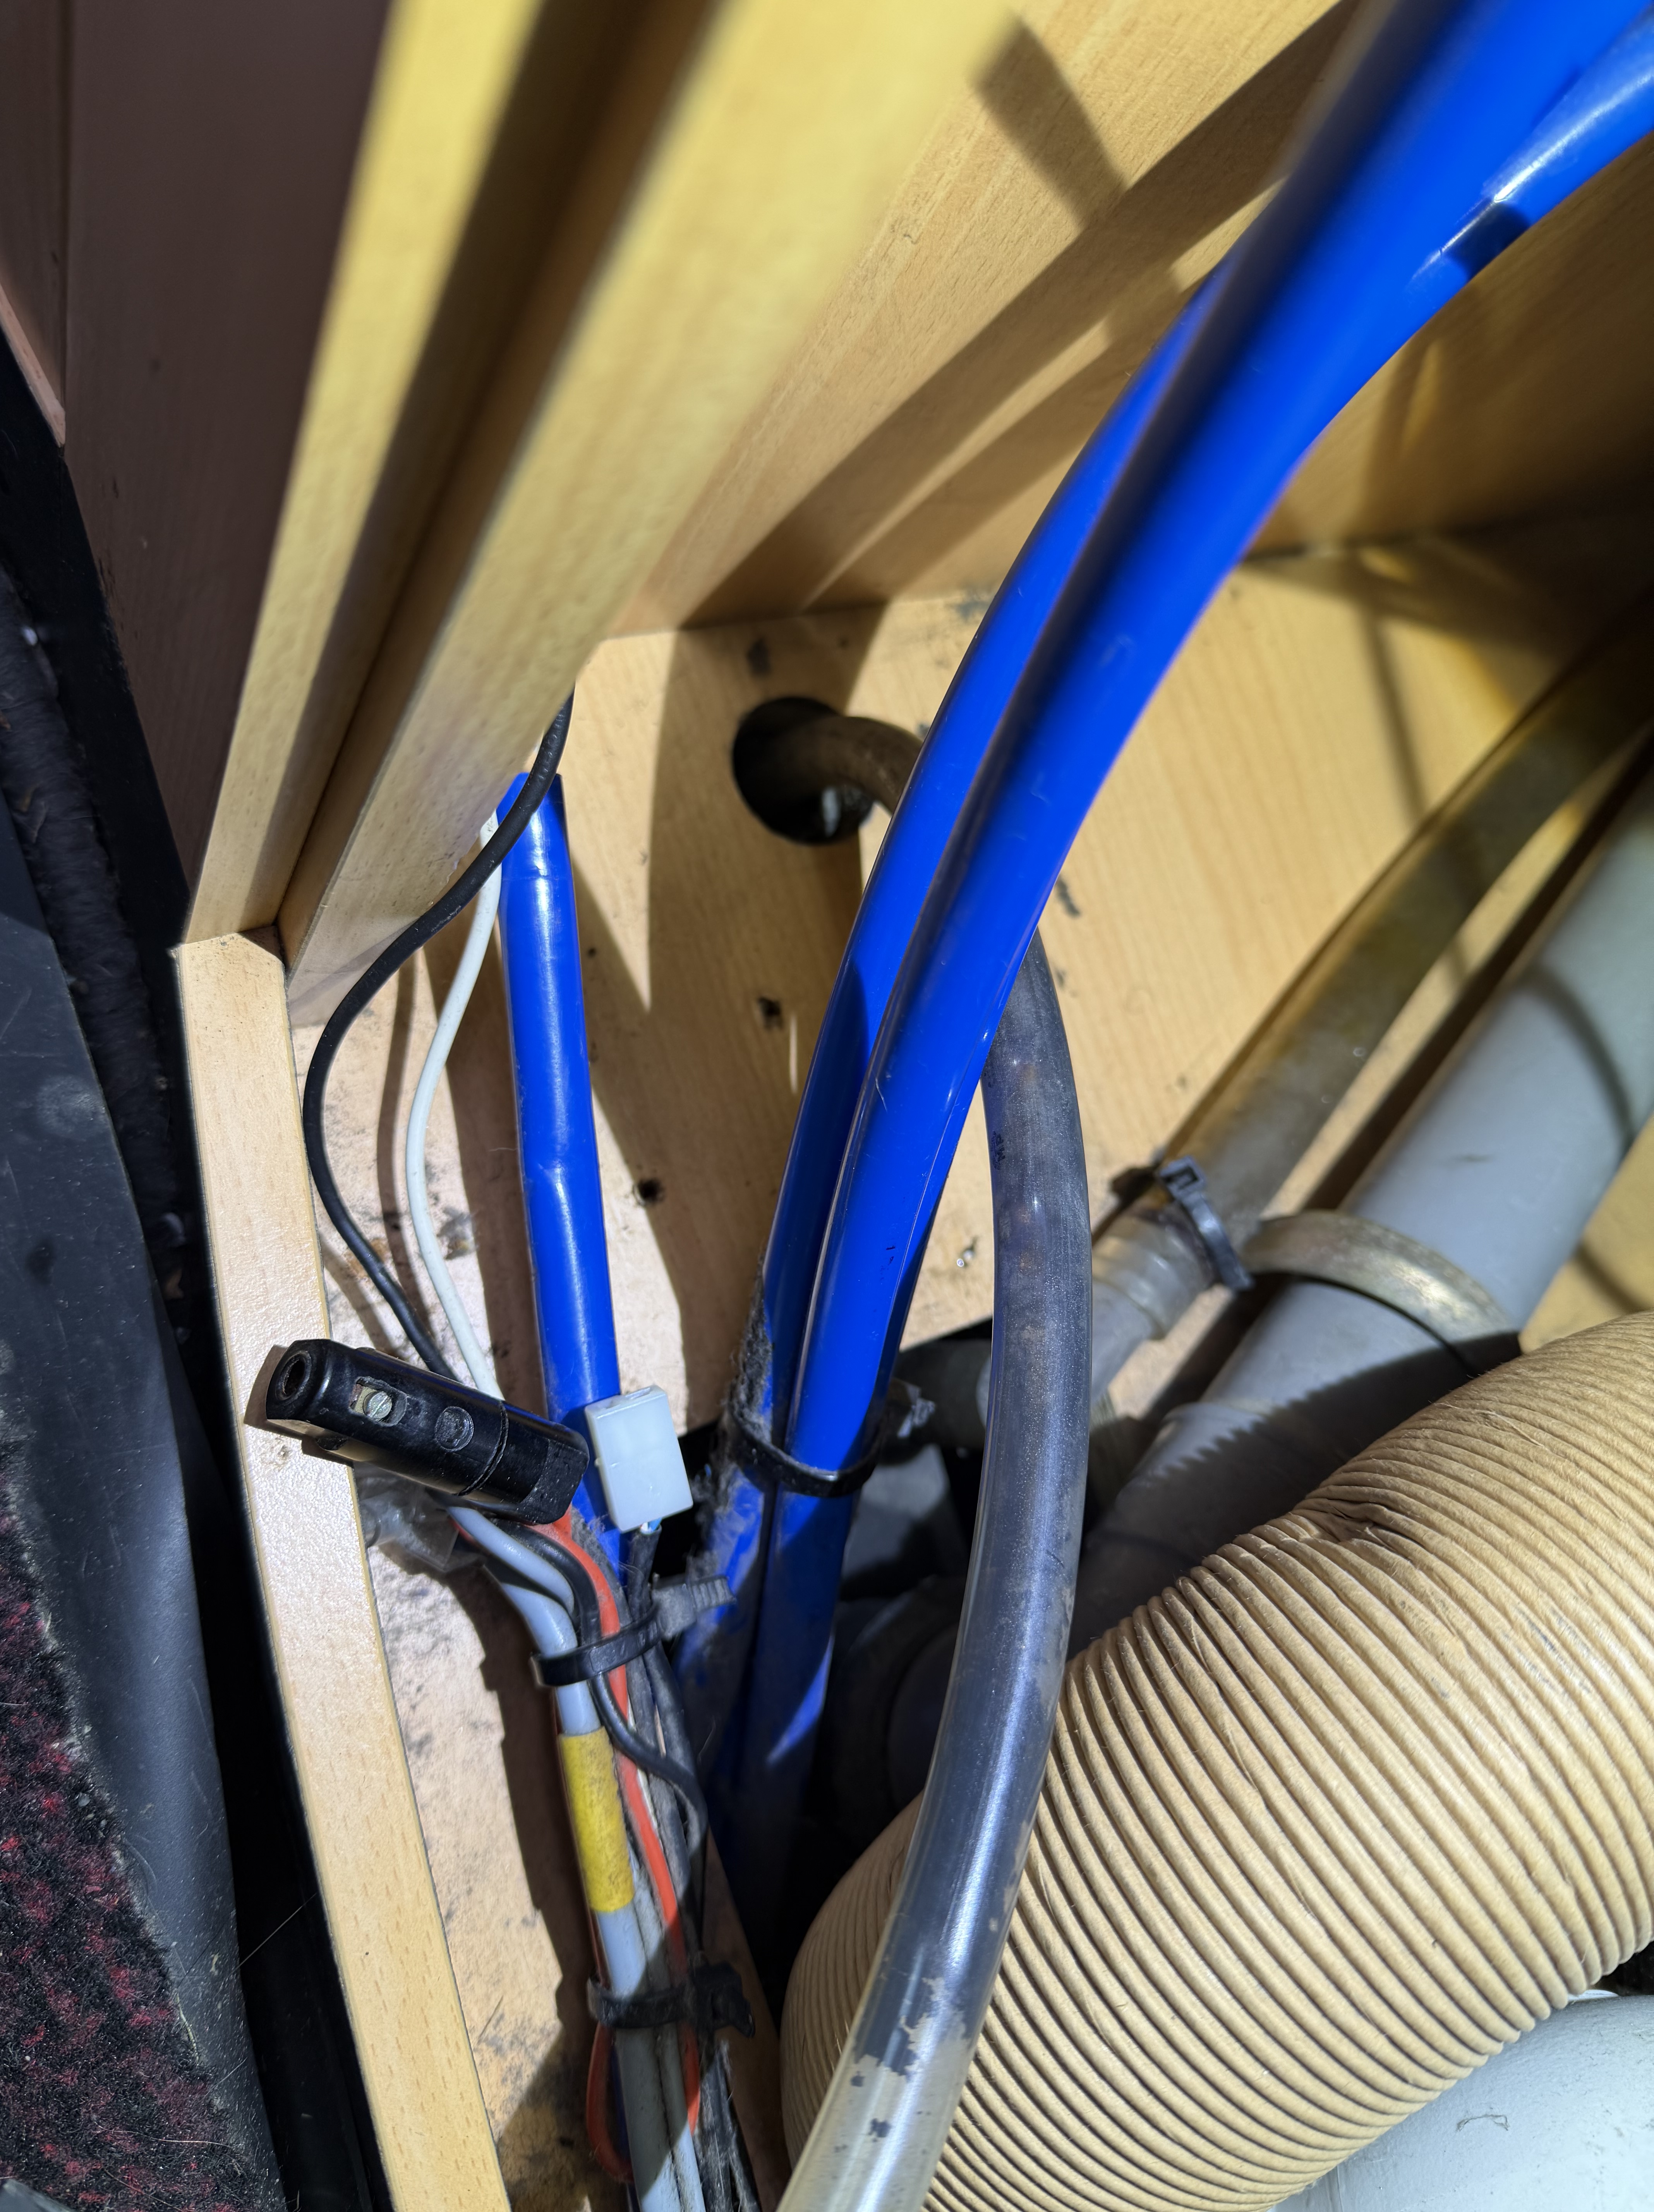
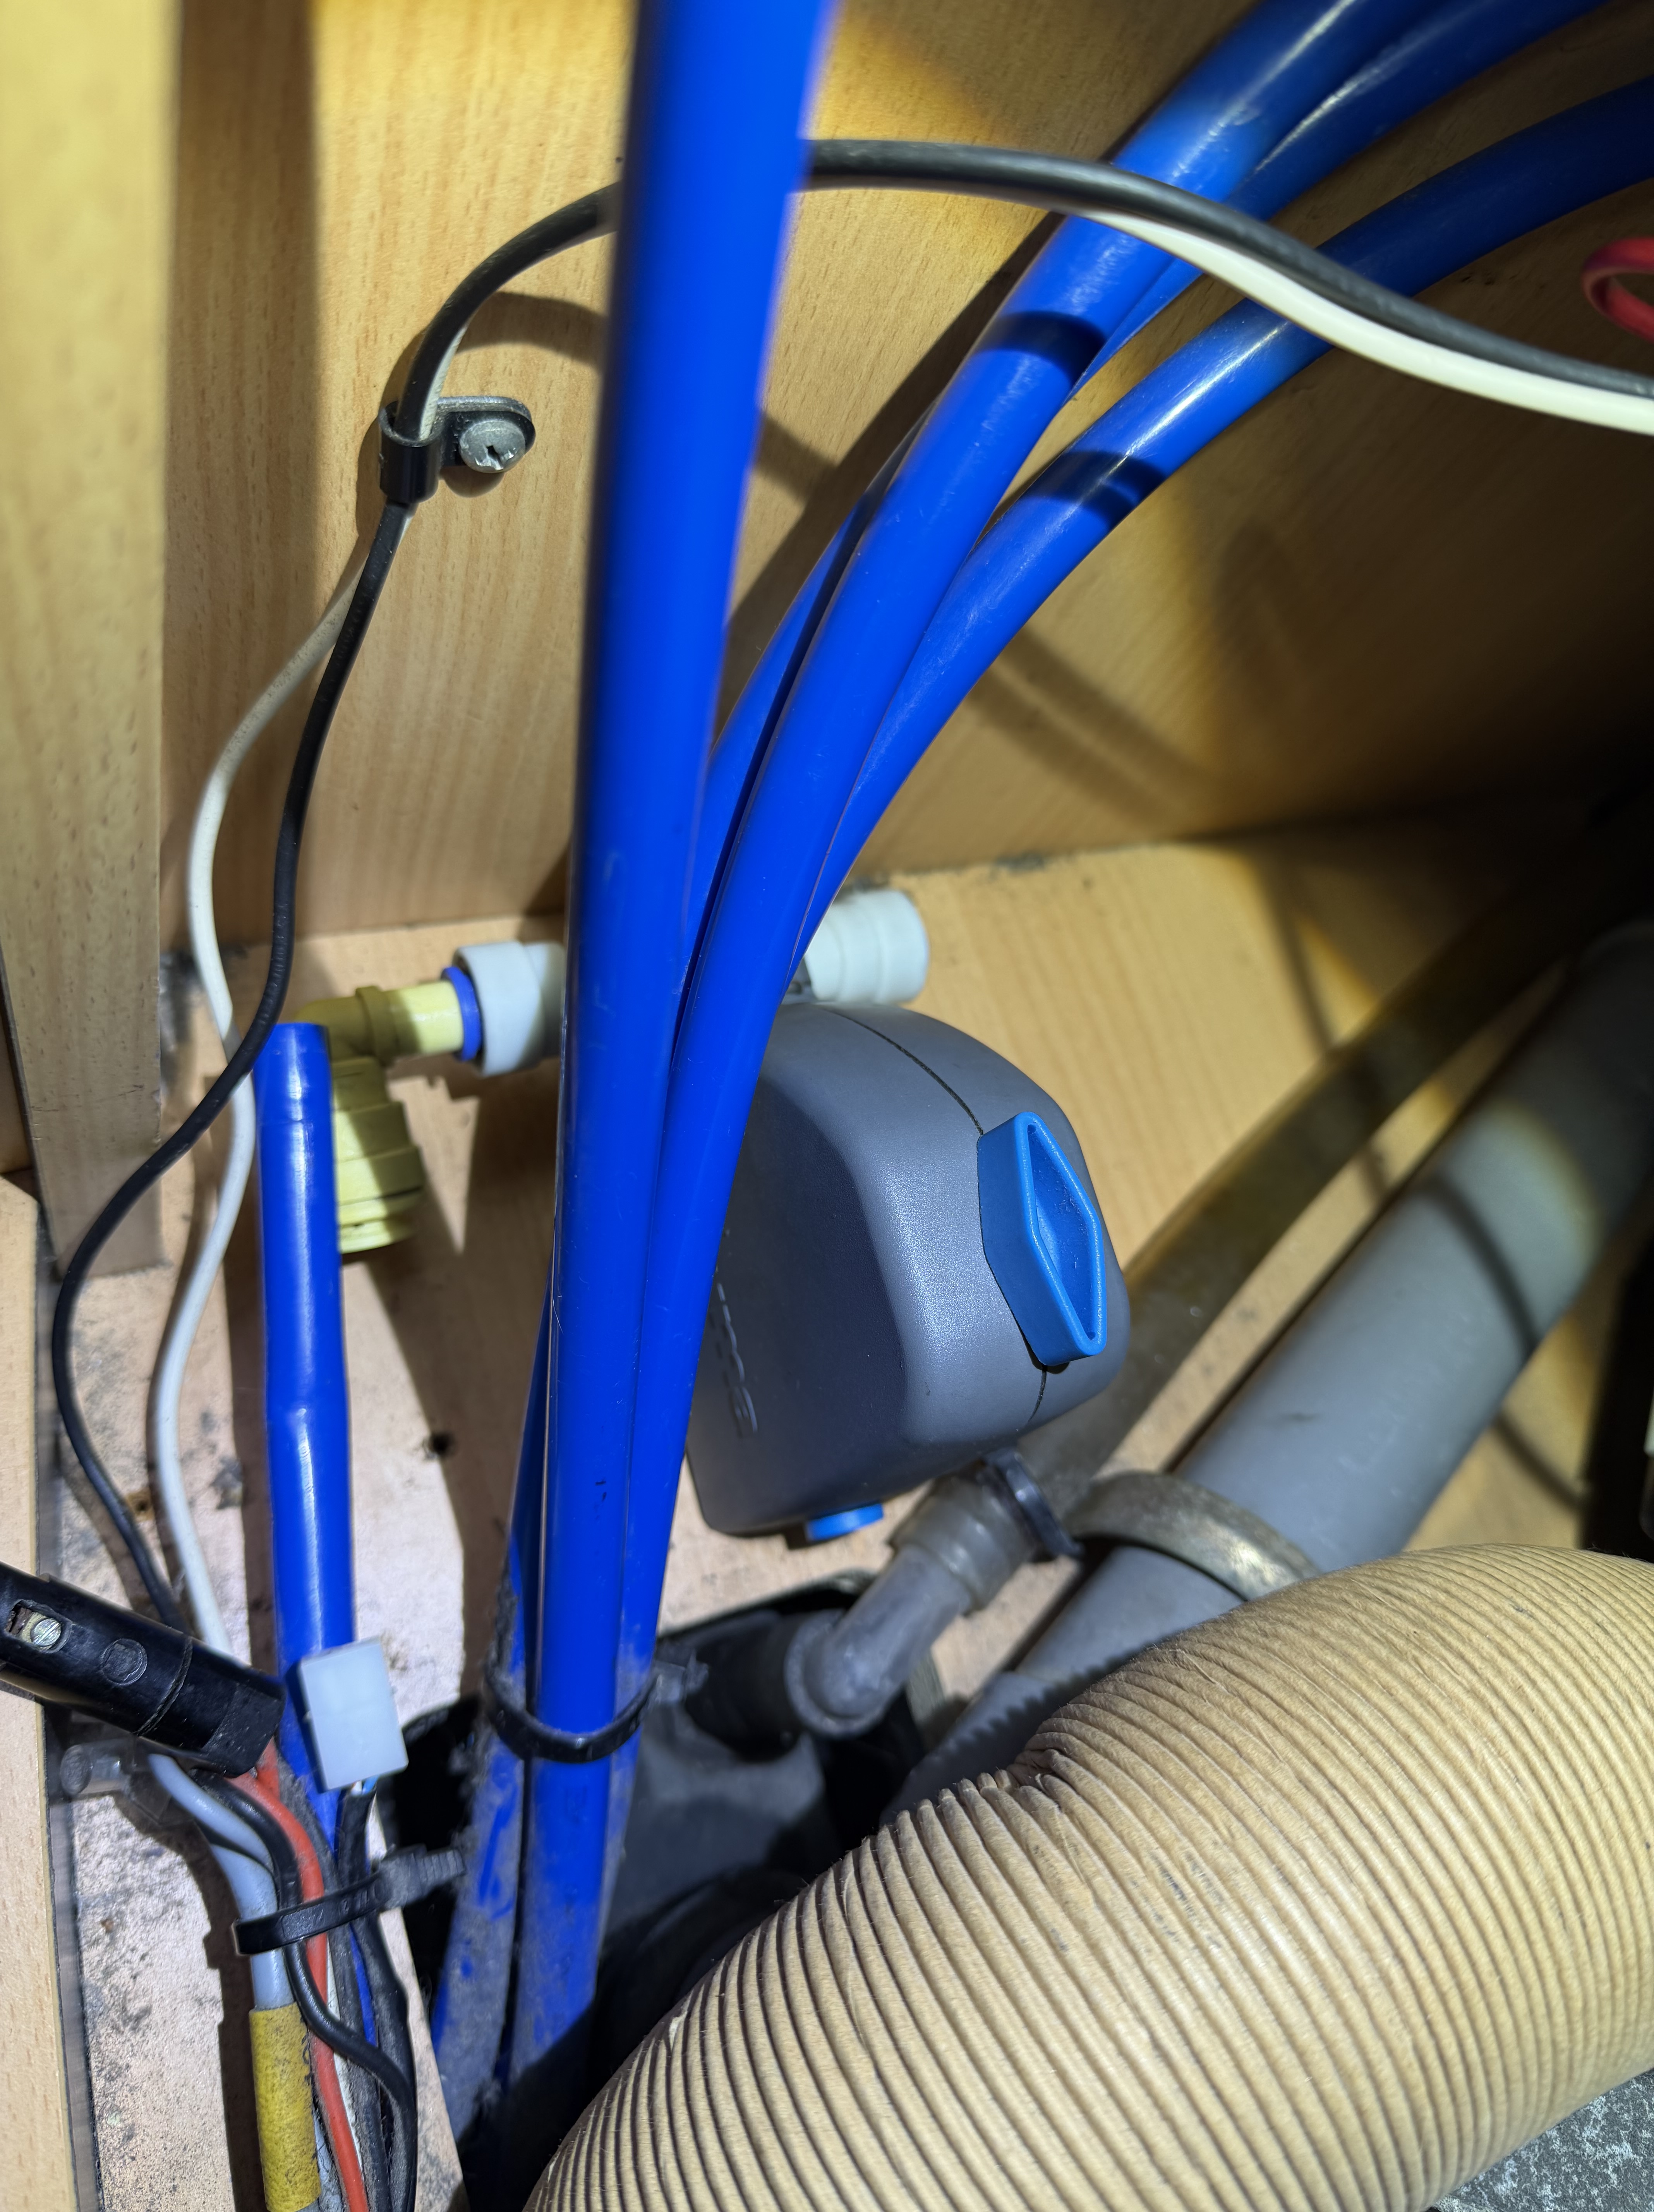
Though neat and tidy, I was aware that the connectors had been there for a long time – and a very quick check showed me that one connection was an absolute poultice…. I am fairly certain it did not leave the Laika factory like that! With that in mind, and expecting that some connectors would need replacing I bought a boxed set of assorted sizes and shapes along with a spare metre of blue water hose.
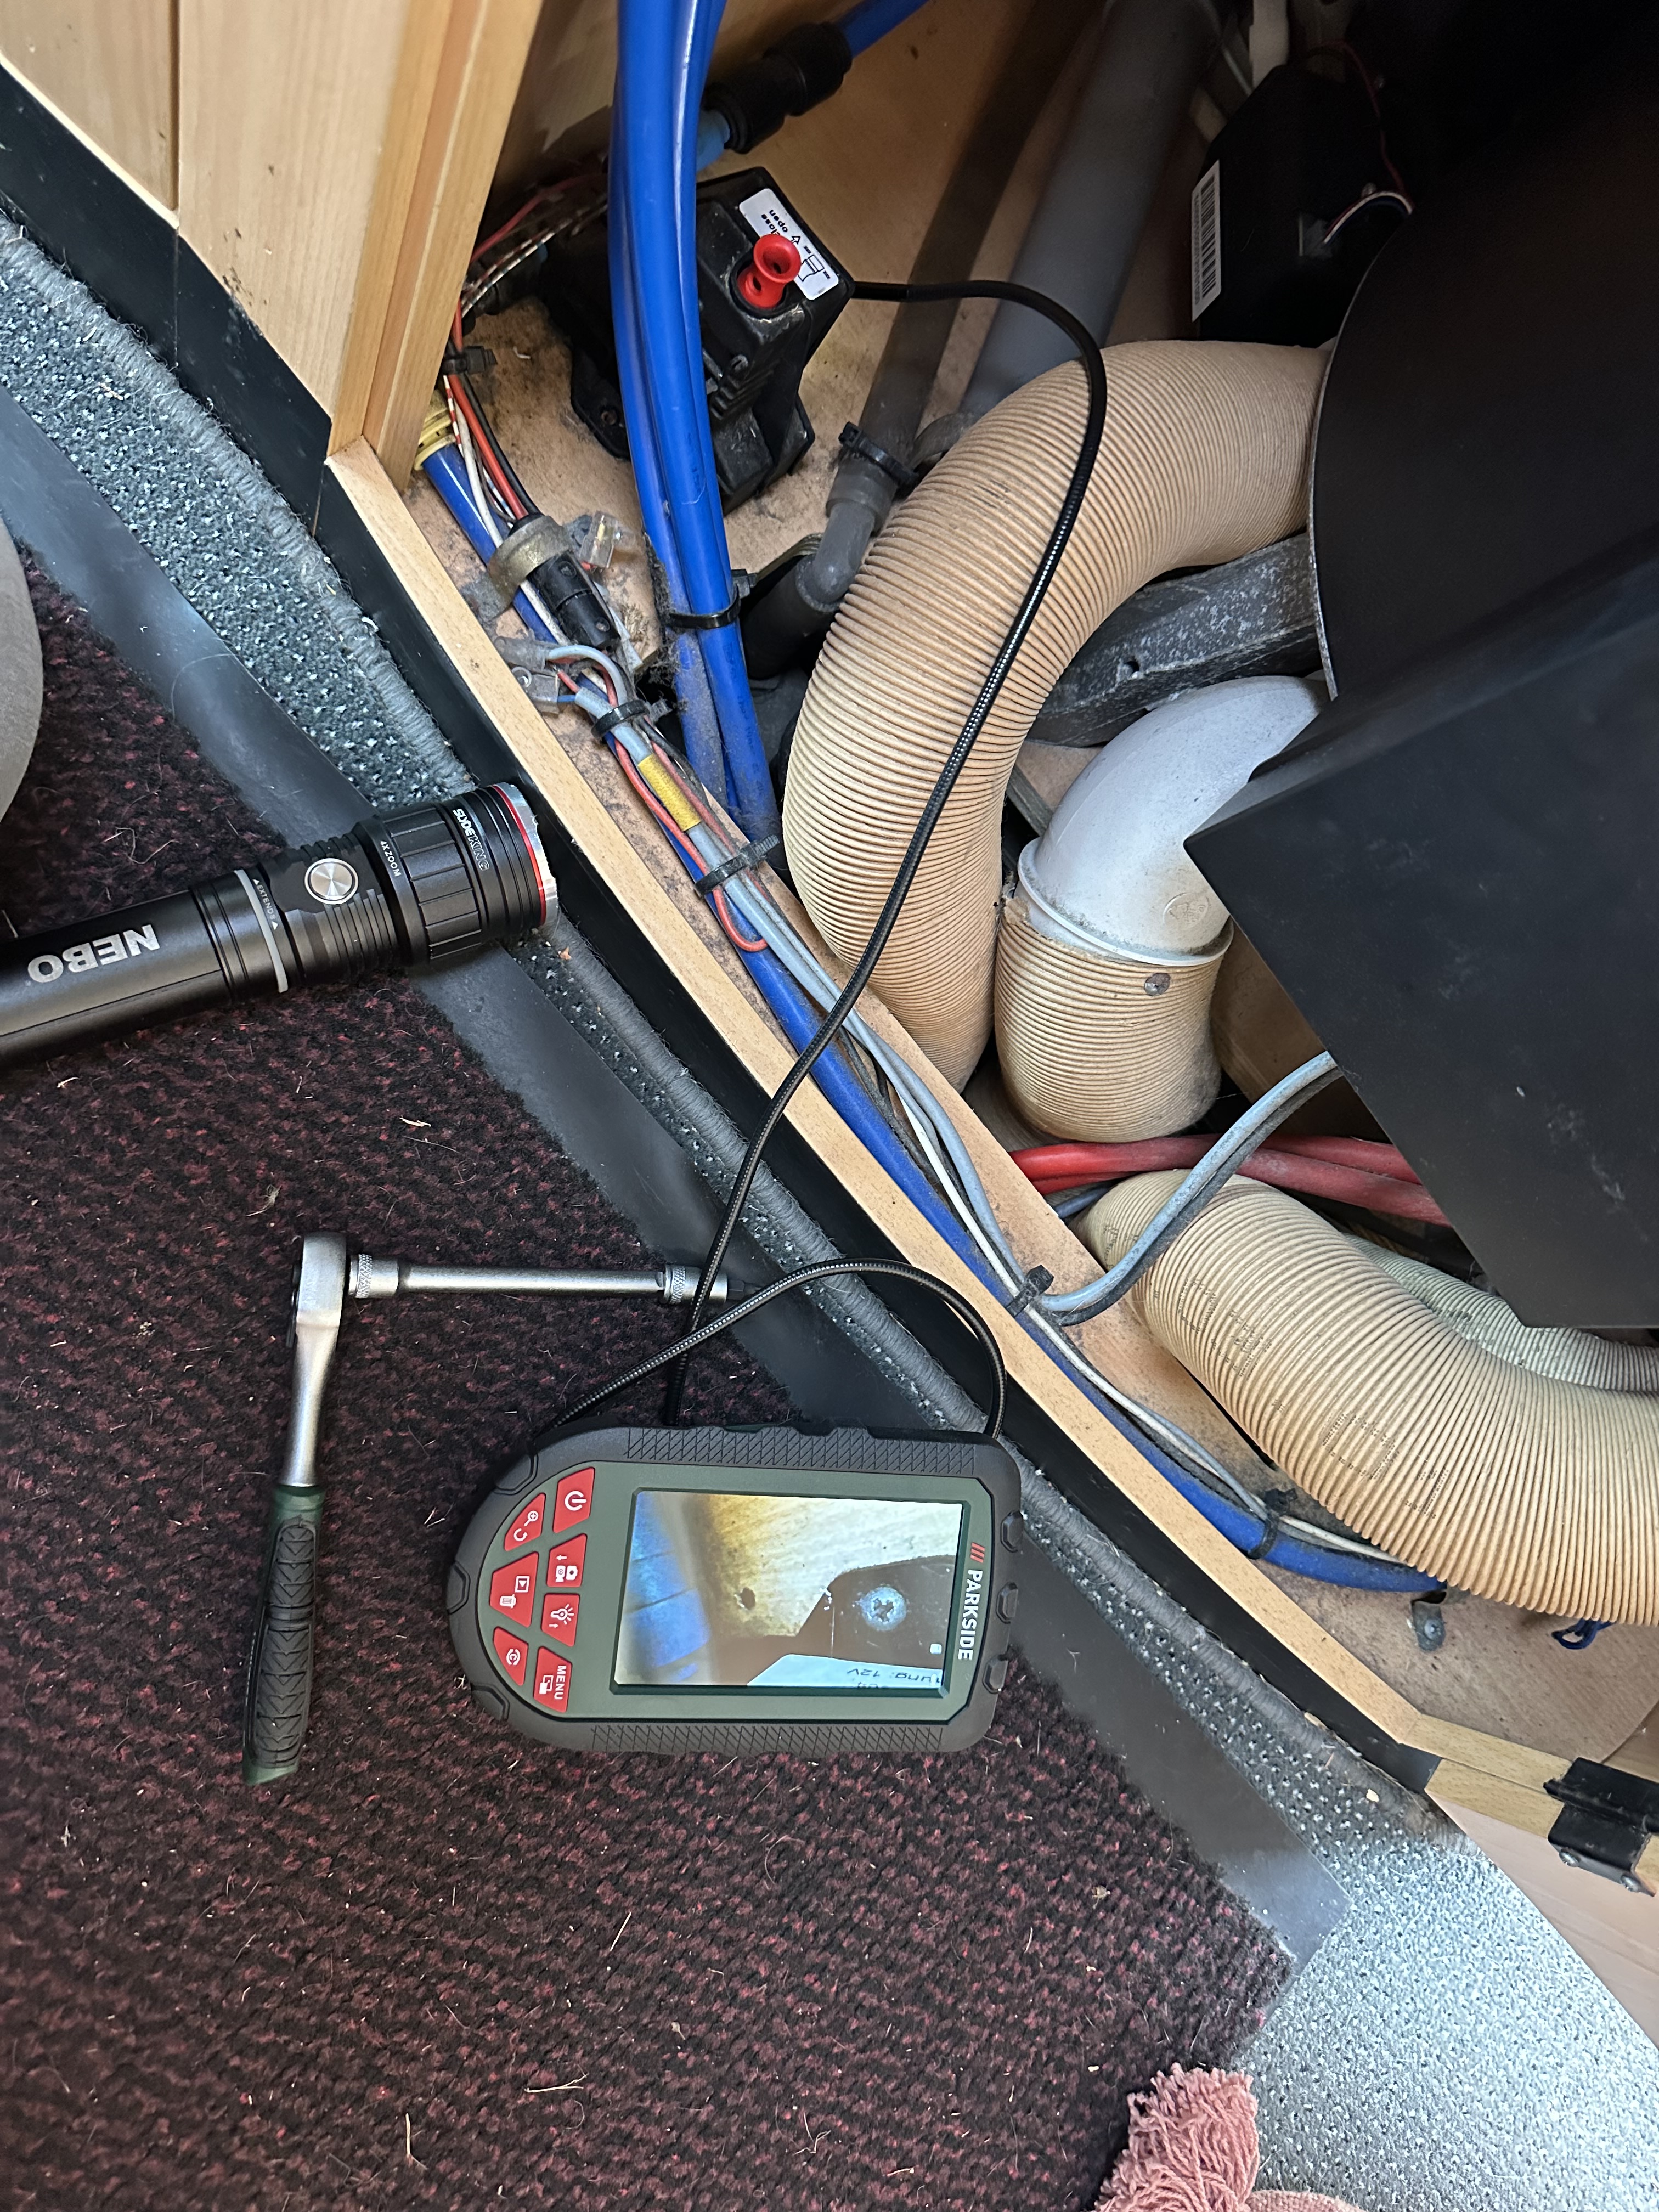
So, I started off by removing the screws holding the old frost valve in place – and this meant i got to play with a new gadget…. A cheap Inspection Camera from Lidl for £20 – I could actually see where the screw head was to get the screwdriver in!

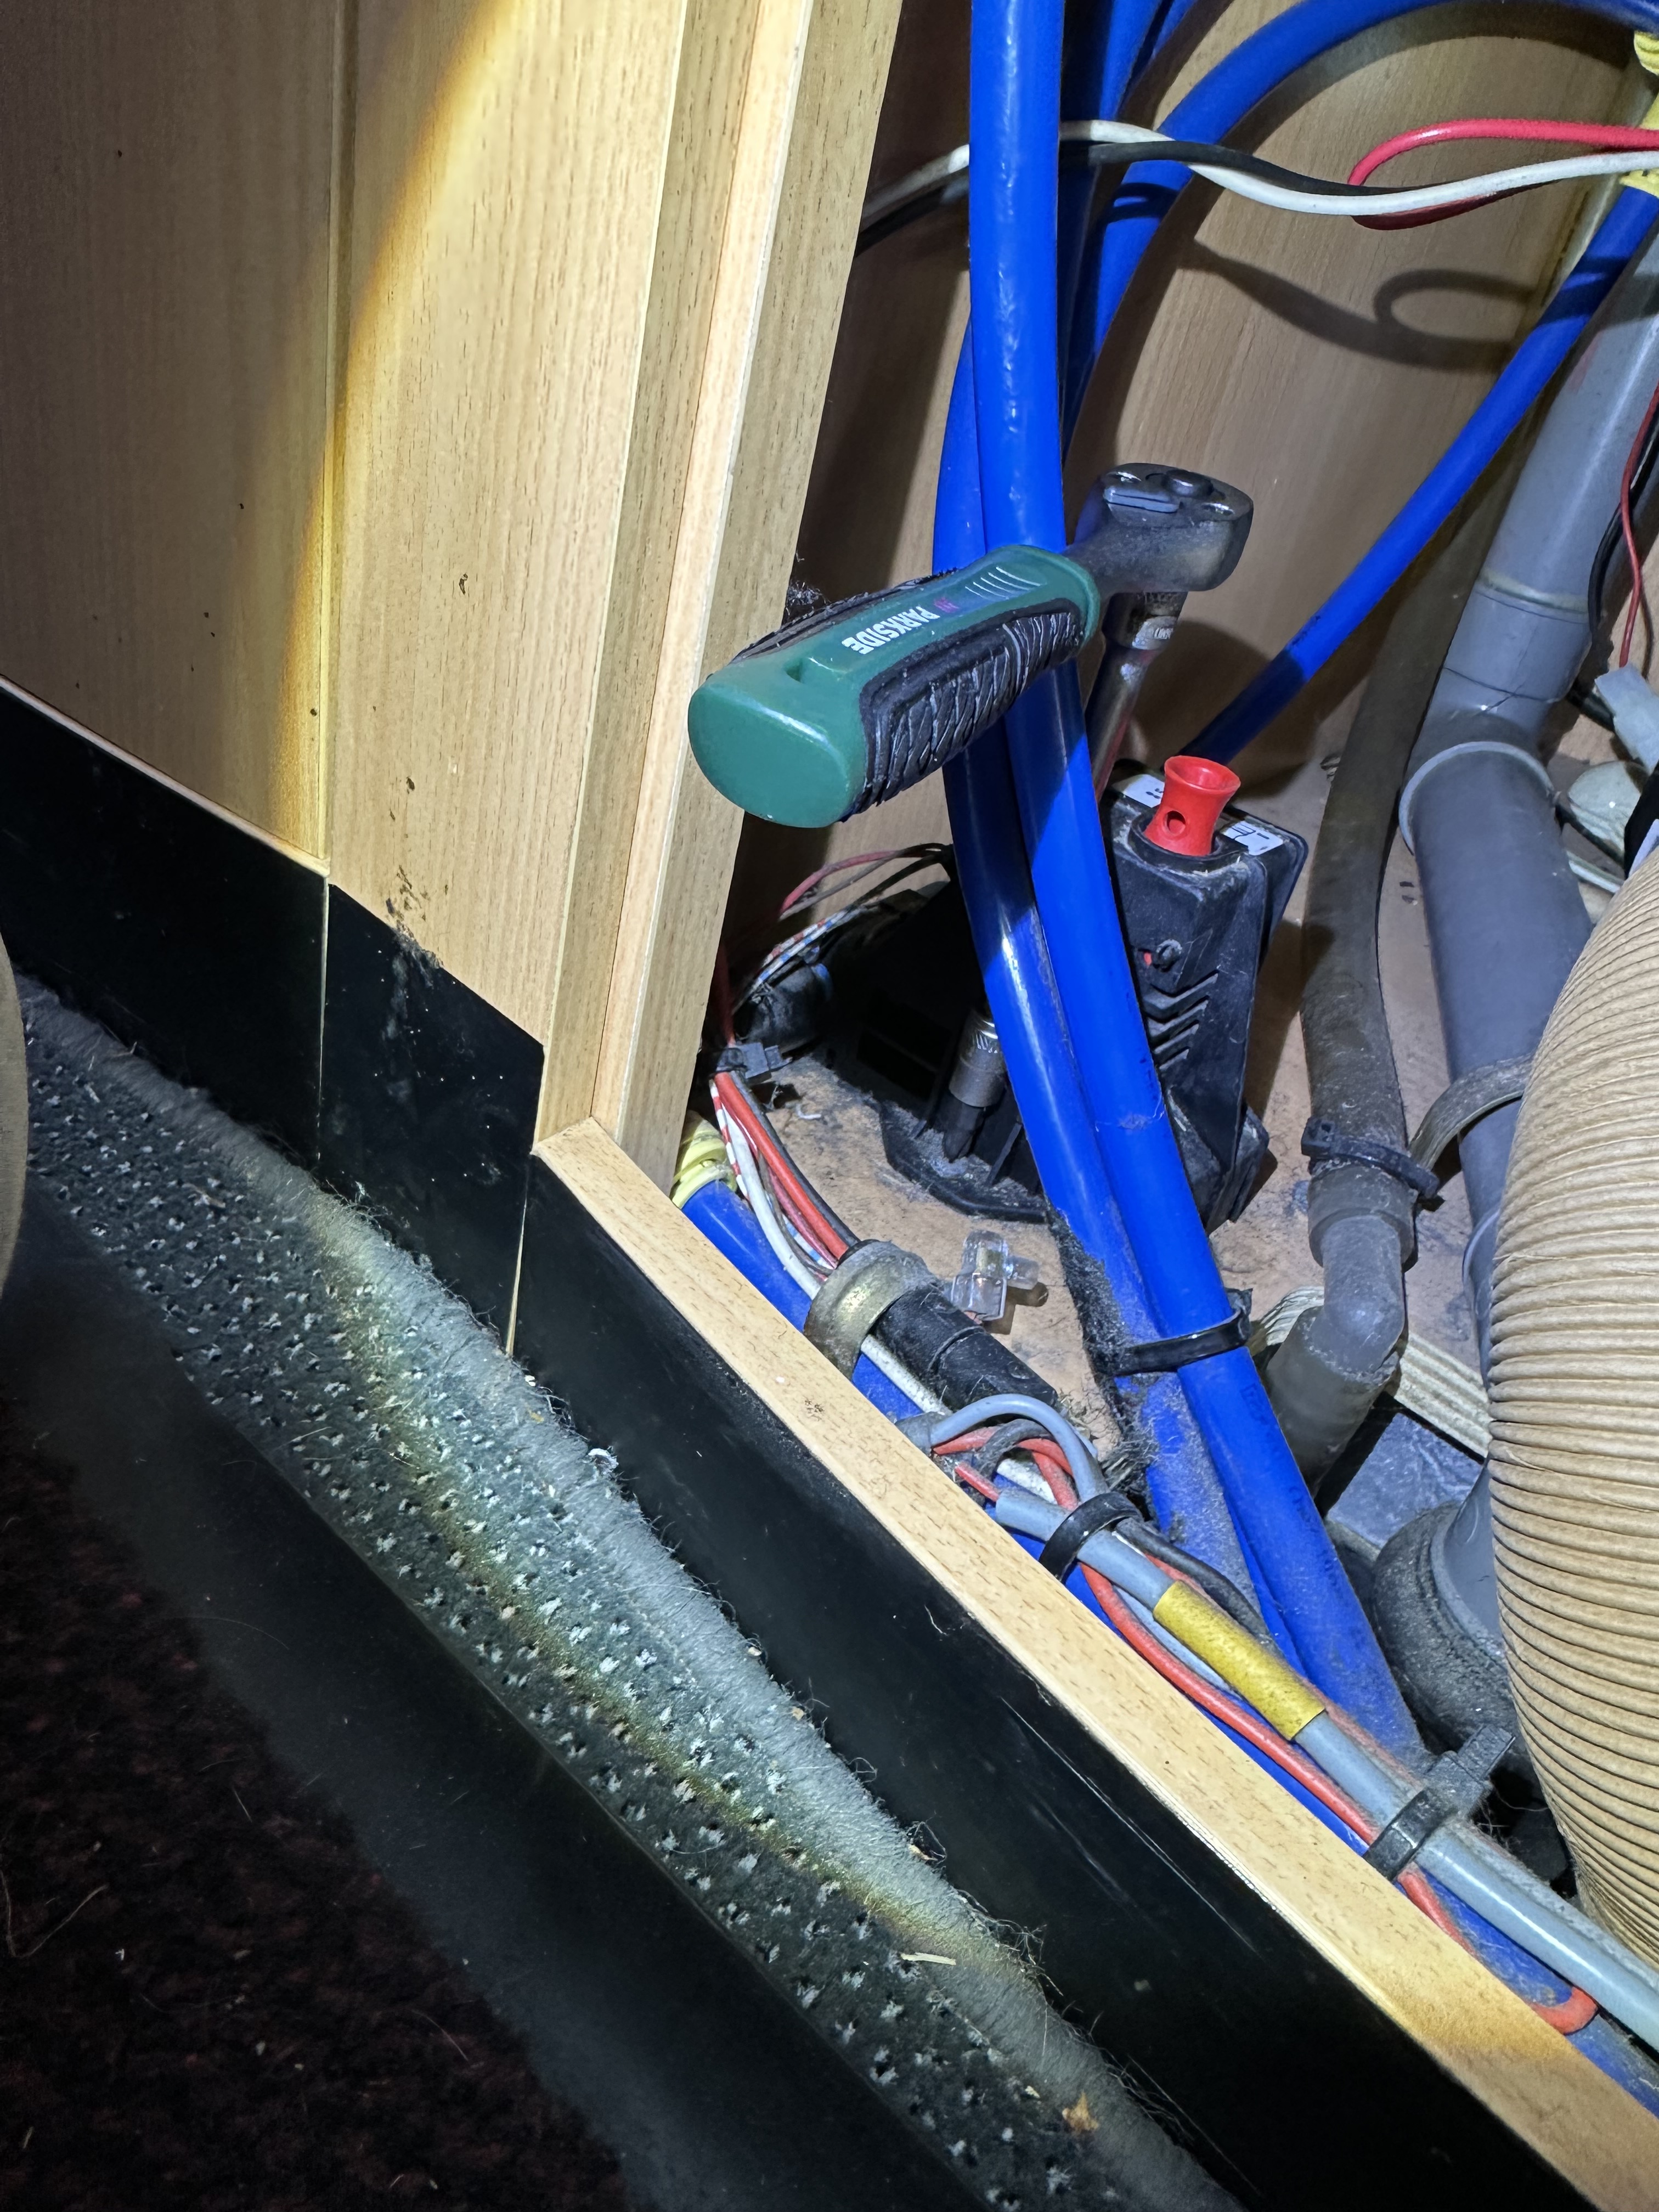


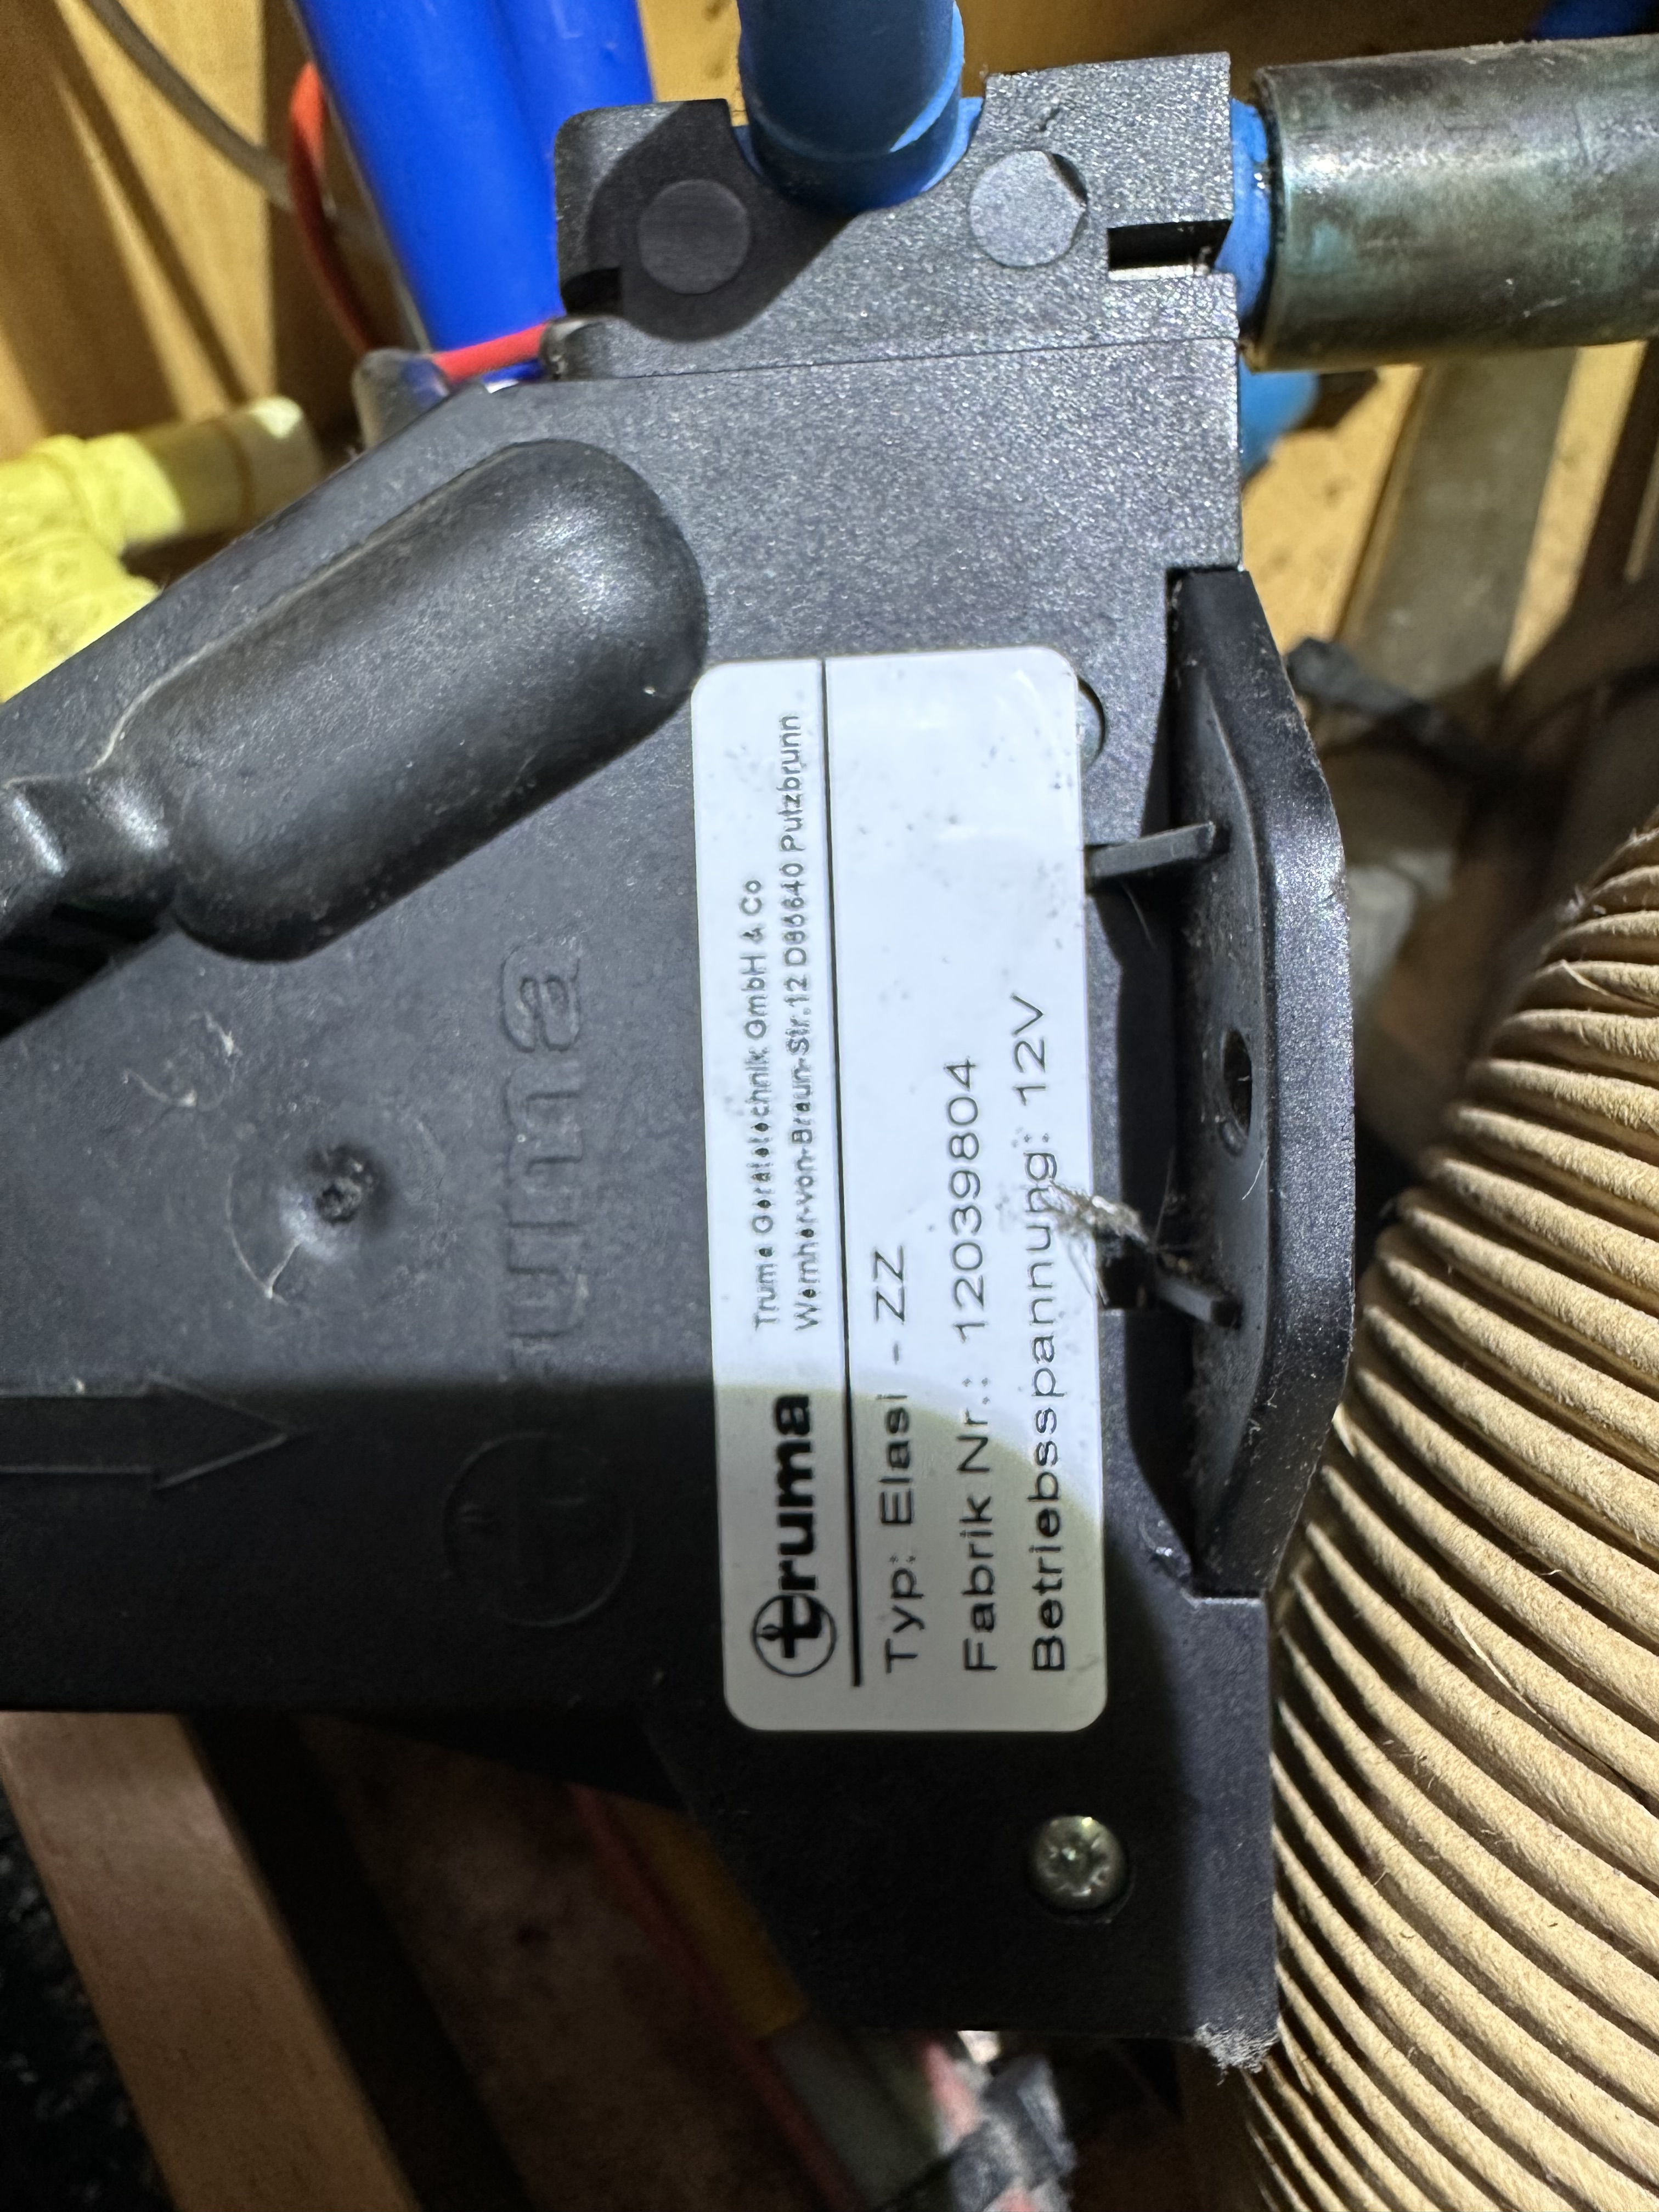
The screws that came out were ok – but i noted a bit surface rust – probably from when i changed the water pump a year or so ago and that had left some residual water. Also, tool wise, Sulk Senior had bought me a brilliant rechargeable torch that had a magnet – ideal to stick to the metal utensil draw to give excellent light on the area. I then carefully compressed the John Guest connectors to remove the old frost valve – as predicted one of the connectors did break – just old plastic I think. Once out, and out of pure curiosity, I took time to look at the old frost valve – that’s after I had had to partly strip it down as it was – and I had missed this previously, connected into the wiring loom!
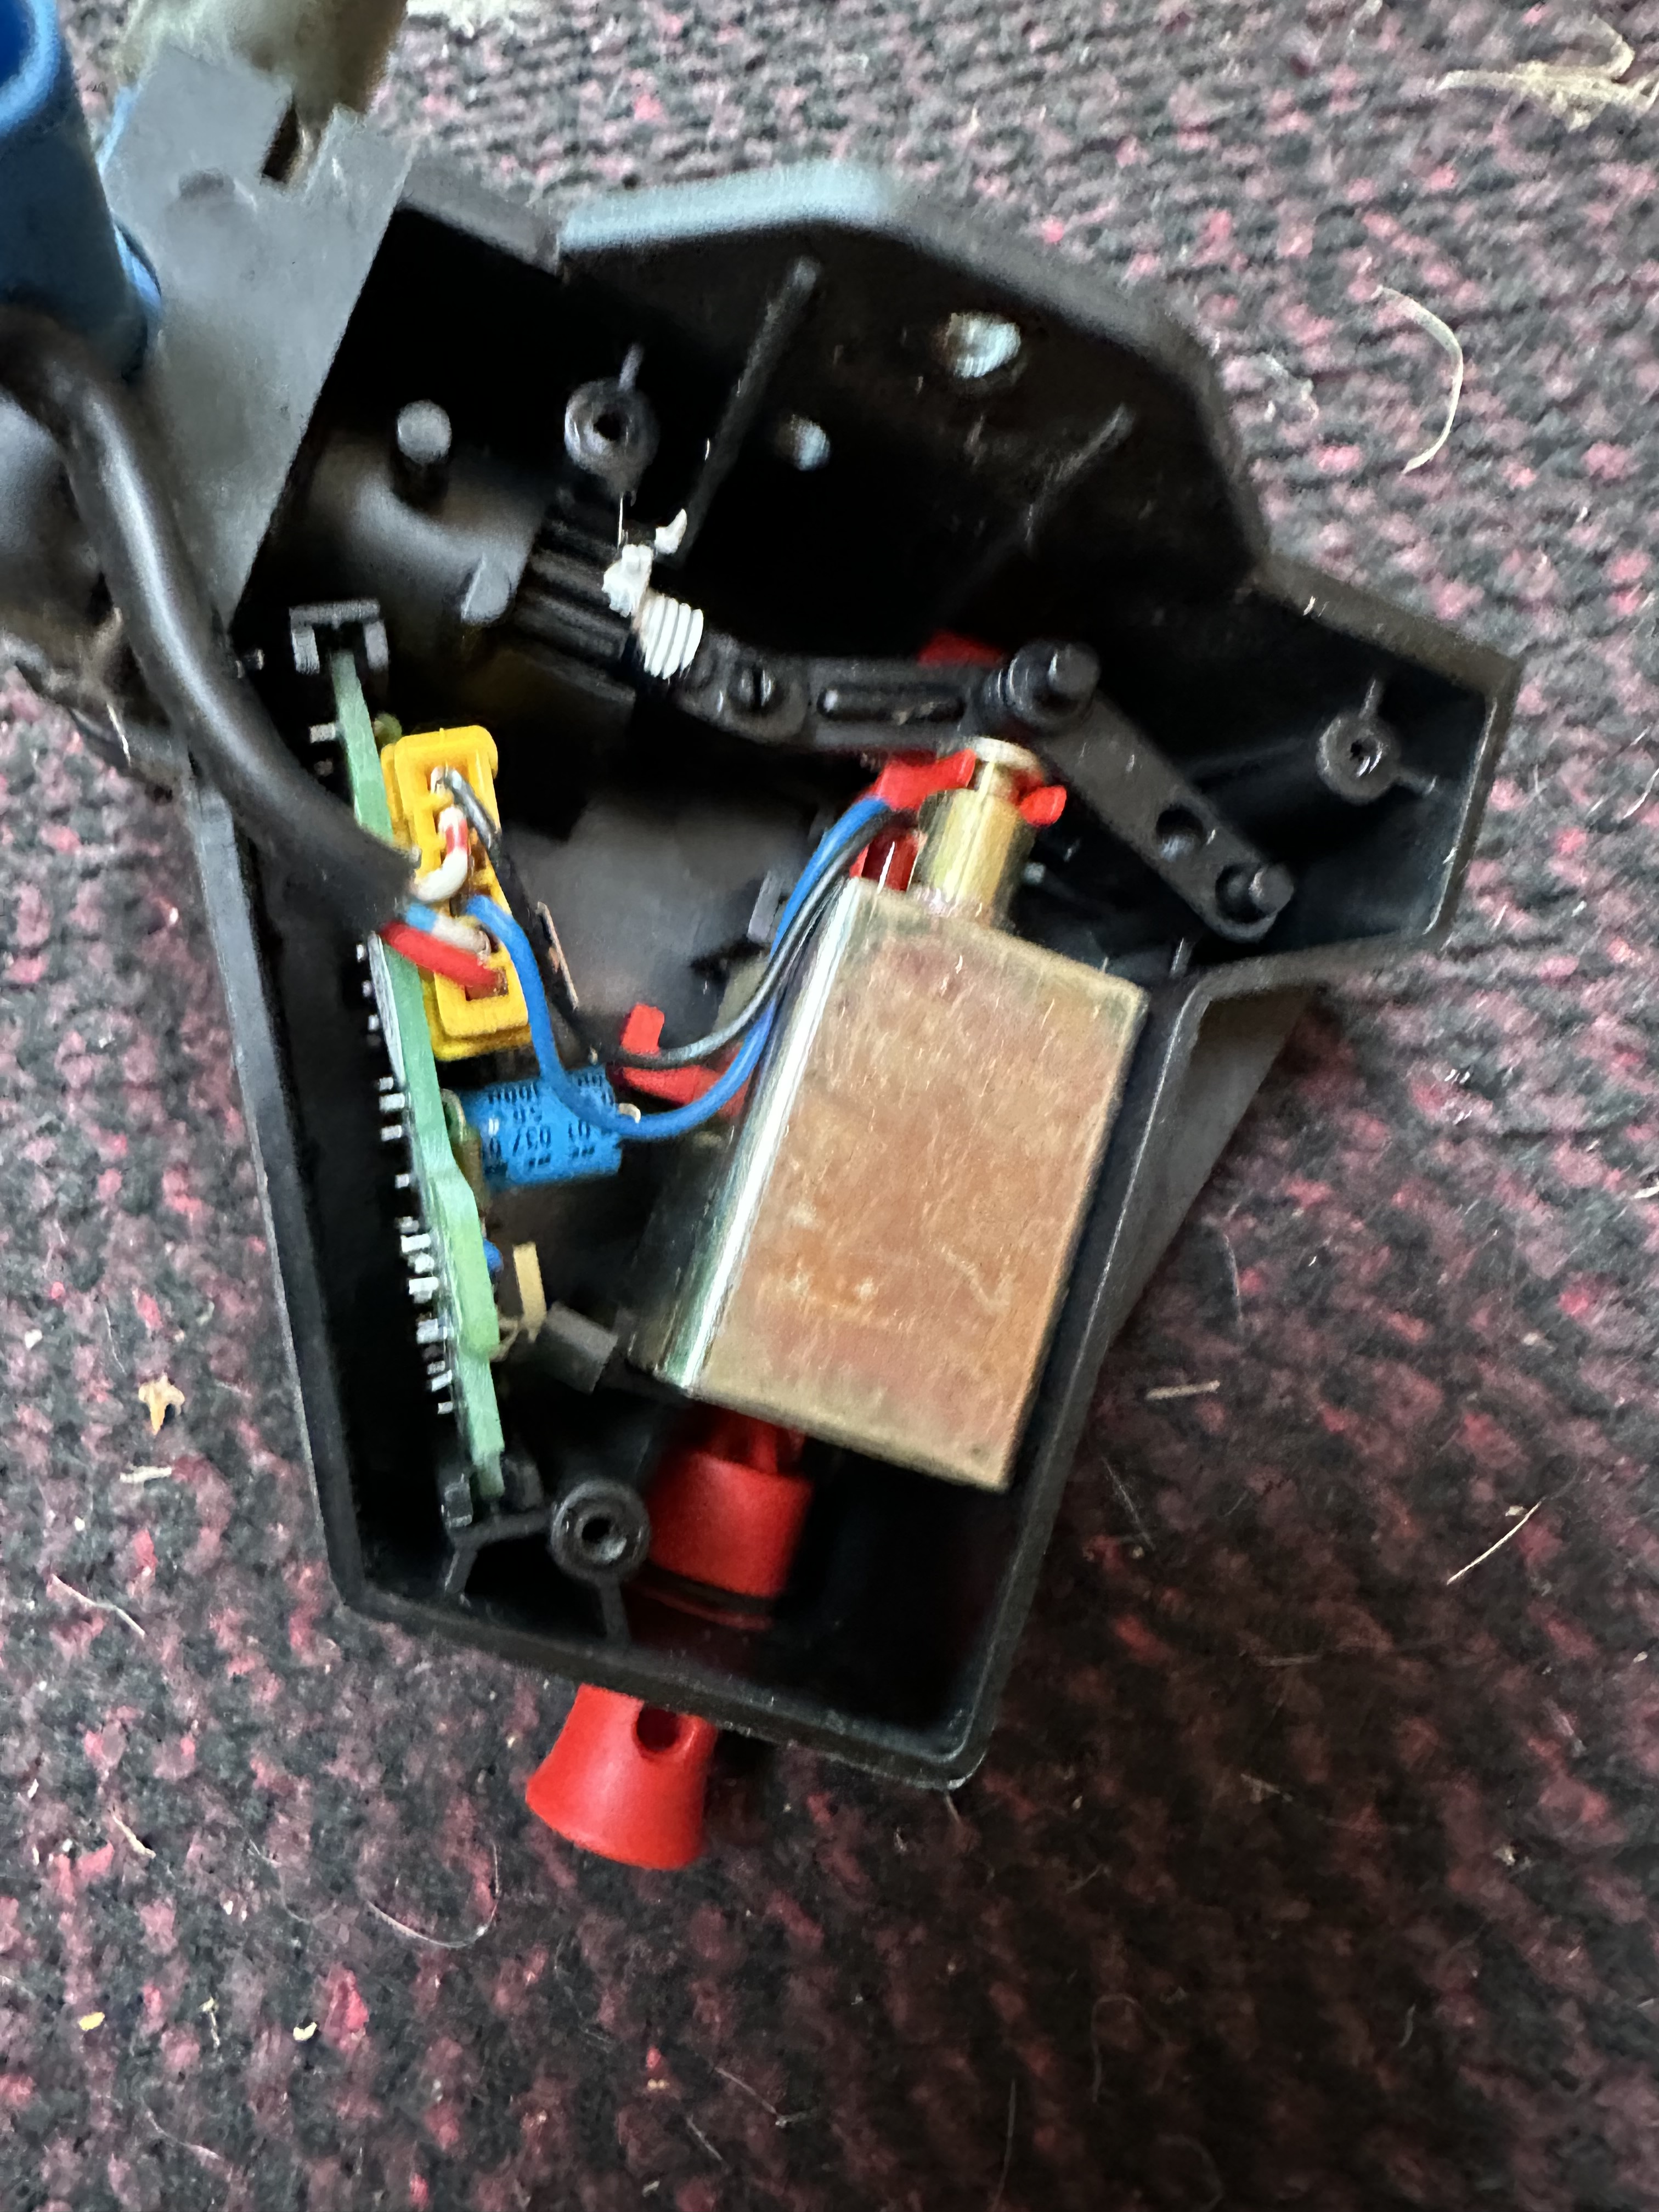

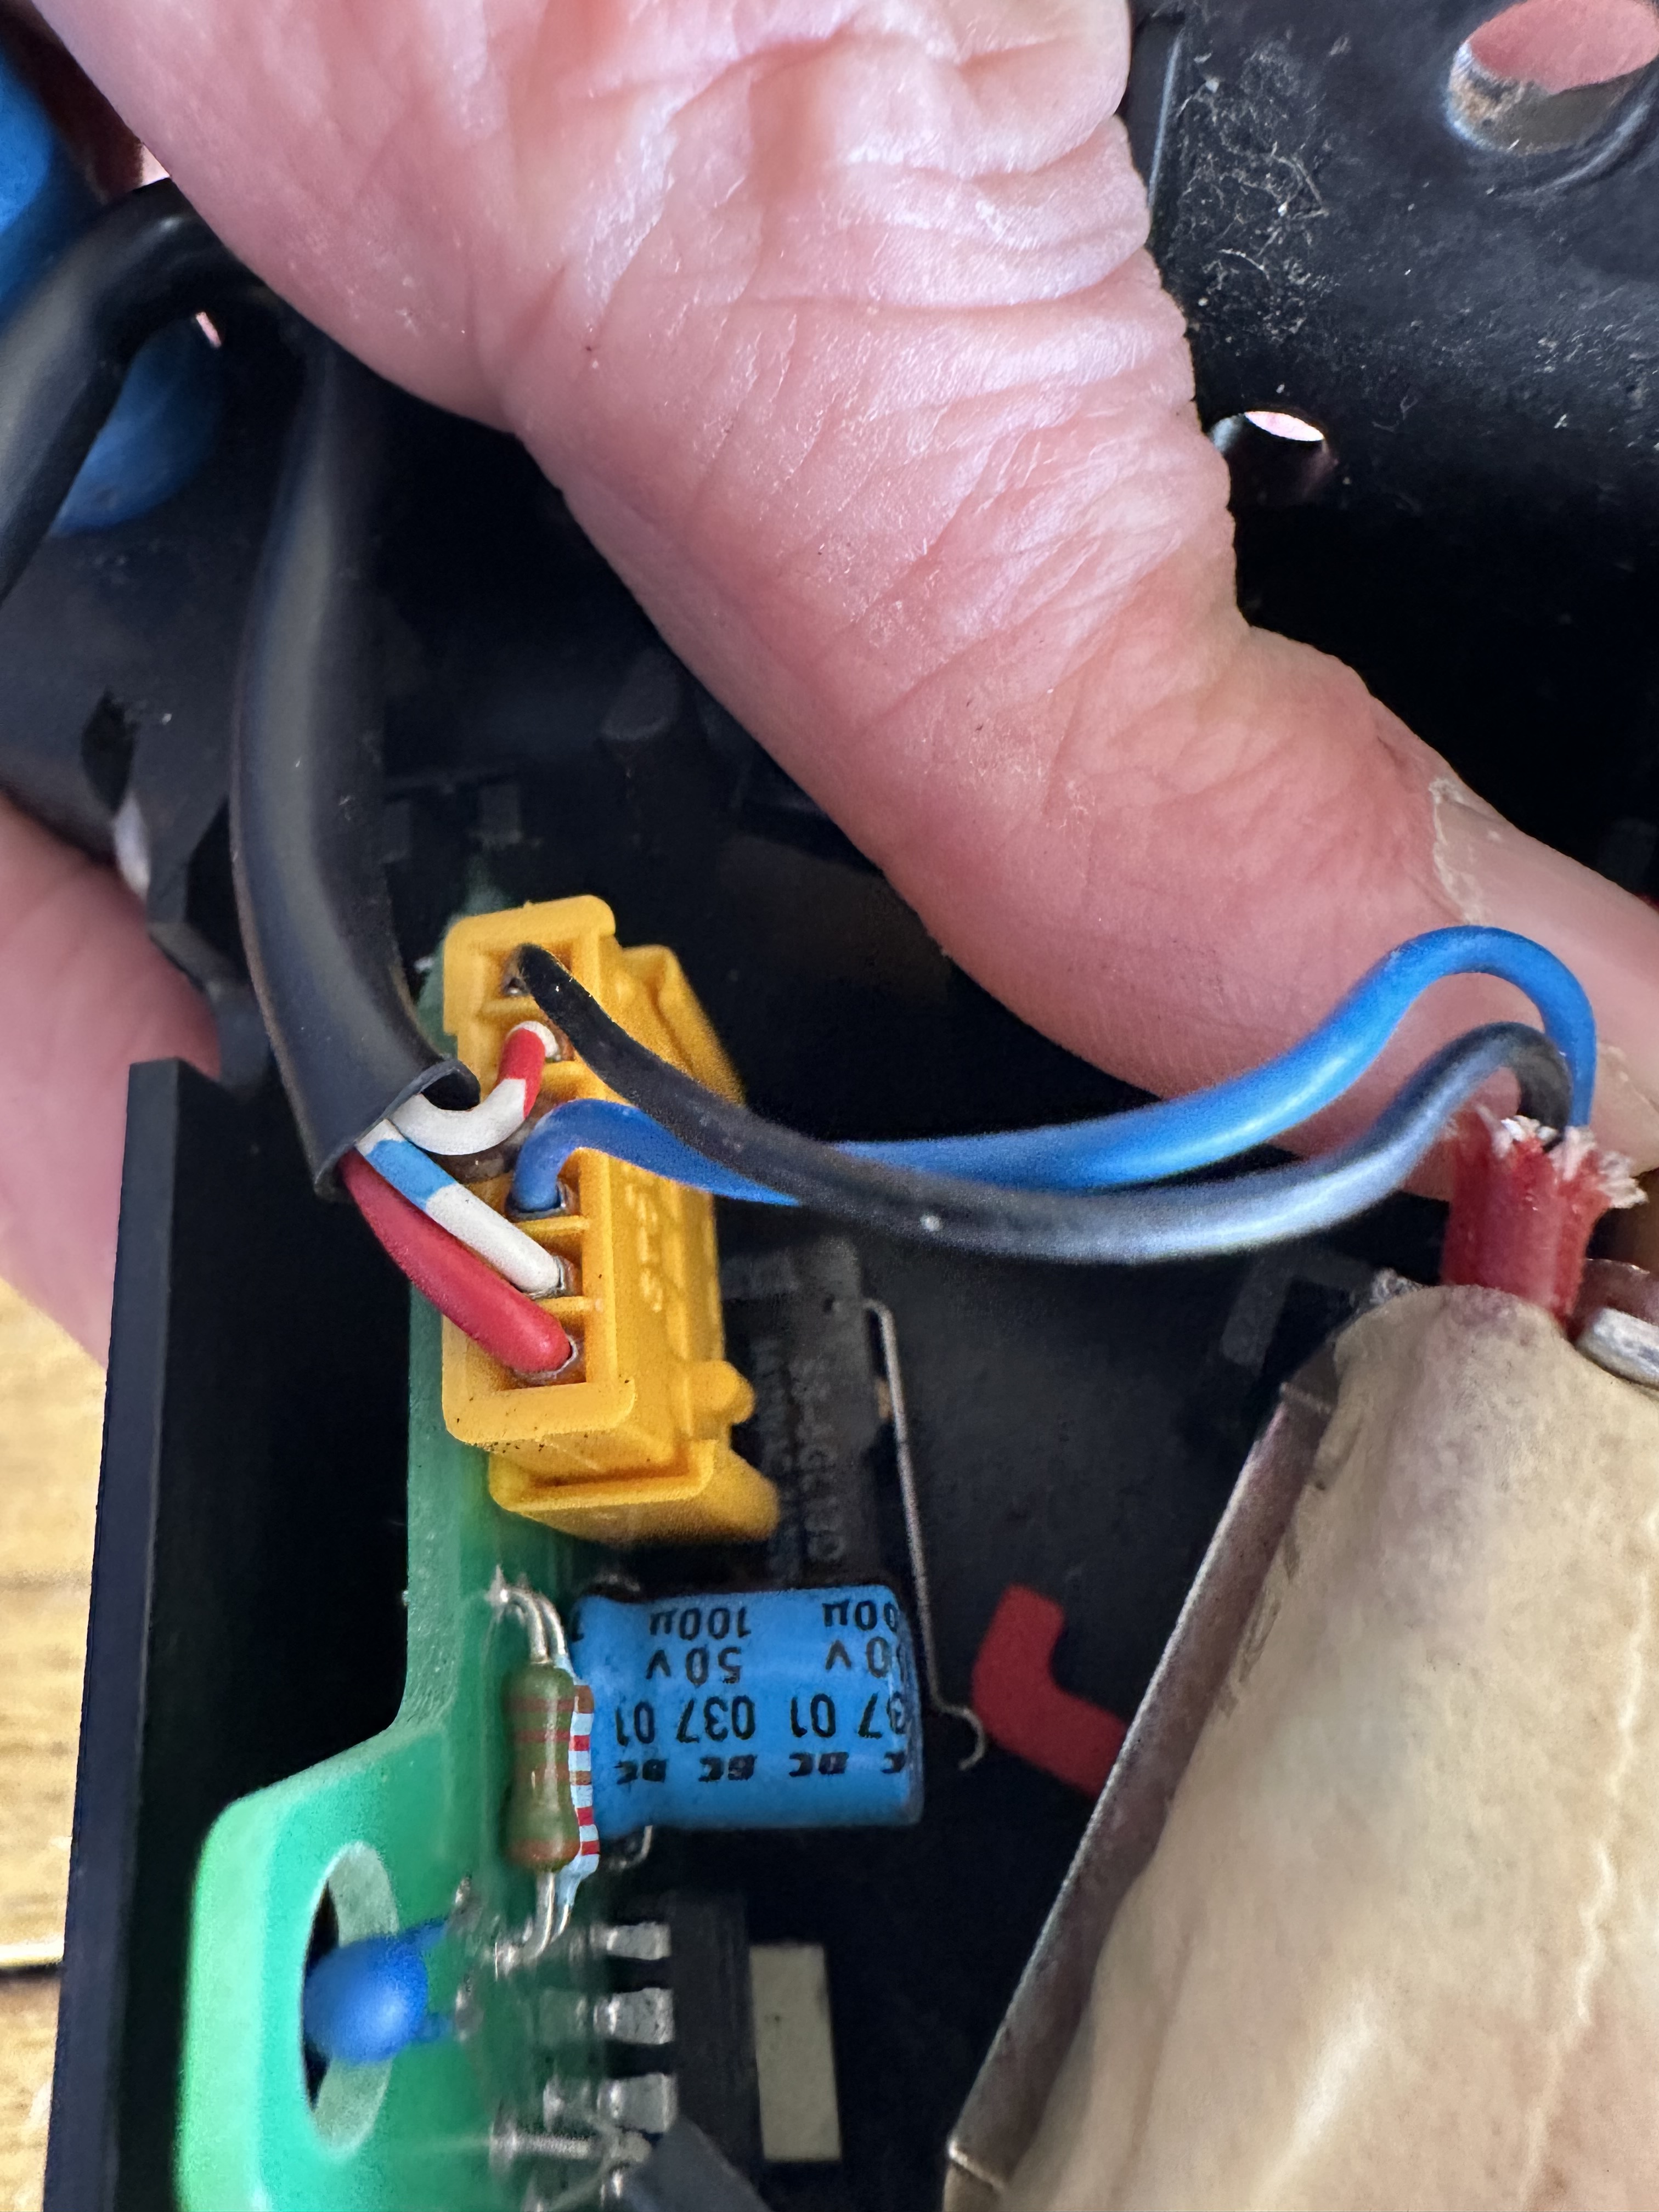


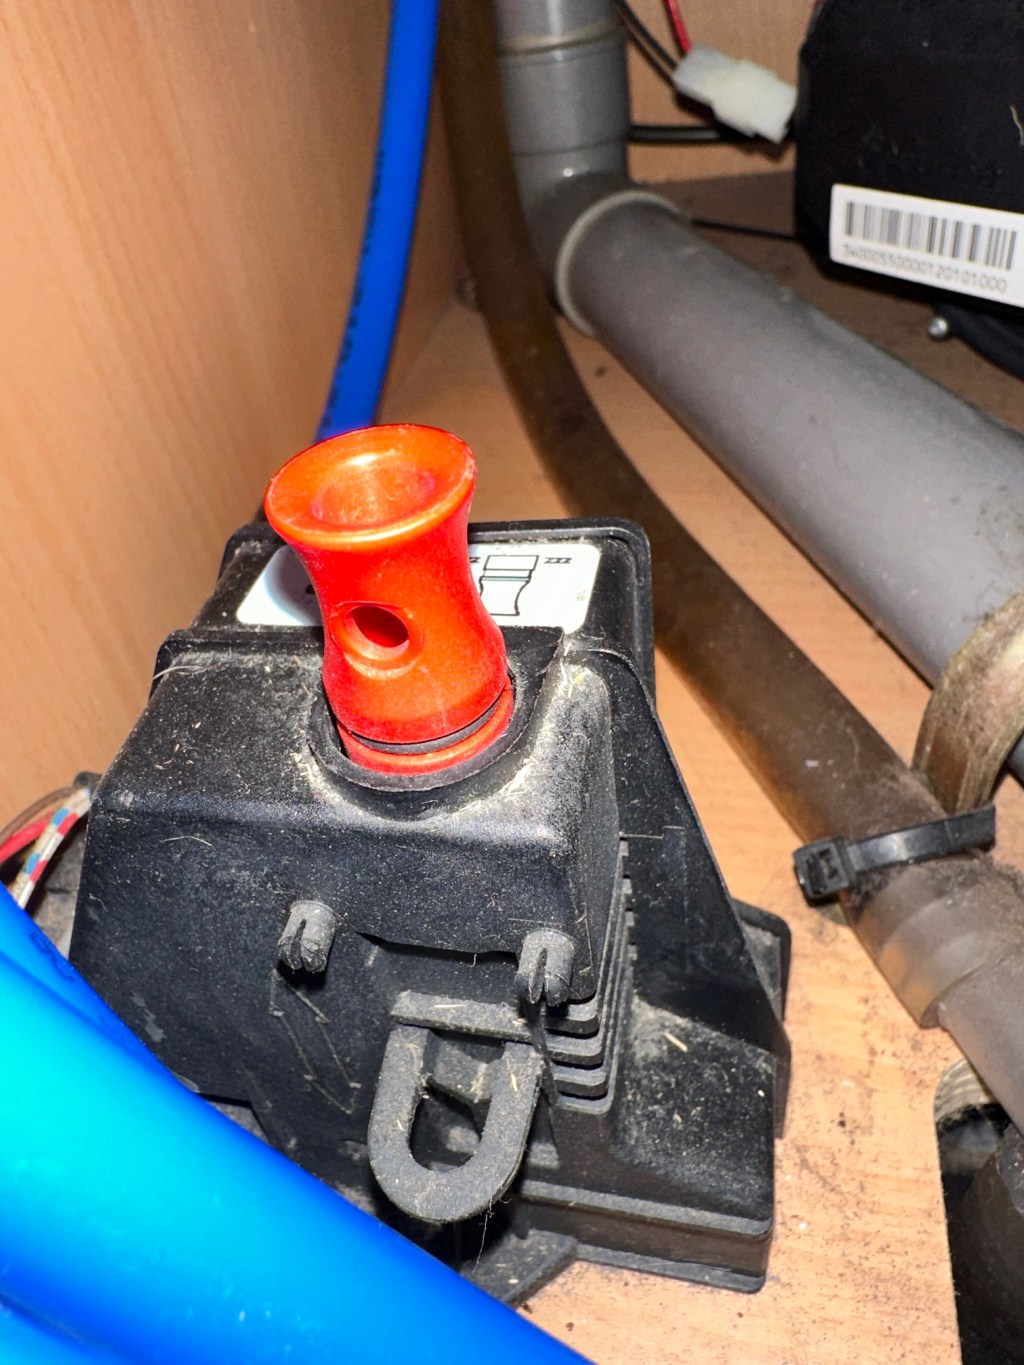
I took time to look closely at the simple motor and thought about how it worked – it seemed to me that the lip spring that held the plunger in place had, in time failed, so I carefully tensioned that back. Also the motor that drove the plunger seemed to have slipped down the mounting. I therefore moved and secured that back into place. I worked out that the electrical connections were for power and to send / receive a signal from the control panel. Even though I had got a new replacement, I did connect it up – it still didn’t work with out the clothes peg!
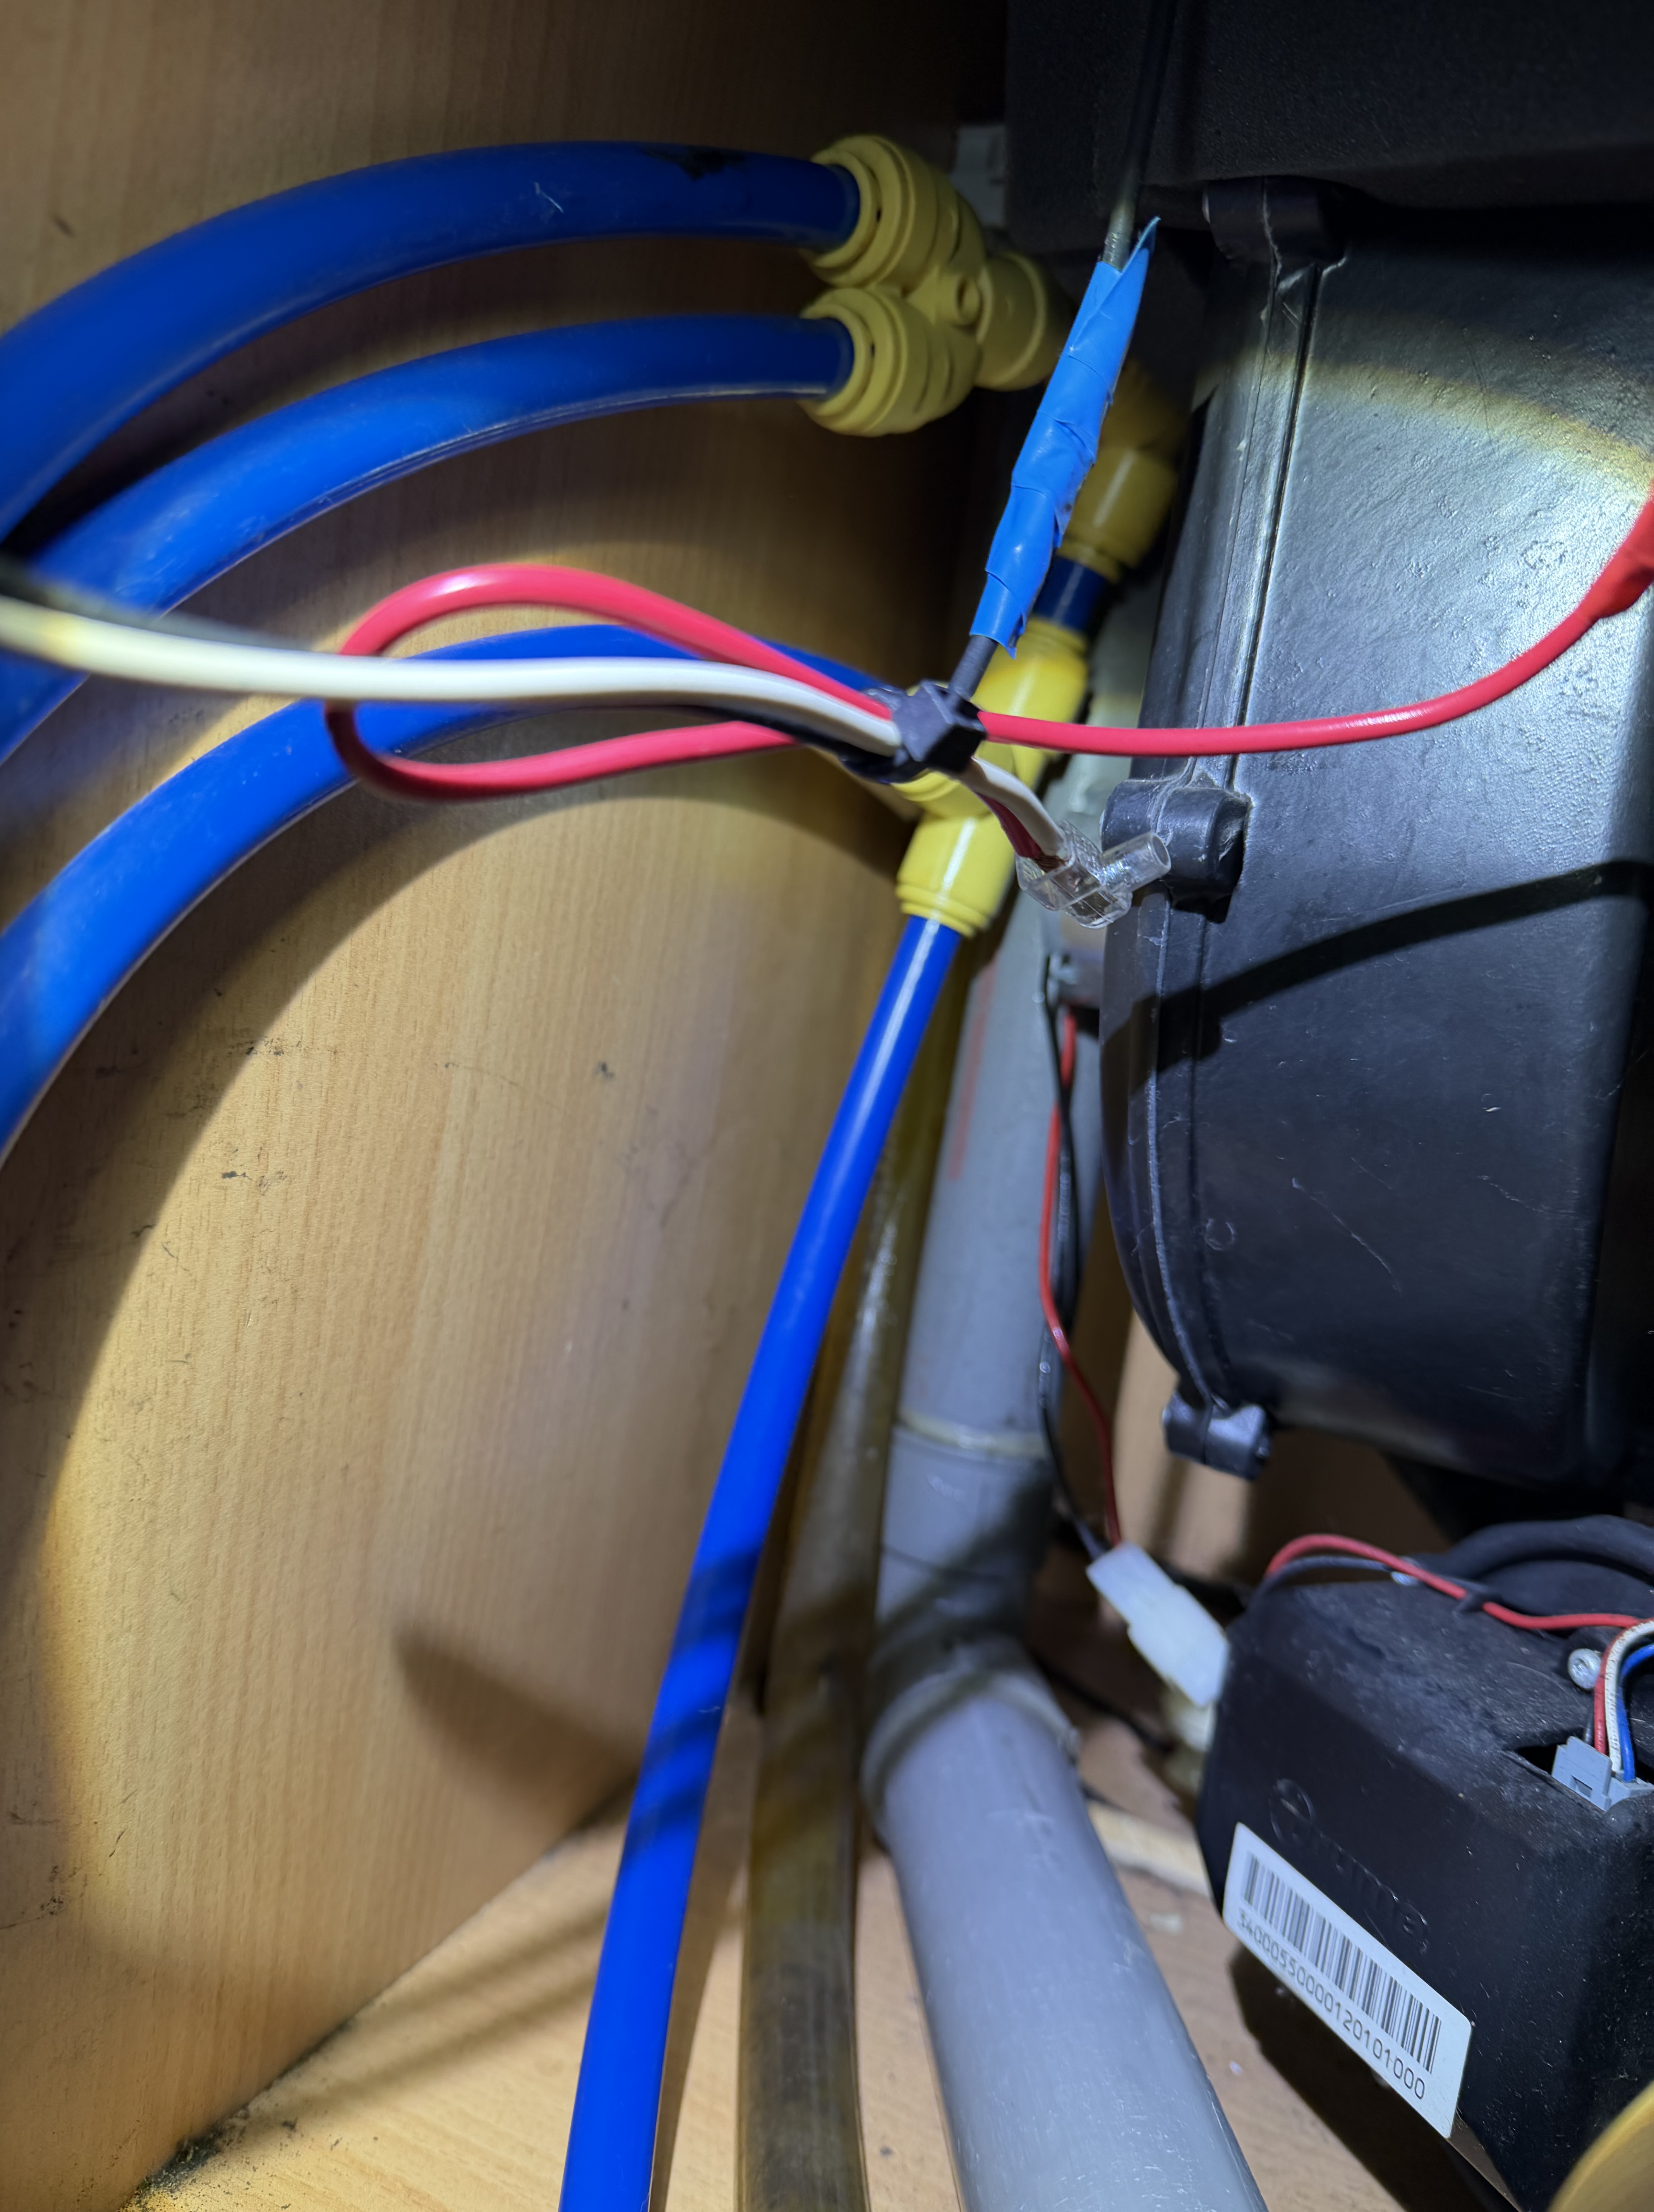
So, out with the old, and in with the new – and one thing I was very conscious of was that to cut the new pipe, I needed to cut it straight – my dad’s old set square was used with effect! I had decided to removed the connectors from the old valve at the plug point – for the panel, and remove the power by taking half of the fuse holder out – I noted that the fuse also had some surface rust, which had probably not helped the unit work!


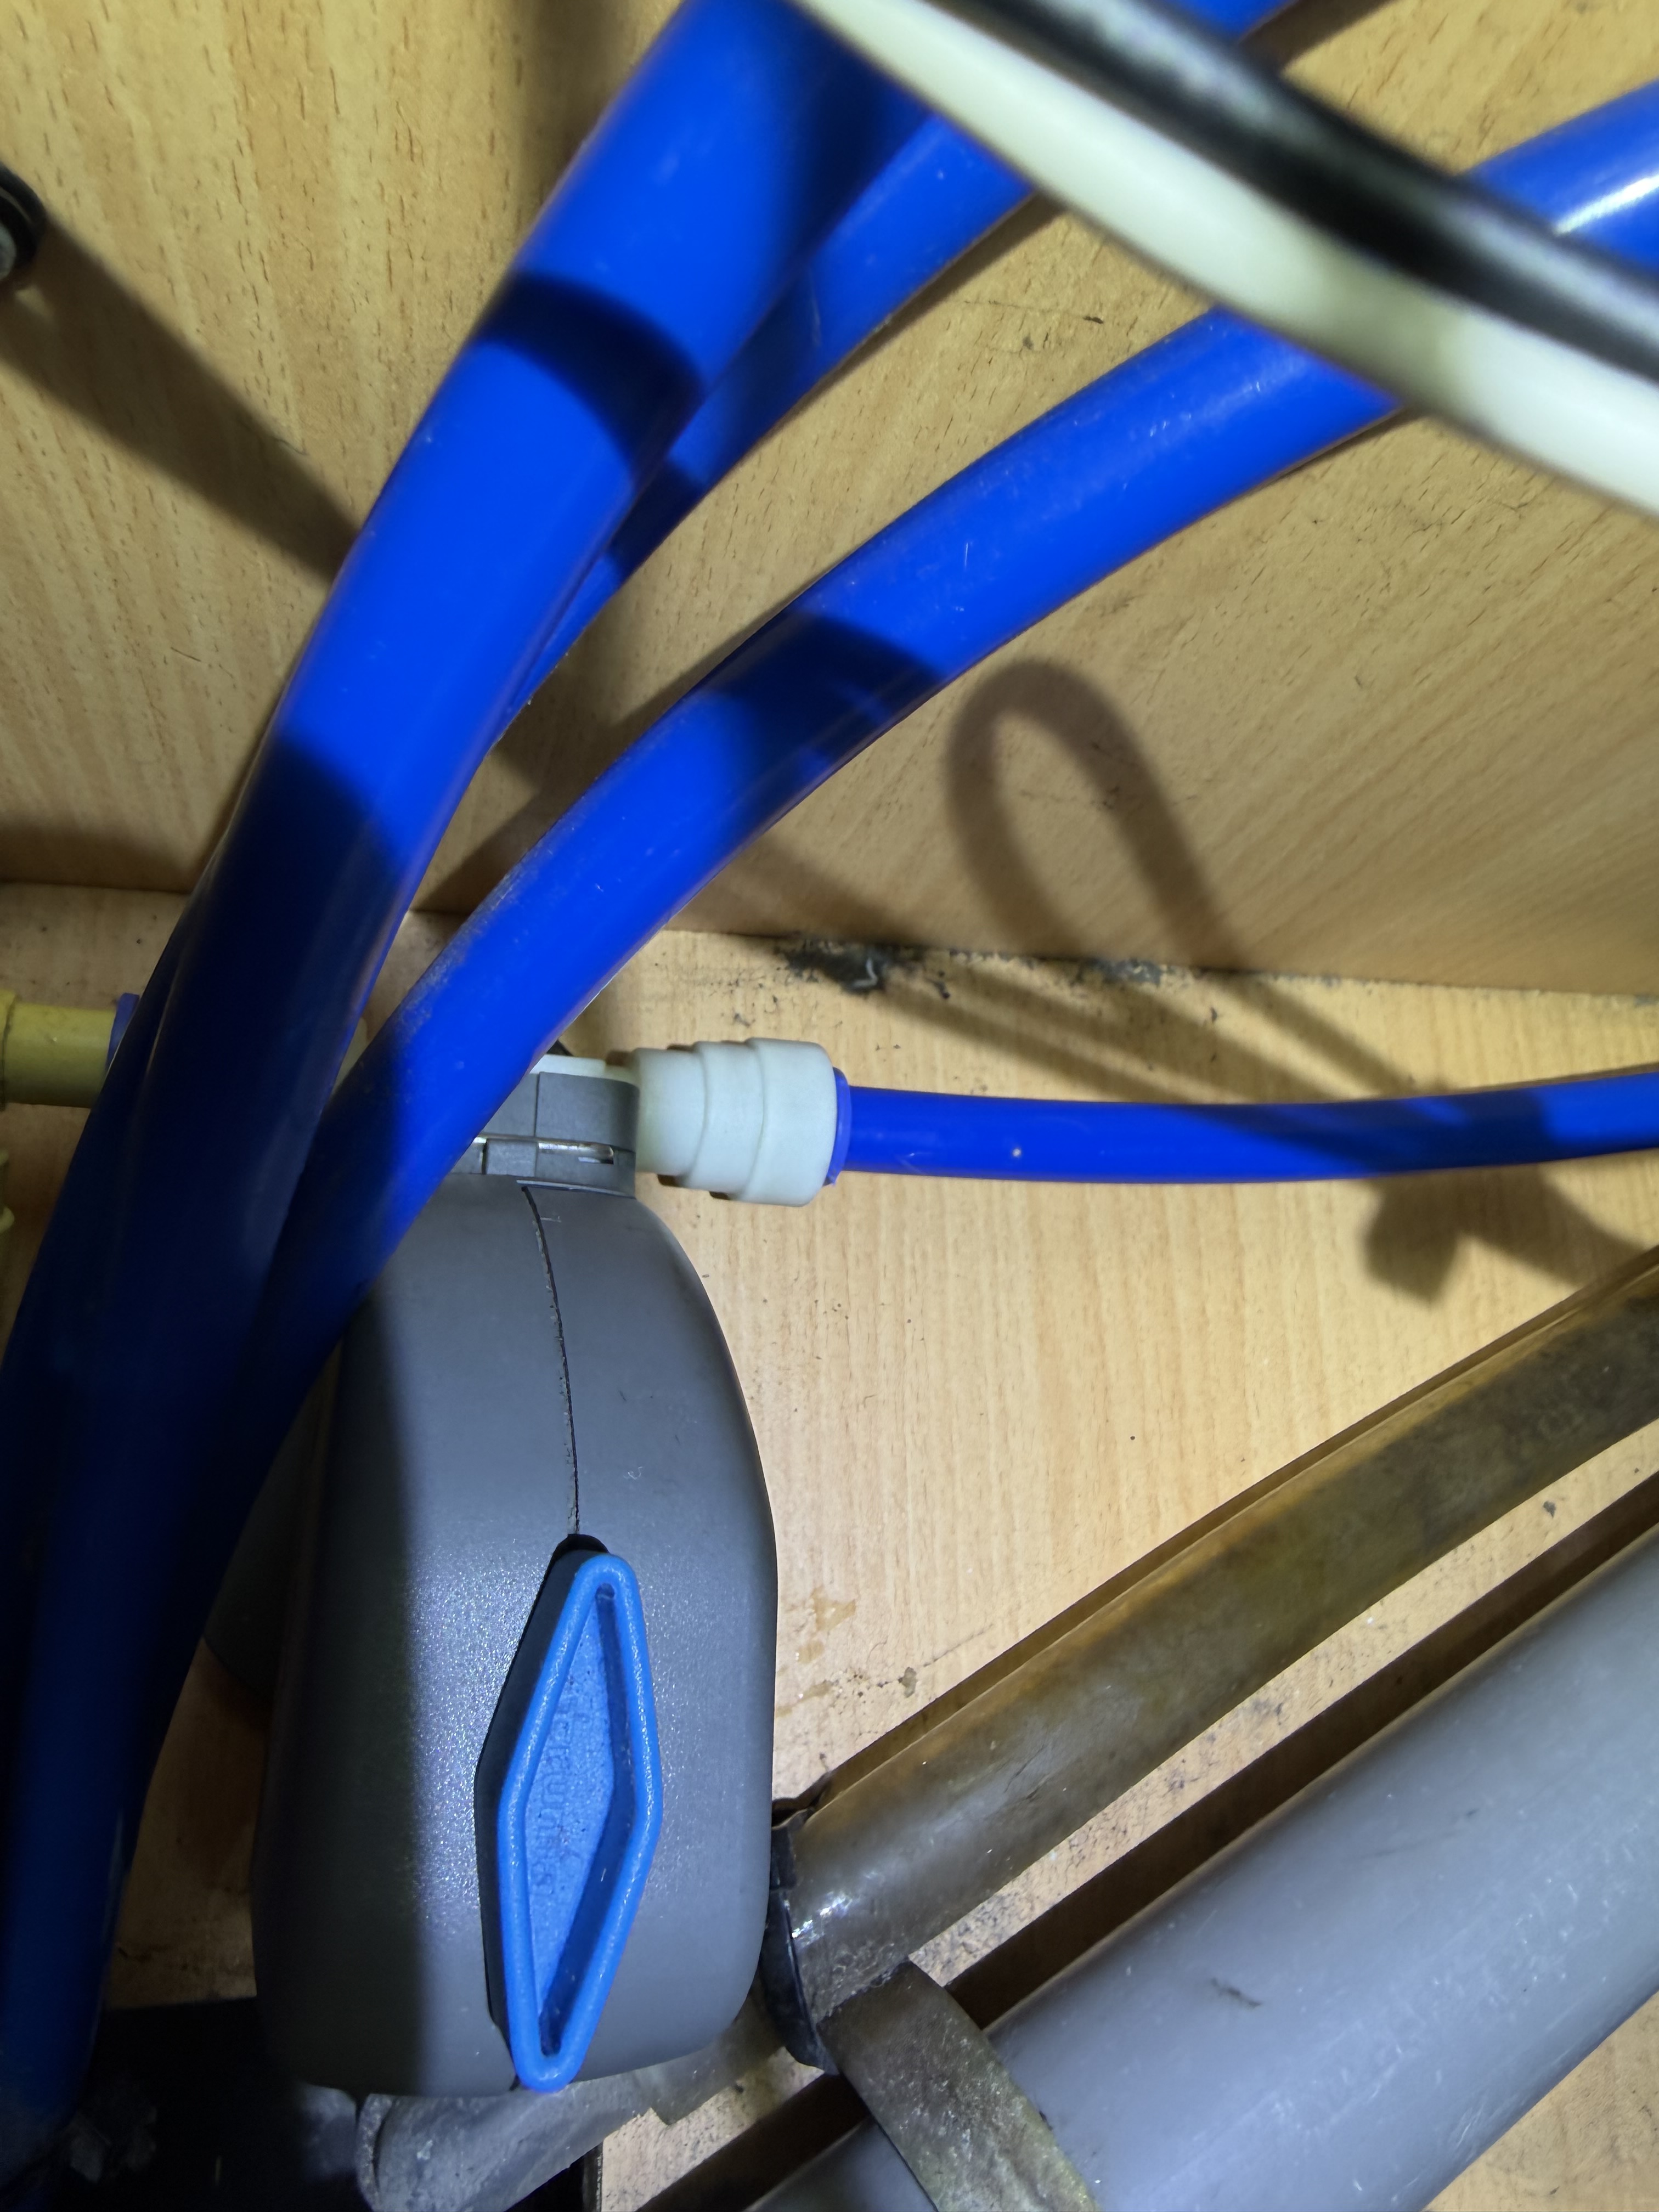

The new unit is very simple to operate and work out – the large blue central switch turns through 90 degrees – as it’s pictured above, that’s in the drain position. Turn it so its in line with the water line, its in operational position – though do press the blue button in! Quite an easy job to do in the end – just take your time and get the right bits and pieces together in advance
UPDATE
Well – it’s never straight forward is it!
So started to head off to Cromer for an overnight stay – filled up with water before leaving as i wanted to just check a few things and…..
Drumroll…..
One of the connectors was leaking – the original white elbow to be precise. So, pausing only to pour a coffee I fitted a new elbow from the box of bits i had bought, cut a length of new pipe to get the lengths right and then set off for the over night stay.
SO – after a pleasant drive along the North Norfolk Coast – a post will follow on that trip away, we arrived and having hooked up, I went to turn the pump on and prime the system….
The pump kept going
And going
So i checked all the taps, made sure they were all off, and then started to look closely at the frost valve – the blue button was not all the way in…. And try as hard as I could, it would not stay in. So, dusting off my Black Belt in Google-Fu i found that the units can sometimes be stiff, and could also be susceptible to the cold….
So, gas heating on – the boiler is very close to the frost valve along with a fan heater running at full chat….. after a few hours the button went in and the pump, when turned on, settled and stopped running. Breathing a sigh of relief. I packed away the fan heater – and the button popped out with in 15 minutes.
It was now getting close to kick off – Leeds vs BinDippers so i turned everything off and sloped off for a bite to eat. At half time i posted in Motorhome Fun – my go to forum for technical stuff and yes, it’s worth the £20 a year – just for the archives as well as the current knowledge base! And received several message and useful bits of advice.
I have ordered a spare straight forward dump valve to carry as a spare just in case, and i spoke with Truma – who think I have a defective unit – and will send one back to me…..

Leave a reply to A Priory, The Seaside and a Klutz – Ziggy – A Laika Kreos 3010 Cancel reply