I remain a bit of a mixed up chap when it comes to what’s right and wrong – and politically, that’s full of potential political debates that cause (me) angst. One such thing is my personal thoughts on Elon Musk. So – lets just say that I think he is a fascist, and I worry about anyone who openly admits to using Ketamine scares the hell out of me – and don’t get me started on DOGE !
But, enough of the politics – having railed publicly against anything to do with StarLink, due to Musk, I am here to eat humble pie, and describe how I fitted a Starlink Mini to Ziggy. Its also important to realise that I was effectively gifted / acquired this for minimal cost – and having sat back and thought about it and how much I had shelled out on assorted bits of mobile broadband when the mi-fi was out of area – it made financial sense.
When I bit the bullet and bought the kit, I realised that I wanted to mount it on the roof bar, so I bought the genuine roof rack attachment from starlink. The whole thing when it arrived shocked me – there was a mains plug, a long length of lead and the white square of the unit itself. bearing in mind I still had the ability to drop a lead down the cooker vent shaft that I had used earlier, that sounded like a cunning plan to me! I then got greedy – having read that starlink will work while driving, I realised that I wanted that as an option as well…..
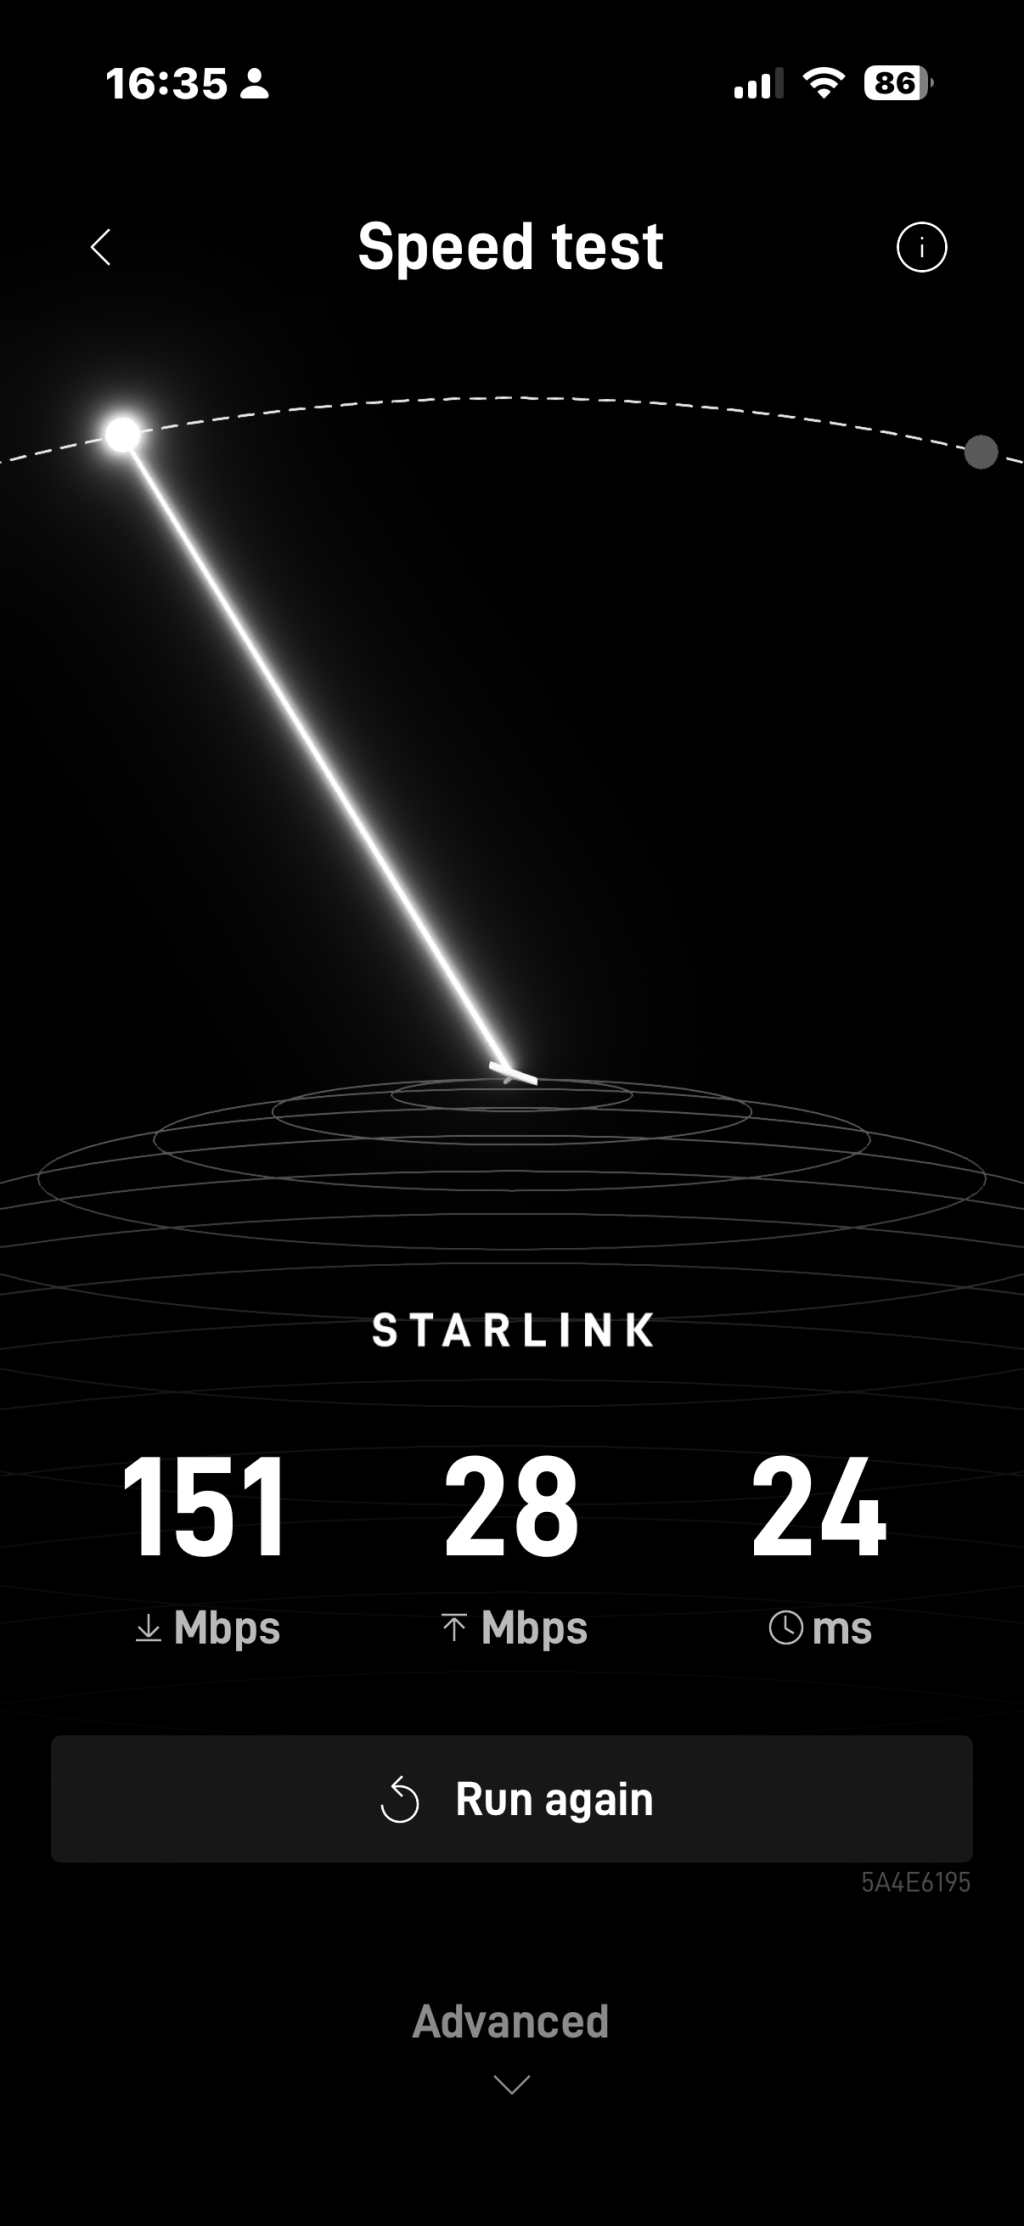
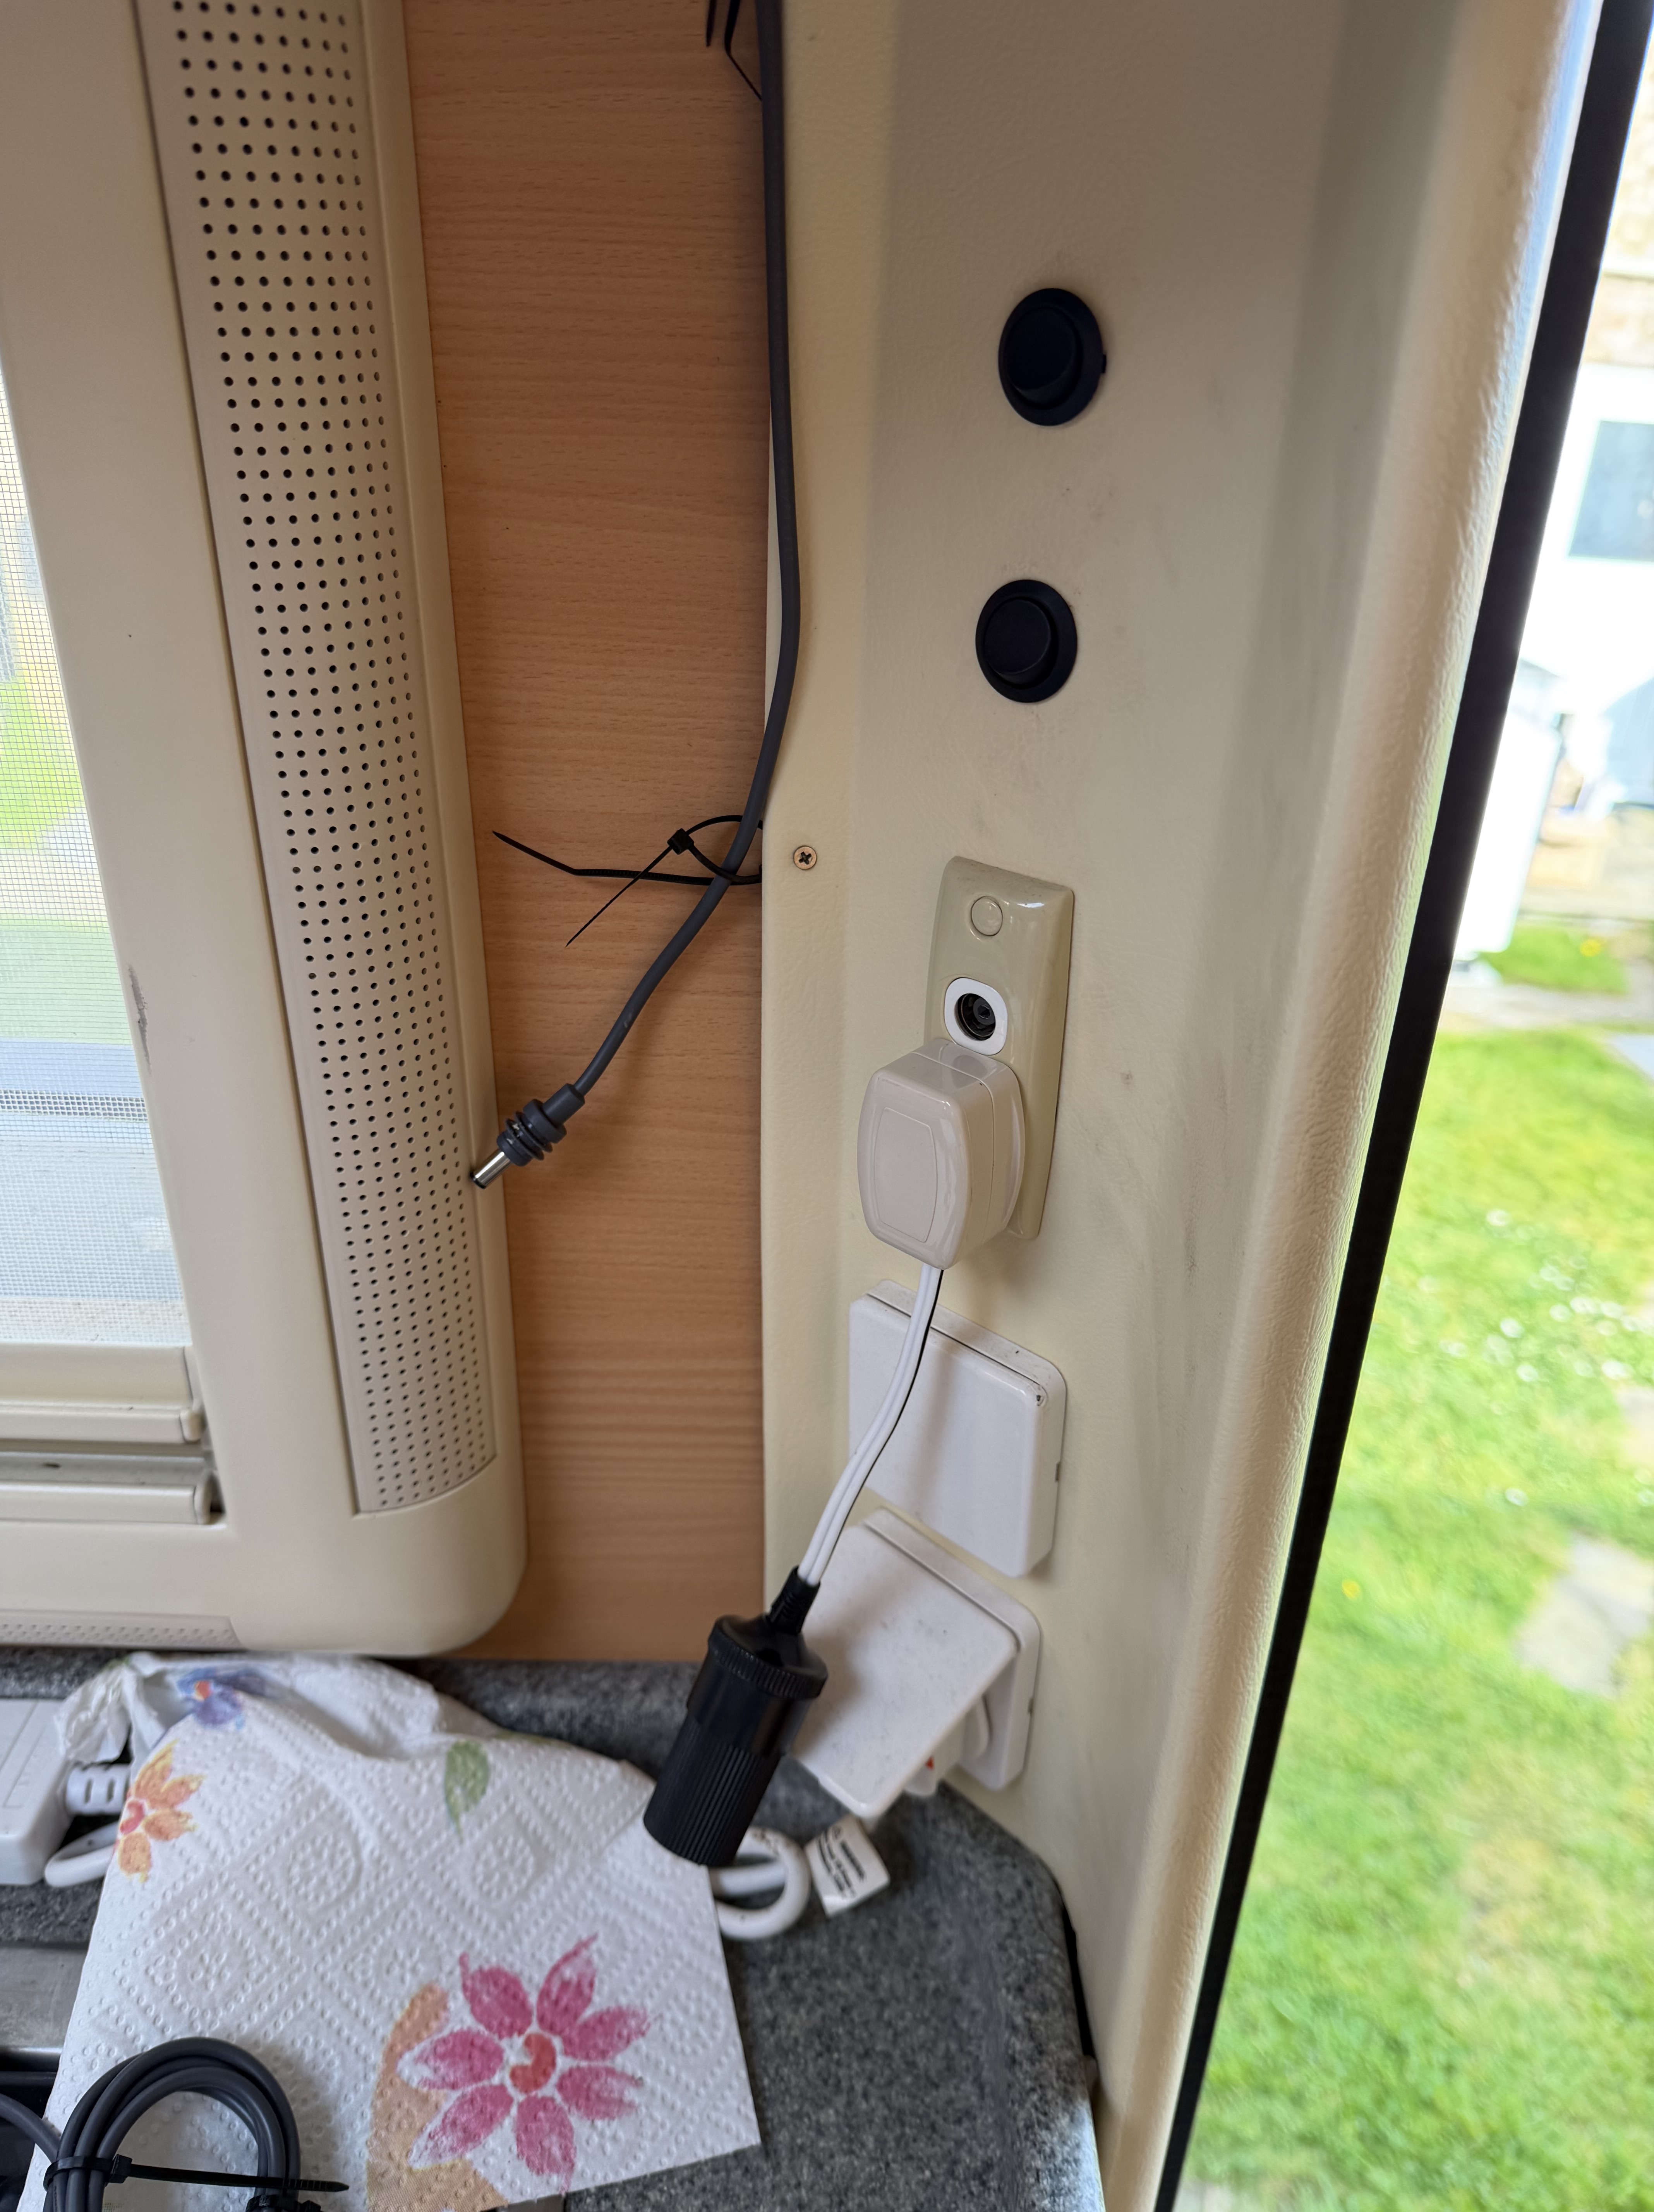
The first thing I did, was to check that it worked – call me a bluff old traditionalist, but I would rather spend the time checking it works then once I am certain it works! Once I had it set up in the middle of the garden, I ran a simple speed test from my phone – and for shit and giggles I ran the same test connected to my home broadband – the results are above! That made me quite excited, as it would mean full 4k/UHD LUFC match coverage 🙂 I have two of the old style 12v sockets, one hidden by the tv cupboard in the rear of Ziggy, and one by the main entrance, which is where I had made a TV bracket for us to use. I worked out that I could use an adapter to take the starlink cable and convert it to a male cigarette adapter that would then plug in – so, a swift perusal of the options led me to order the right part off amazon.
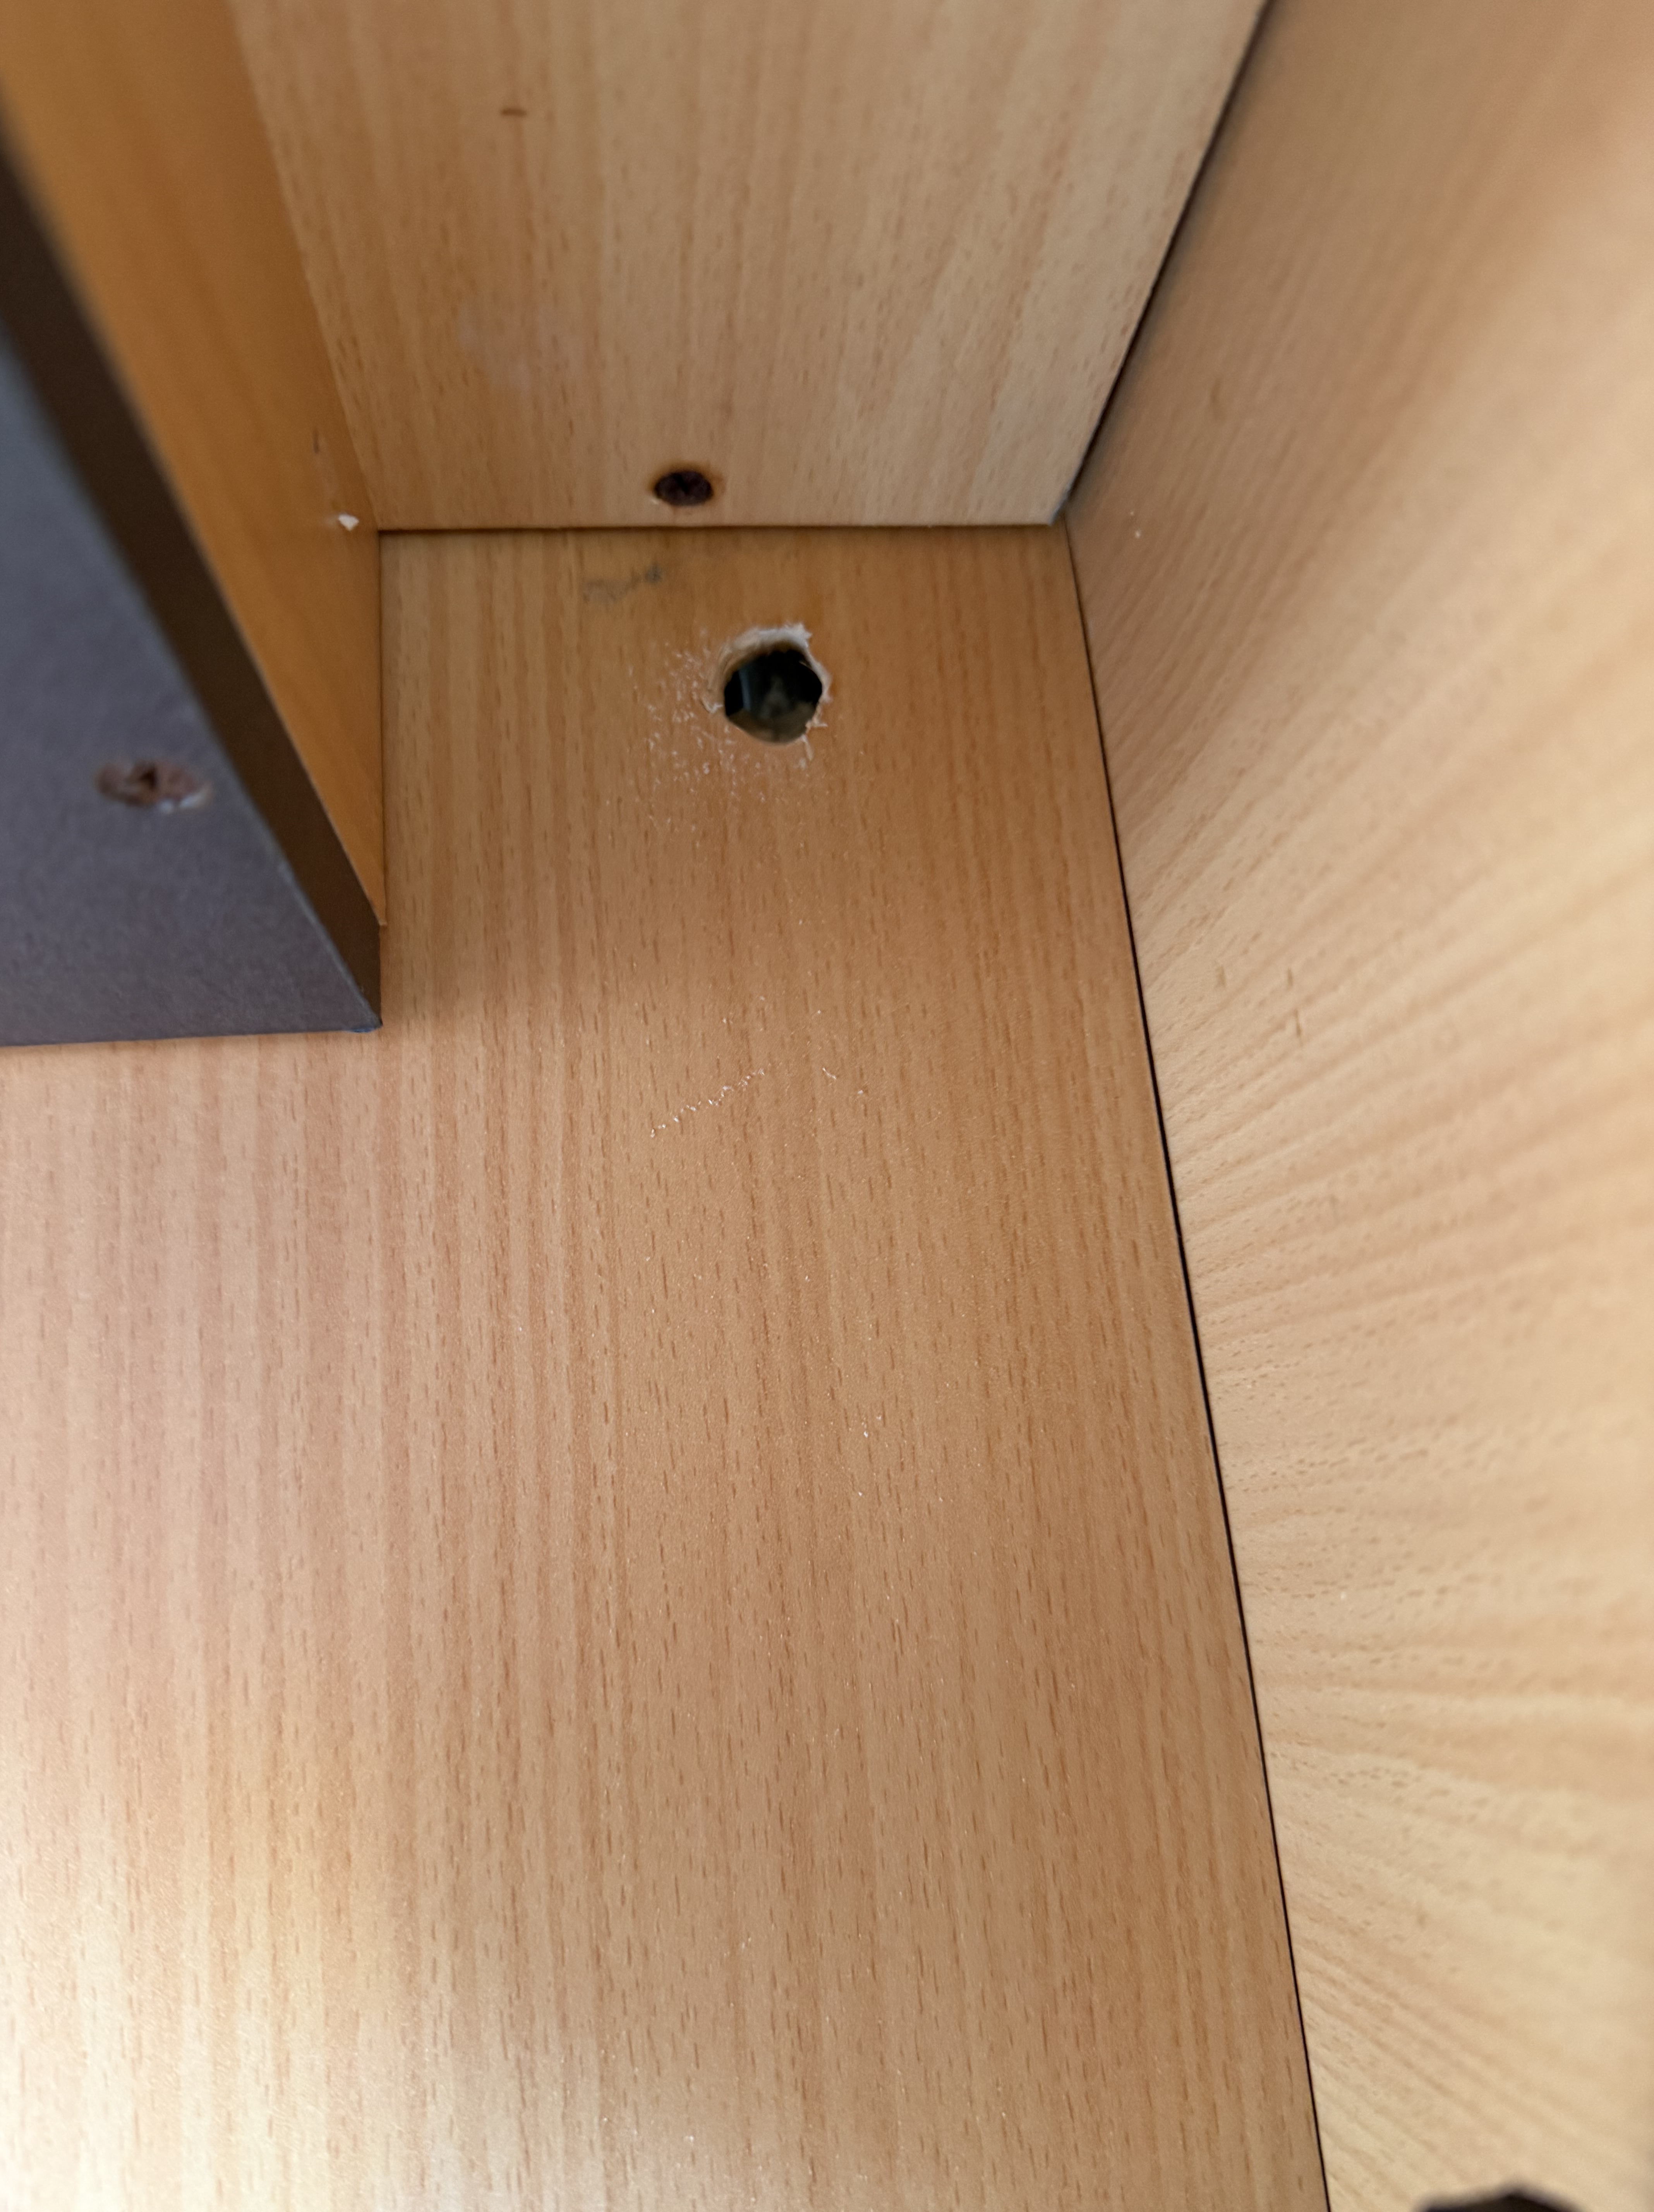
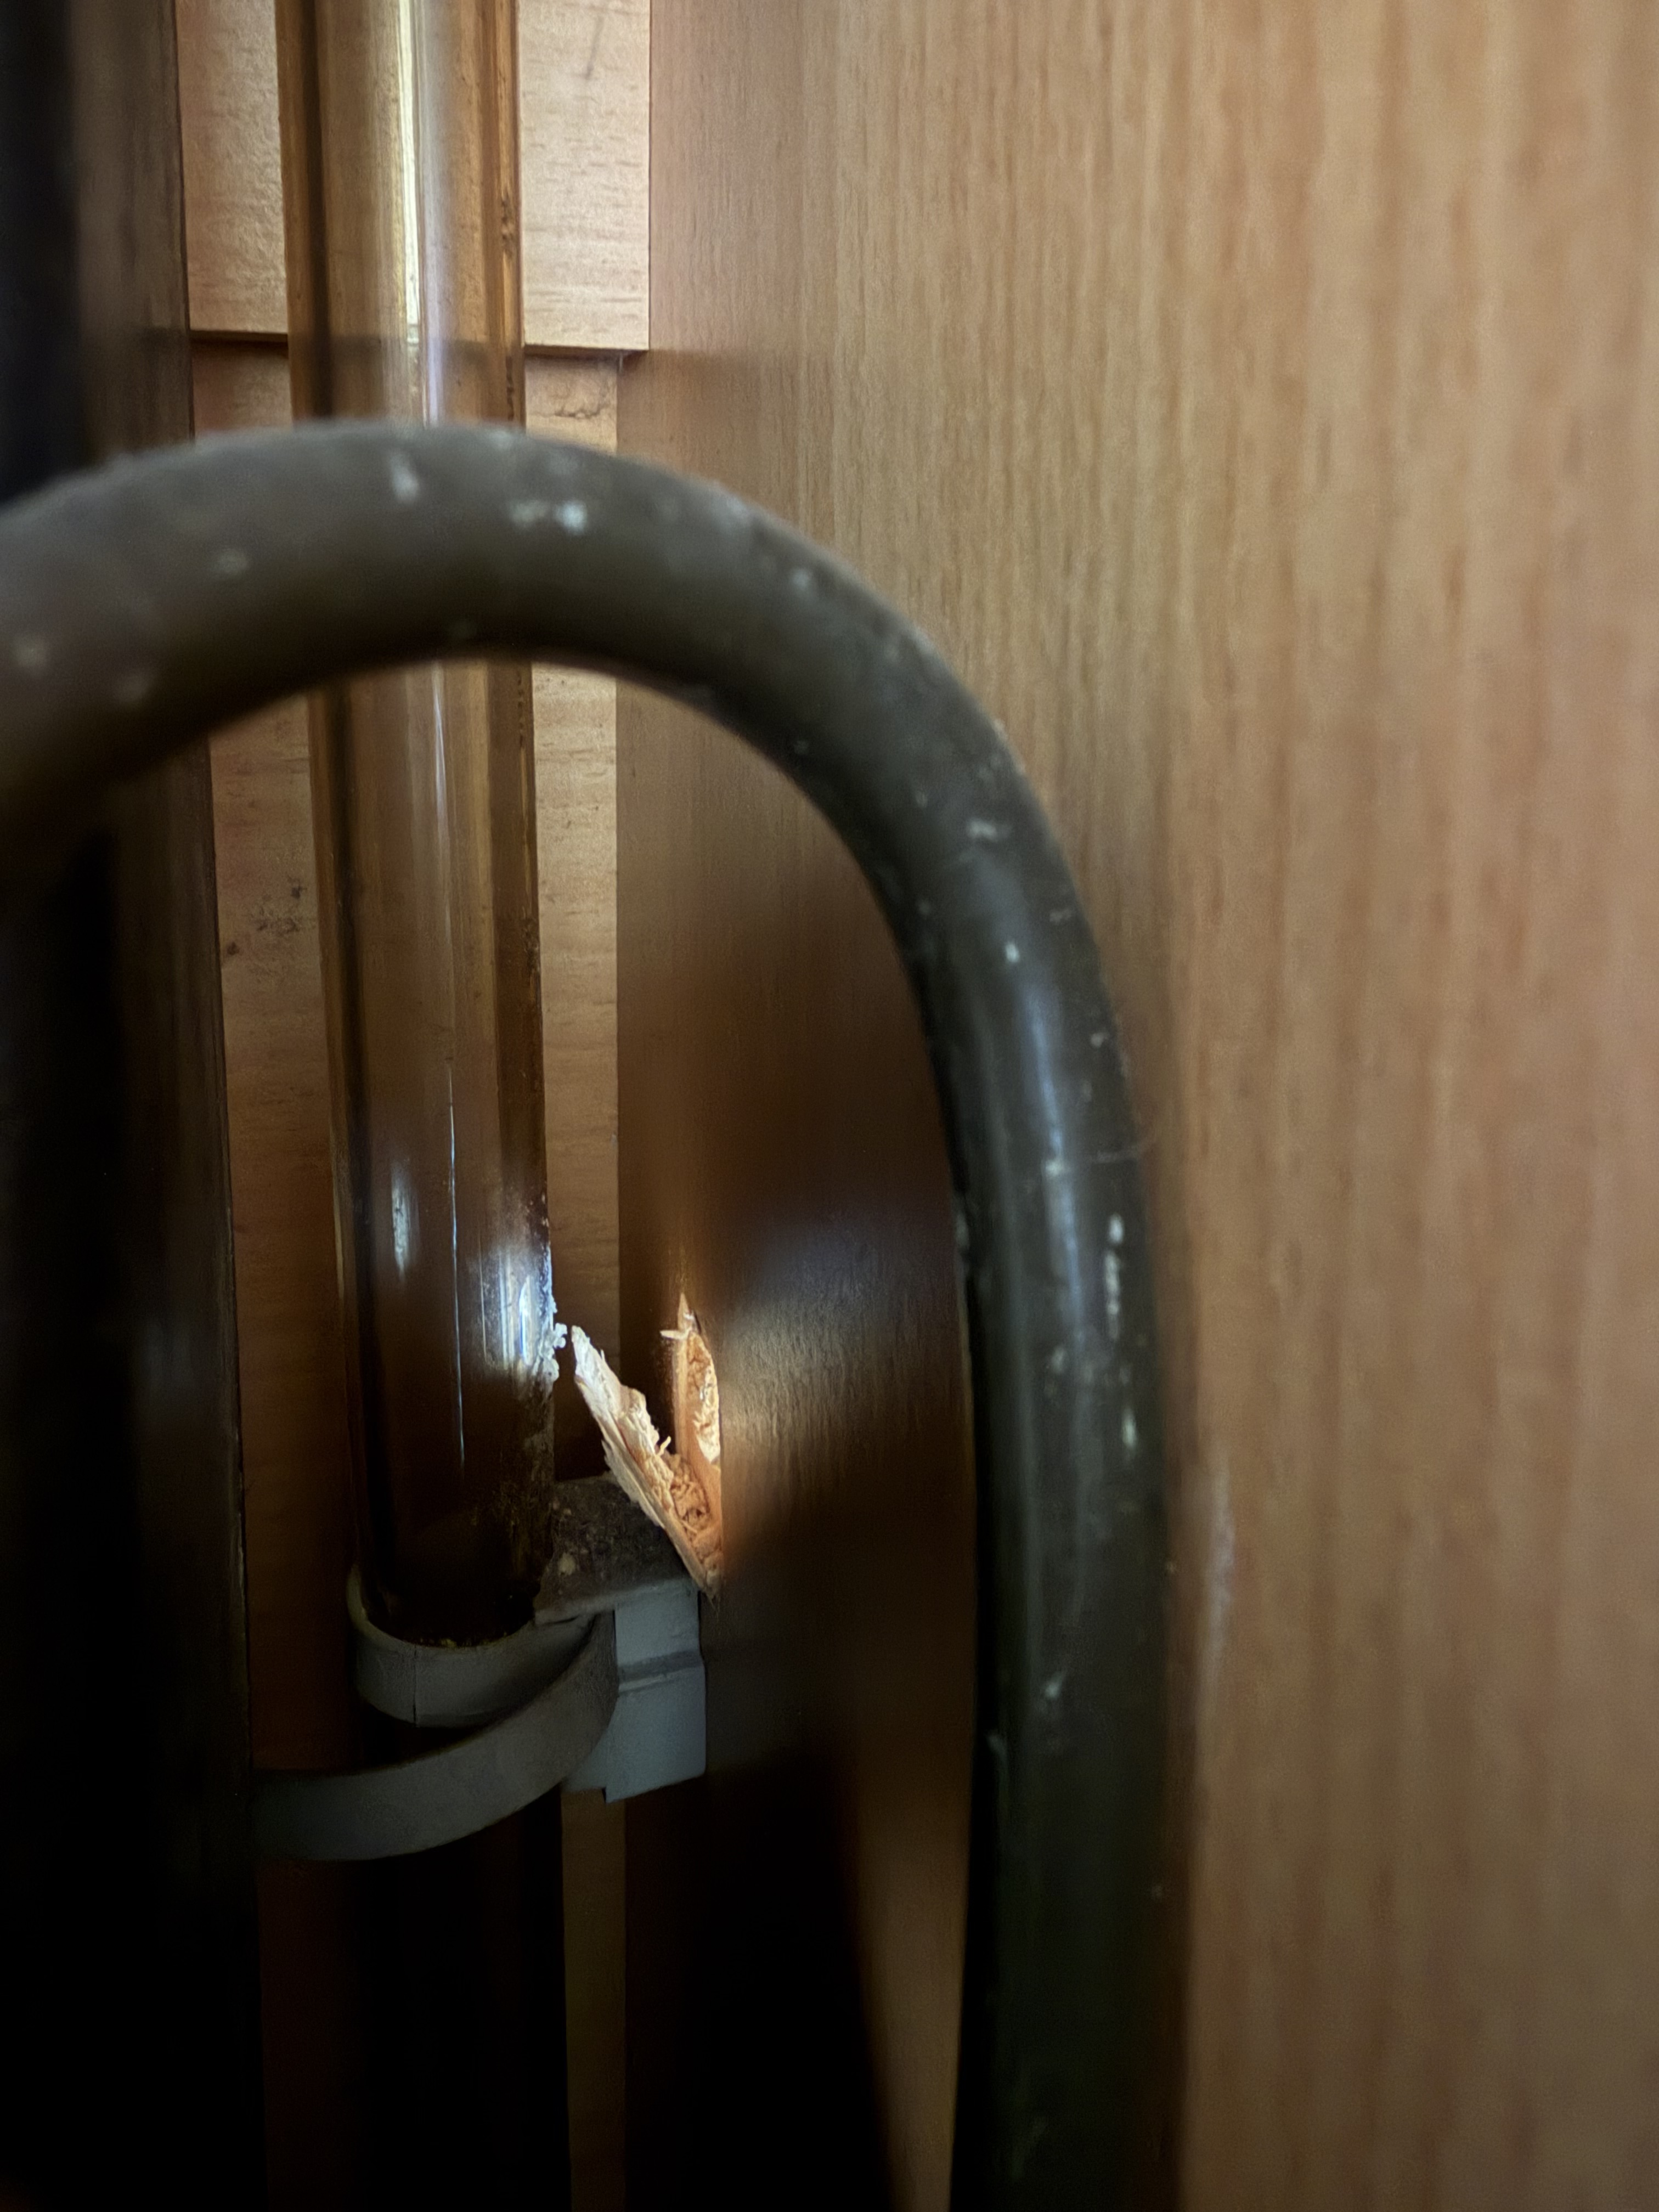
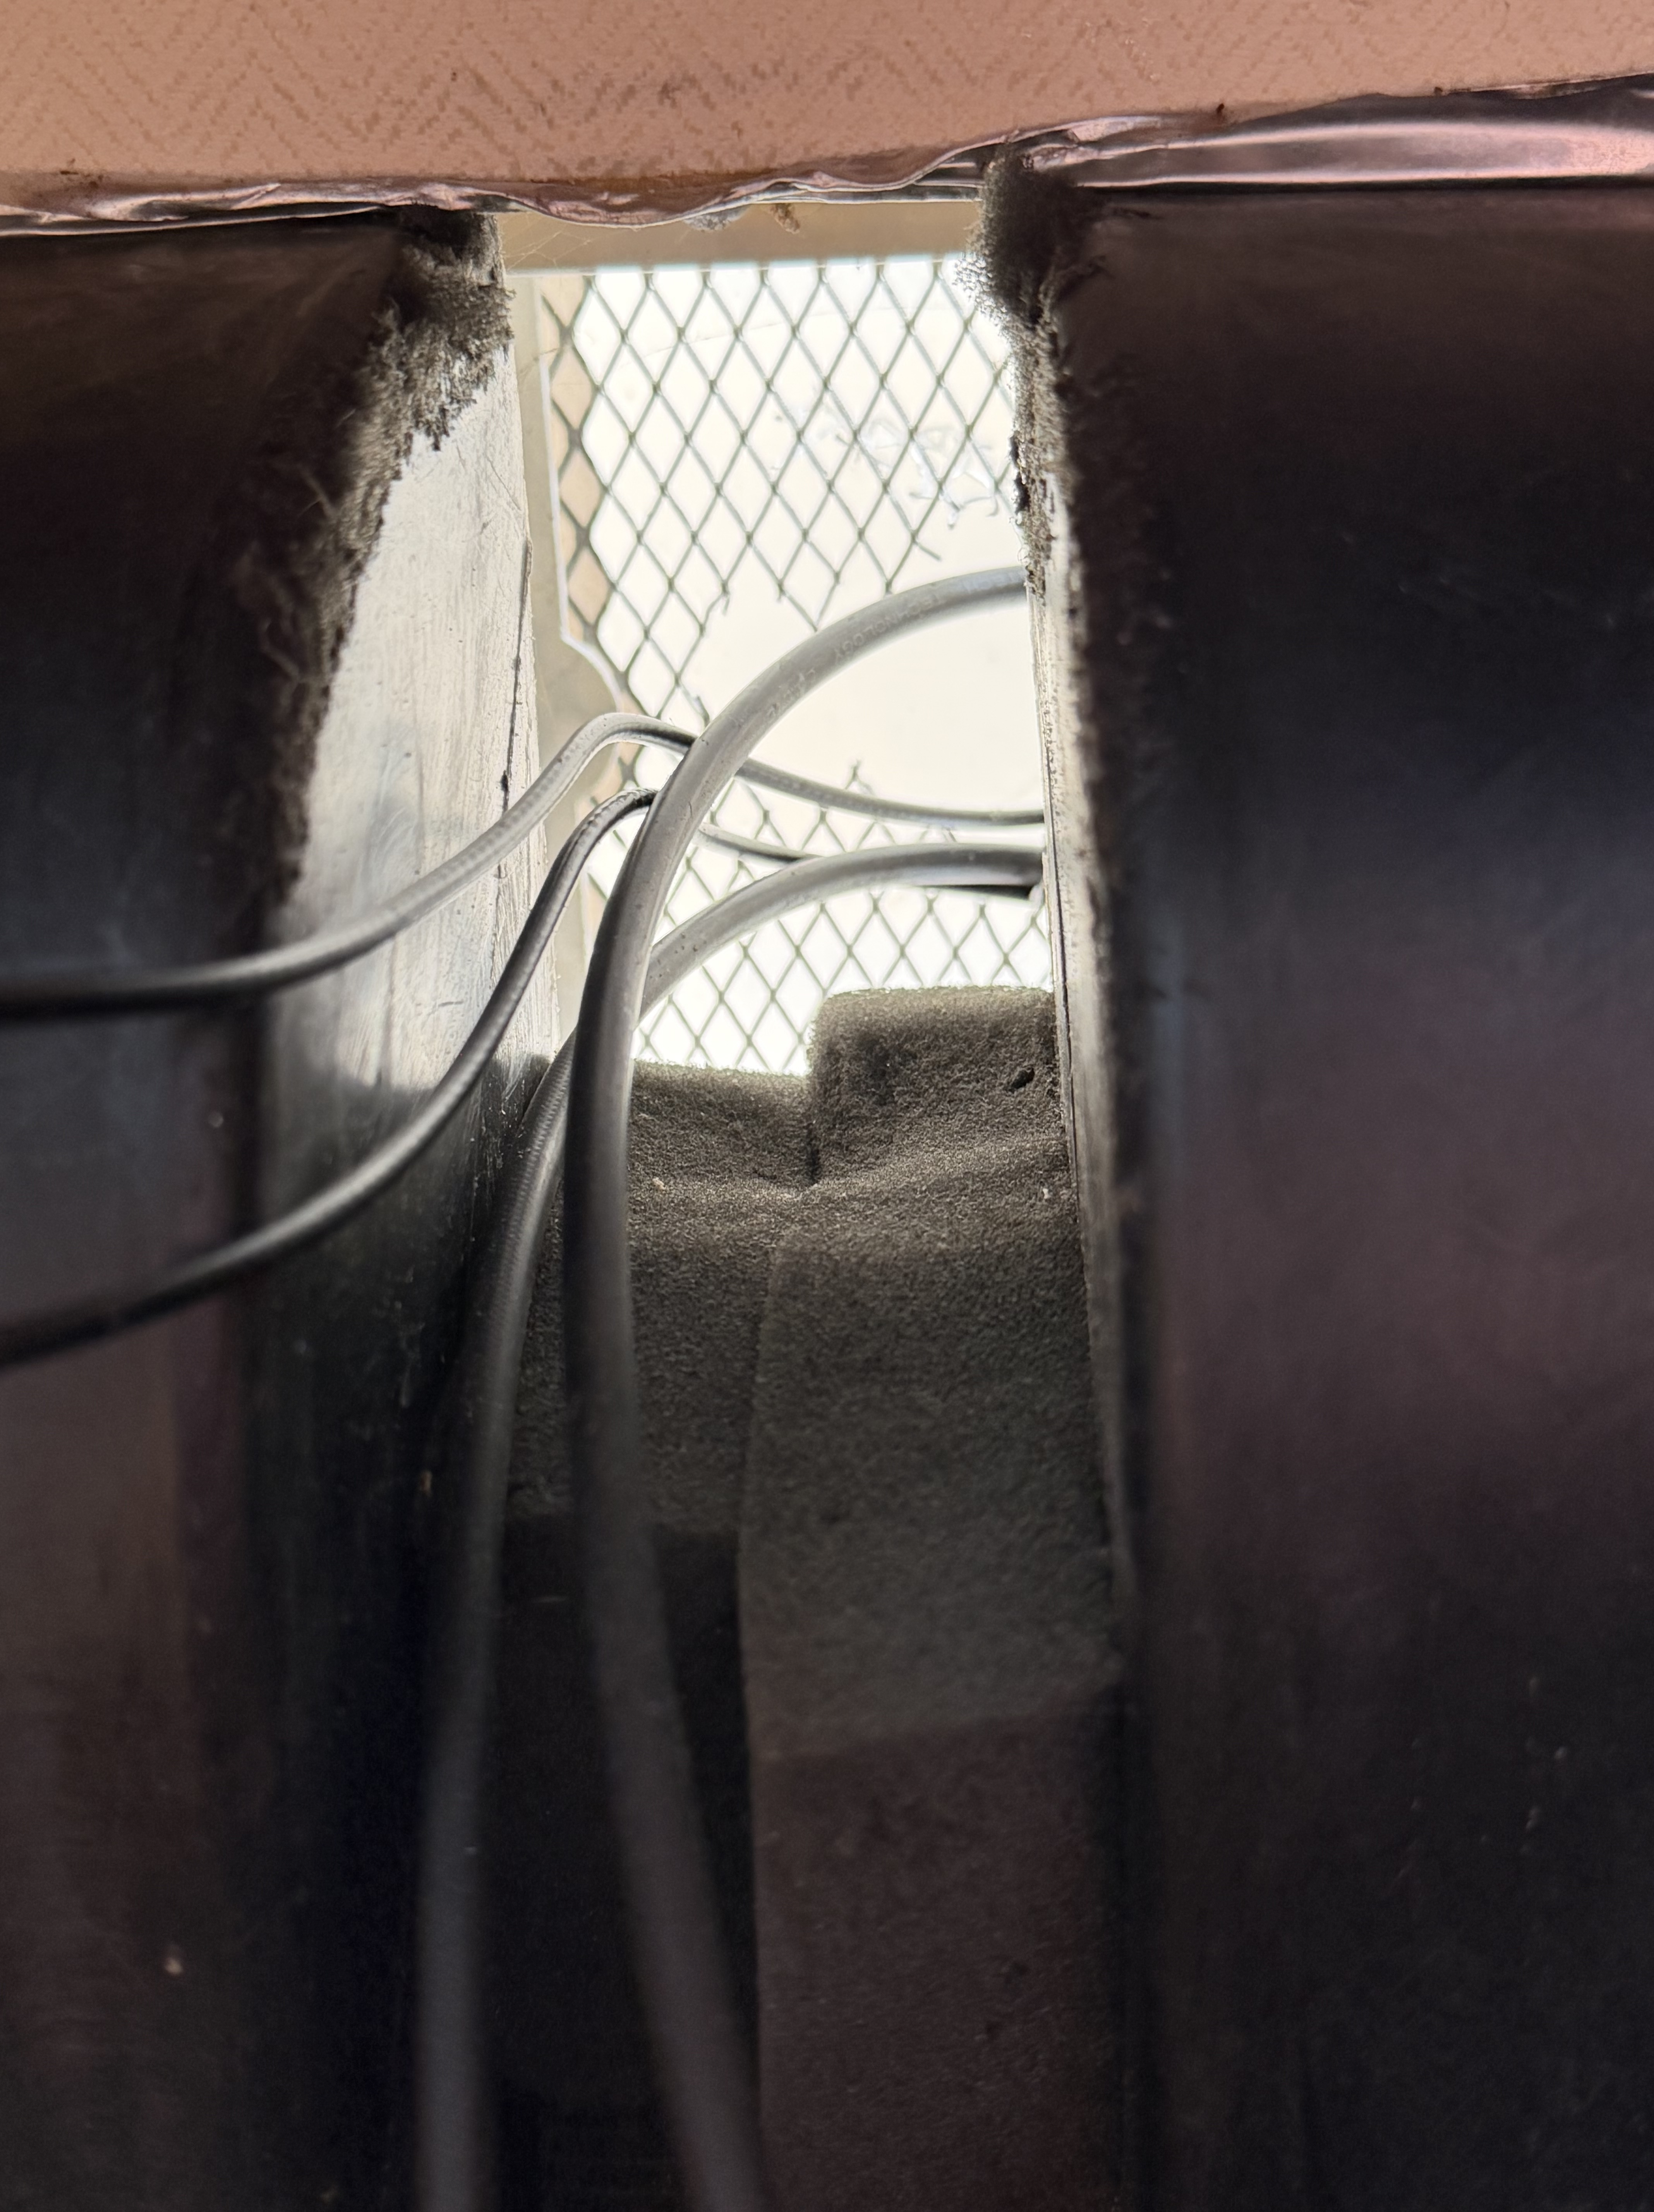
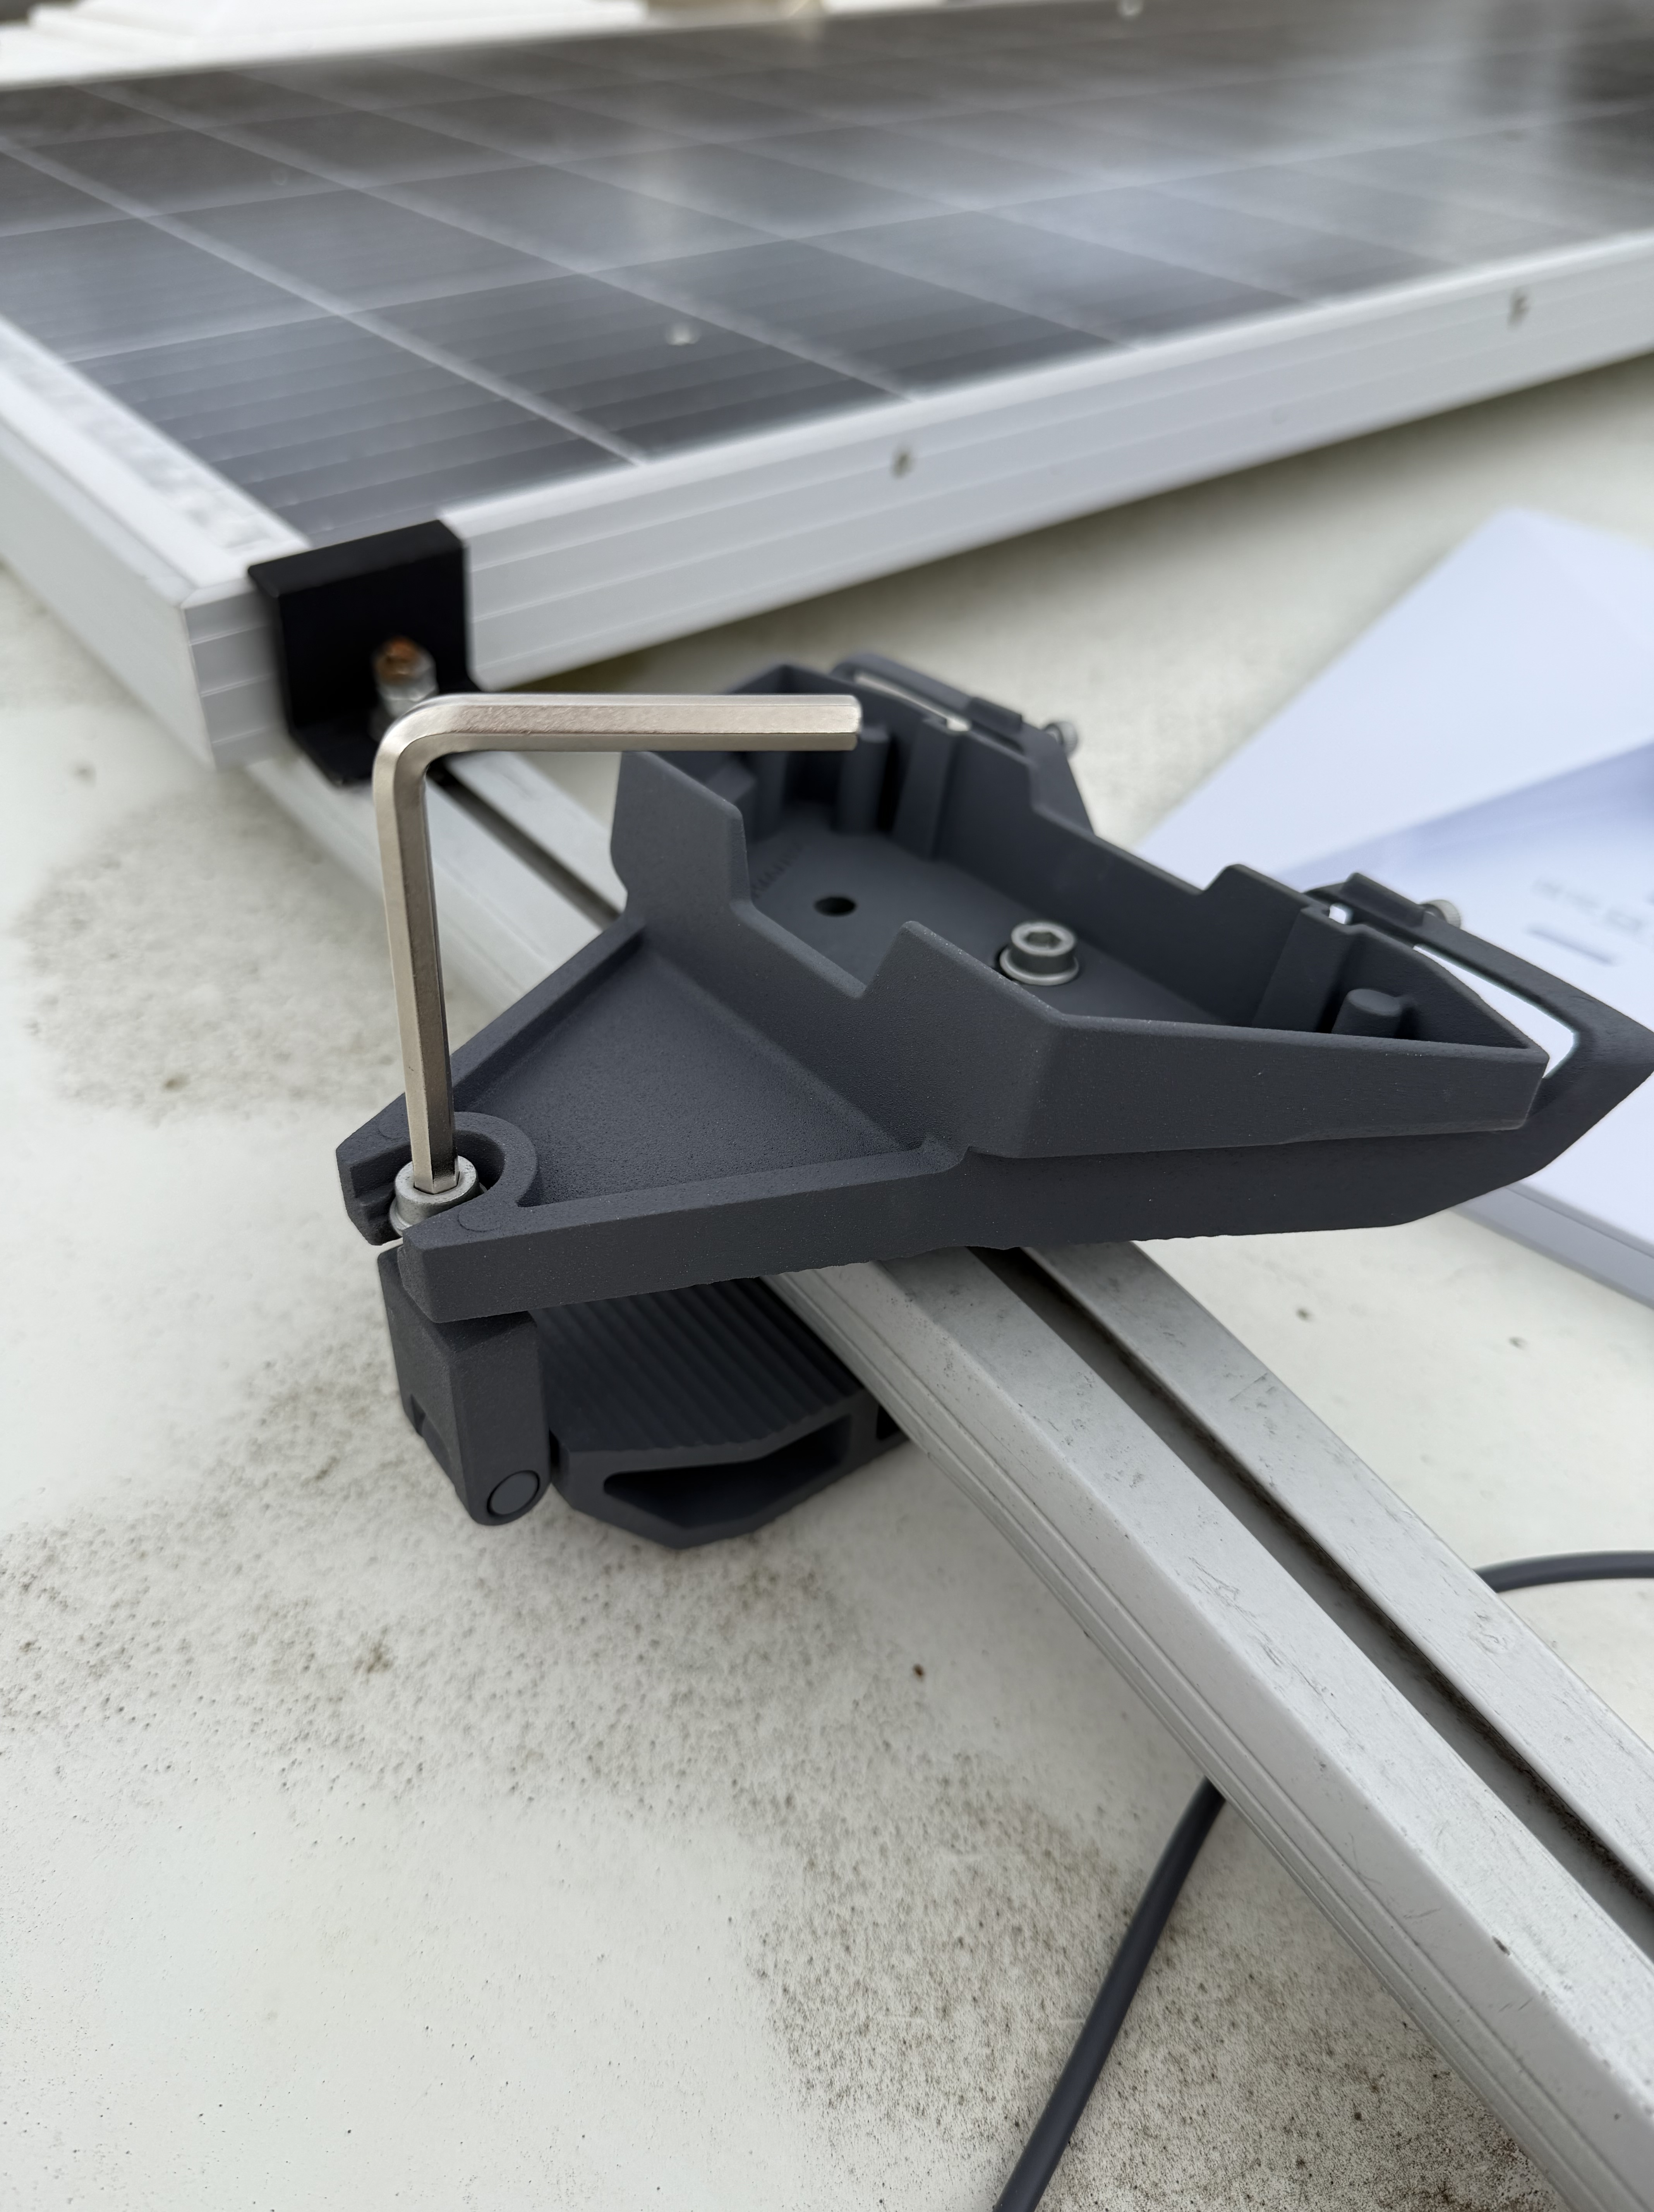
I started off by taking the microwave out and laying out the cable – then drilled through to allow the cable to be run behind a cupboard leaving a short length of cable visible – my initial plan did change a few times as I realised I had more wriggle room with hiding cable behind covers! To get the starlink cable up onto the roof was done using a bit of savvy – I pushed an old bit of flex across the roof aperture – from the empty microwave bay, I could see the orange cable, and with some long nosed pliers was able to pull it down and through. I then used insulating tape to secure next to the starlink cable and bound it so it had no snag points. Then back up the ladder to the roof where I could pull the cable through and feed it to where I was going to mount the starlink. I had wanted to mount it on the front bar but the mi-fi aerial was already there so…..
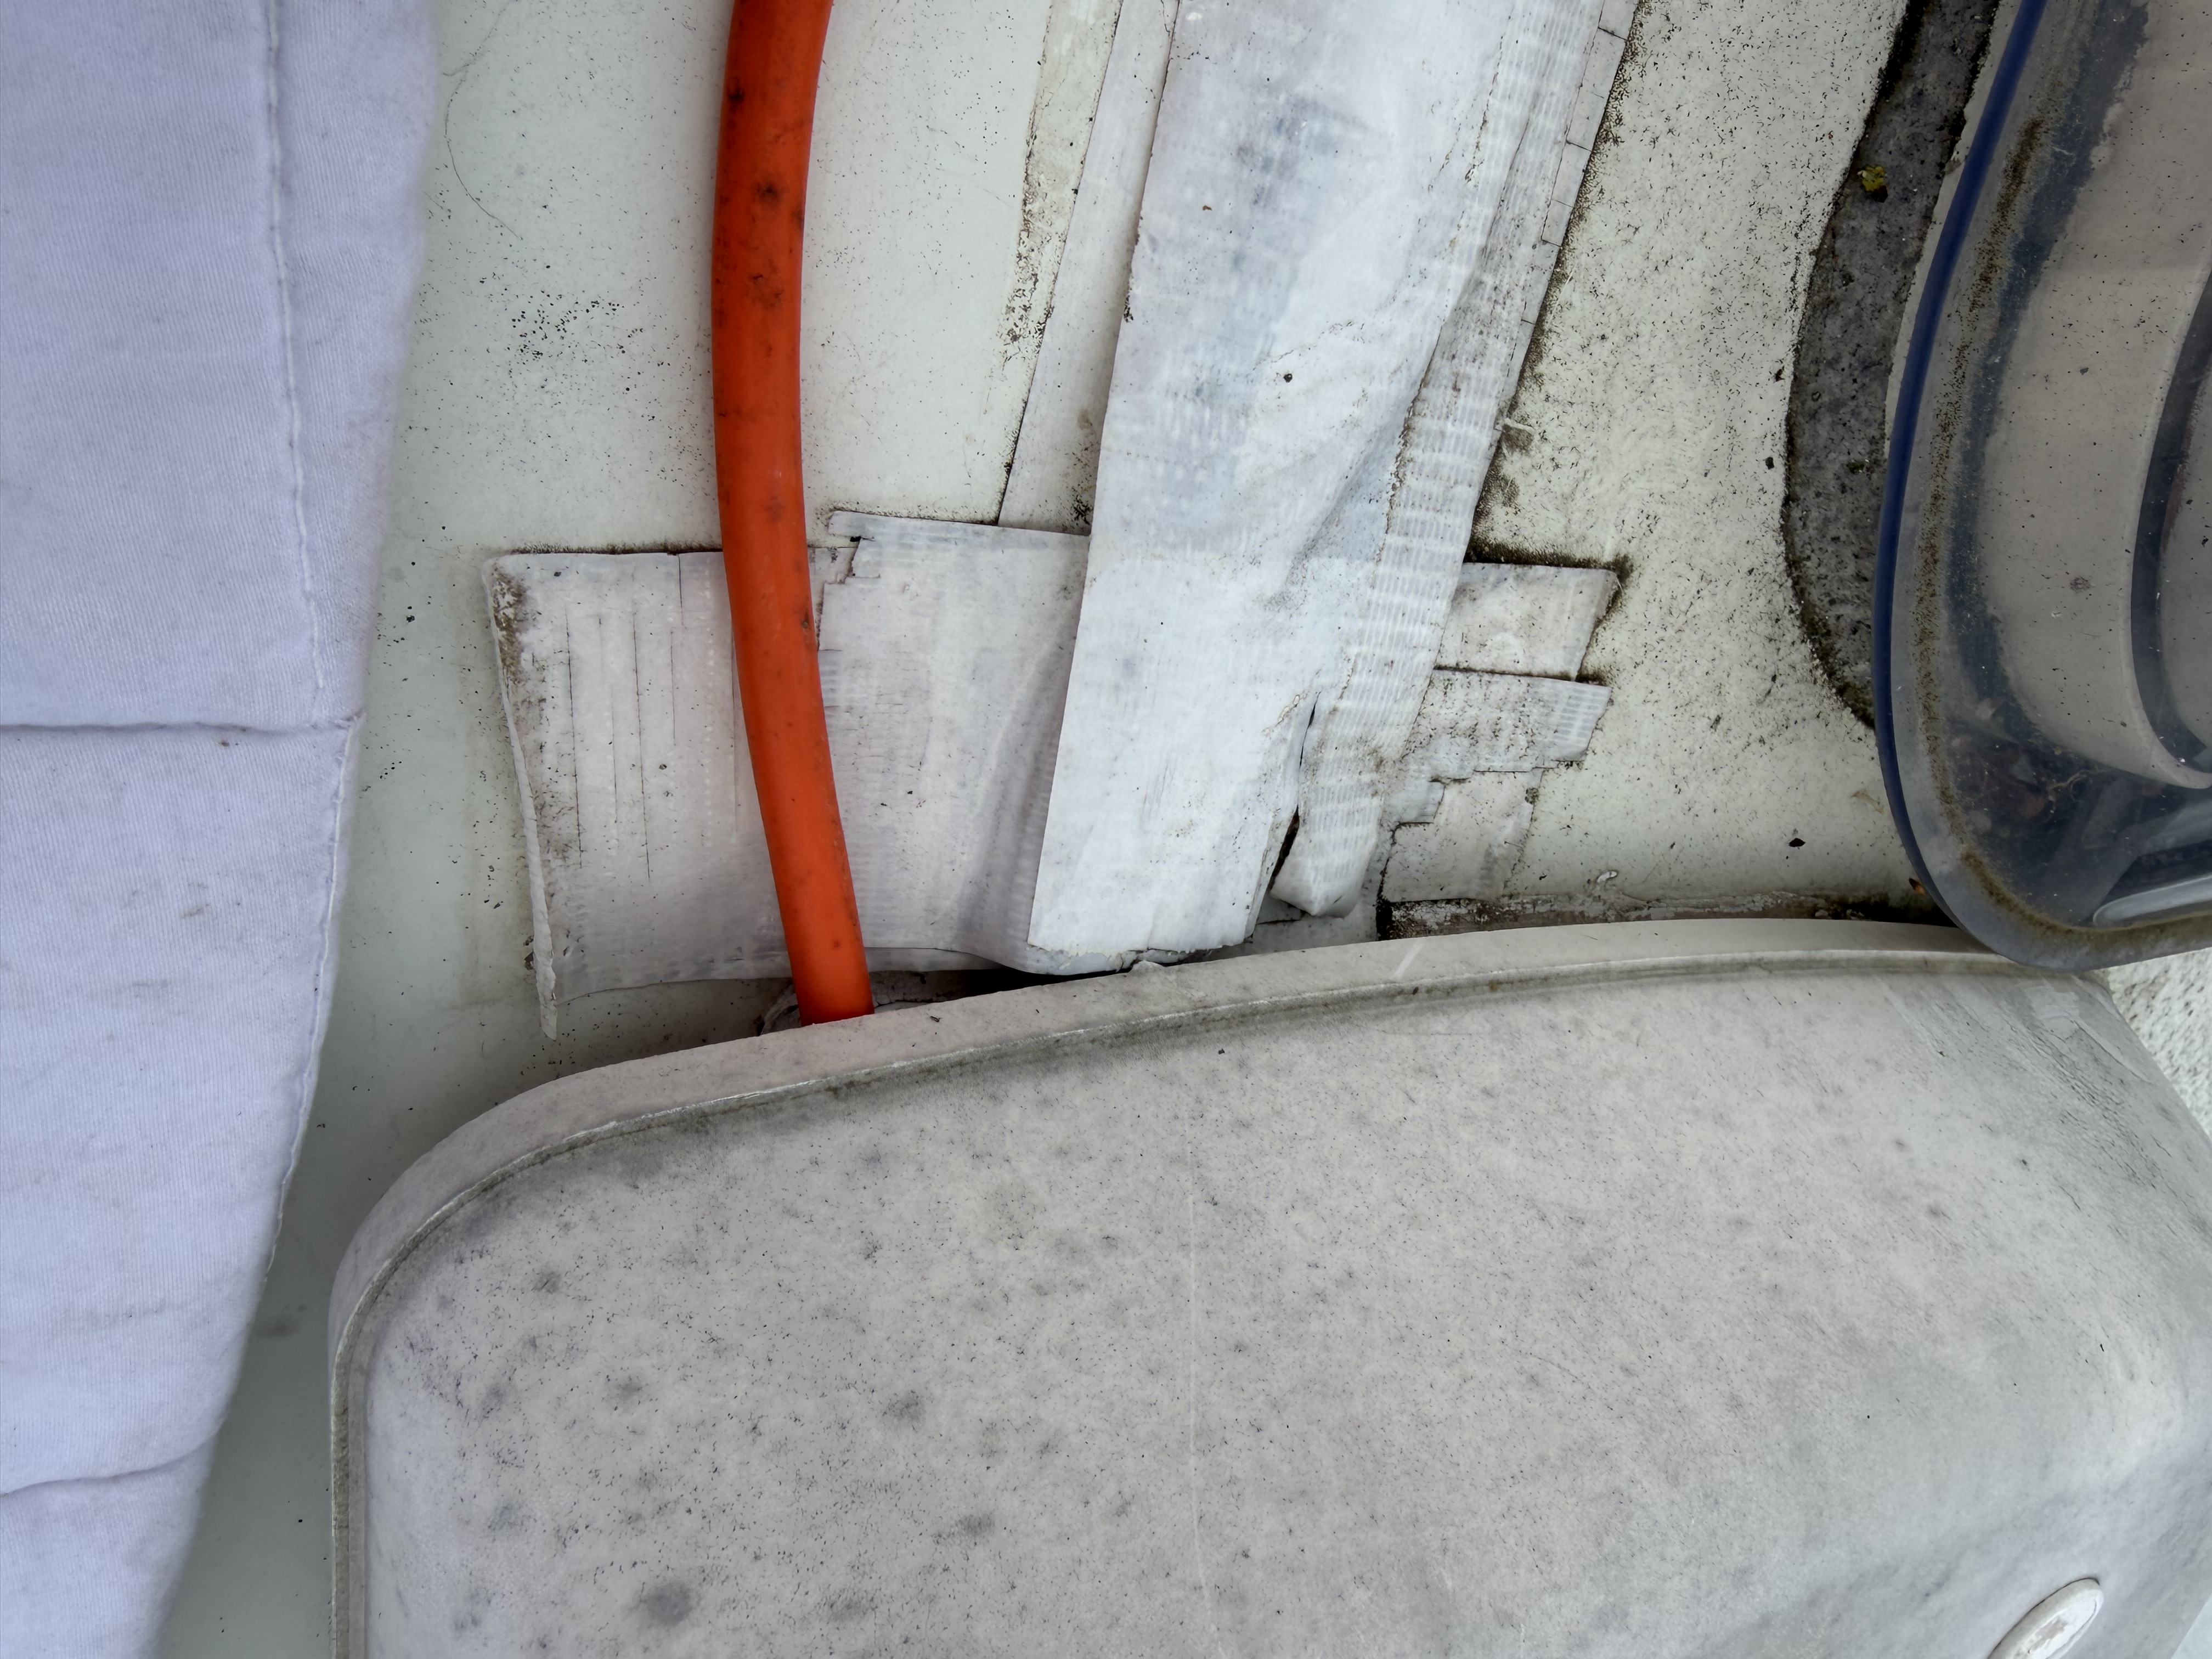
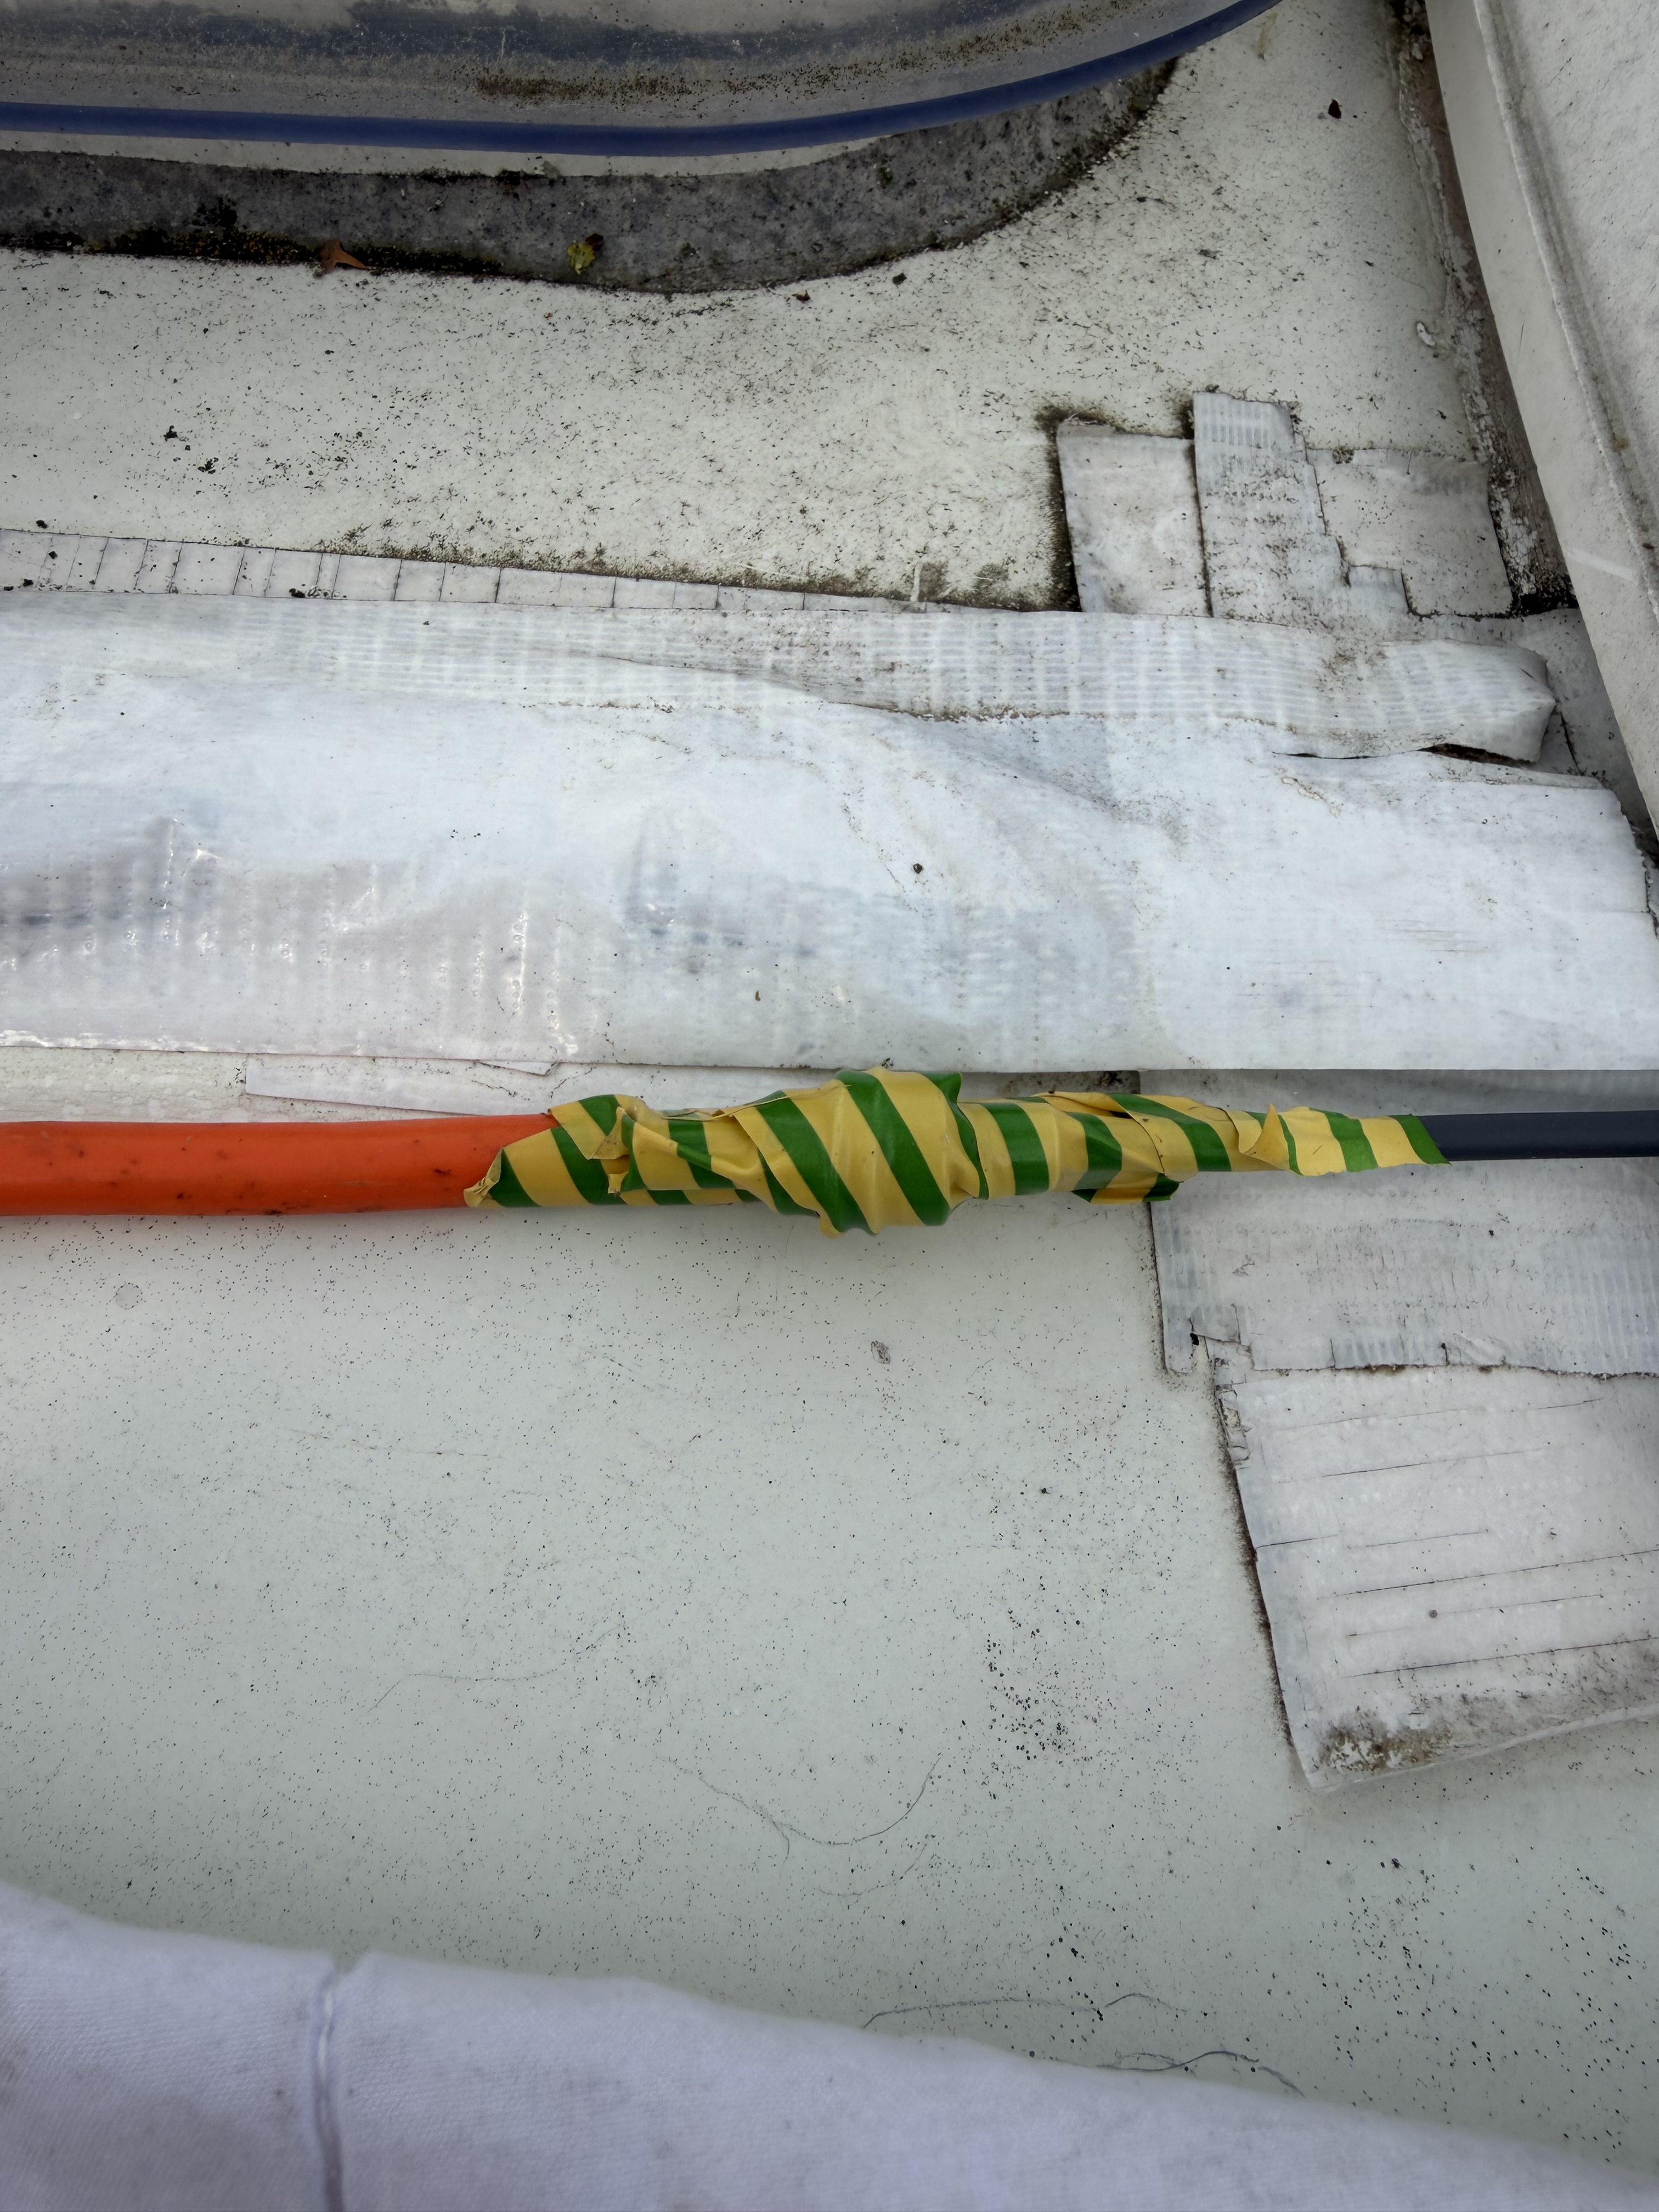
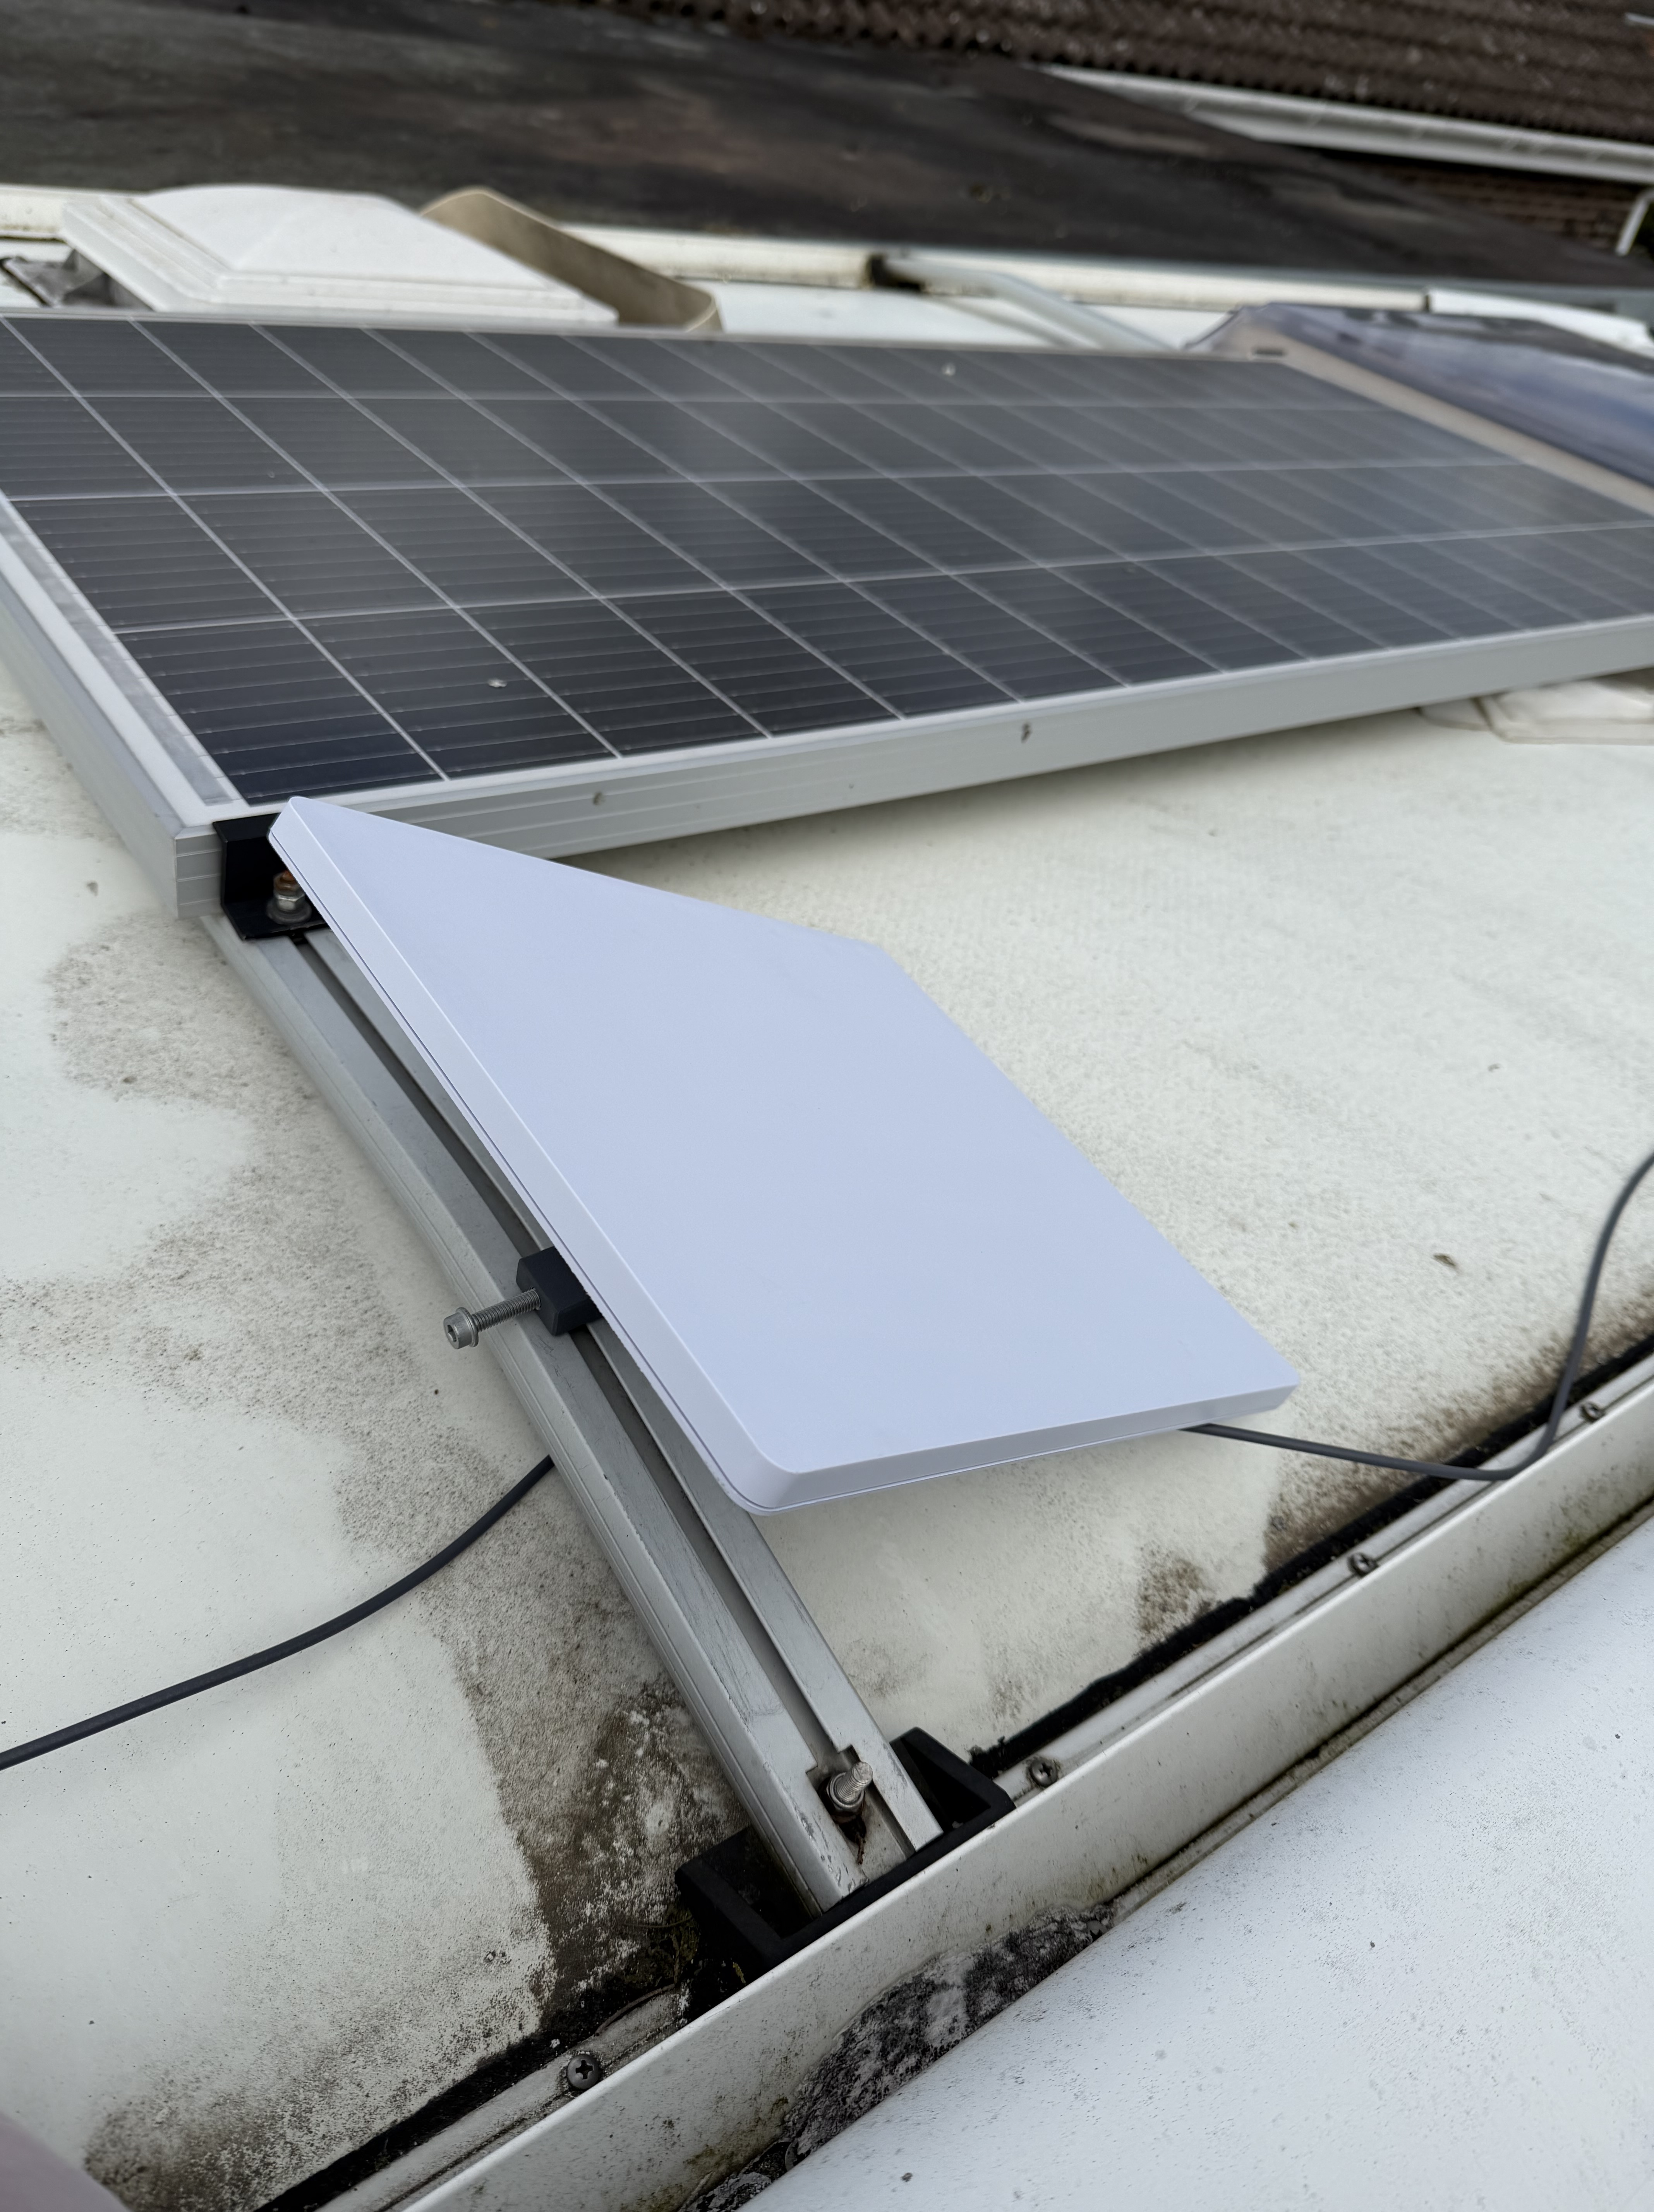
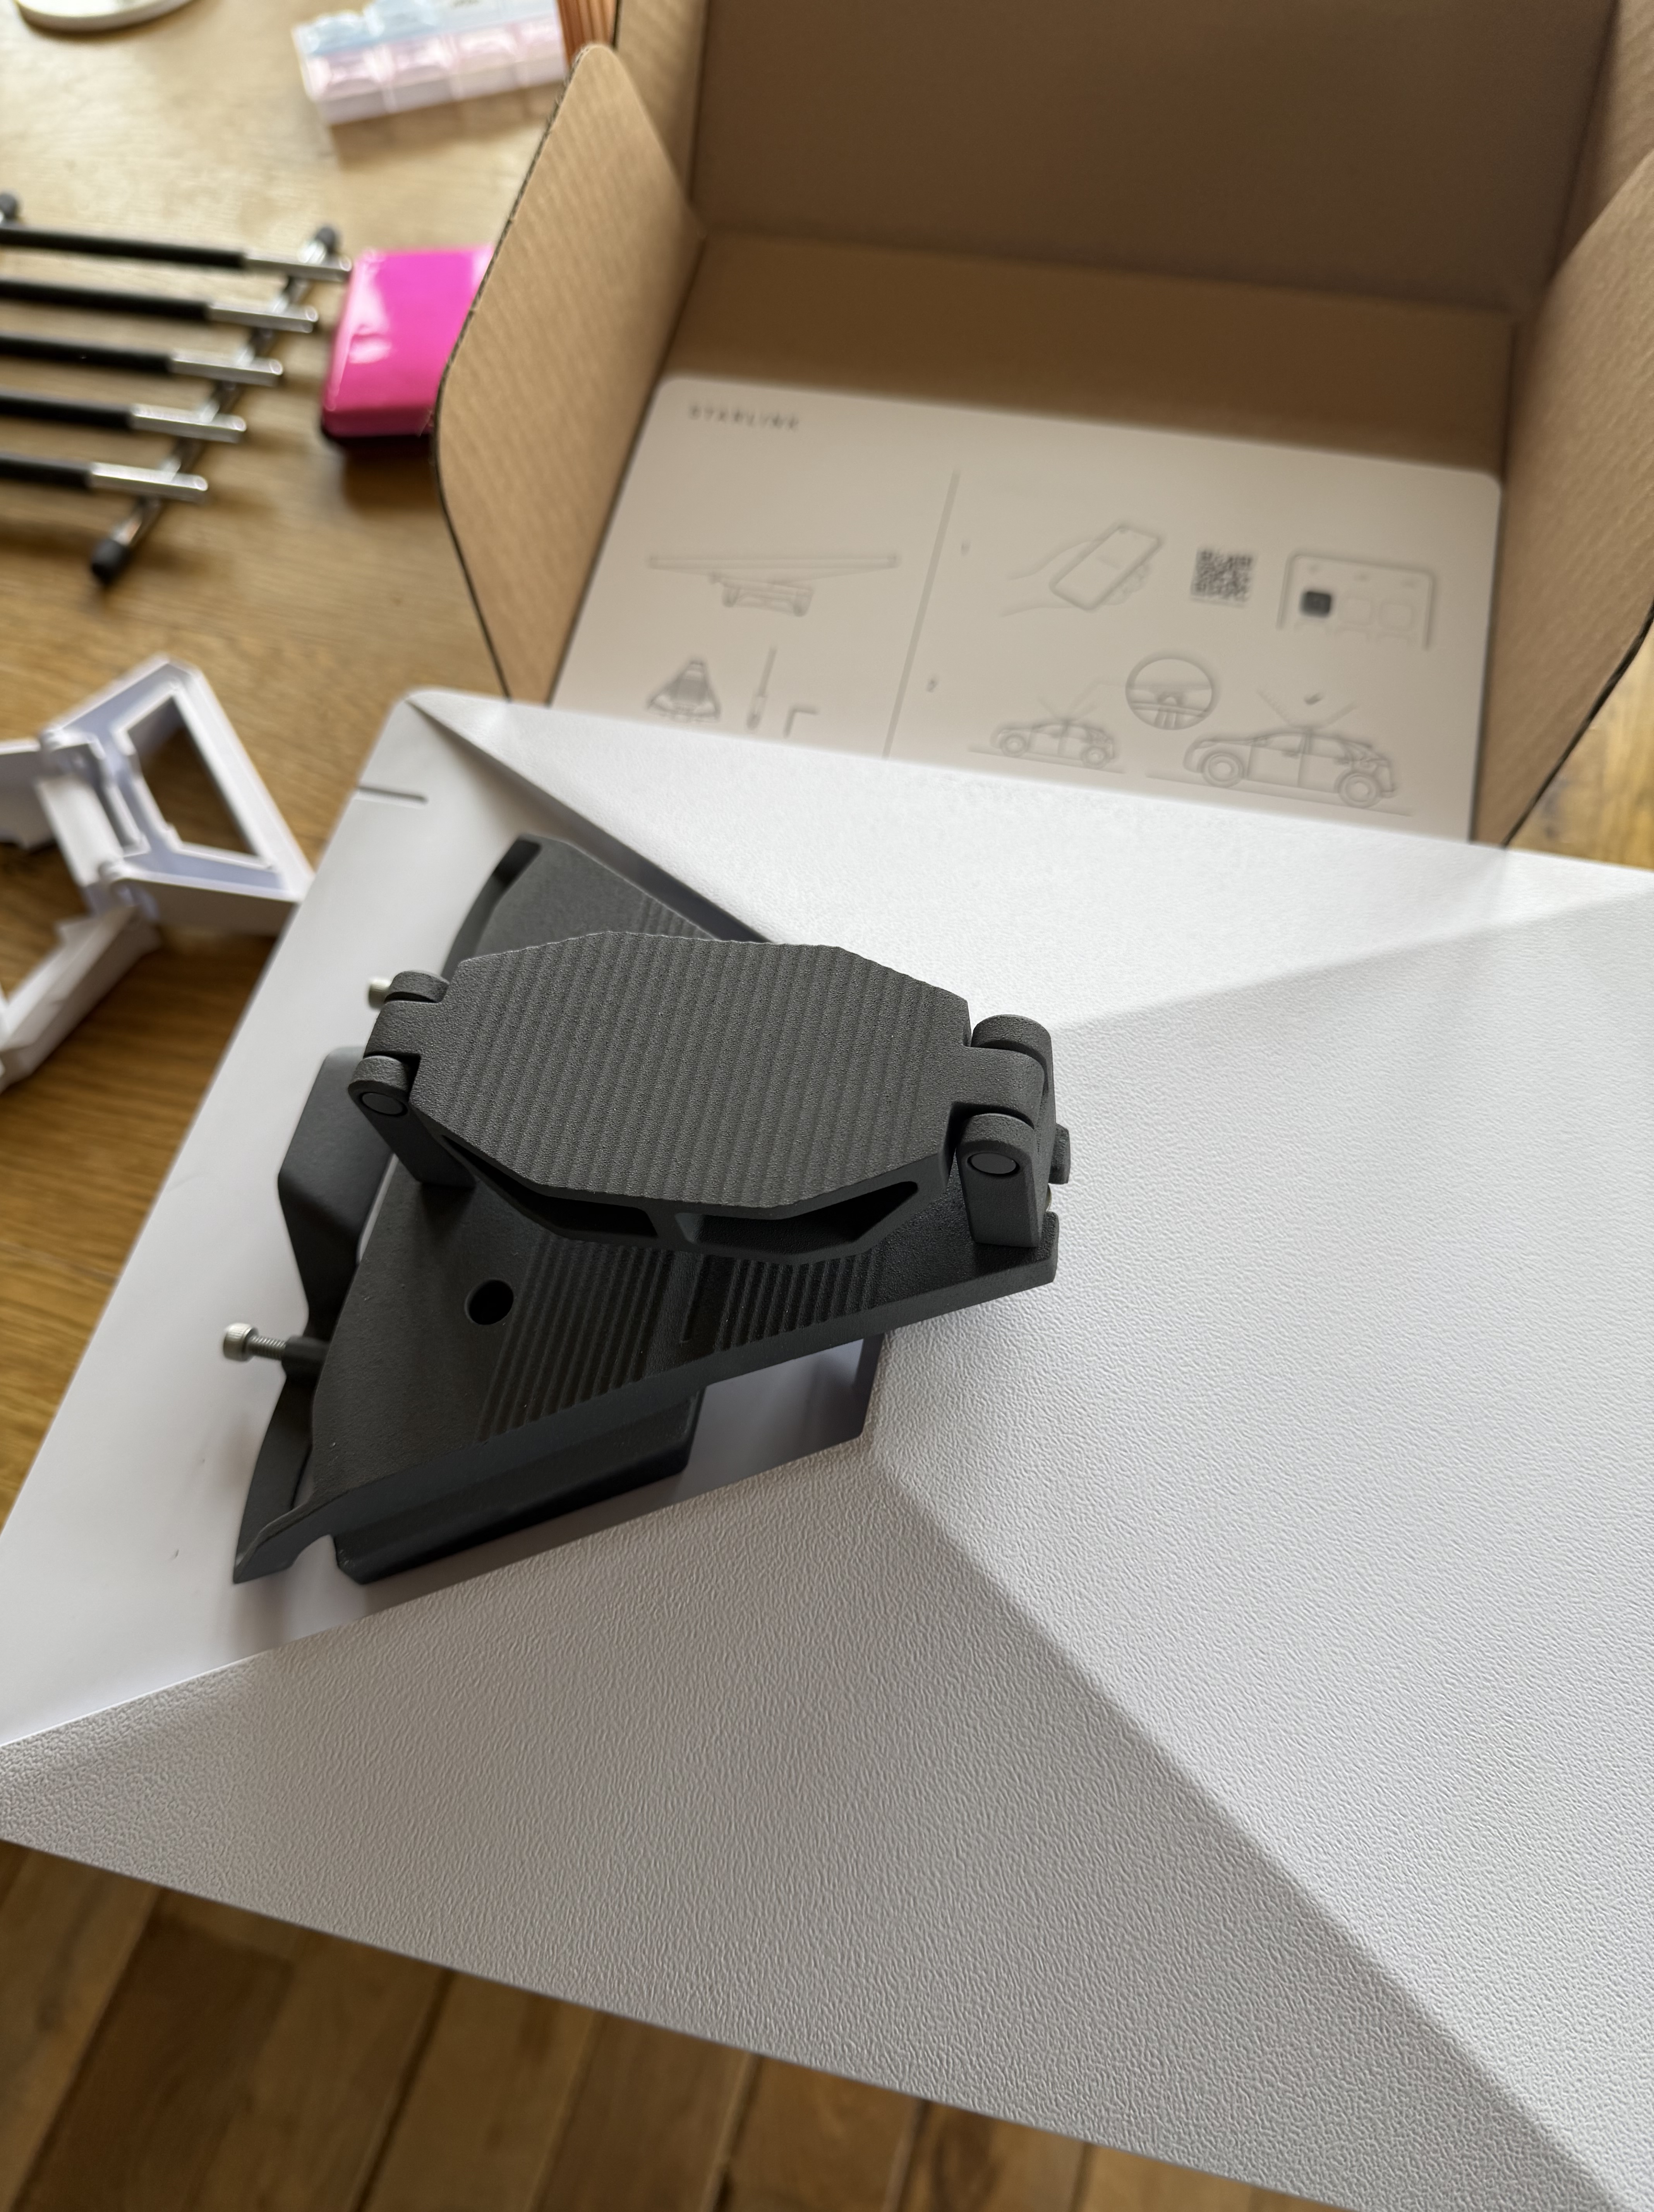
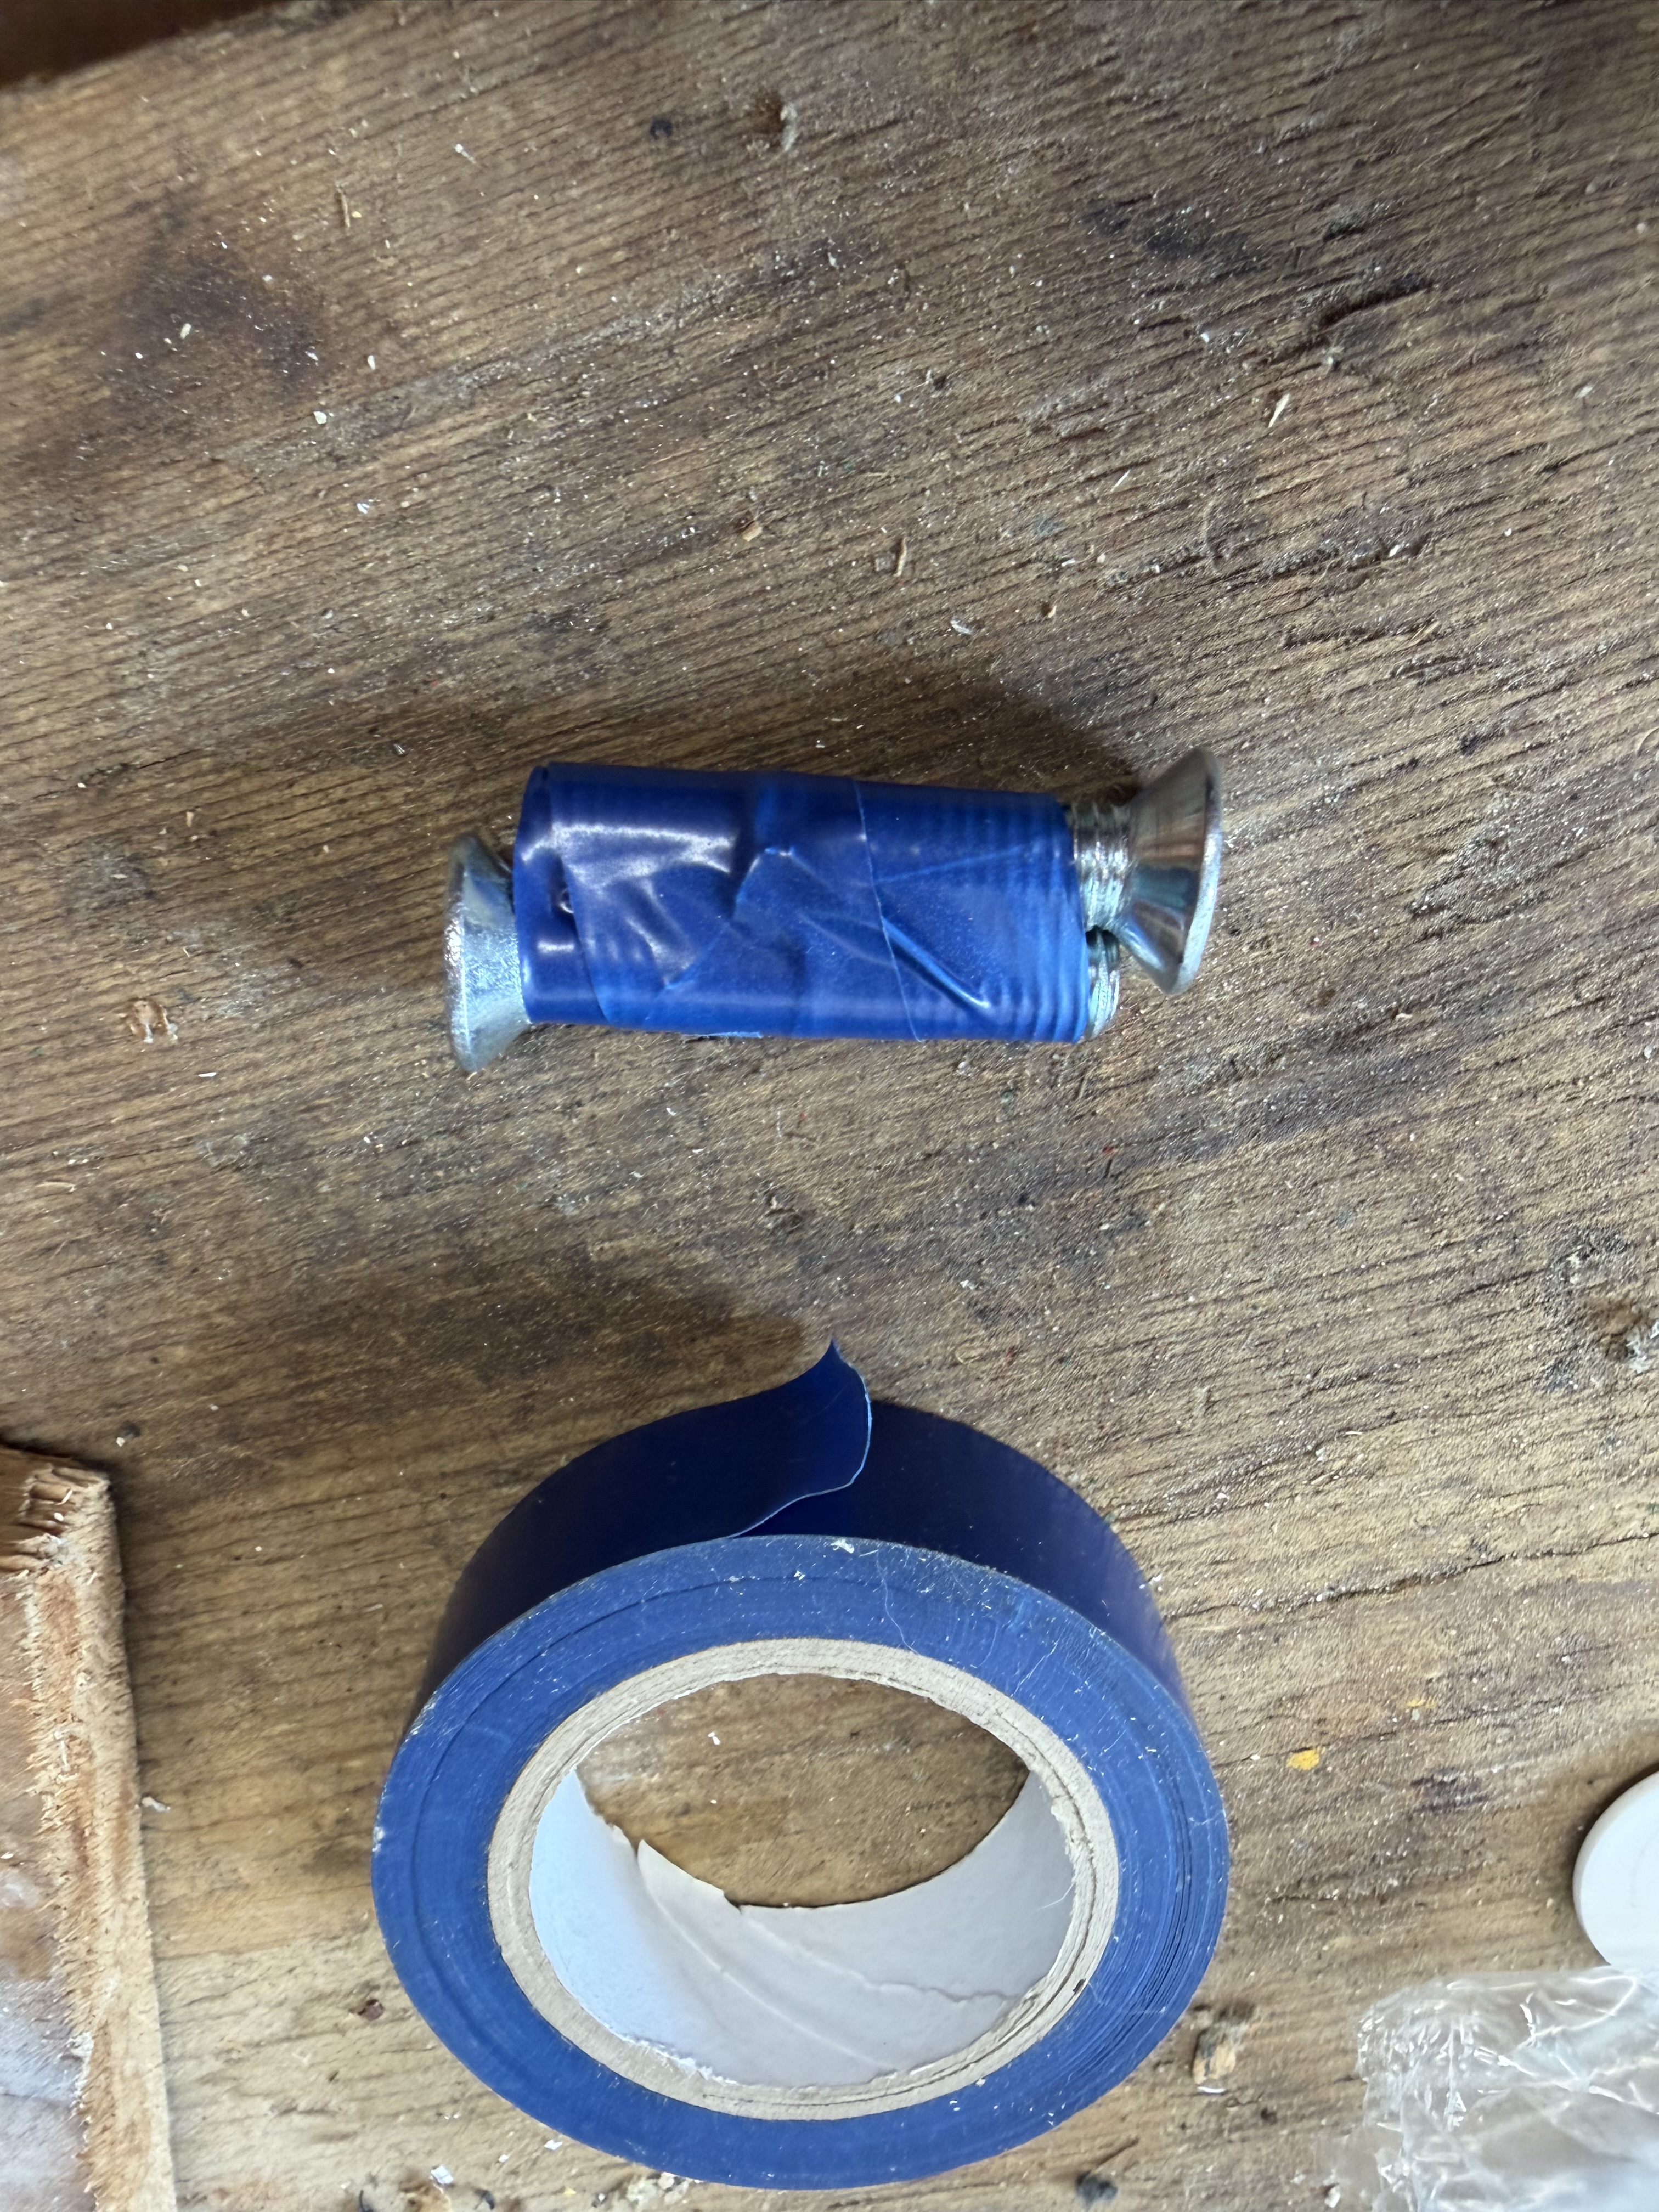
Please note – the roof was ringing – so was given a bit of a clean up! Next up, was to secure the starlink to the oil, and to make good – I like the old adage of measure twice, cut once, and I must have checked which way round the mount fitted six times – but, I got it right. Sods law dictated that the roof bar mount was too big for the rail – so I used two bolts laid opposite to each and secured with insulating tape to act as a sold shim. Once that was done, the Allan key bolts were tightened up and the cable attached – job’s a good ‘un! I then rough connected everything and checked it was all working. Once that was confirmed, I used some extra wide gorilla tape and secured the cables for the starlink, the solar panels and the mi-fi. (Not happy with the wrinkles – to be redone!)

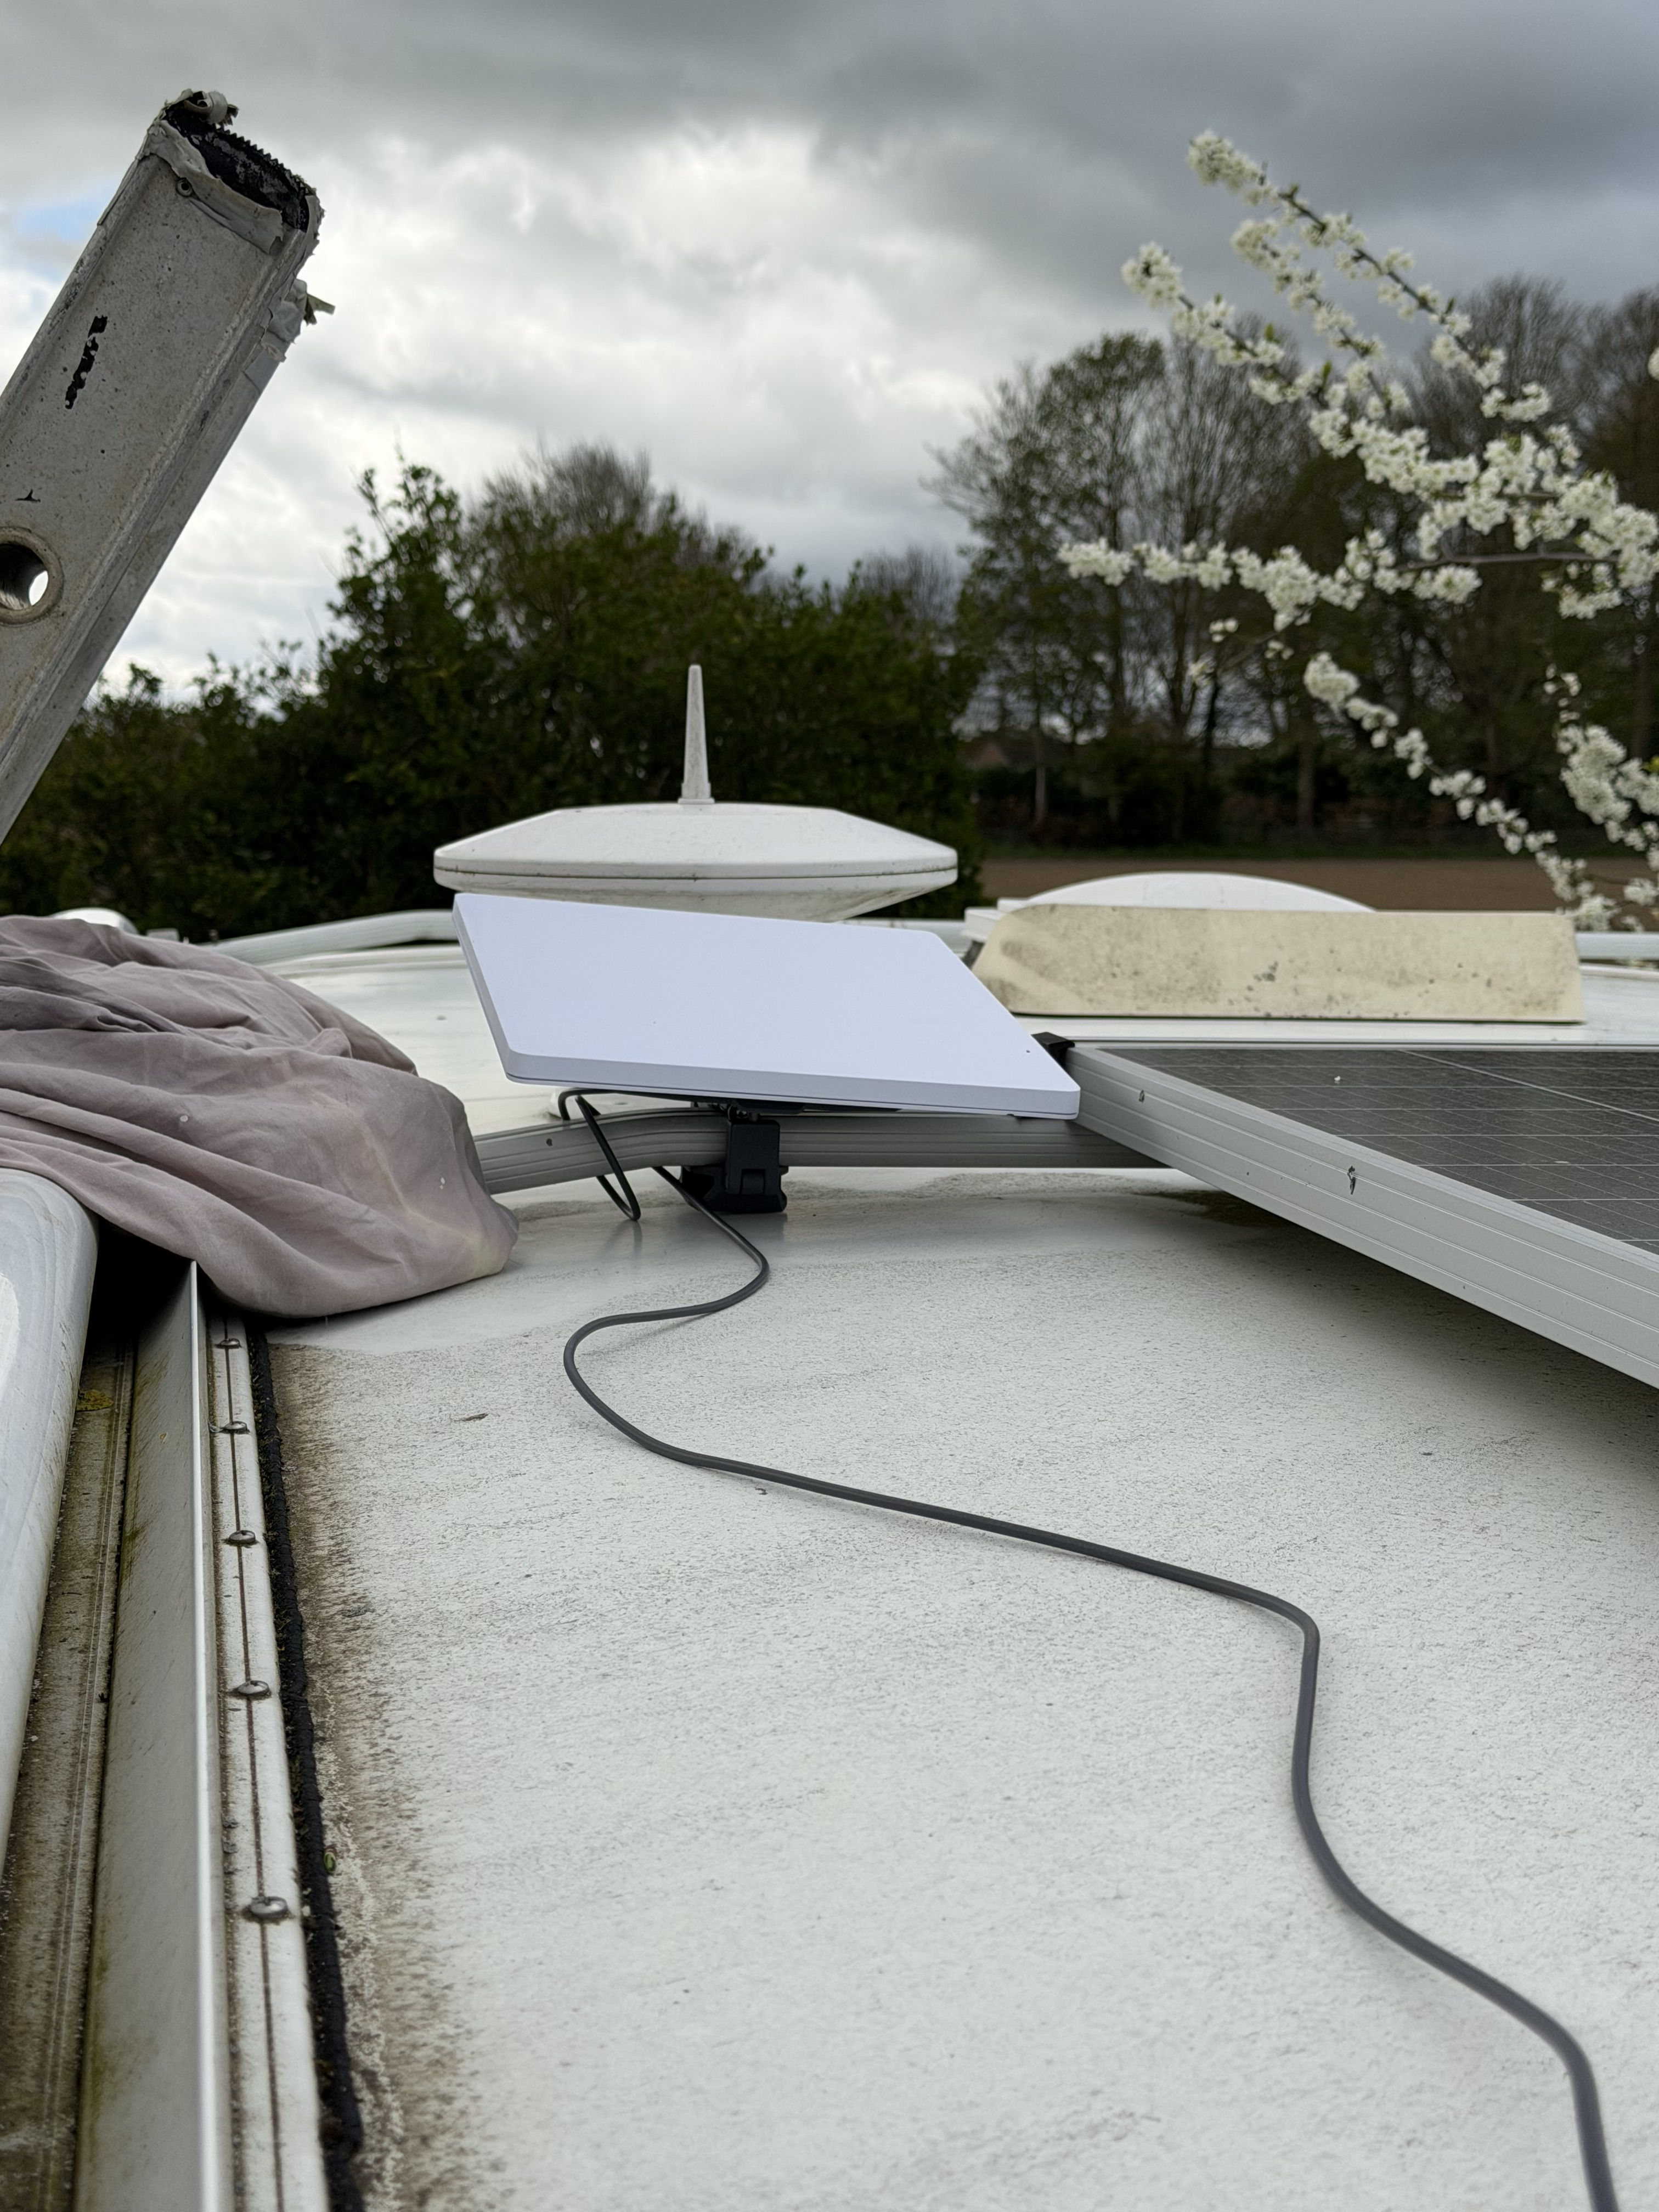
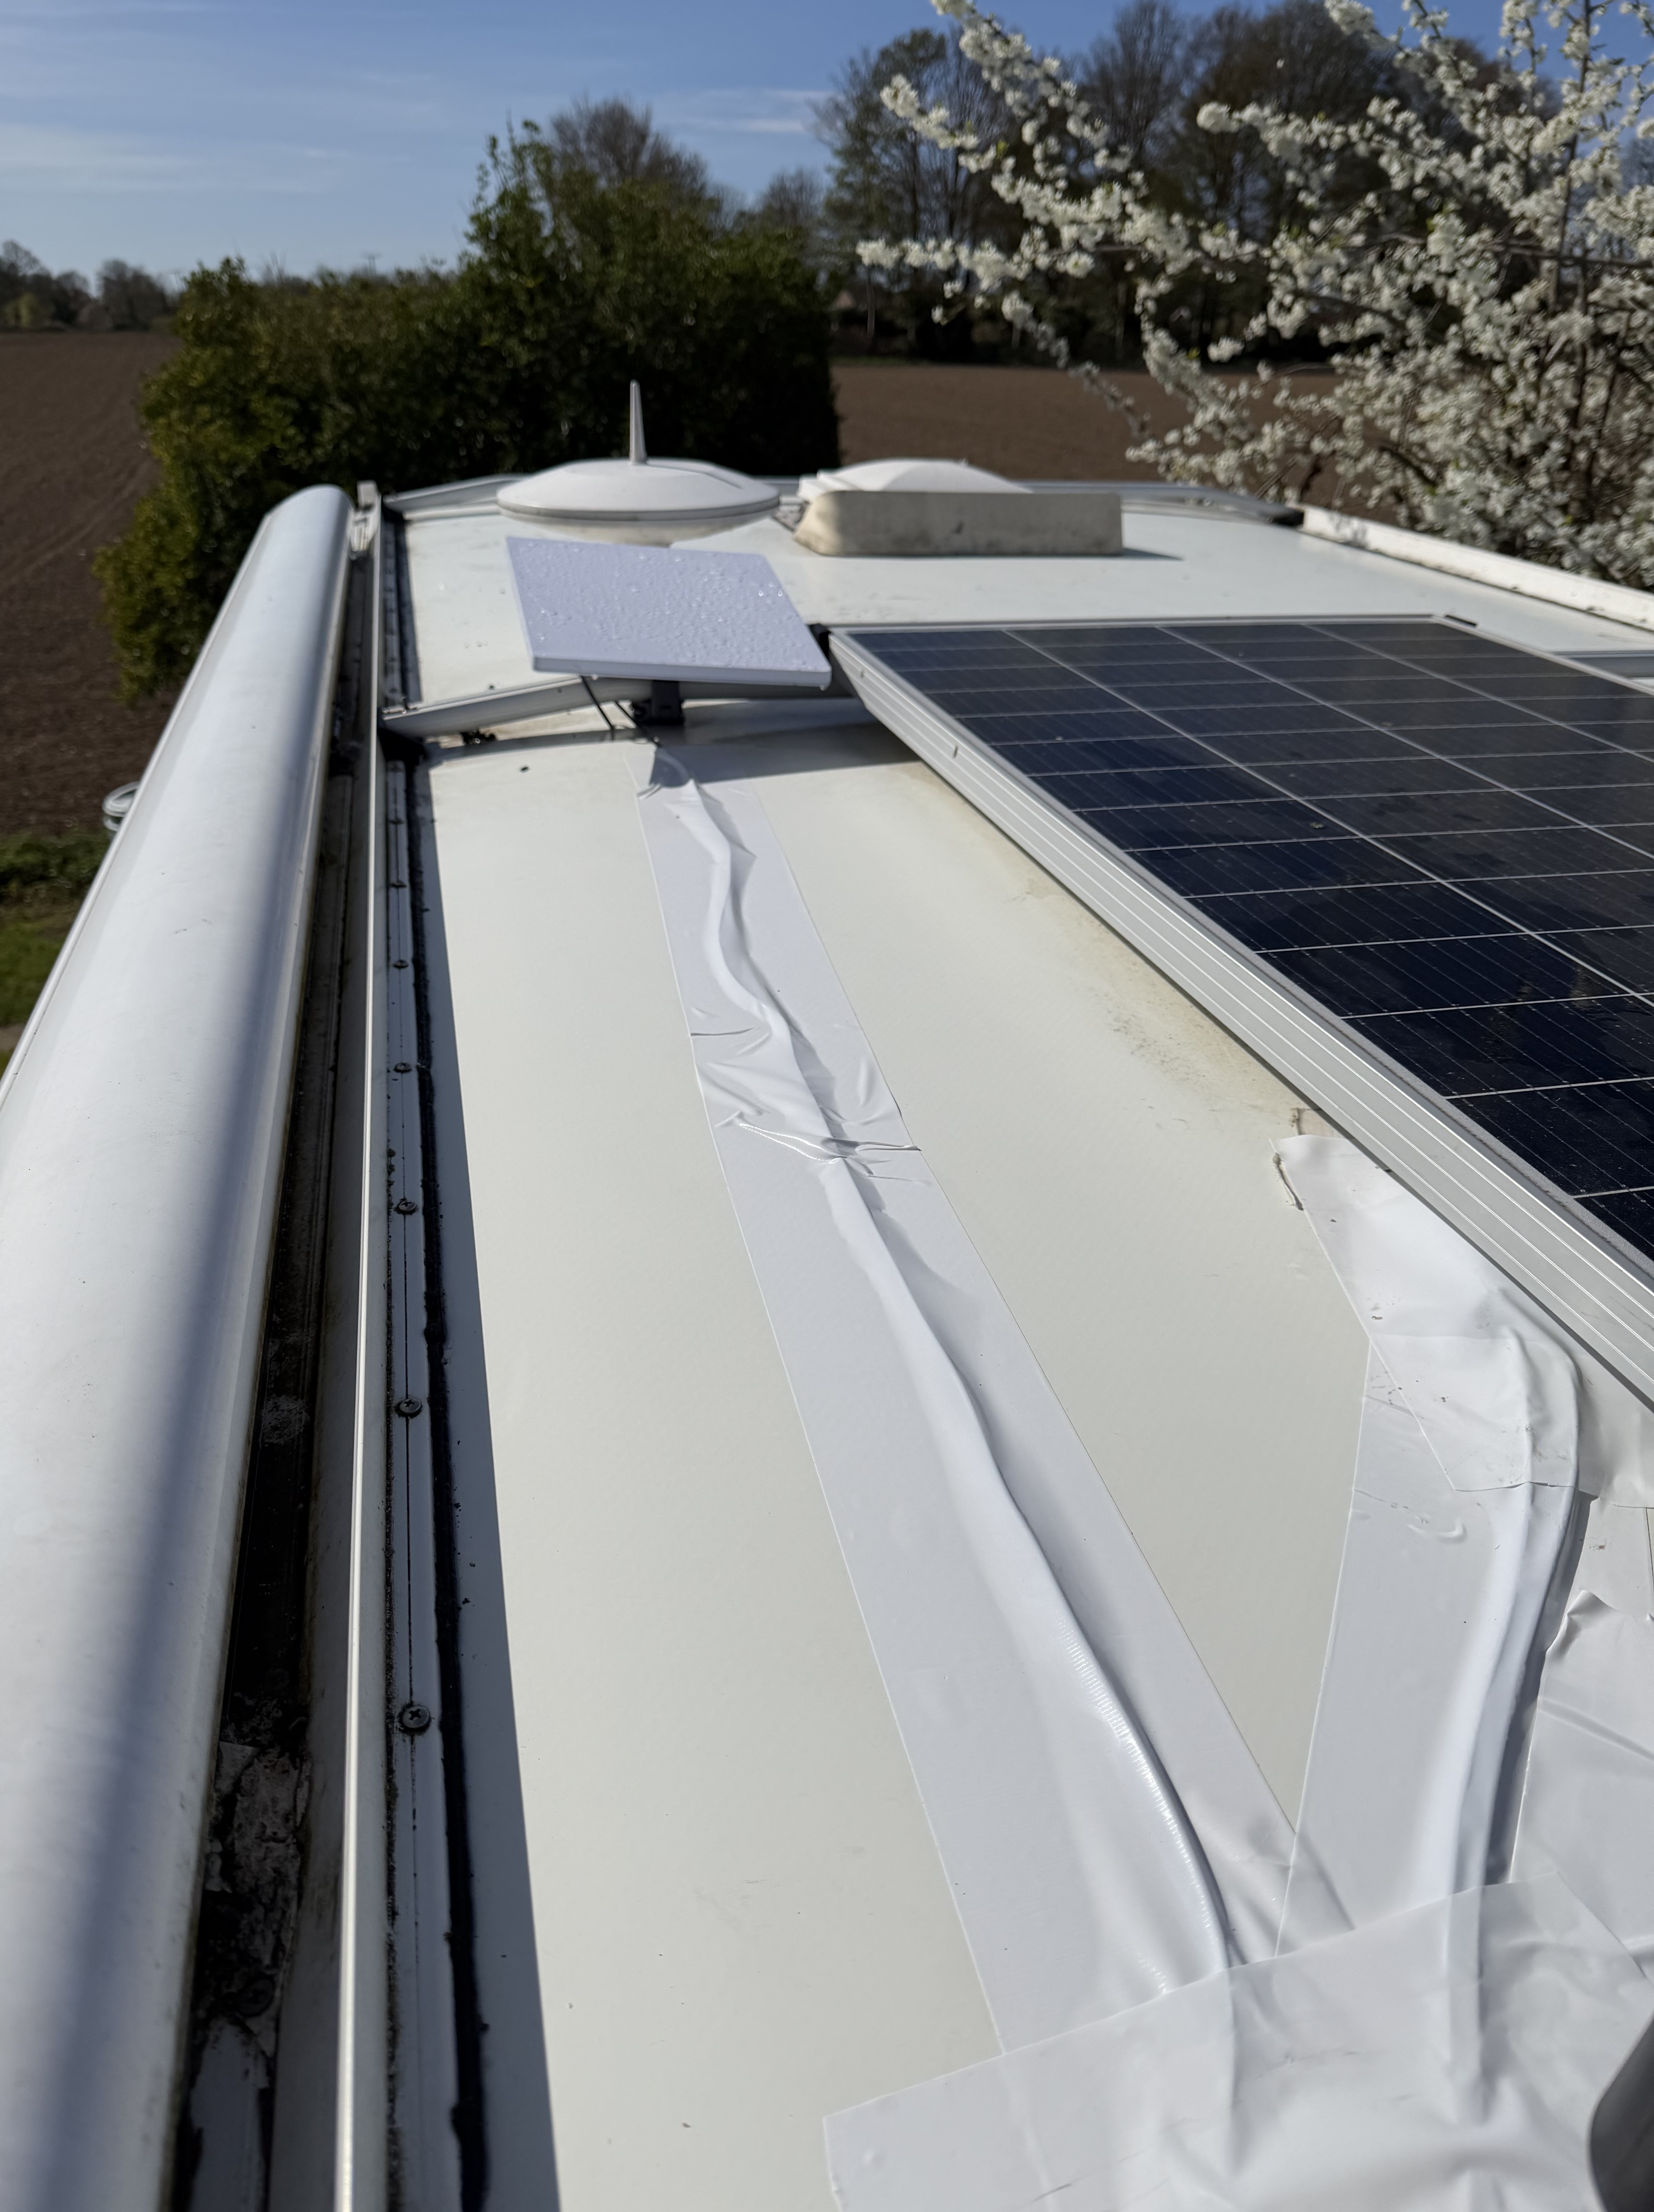
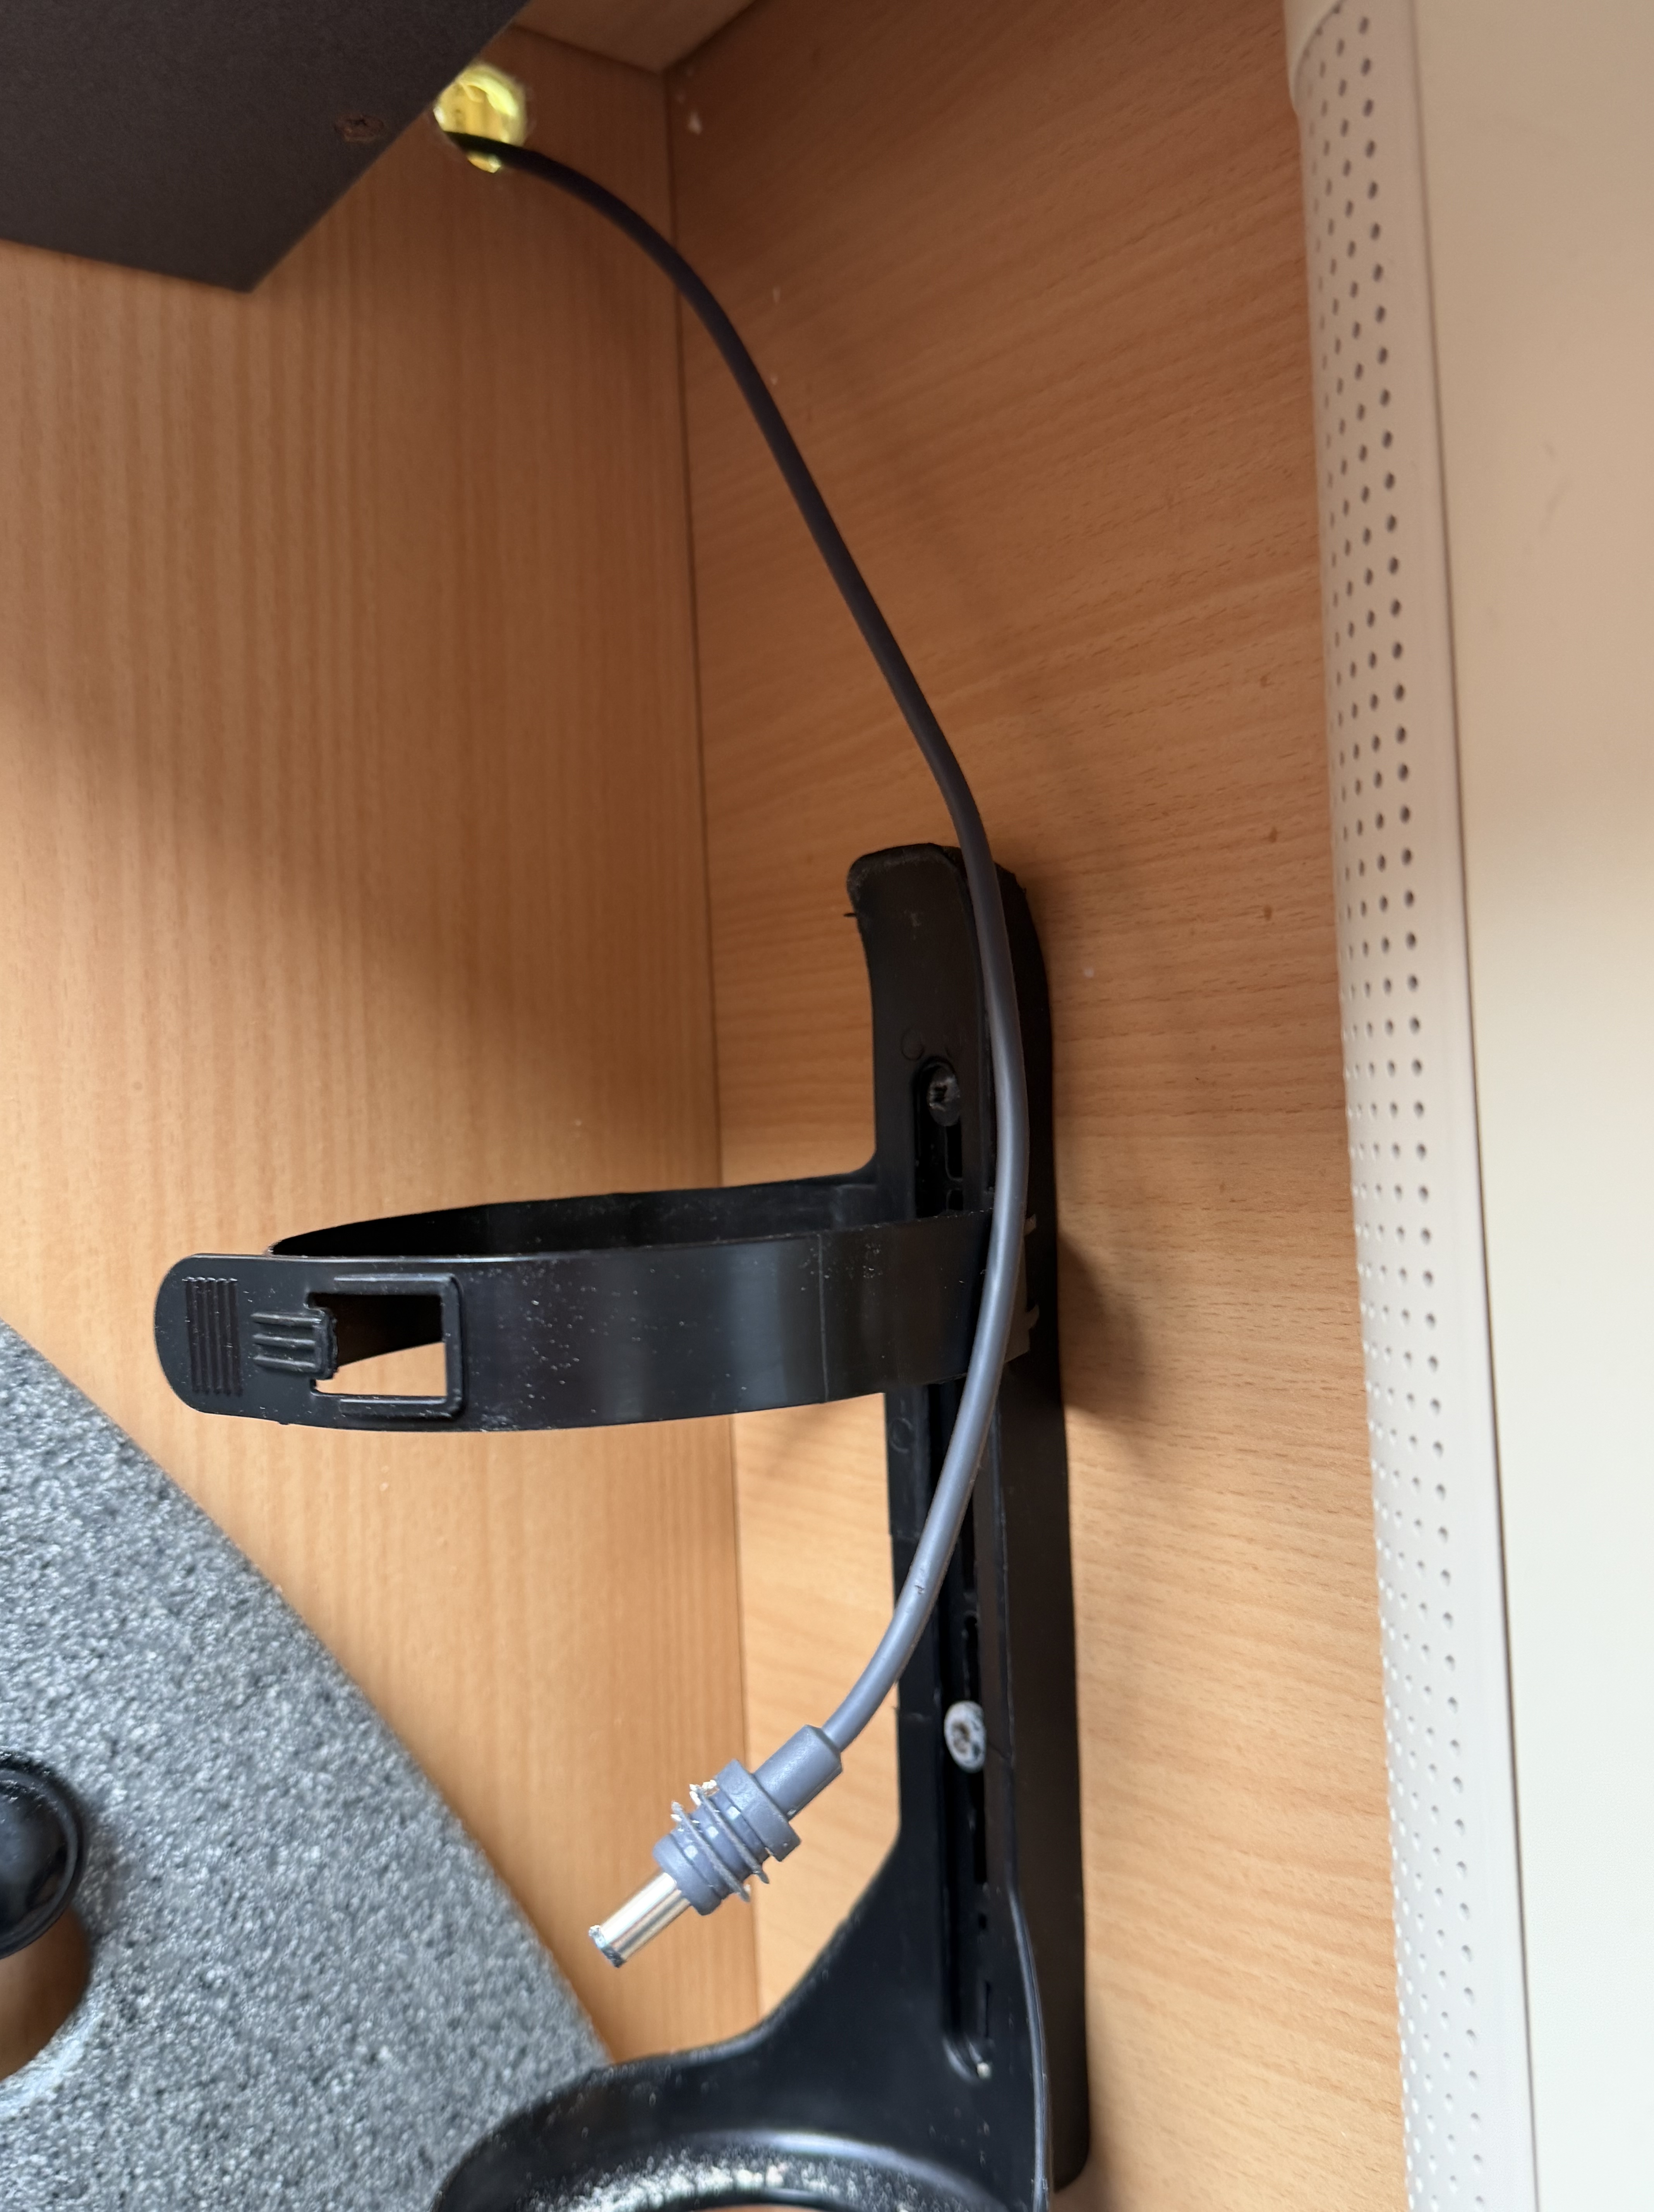
So, I then went to inside, and started to to put things together neatly; I noticed that the wriggle room on the panels was ample, and meant that I could secret most of the visible cable. Having secured the connection box out of site – no more nails sticky pads! I then ensured the cable was also secured – because it was being the panel and effectively invisible, gorilla tape was the easiest and cleanest solution.
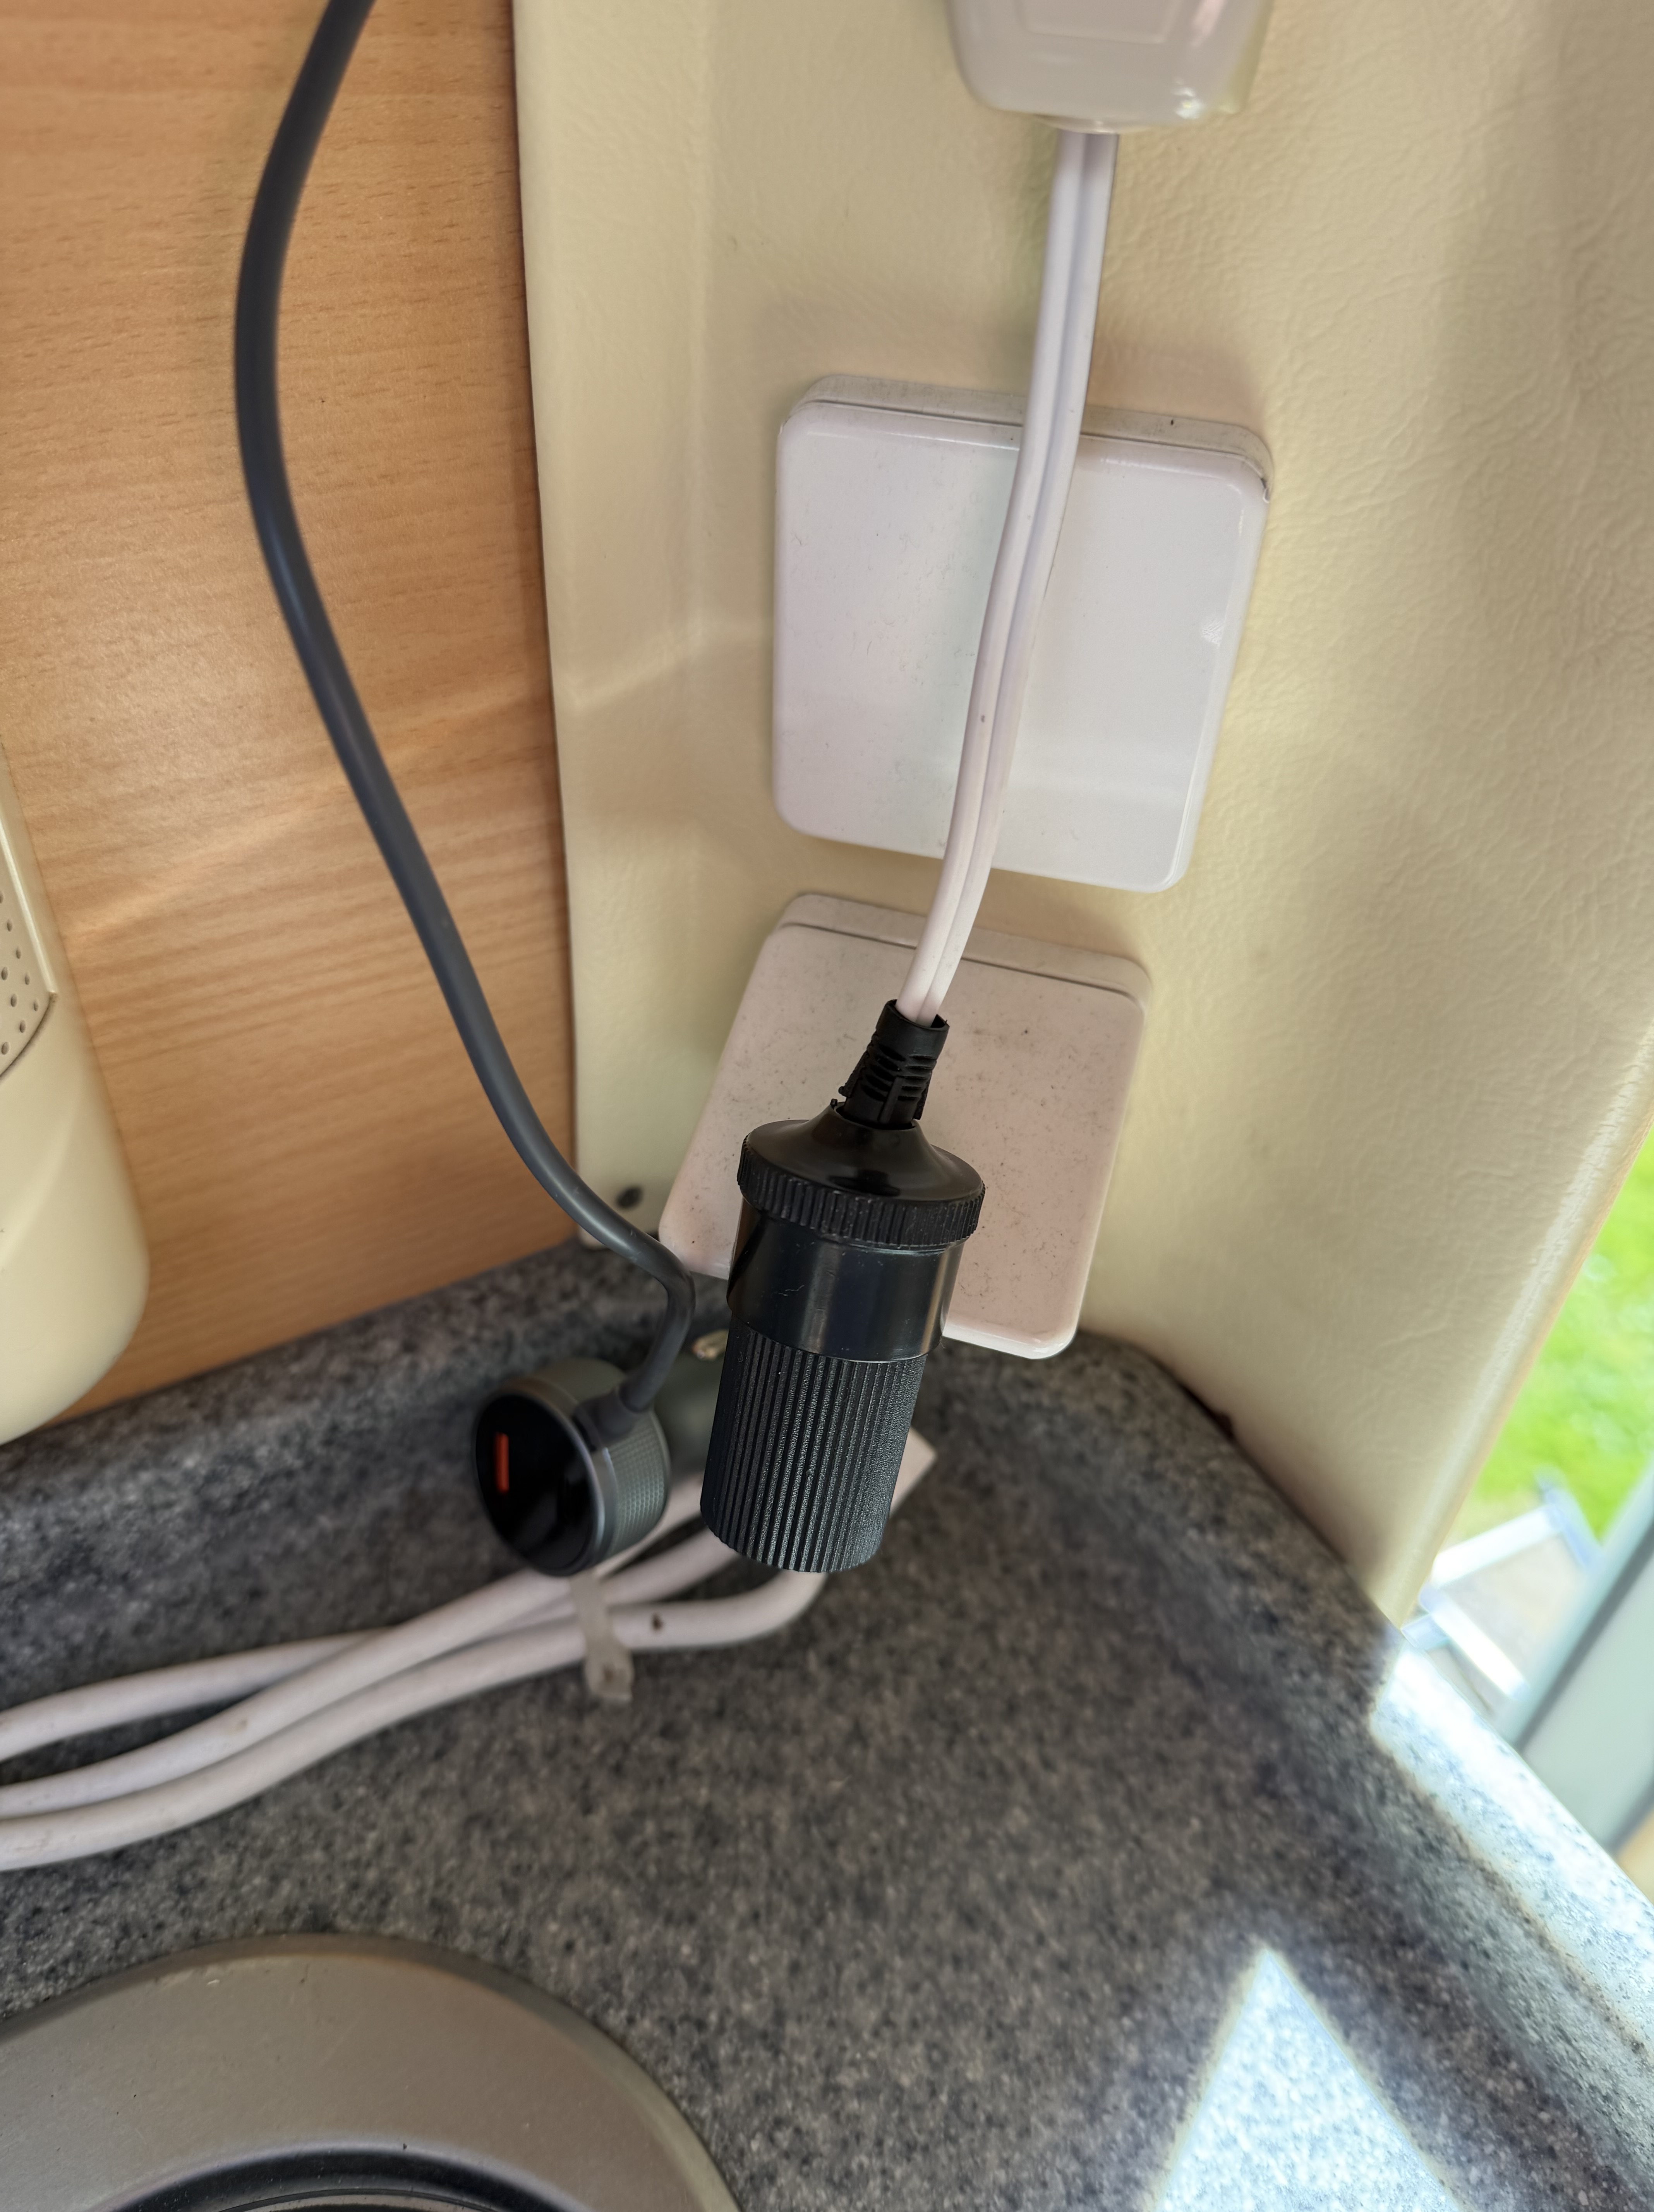
So – all fitted and looks tidy even if I do say so myself! Even though I have set it up to run while in transit, I am unlikely to do that – I have a 100gb a month limit so – lets be careful while I get used to it! Also, I do have the 5g mi-fi feed that should cover all that while in transit; (The battery of that should give at least 6 hours of usage so….) I am looking forward to using this going forward, and as we plan for a life with a different motorhome in the future, I know I can change and install again

Leave a comment