Over the last year, I have noticed that Ziggy is starting to resemble an older person…. now, despite turning 60 this summer, I would like to STRESS that this is an observation from thirty odd years of nursing, NOT personal experience – but the long and the short of it is, that Ziggy drips a bit of grey waste, whenever the tank has content.
This is not a big concern, as we are talking about small amount – not enough for a Tena but more than a folded piece of kitchen roll can deal with – so, the sun was out and it was not to cold, so I started taking things apart to see if I could get to the bottom of why things were not quite as they should be.
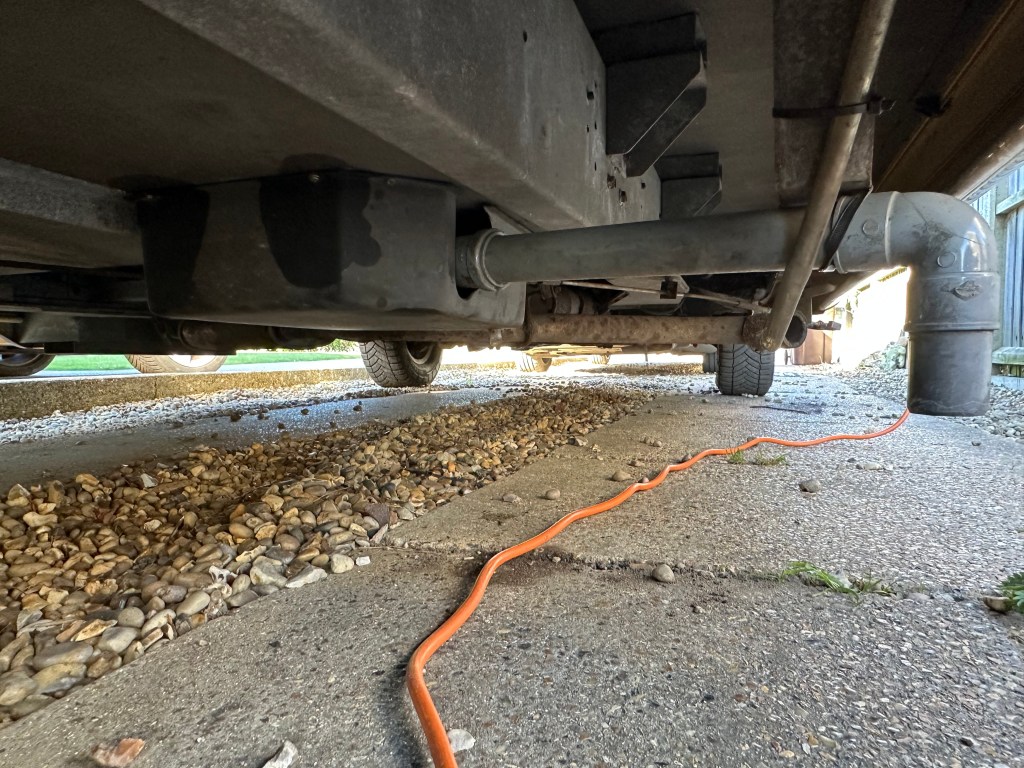
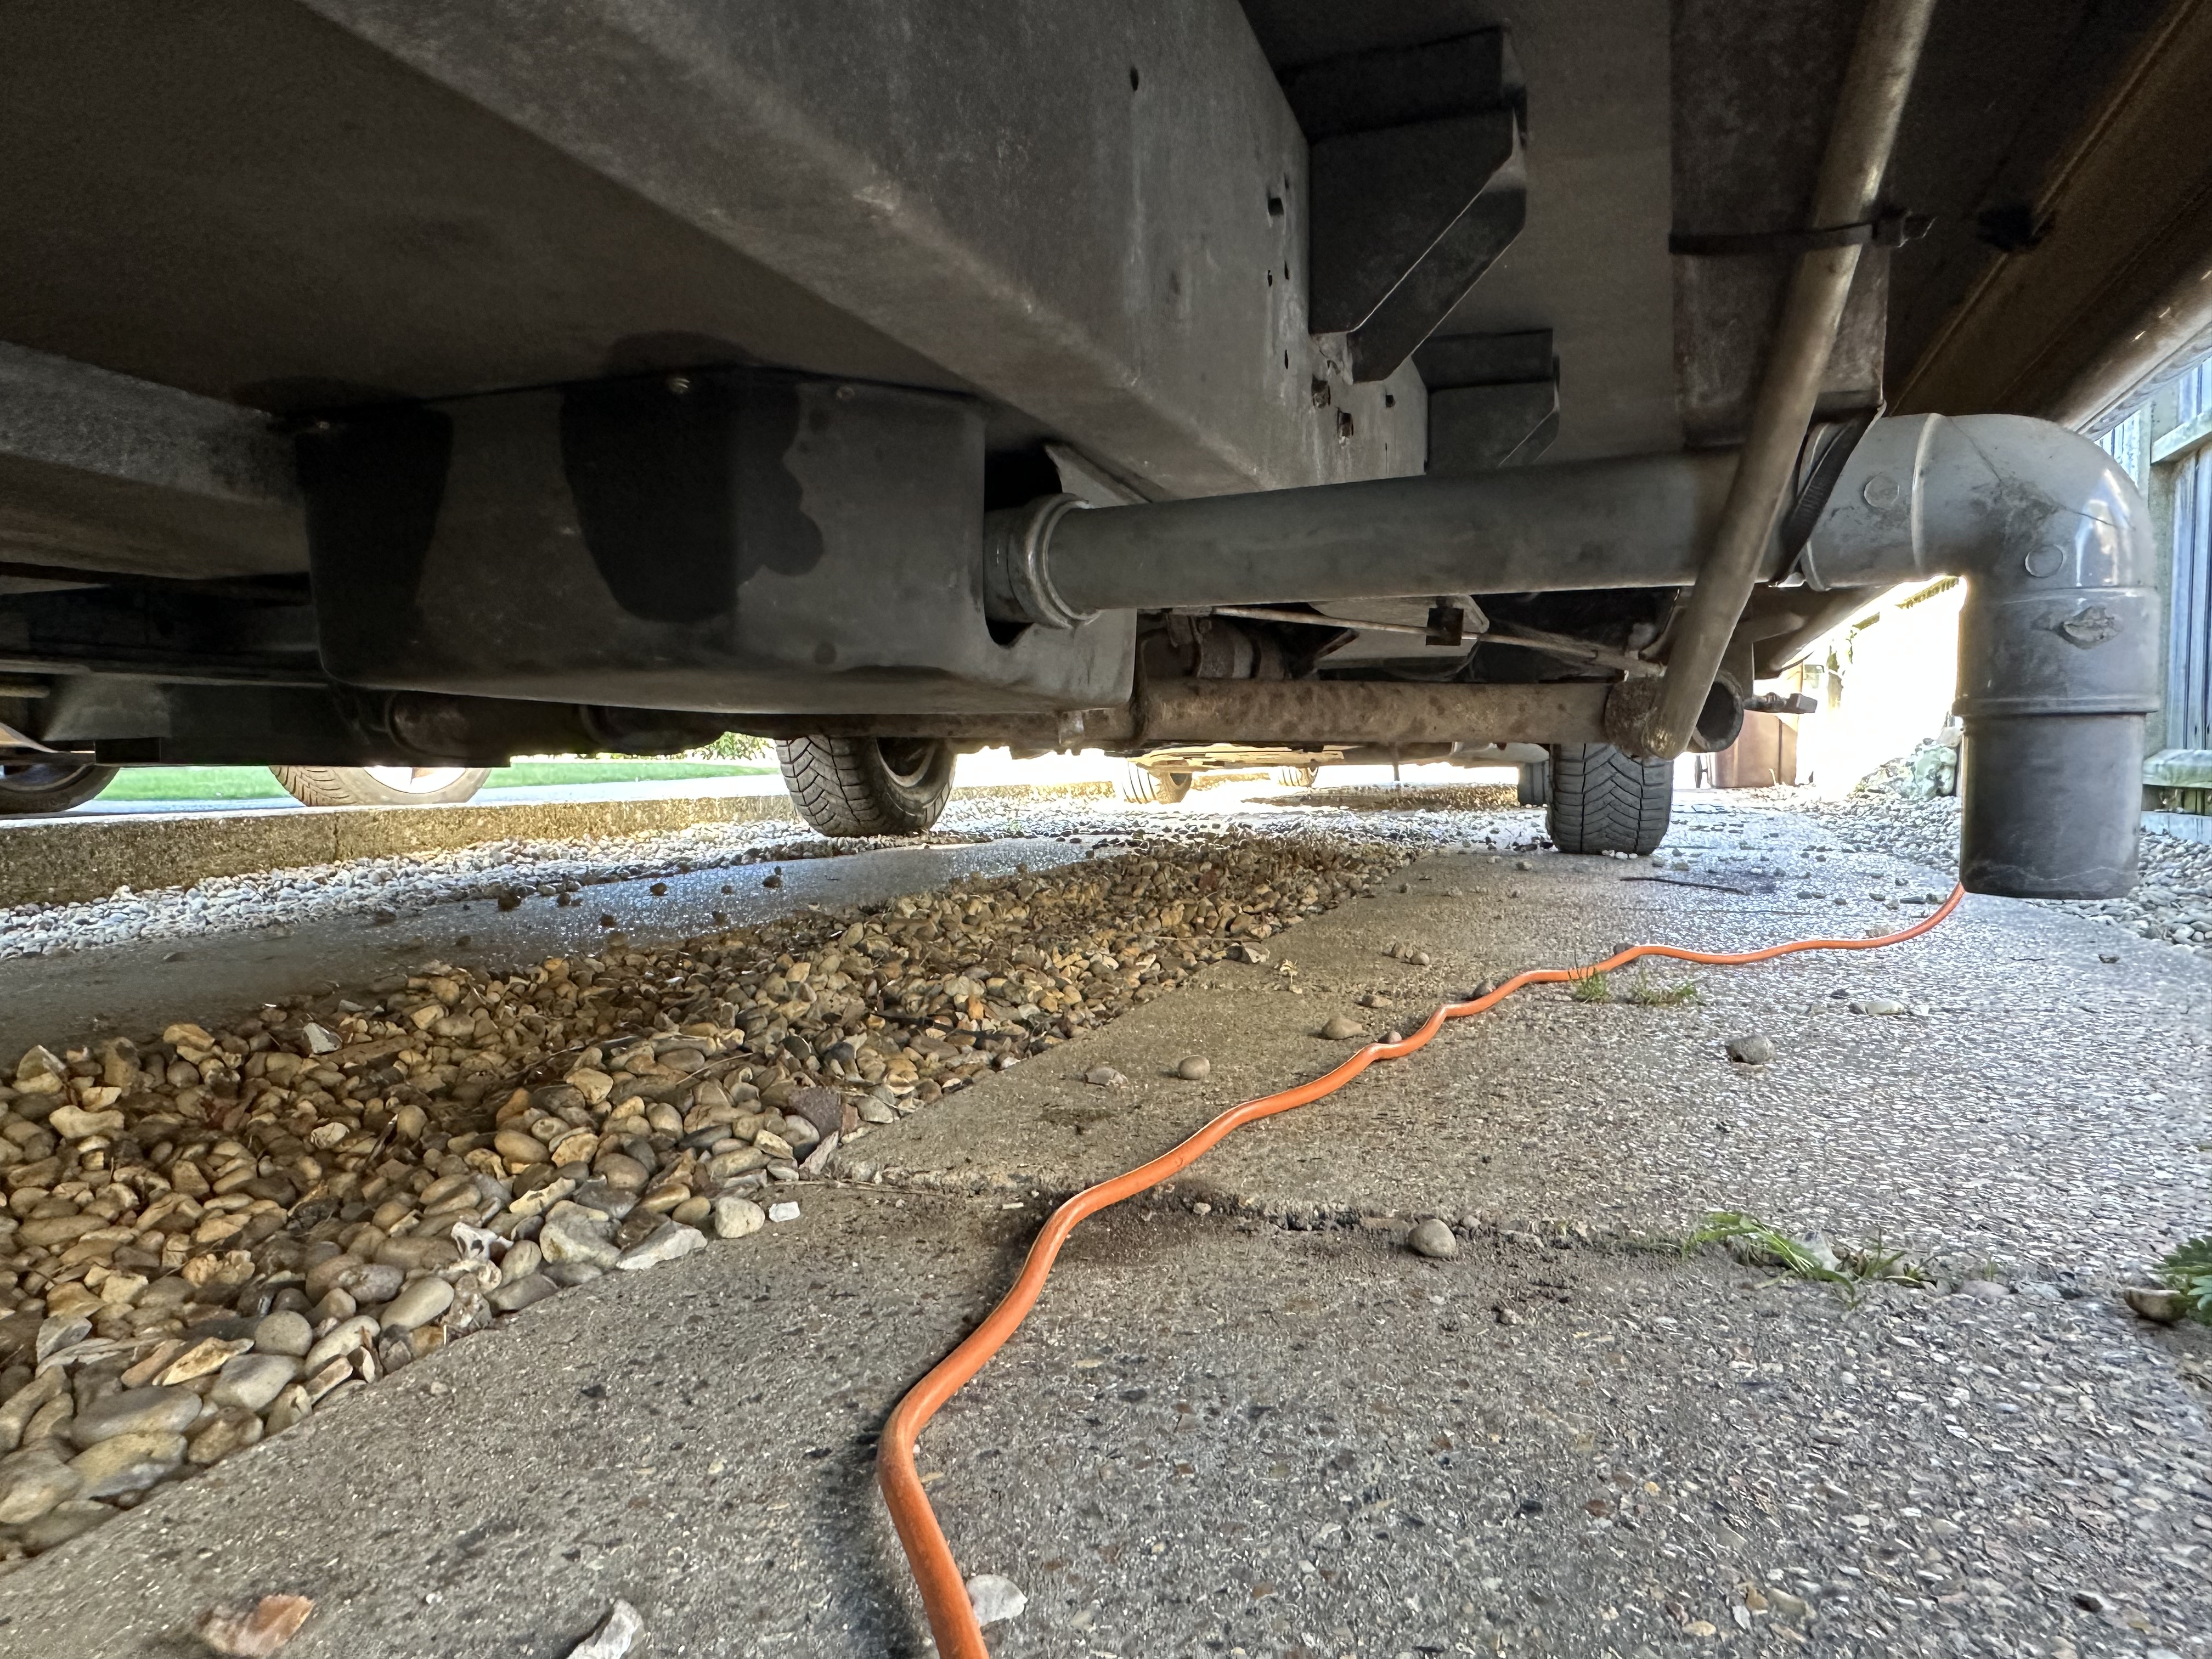
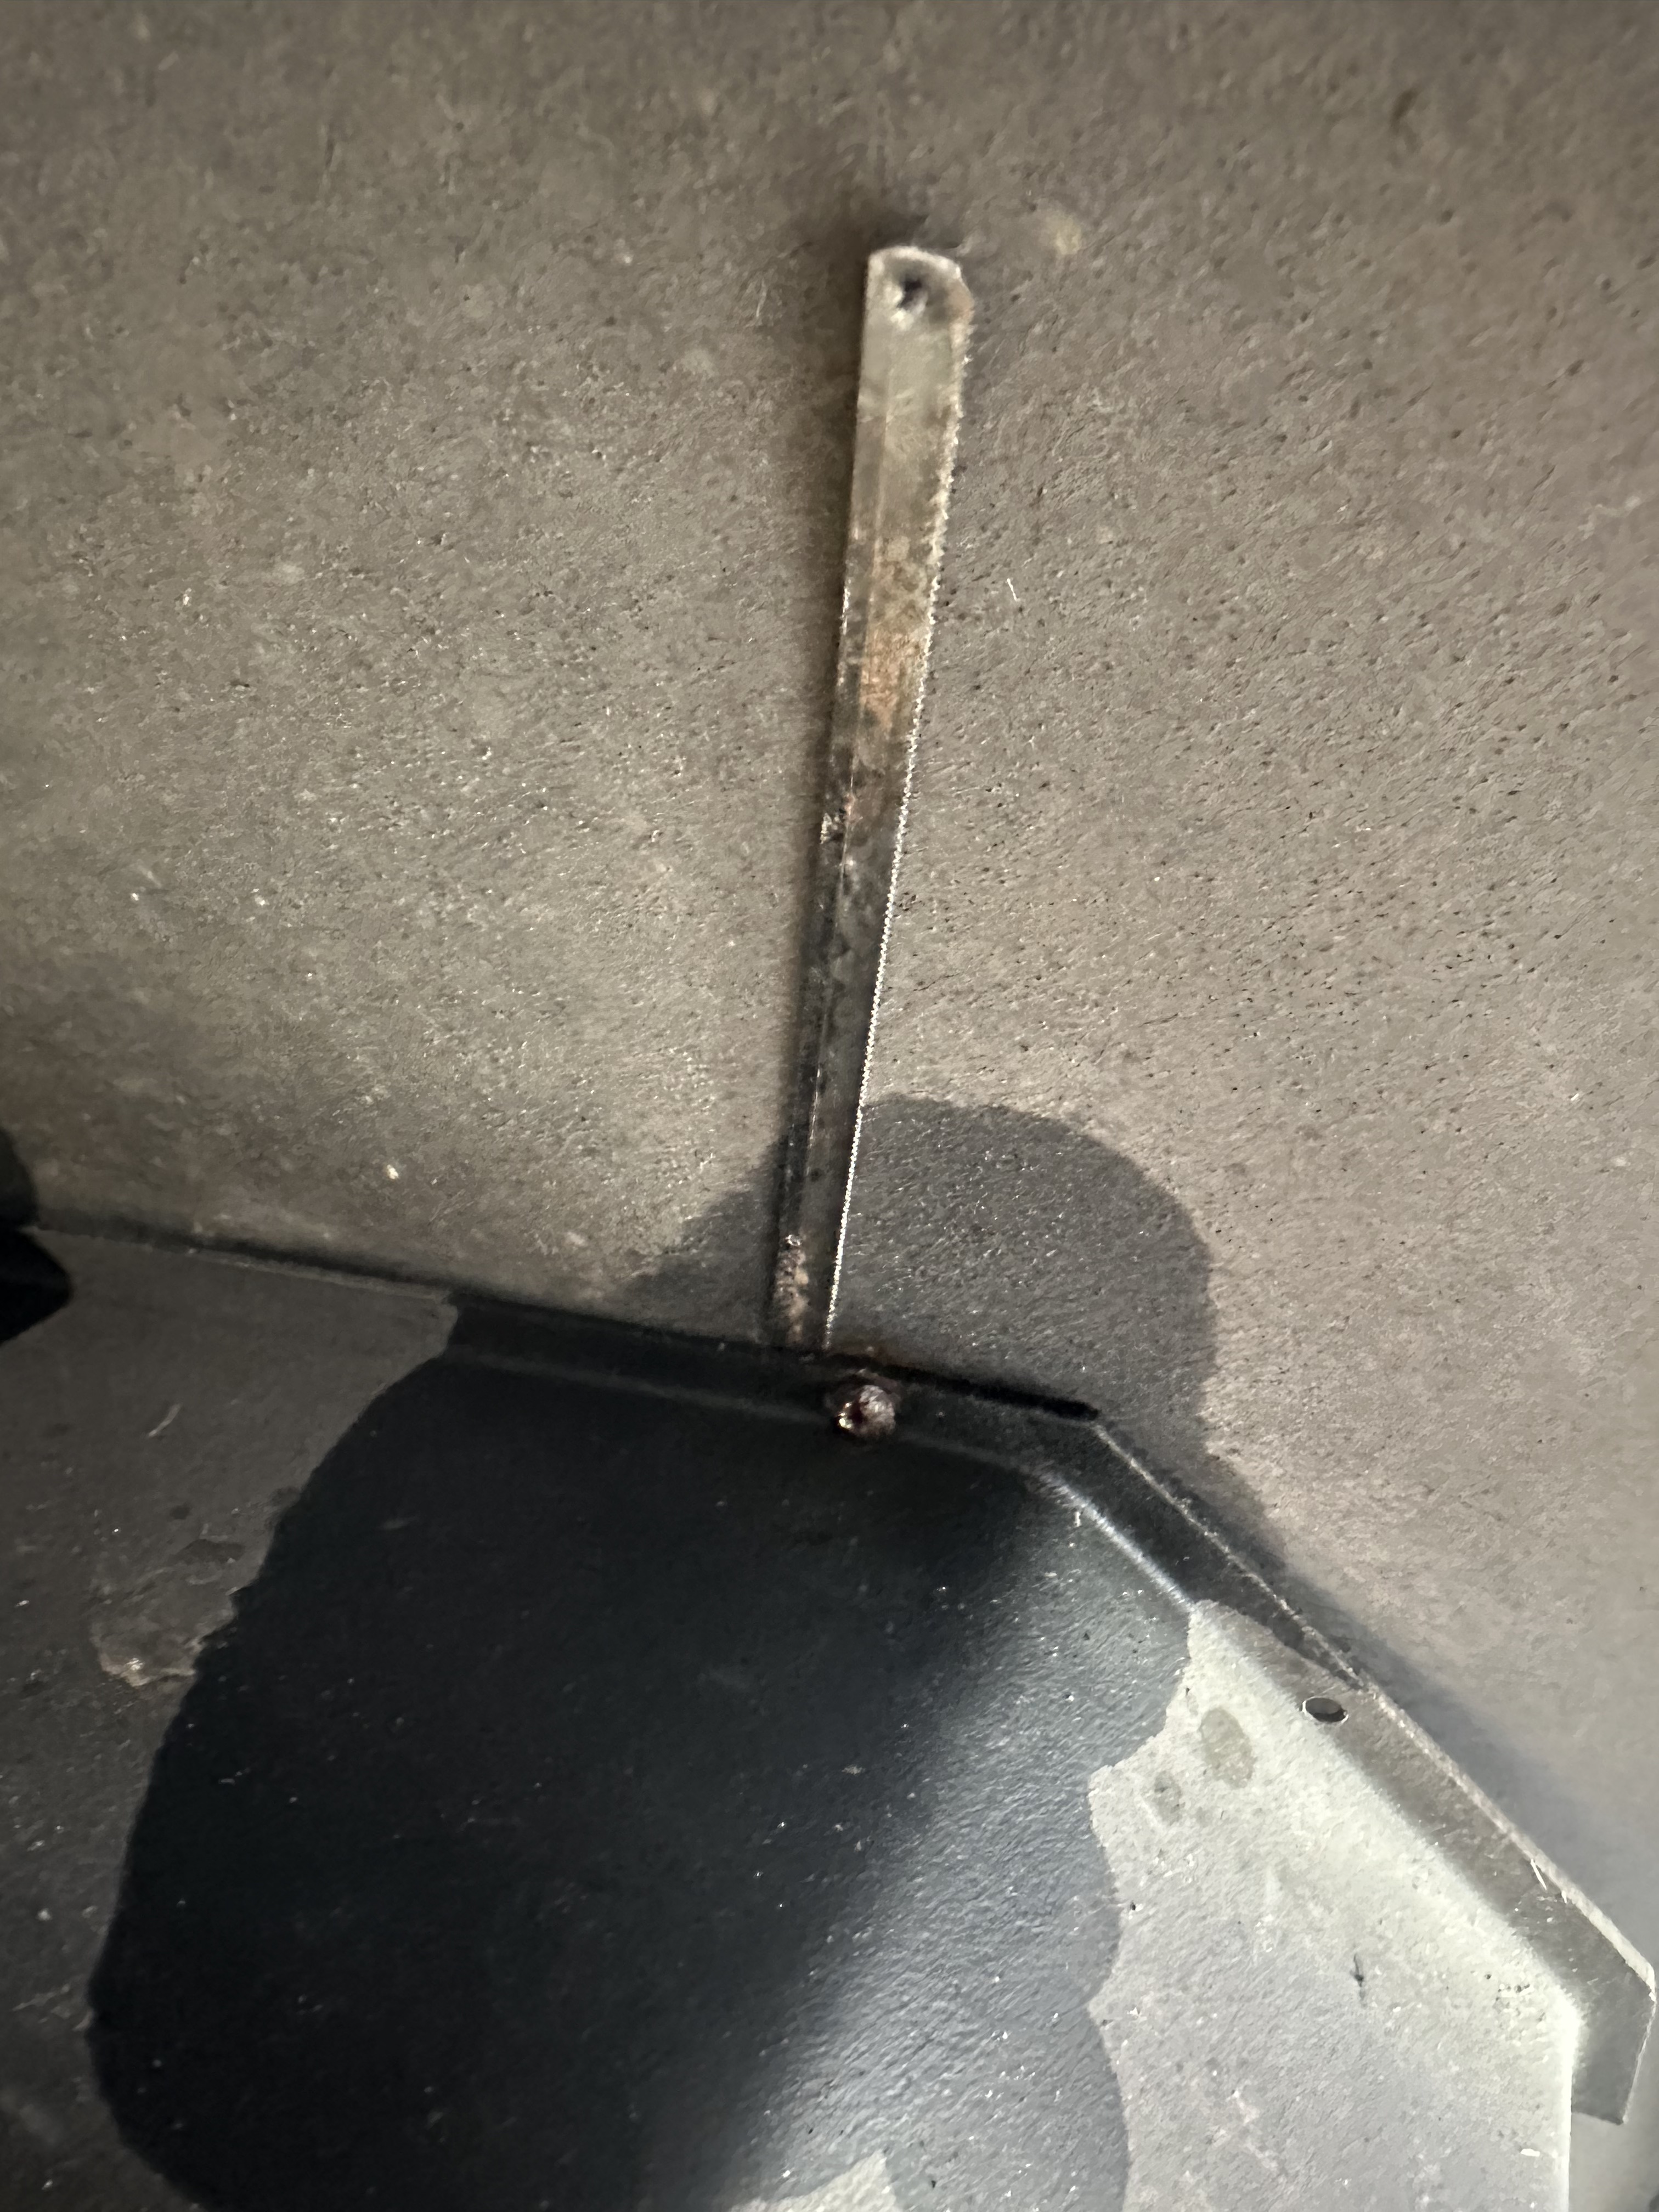
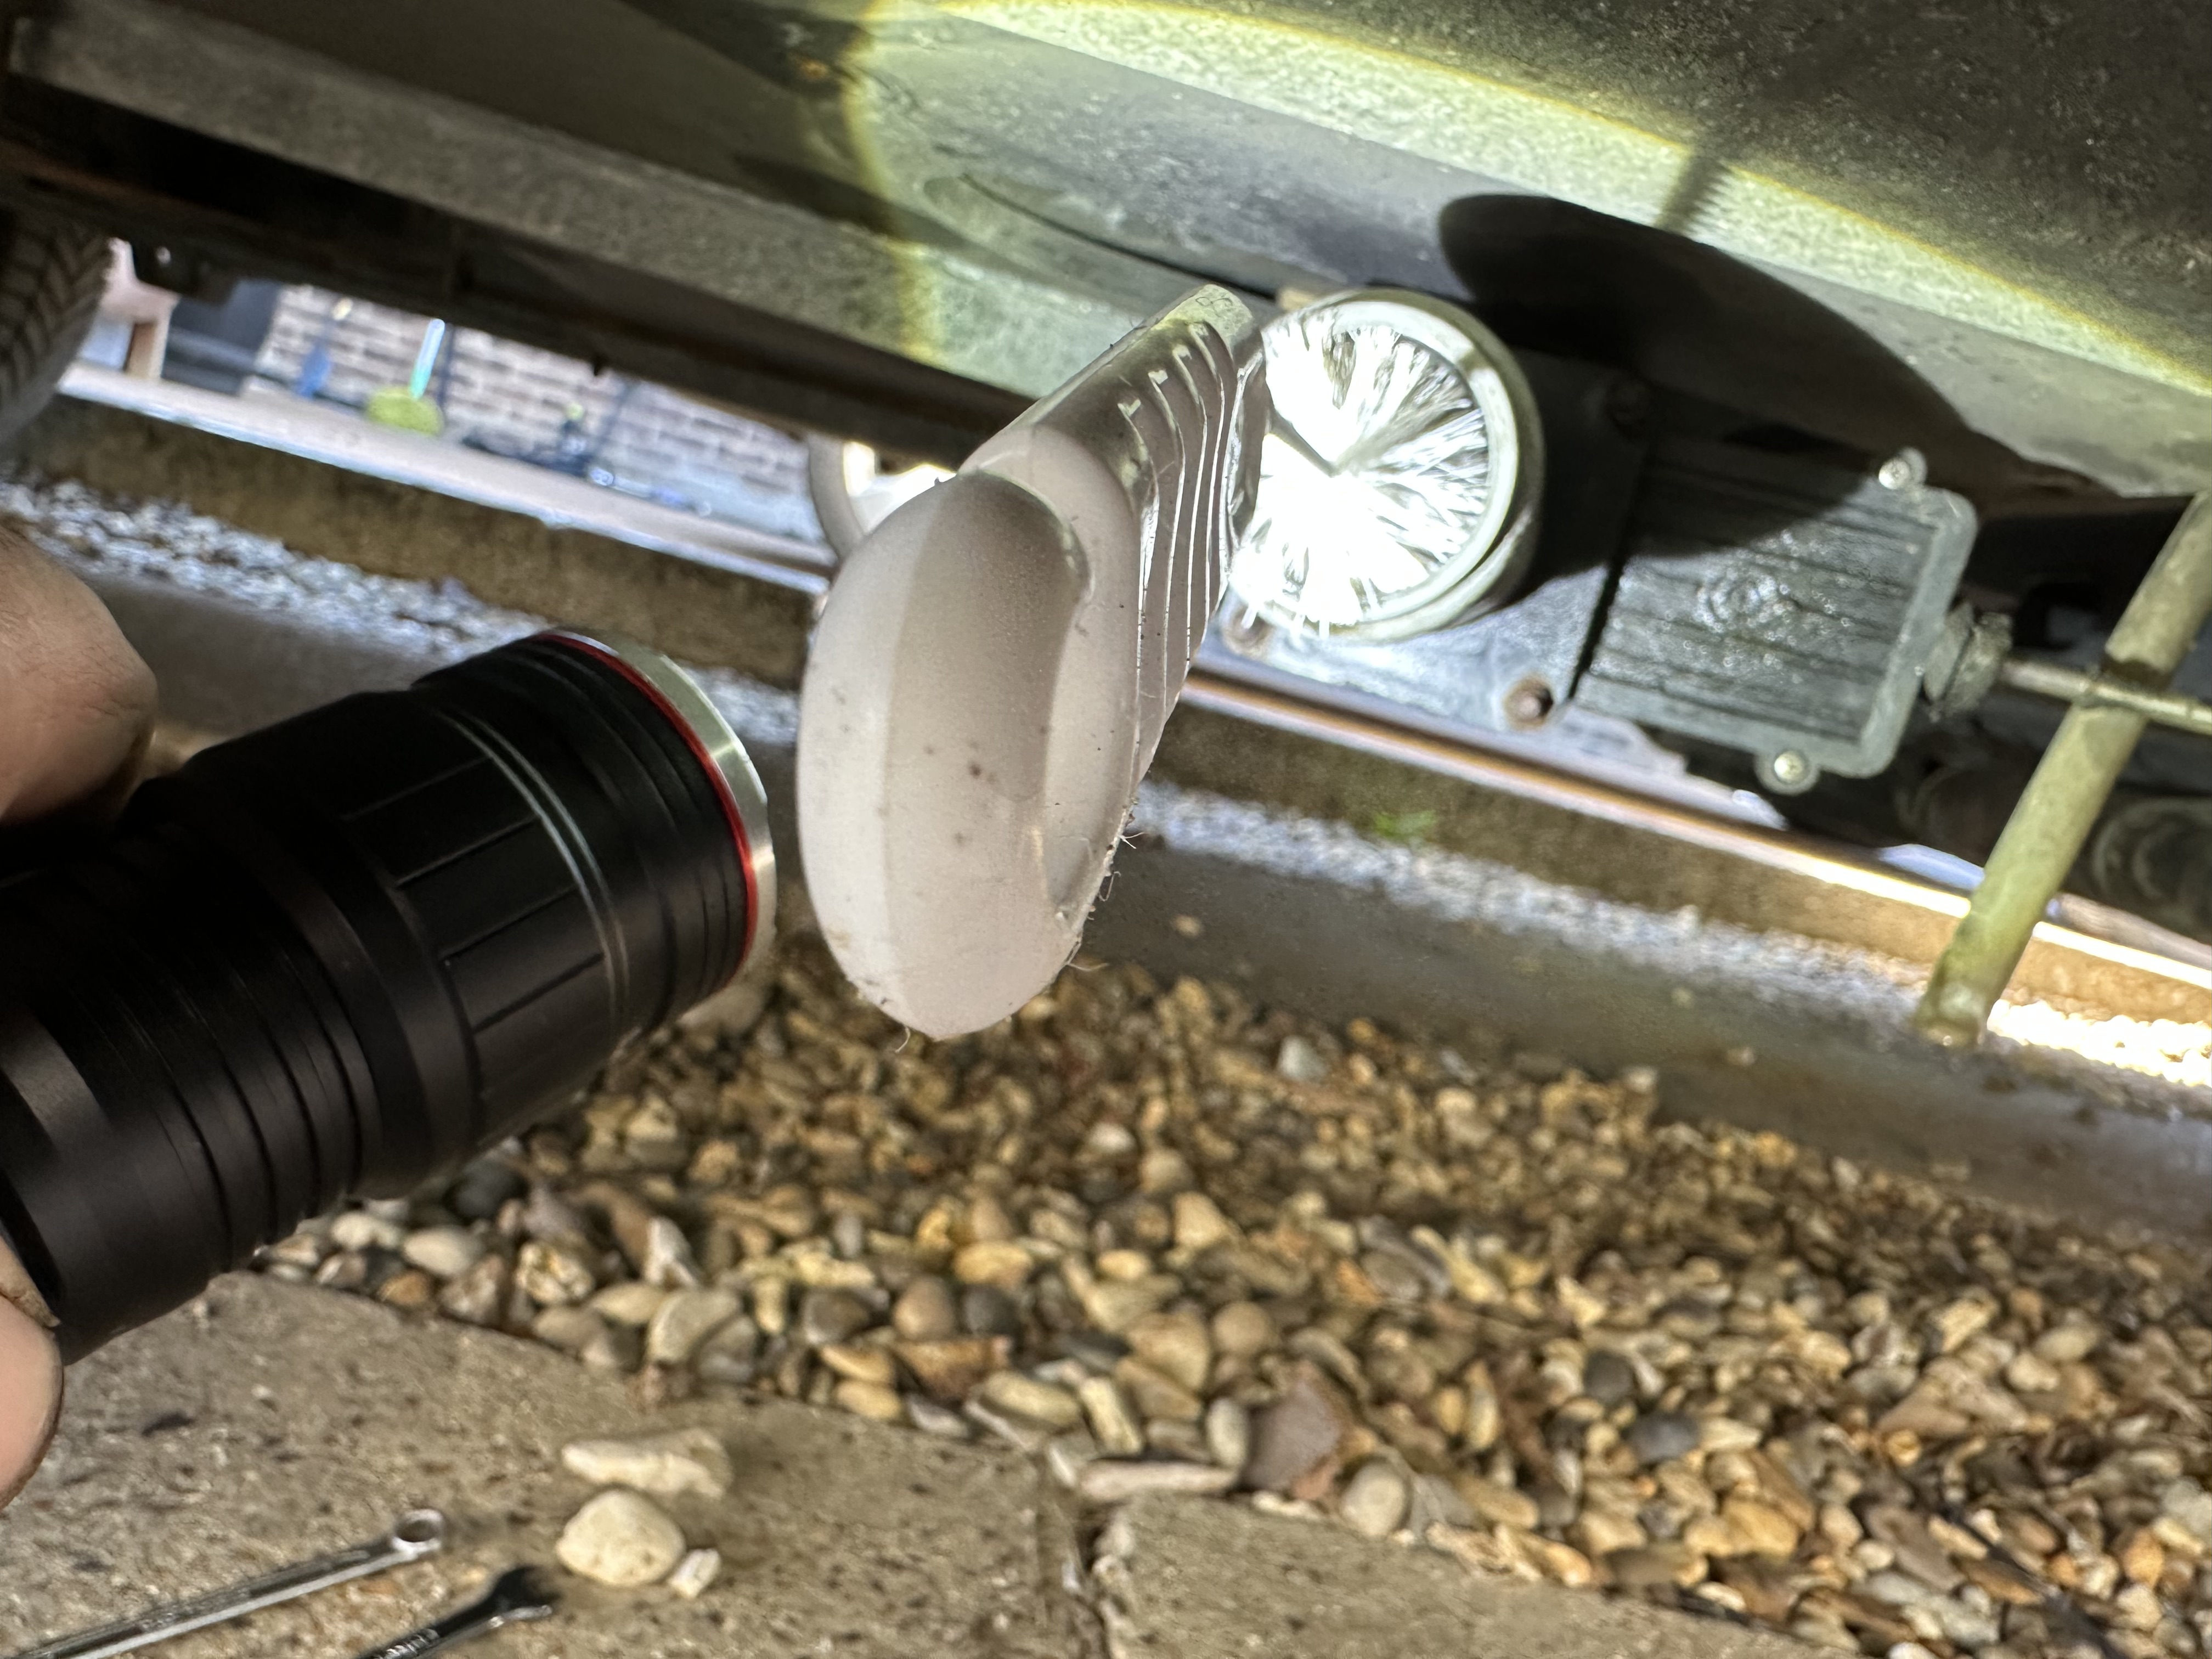
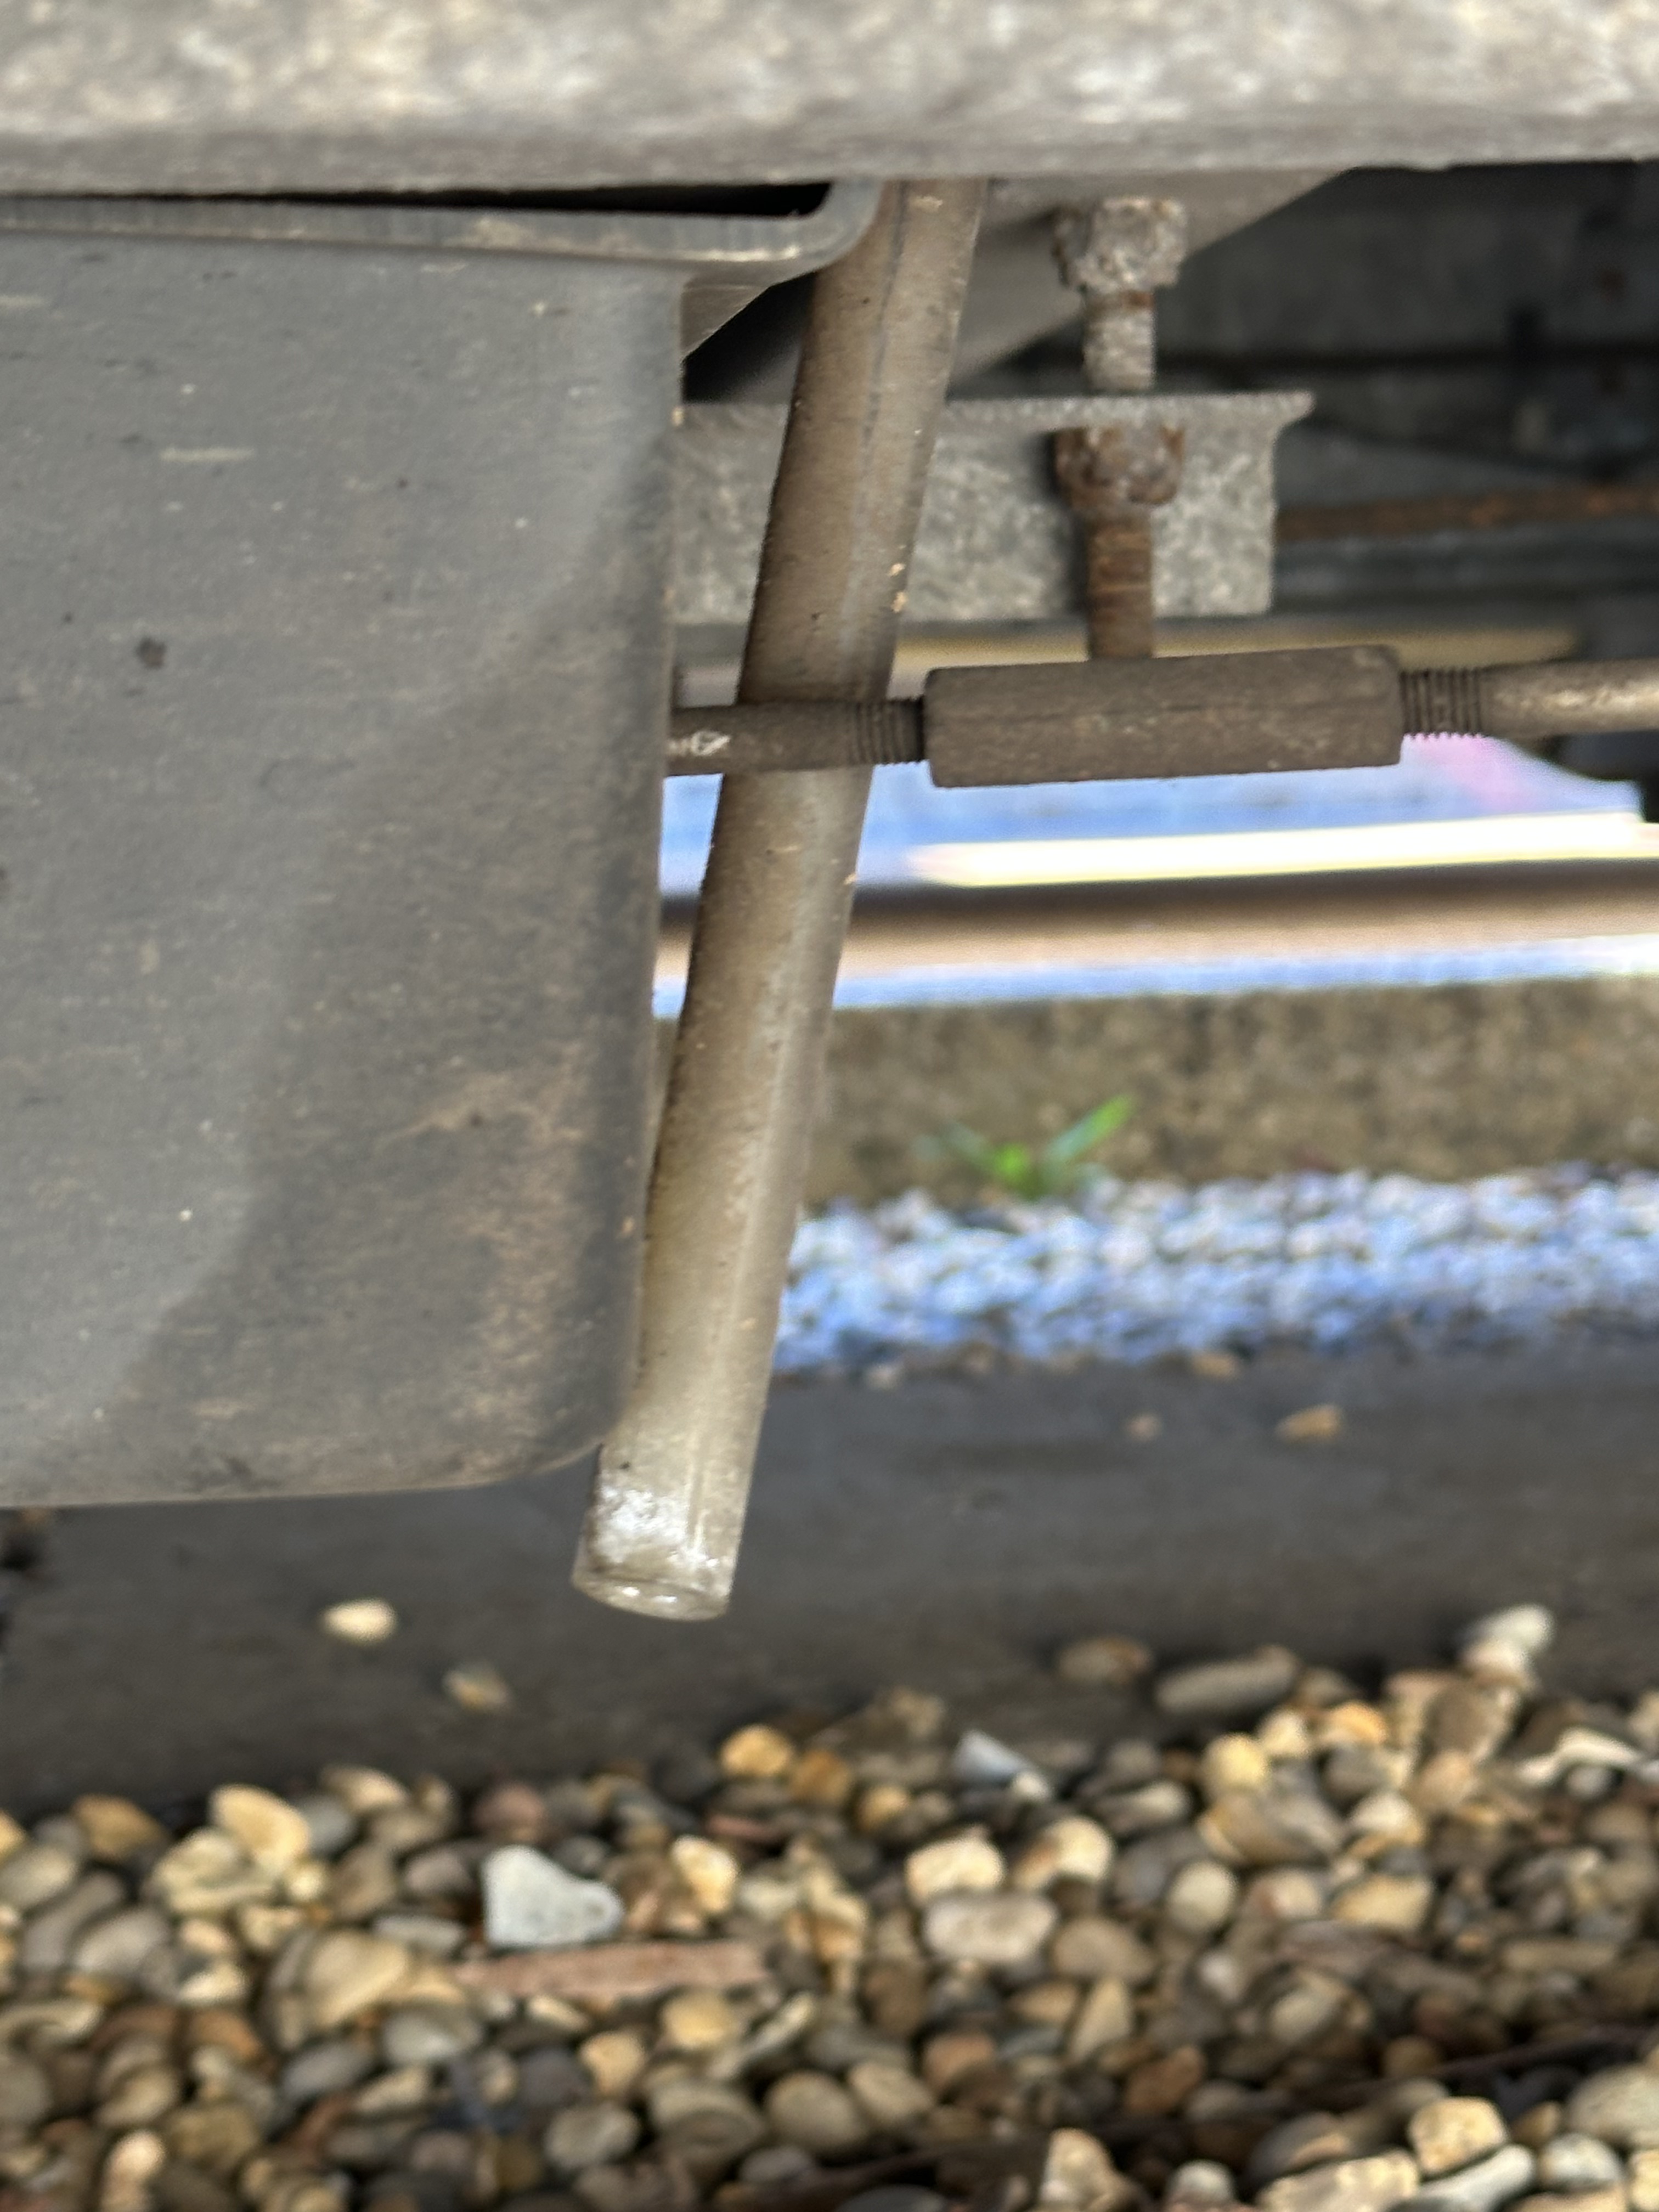
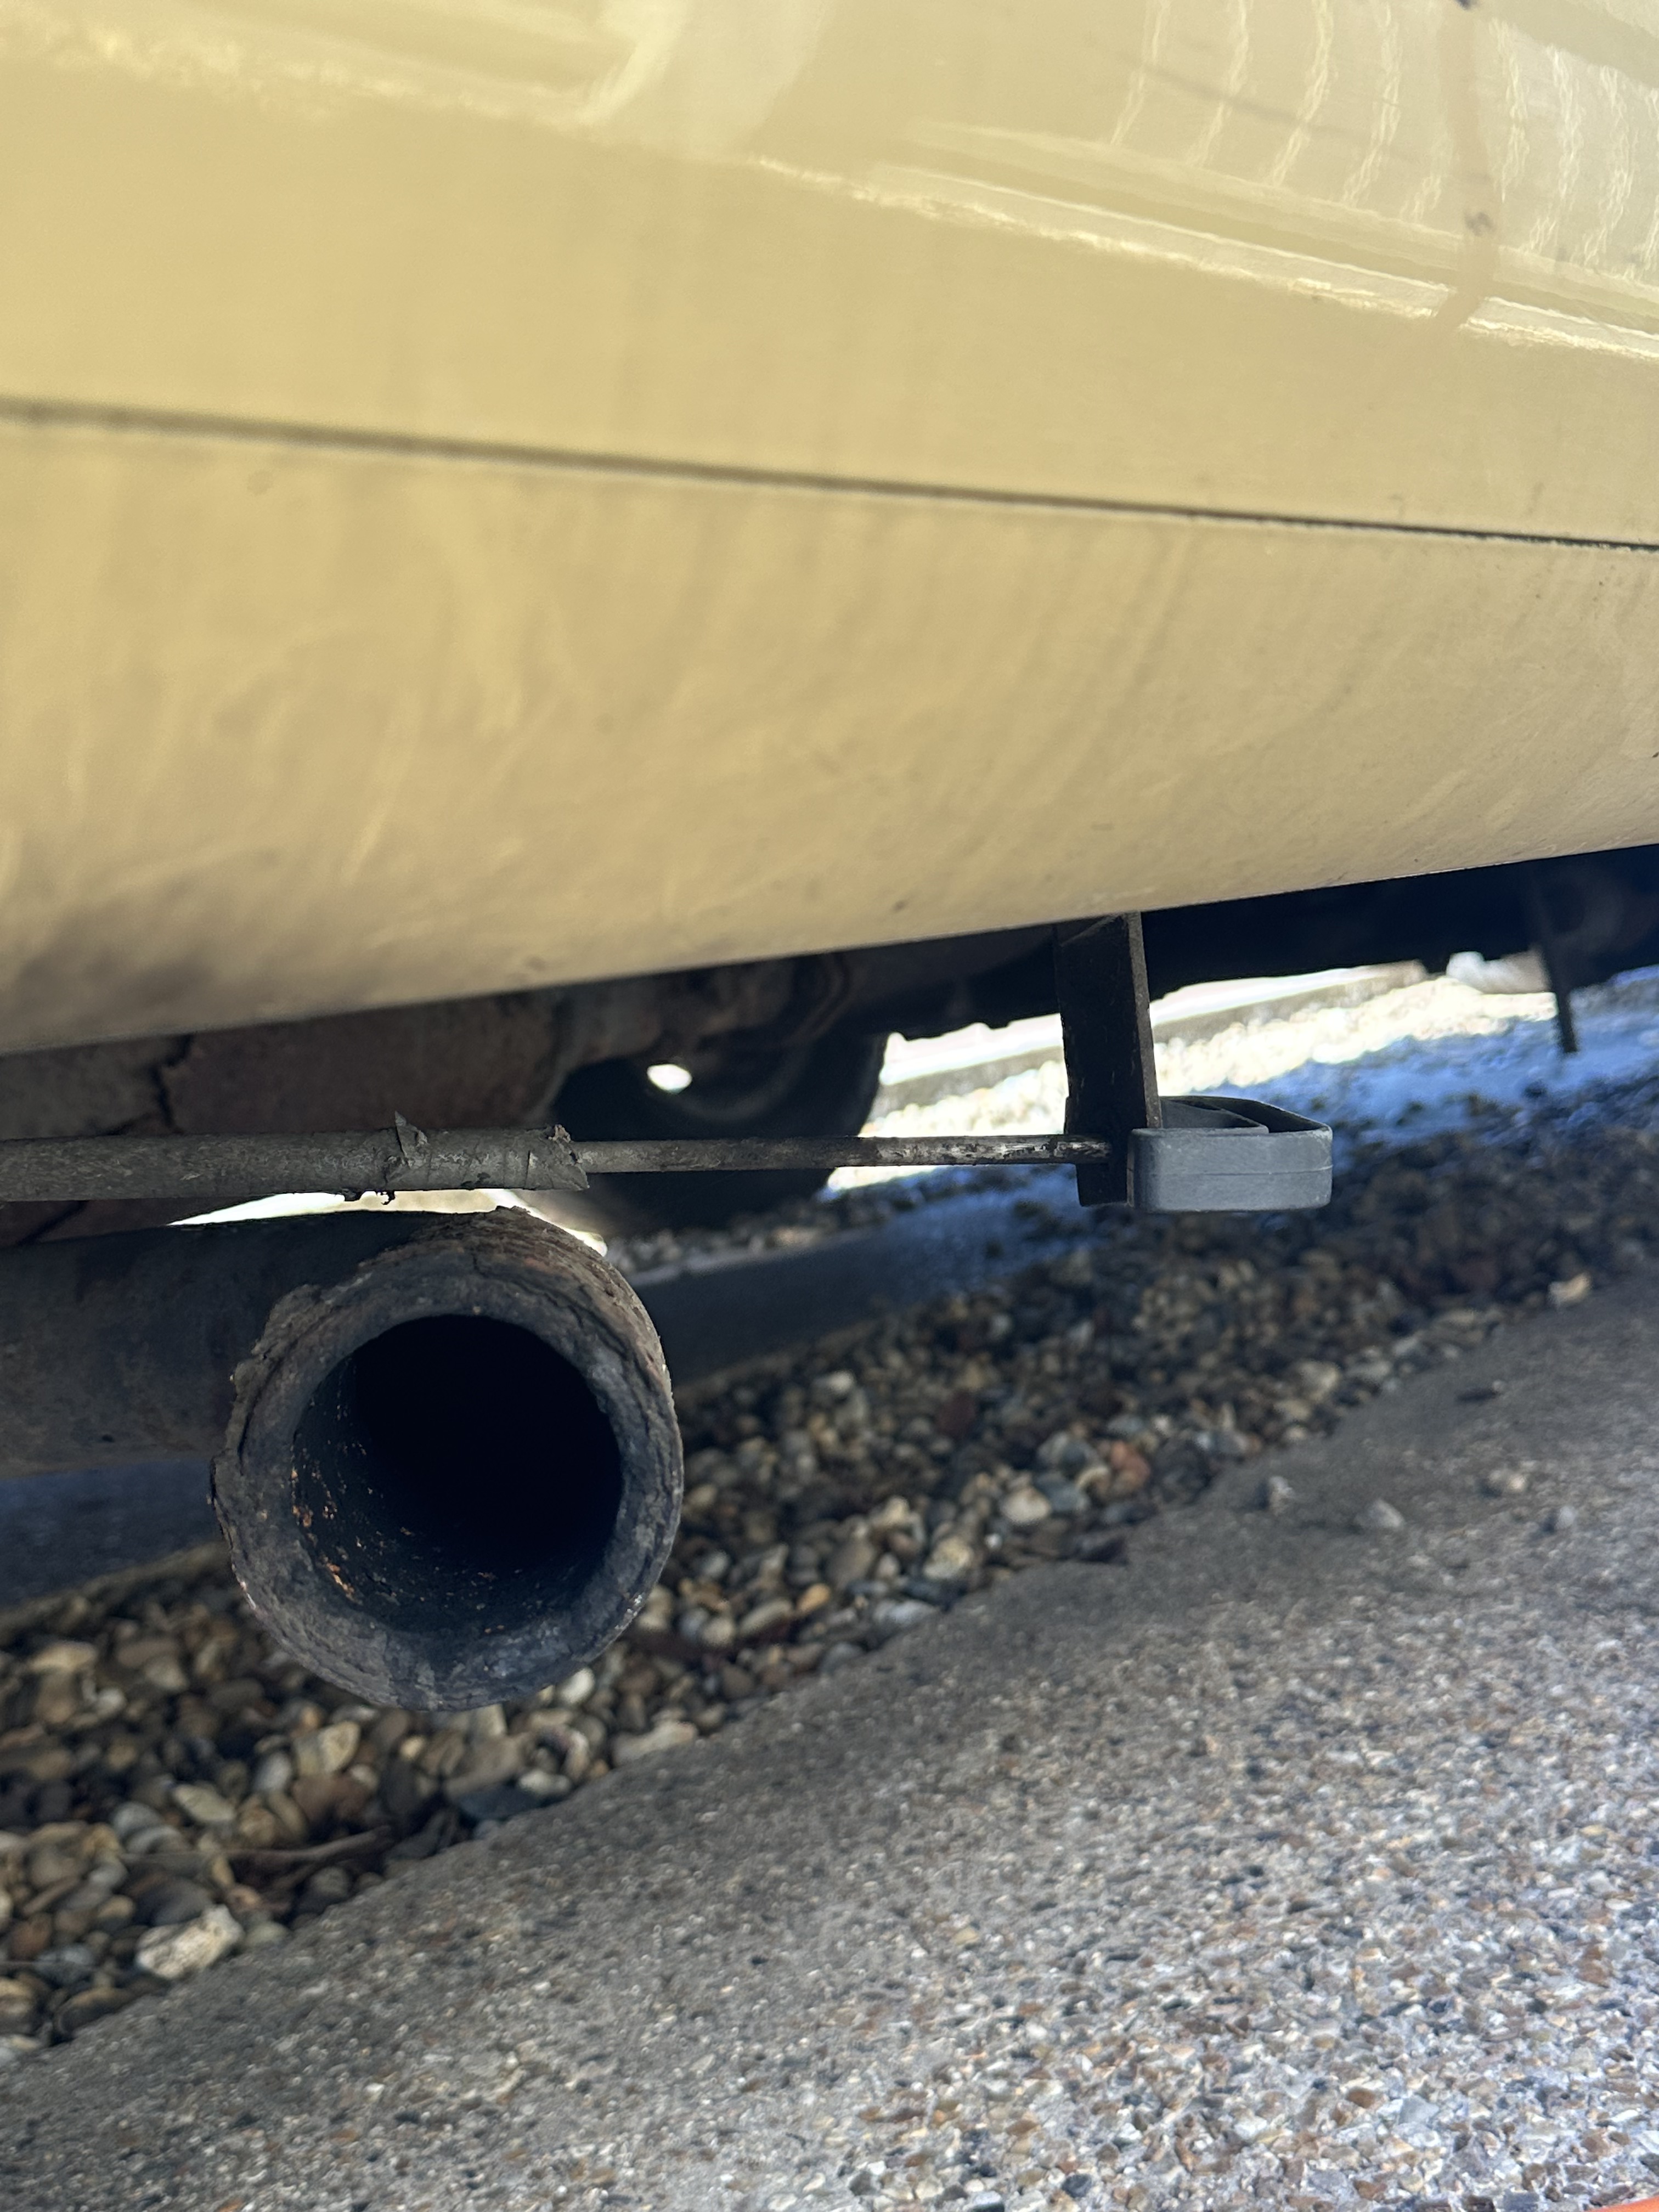
Ziggy’s grey waste tank is under the off side mid section – just forward of the entrance. There is a long metal pull rod to open the trap, and there is a grey piece of tube where – for those who remember, I made some connective pipework for serviced pitches if needed. First thing I noticed was there there appeared to be a protective case or cover over the tank, and I could not even see the actual tank or mechanism.


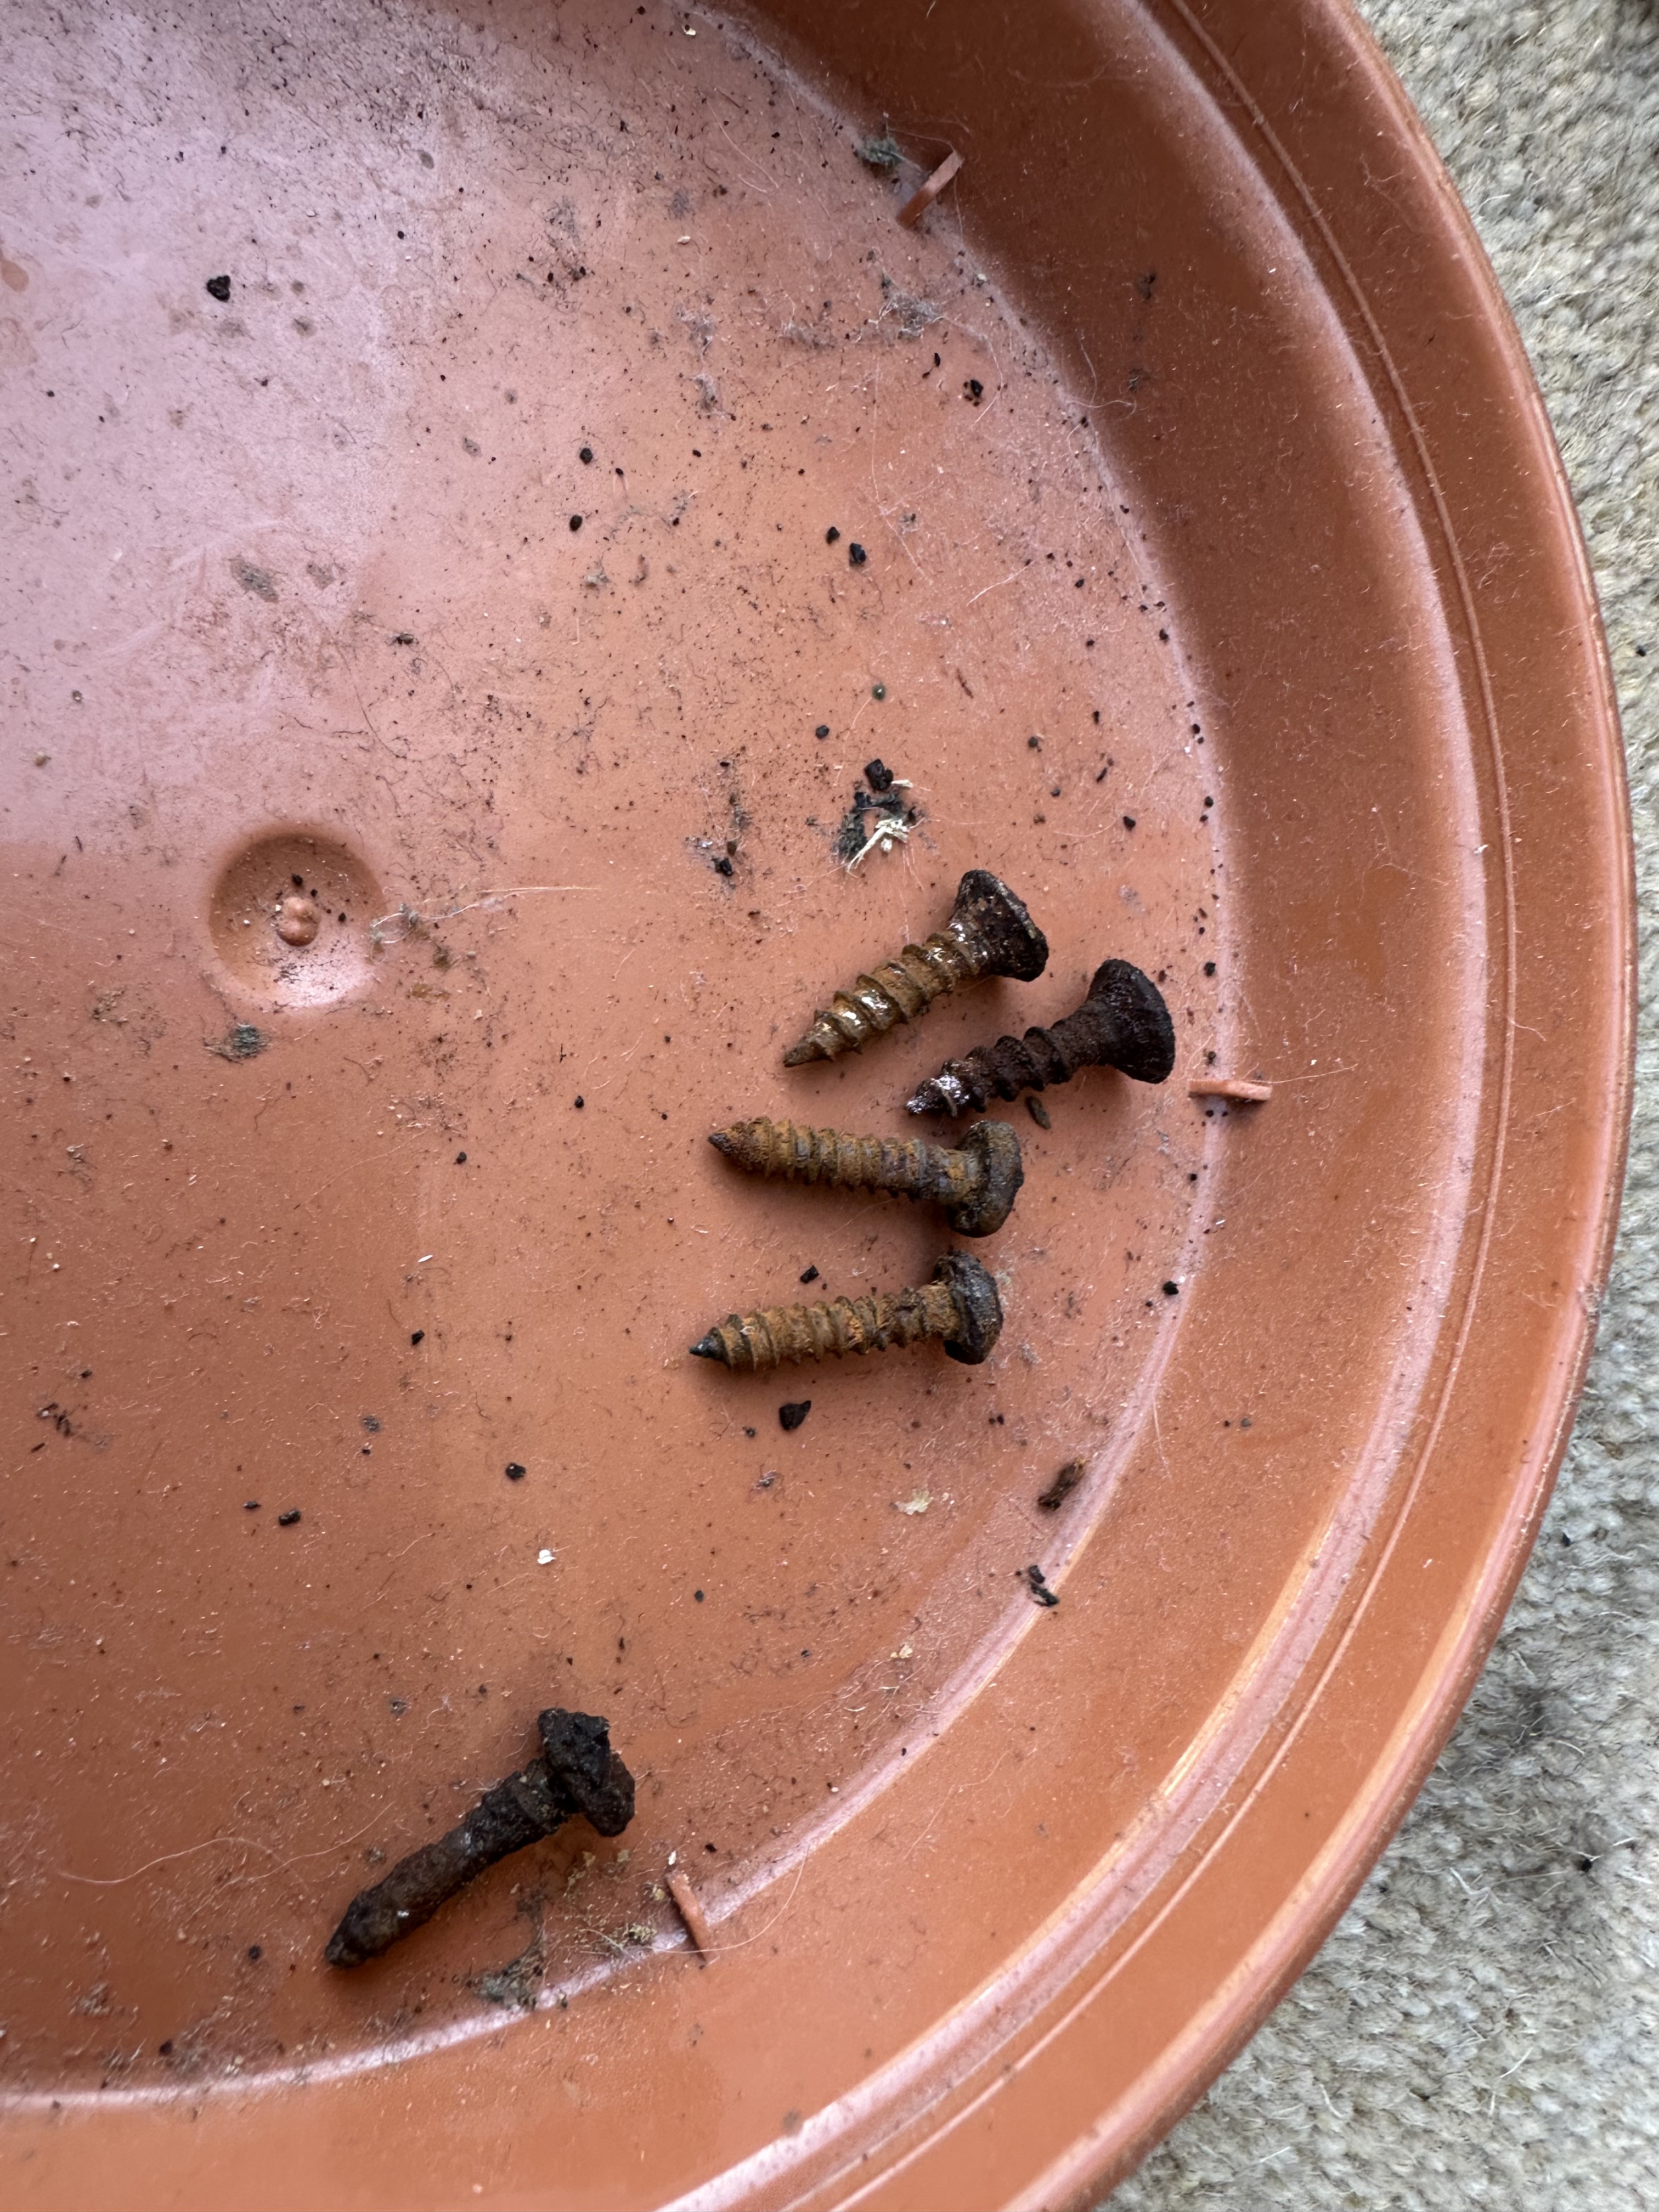
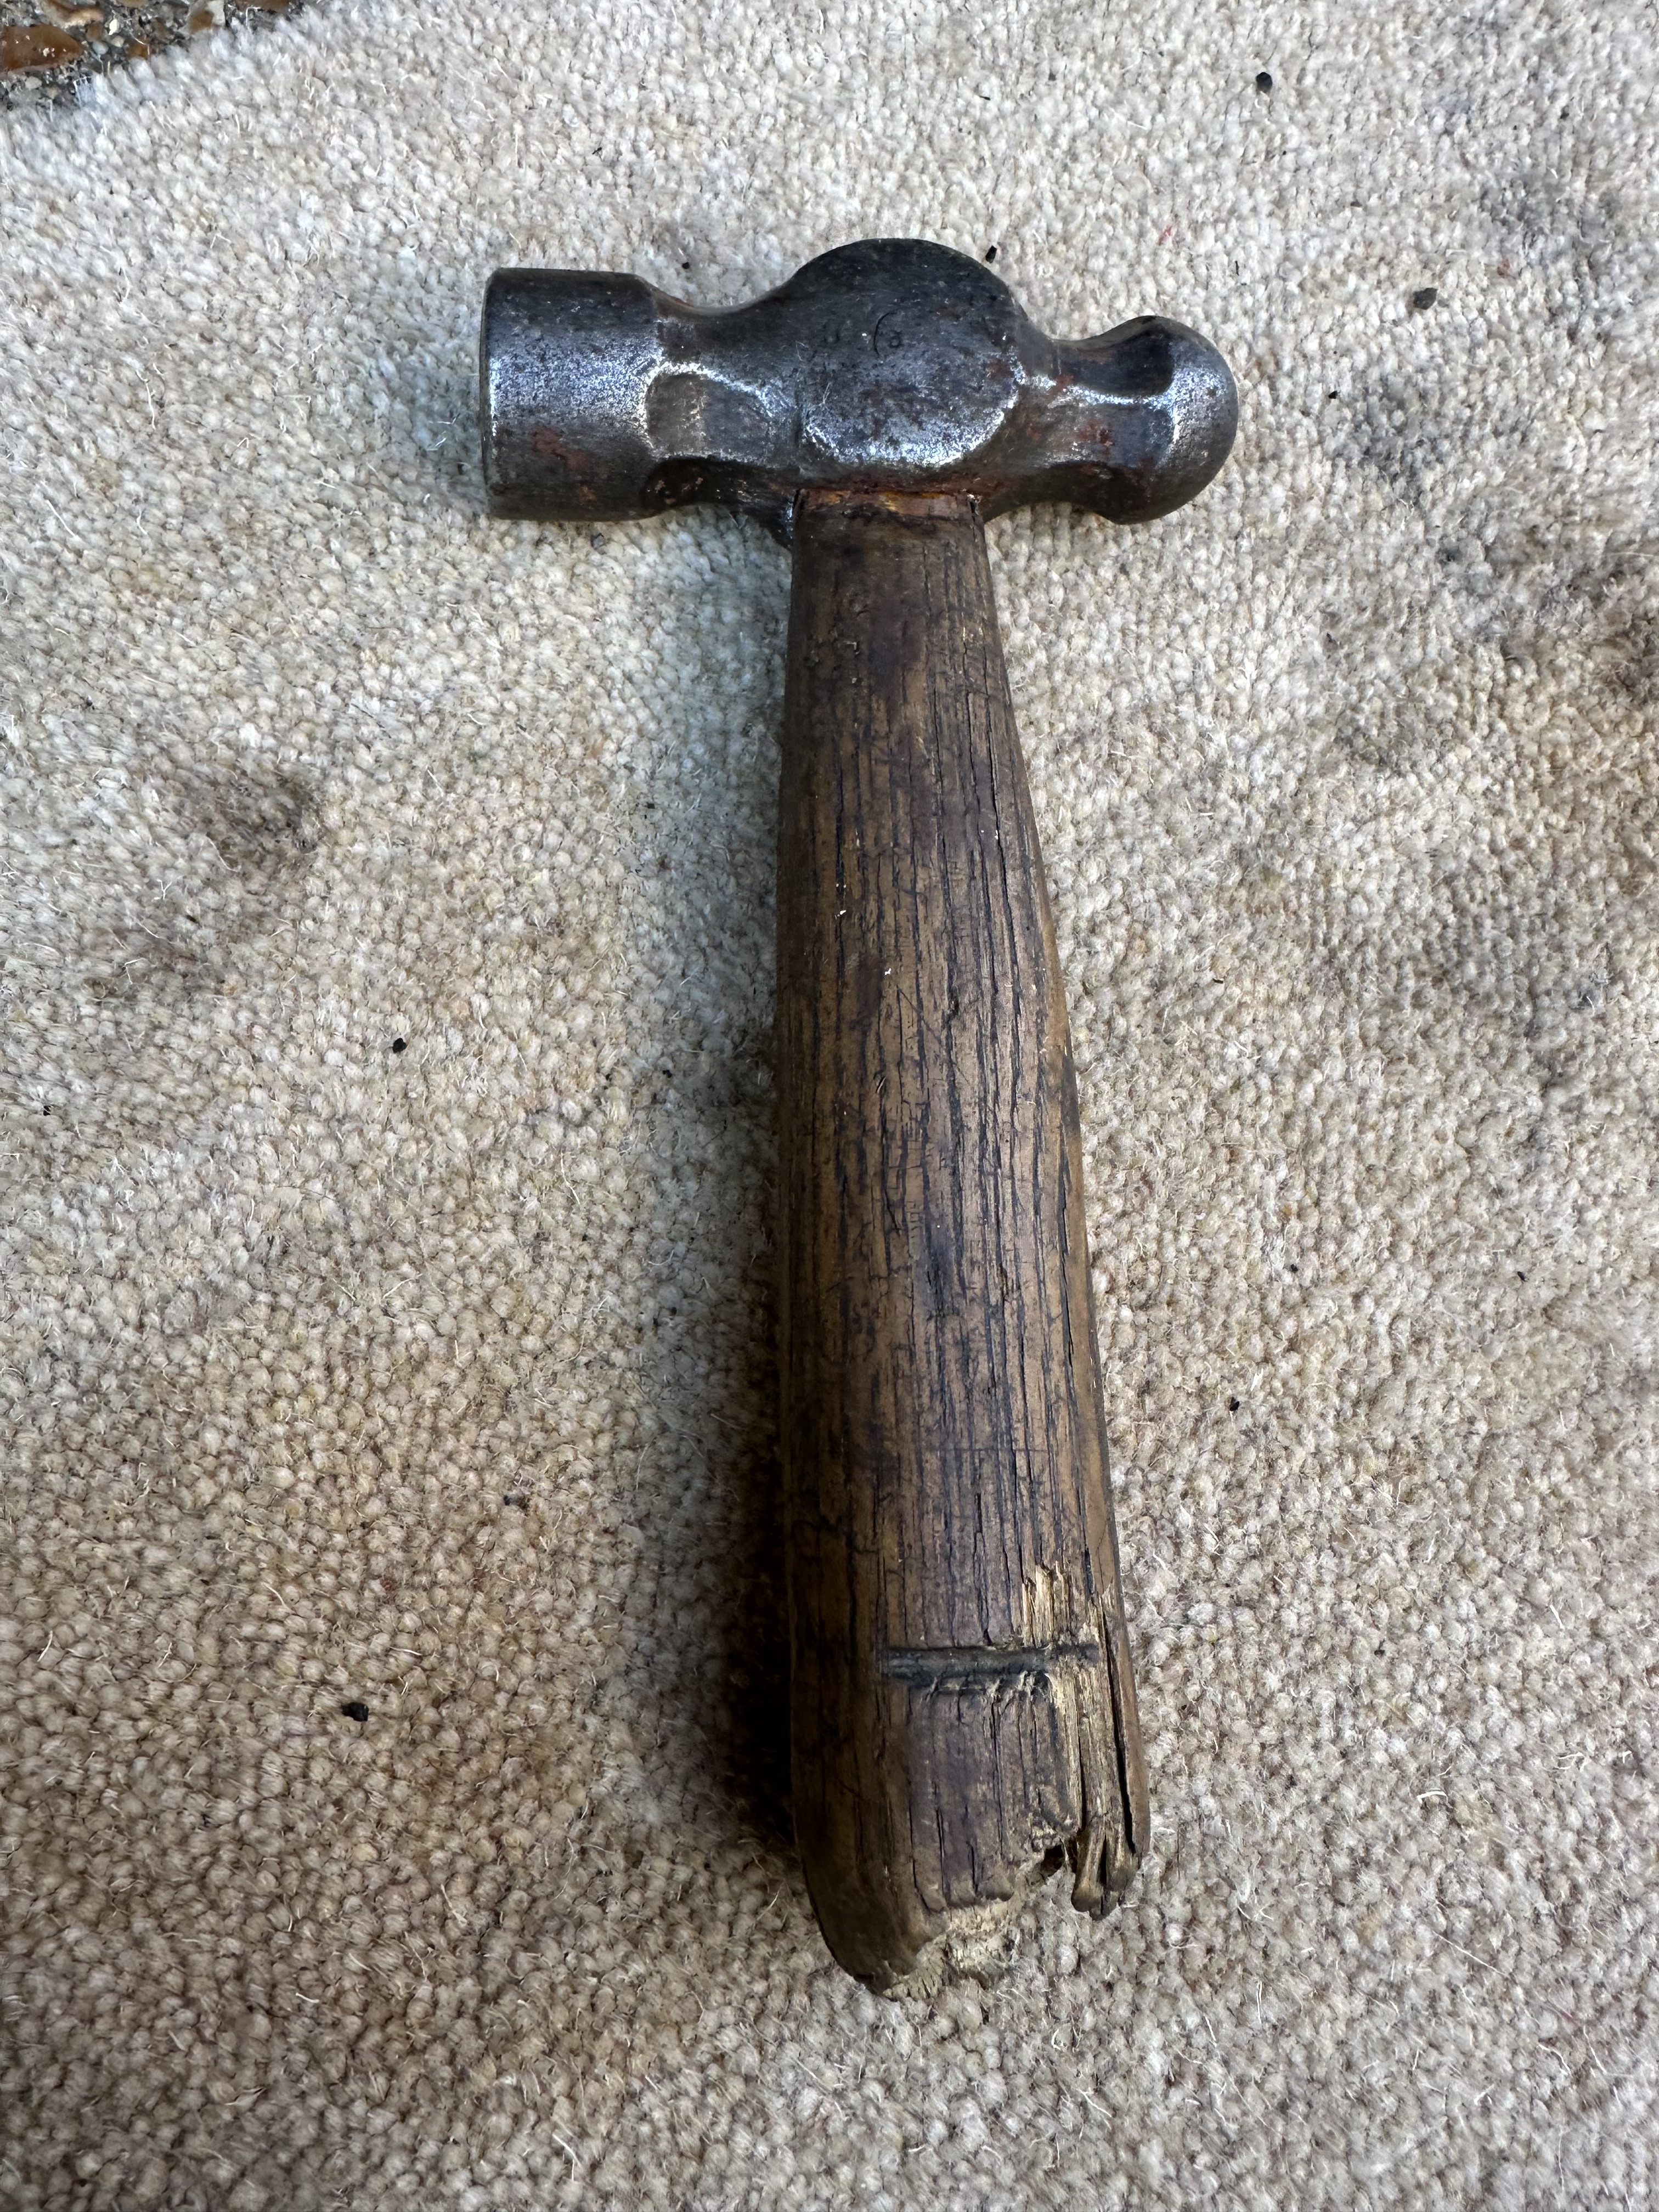
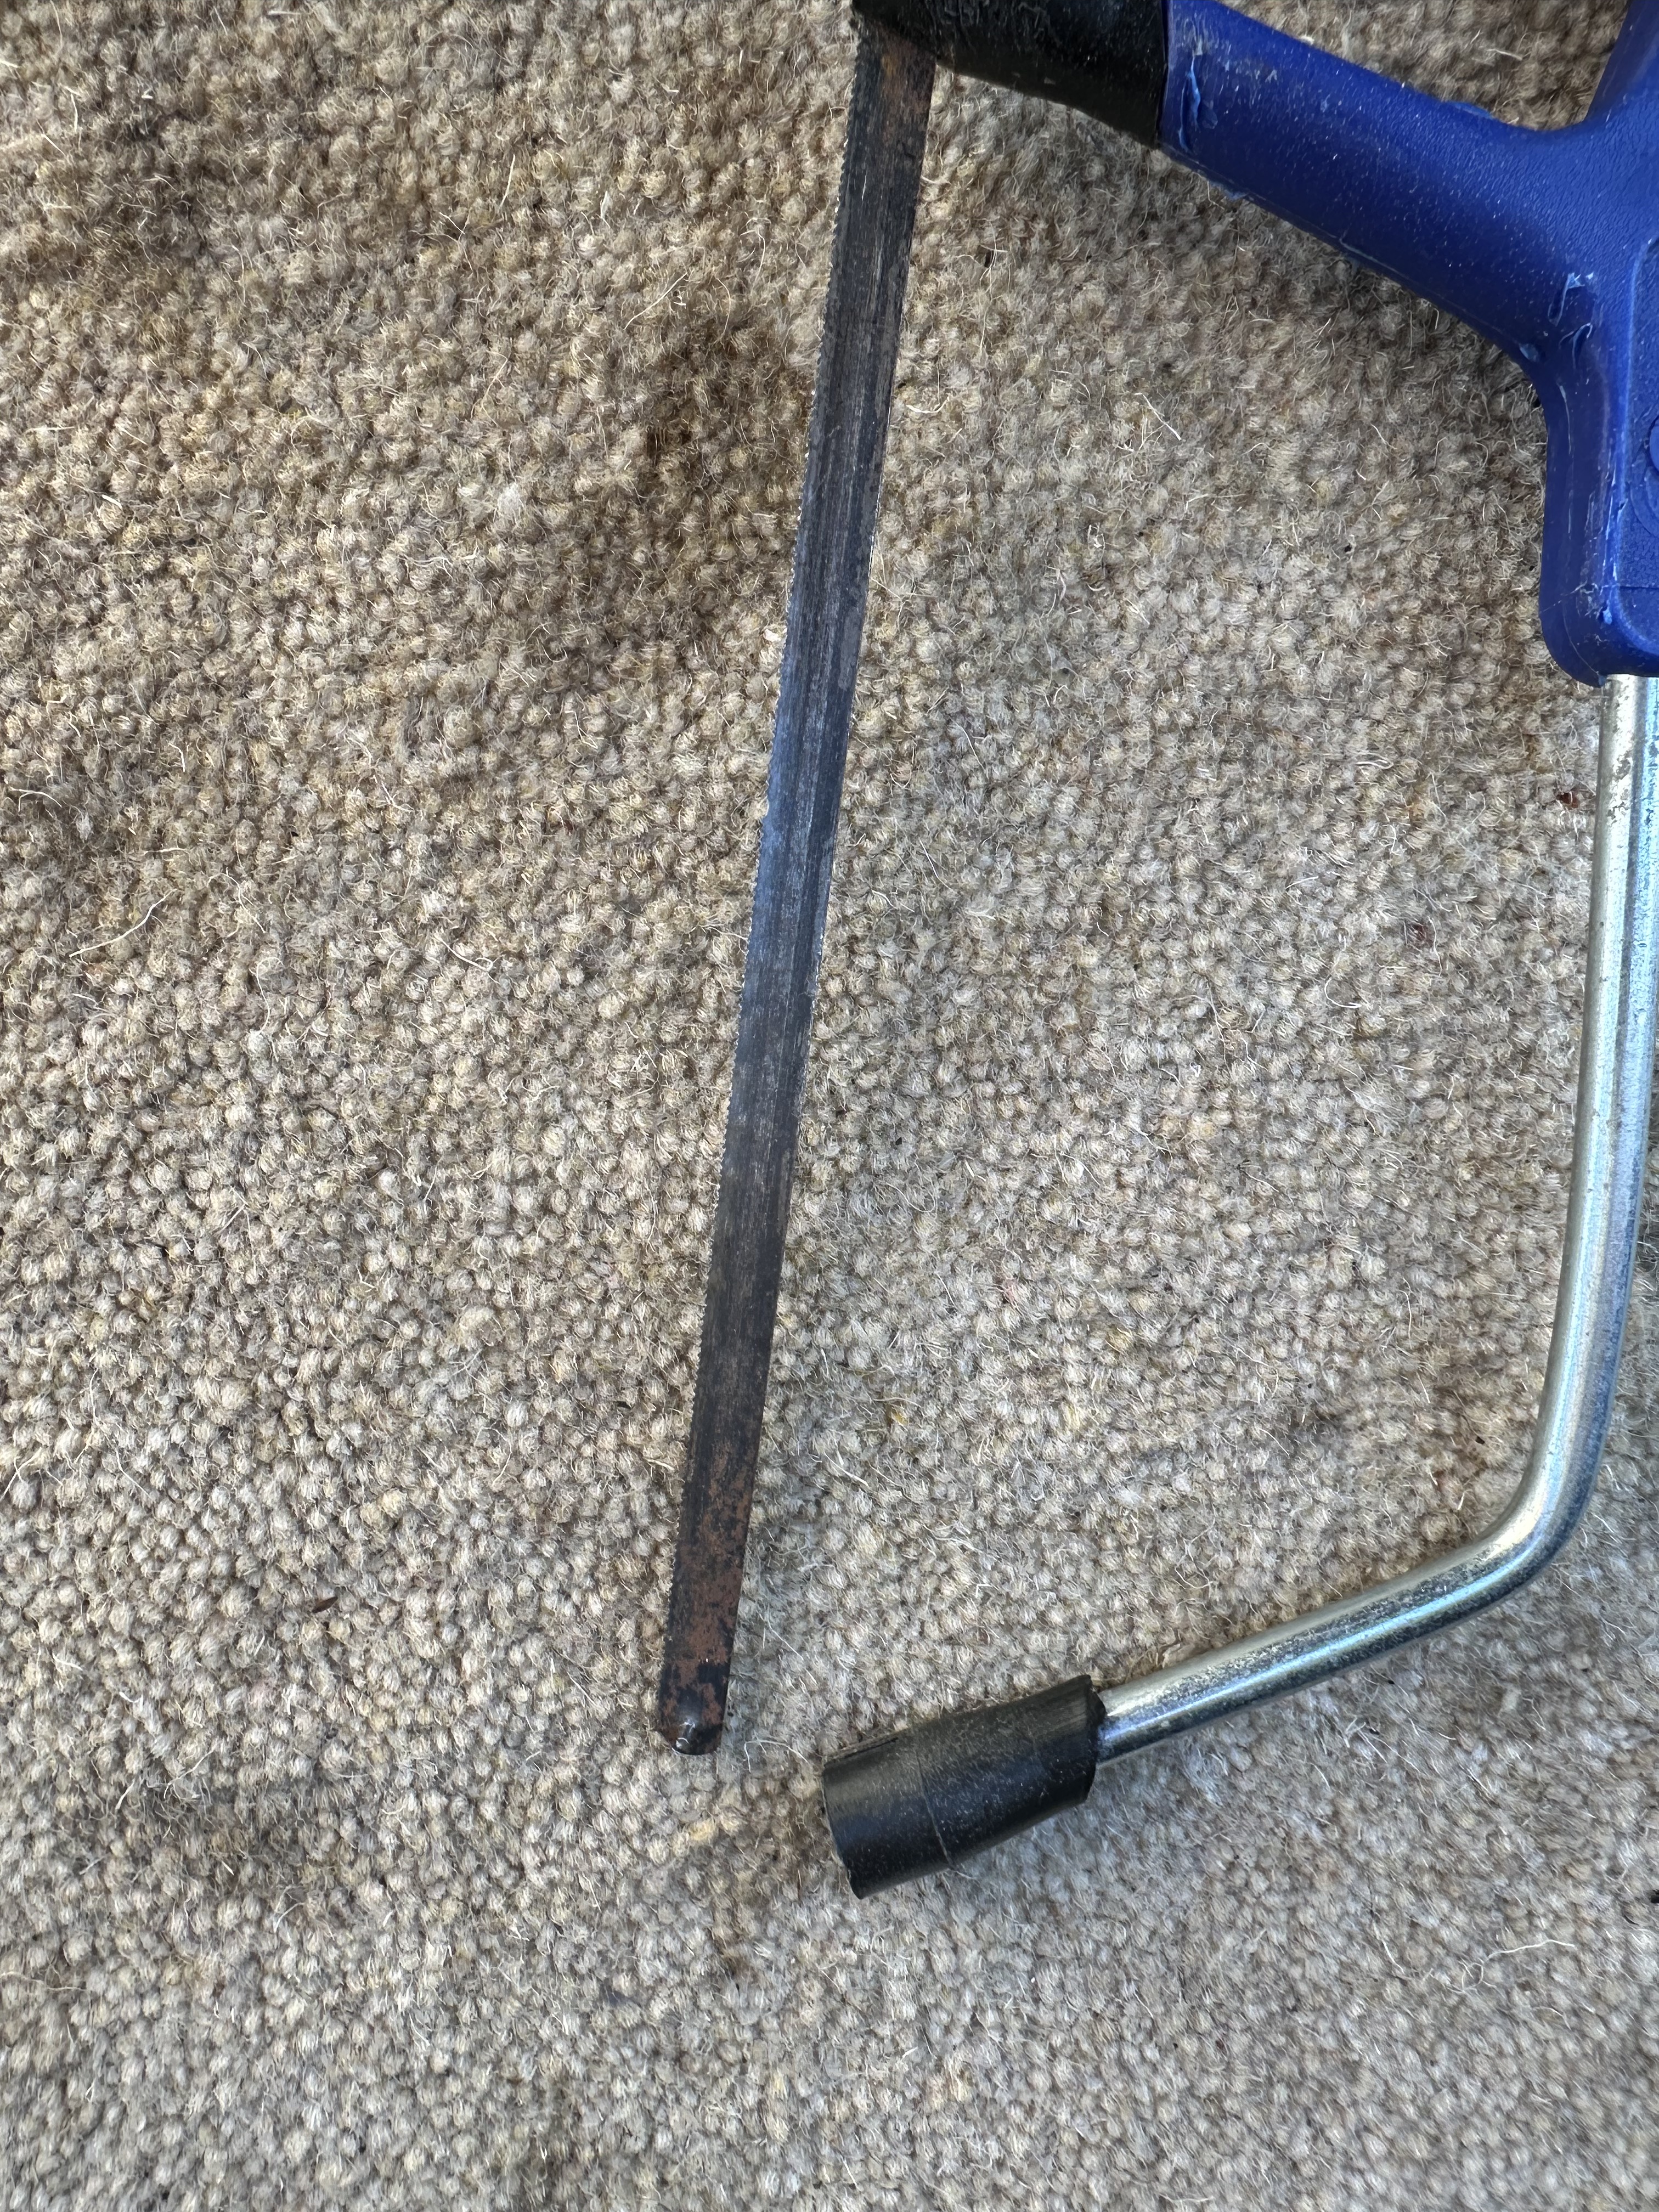
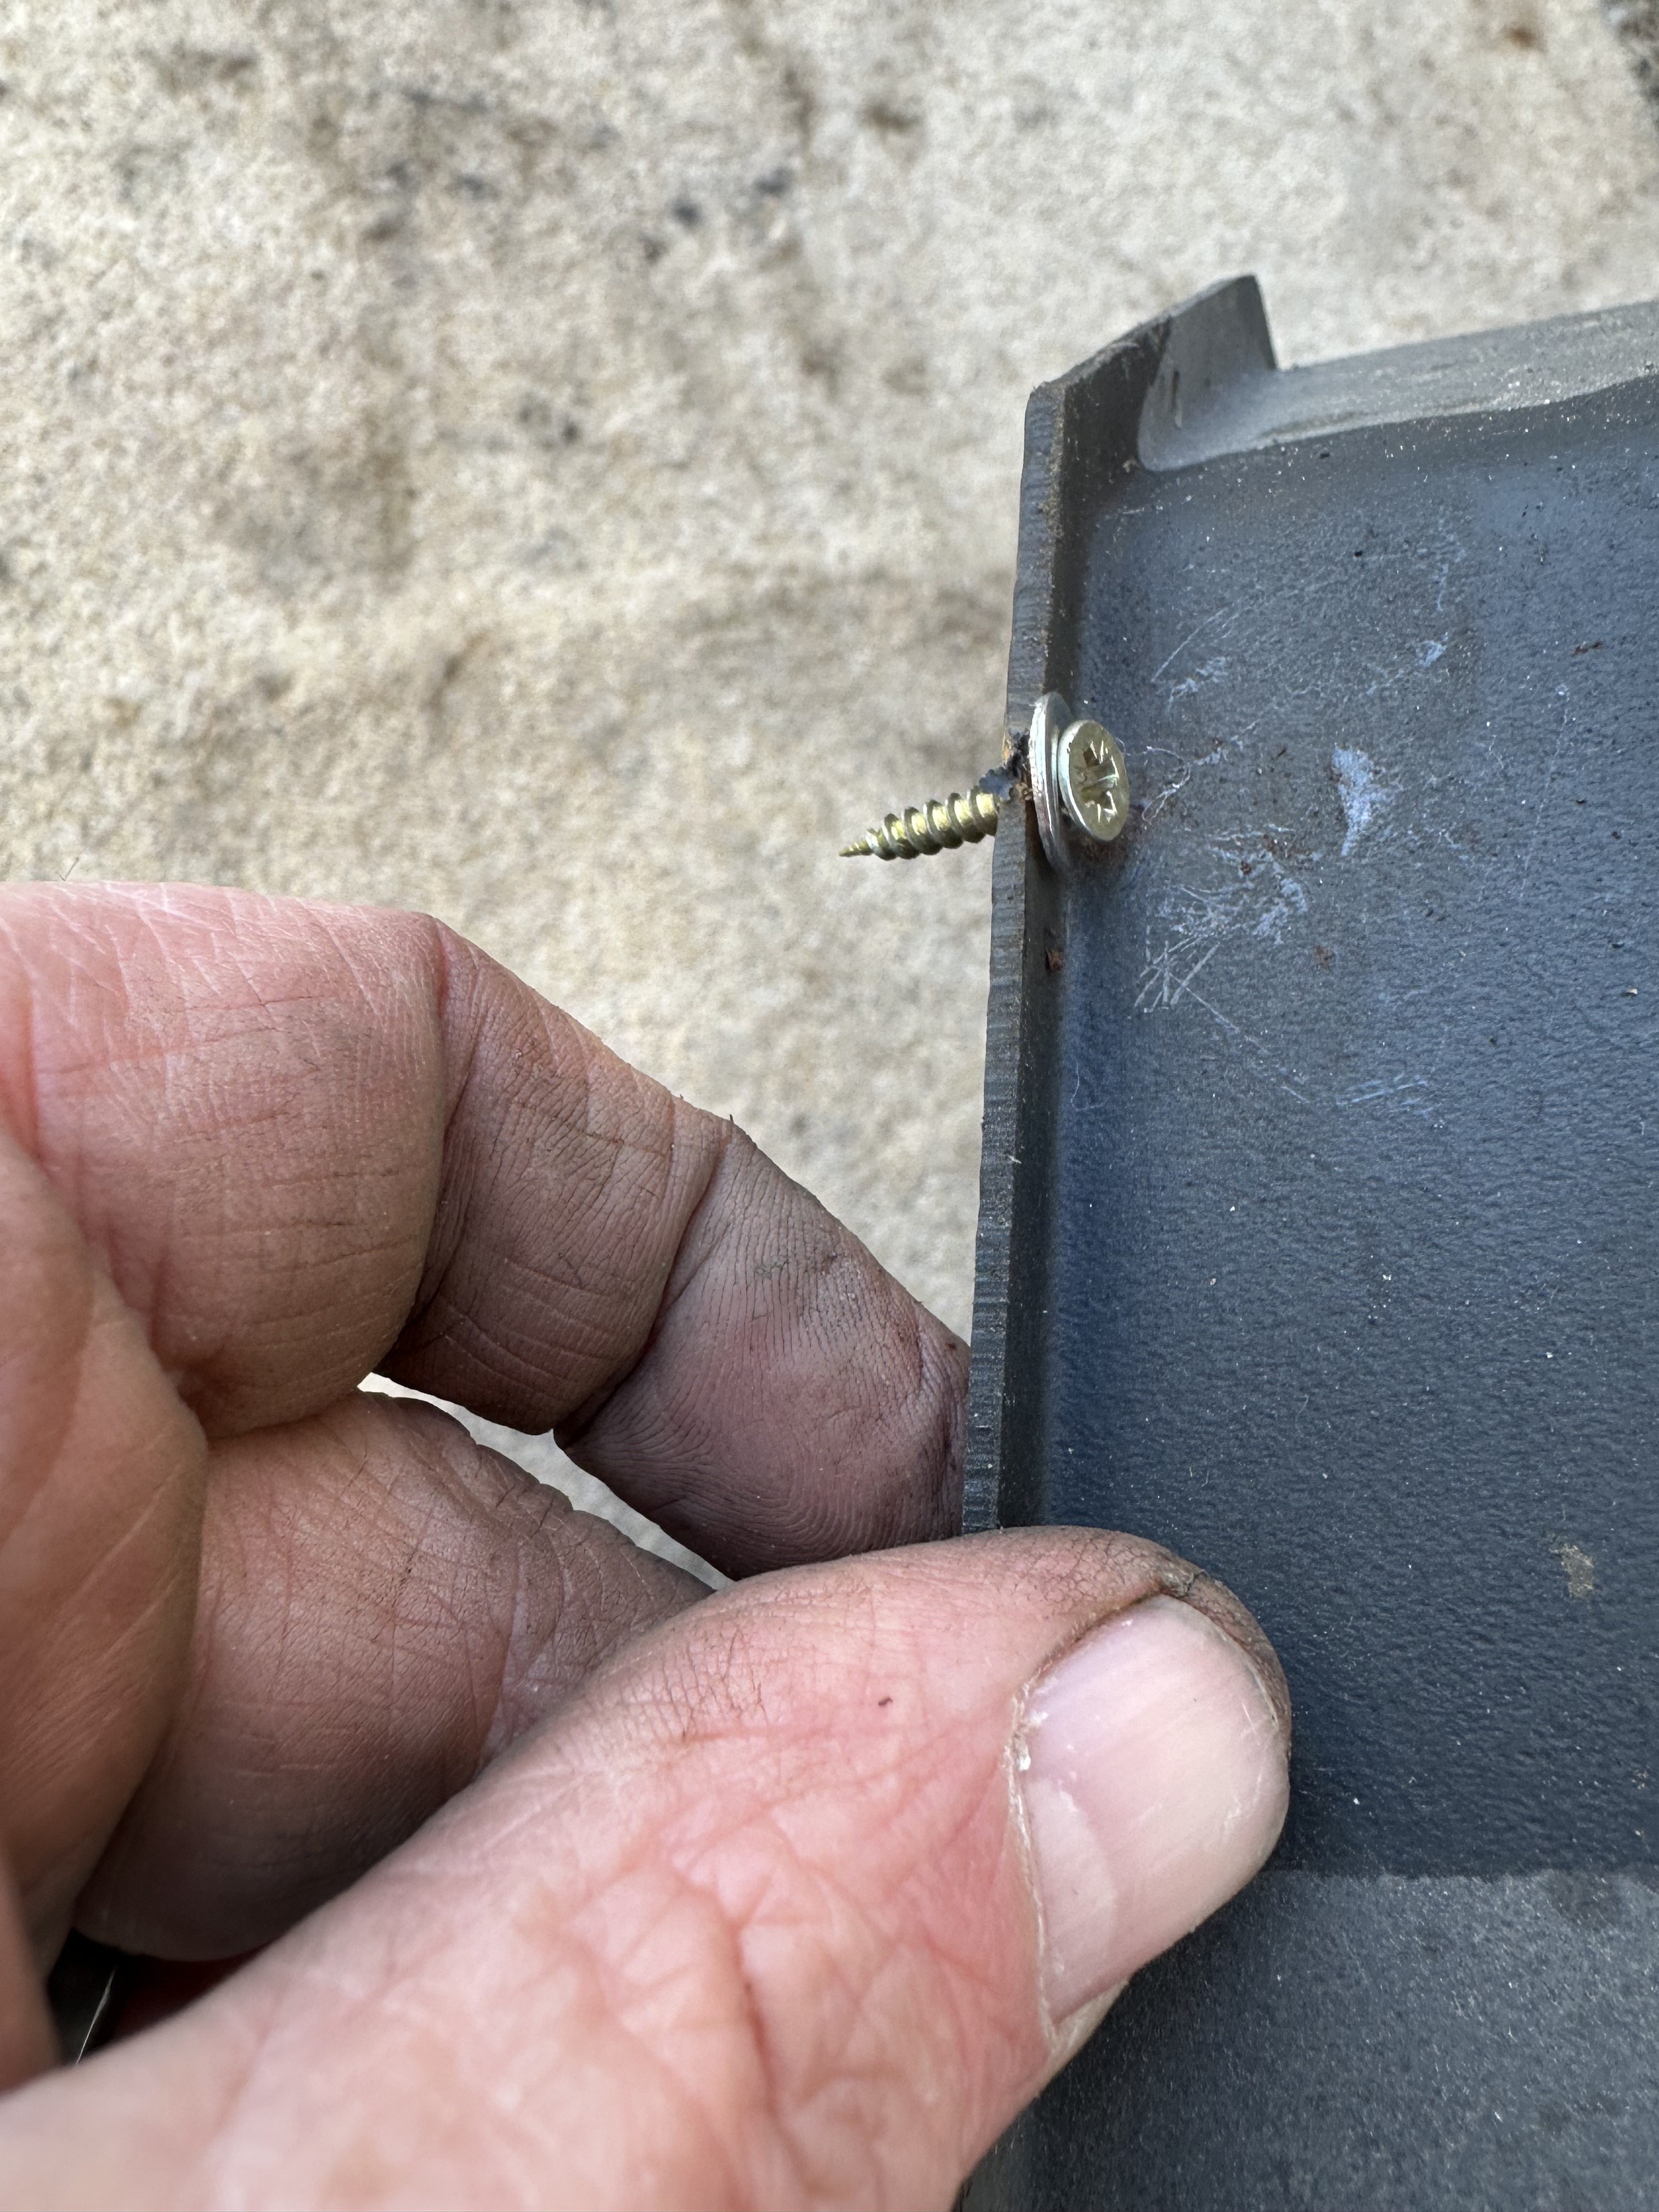
the cover was held in place with some small, self tapping screws and they were very badly corroded – I have shared and image of how badly – but one of them was merely turning with out removing, and one was so badly rusted, that the screw head would not turn – even with my impromptu impact driver; (My father was a mechanical engineer and had accumulated a lot of tools – and certain “adapted” tools as well – this is his cut down hammer for working in tight spaces – like underneath a motorhome!)
So – how to get round those issues – again, I returned to my Dad’s fund of knowledge and work rounds. The screw that was turning and now coming out – is actually very simple – in this instance, and sorry I do not have any spare arms to take a photo of this – I slid a flat blade screw drive under the plastic lip – and used that to apply leverage to start the screw head moving out – once I could see enough of it, I then was able to use a set of mole grips to under and pull out the screw. The second one was more of an issue, until I recalled how my old man had solved a similar problem. He took the blade out of a junior hack saw, and put that into the gap – I held the exposed blade with a work glove and cut the head off – I then used the mole grips to turn the corroded screw shaft out
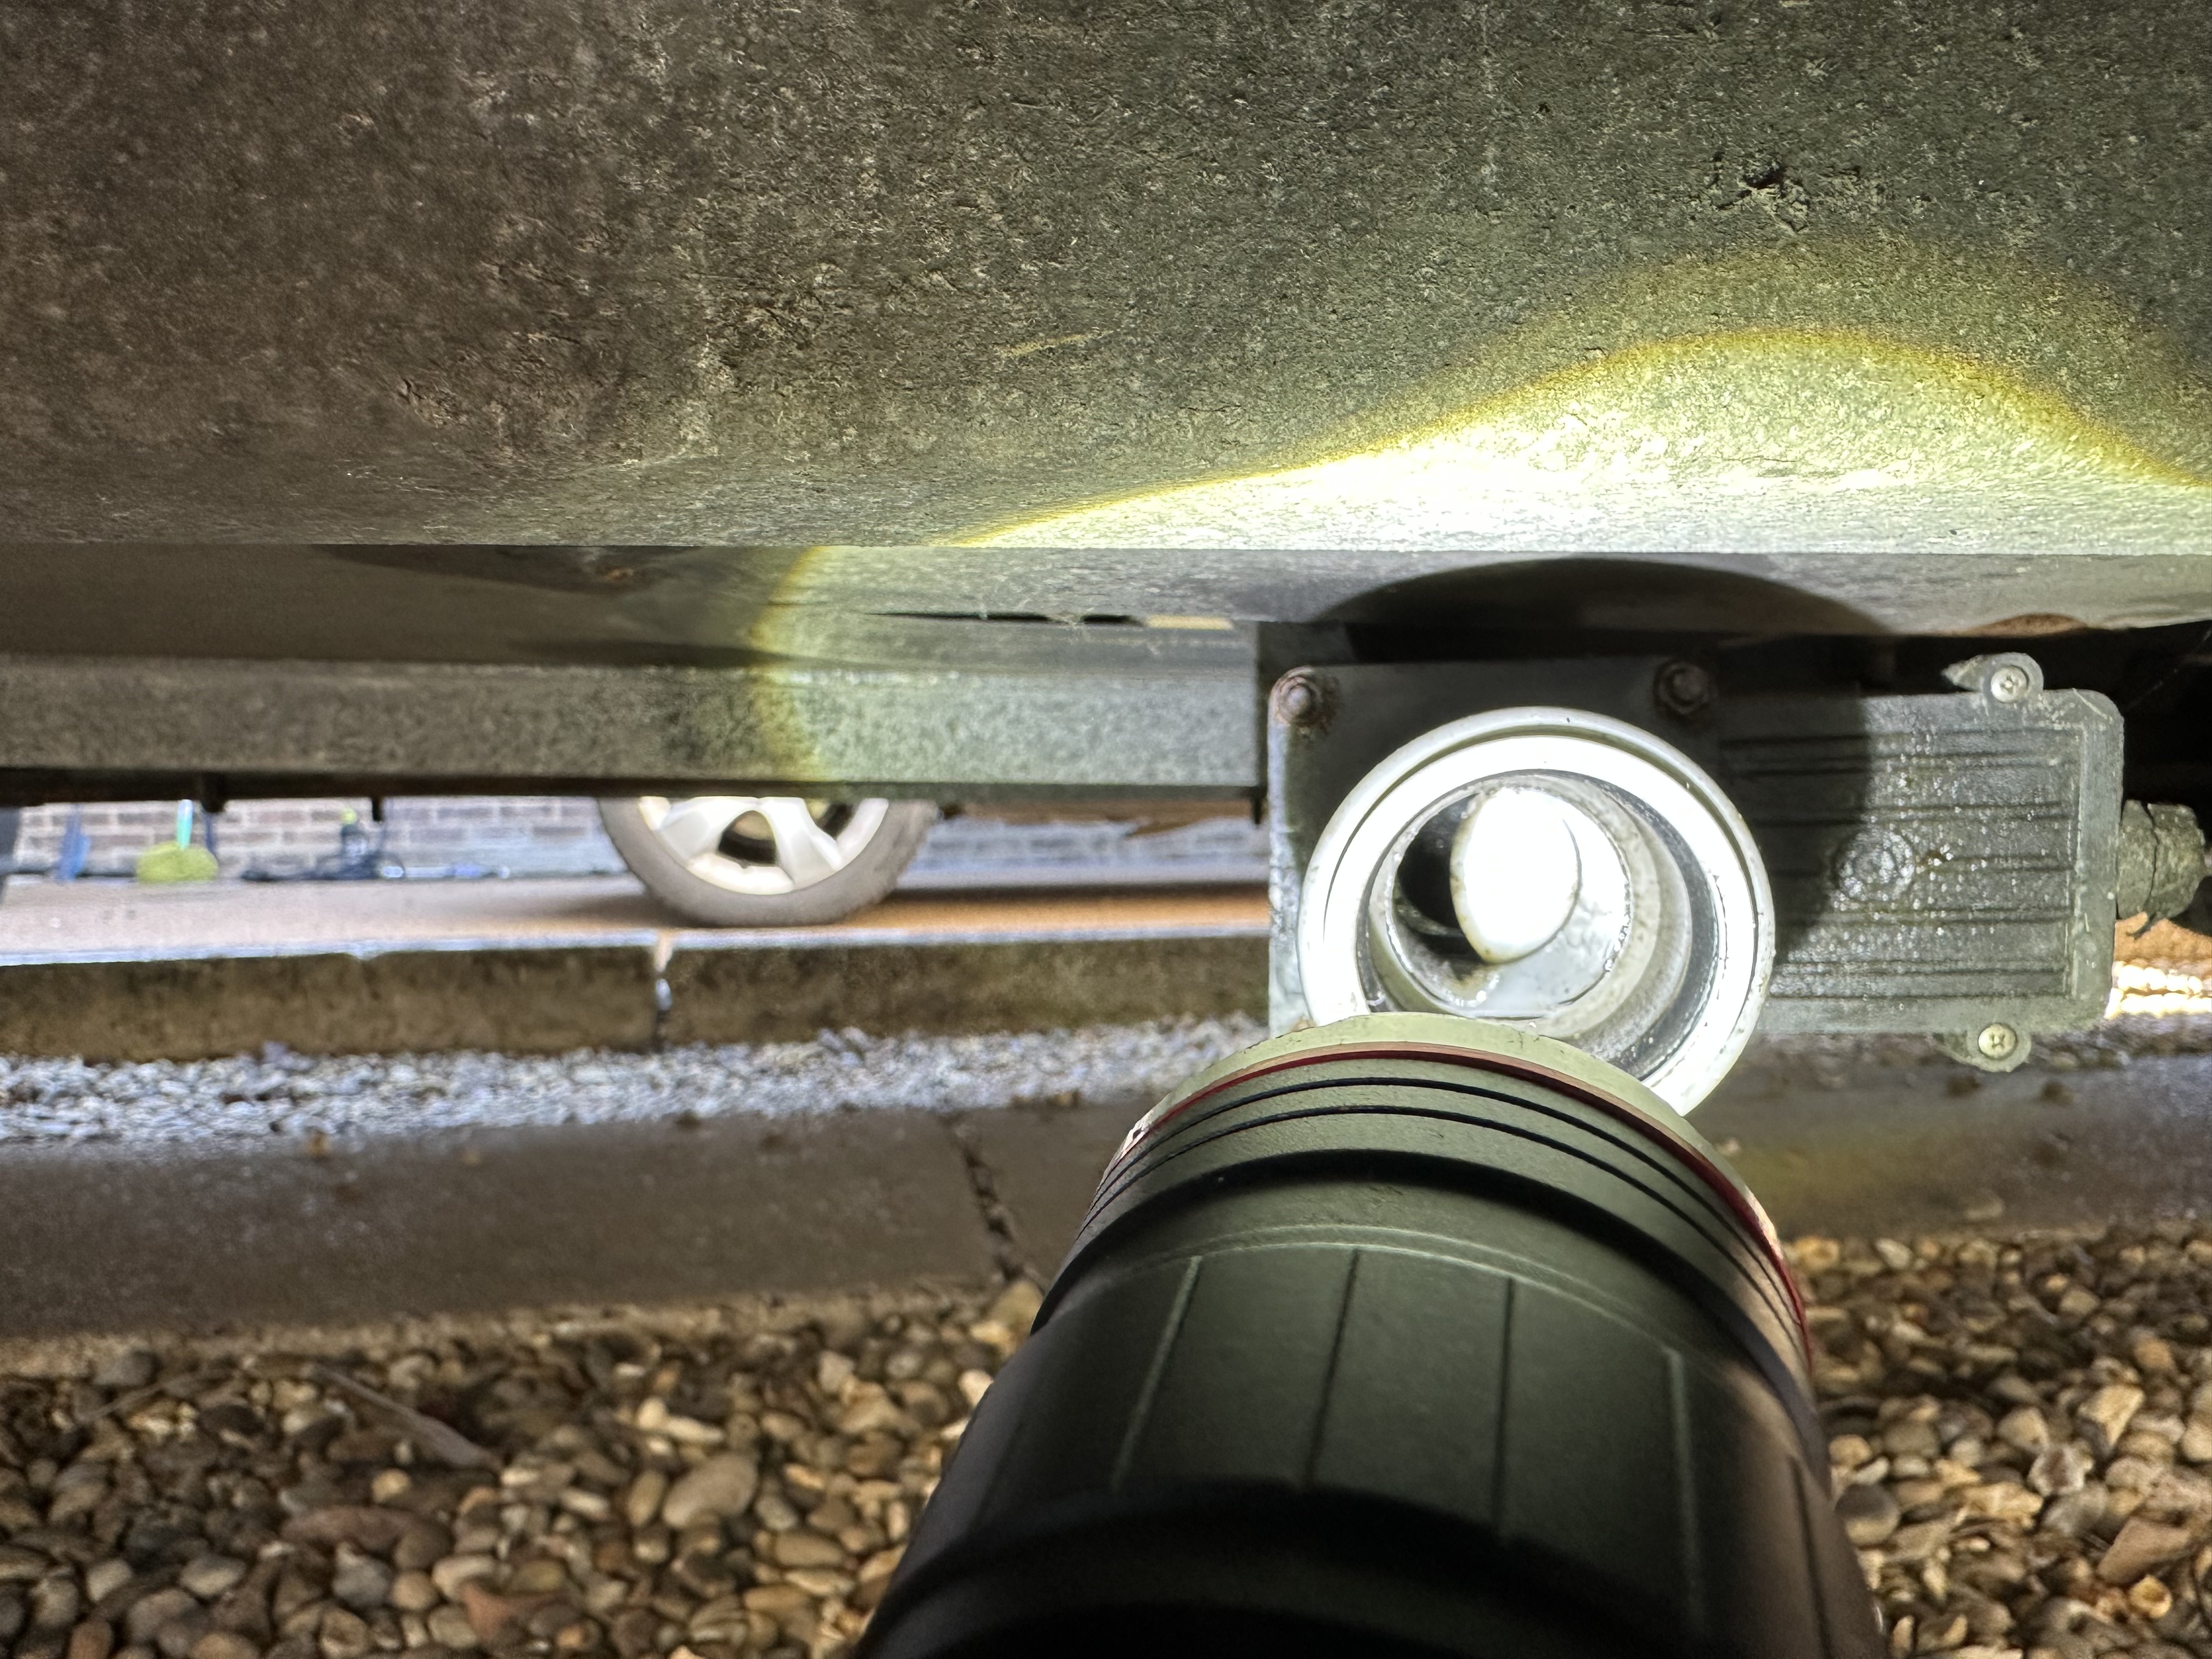
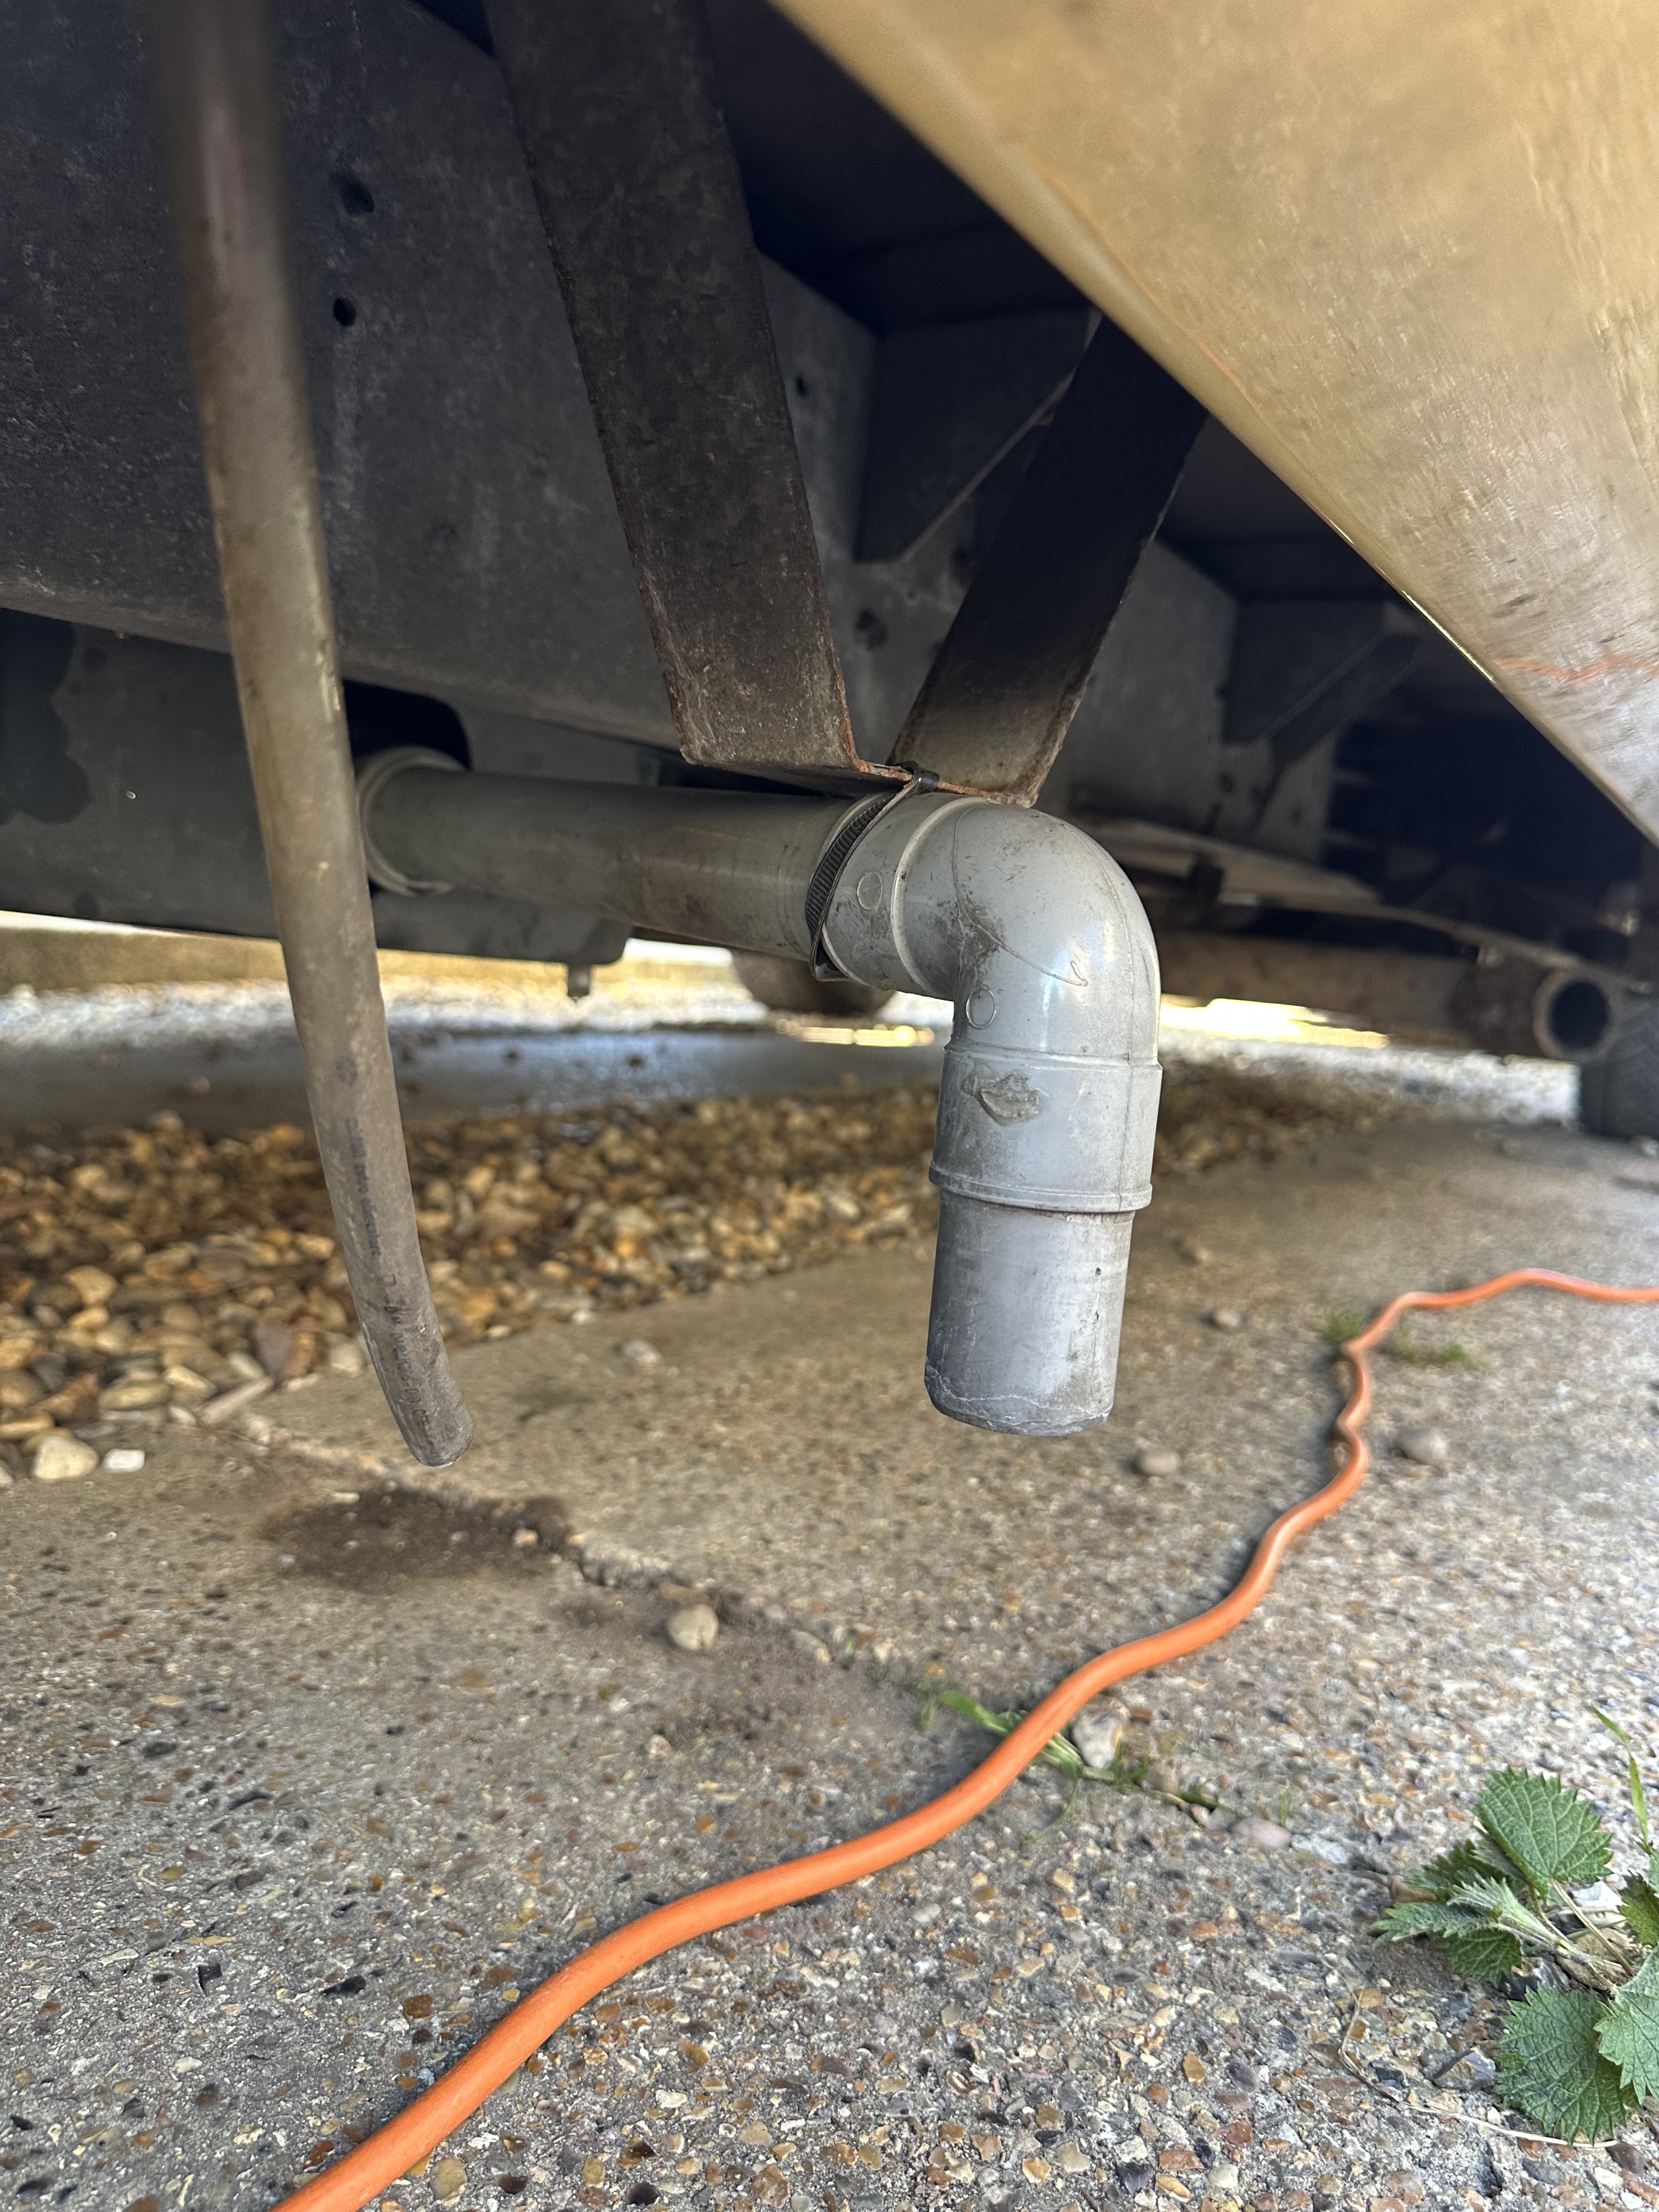
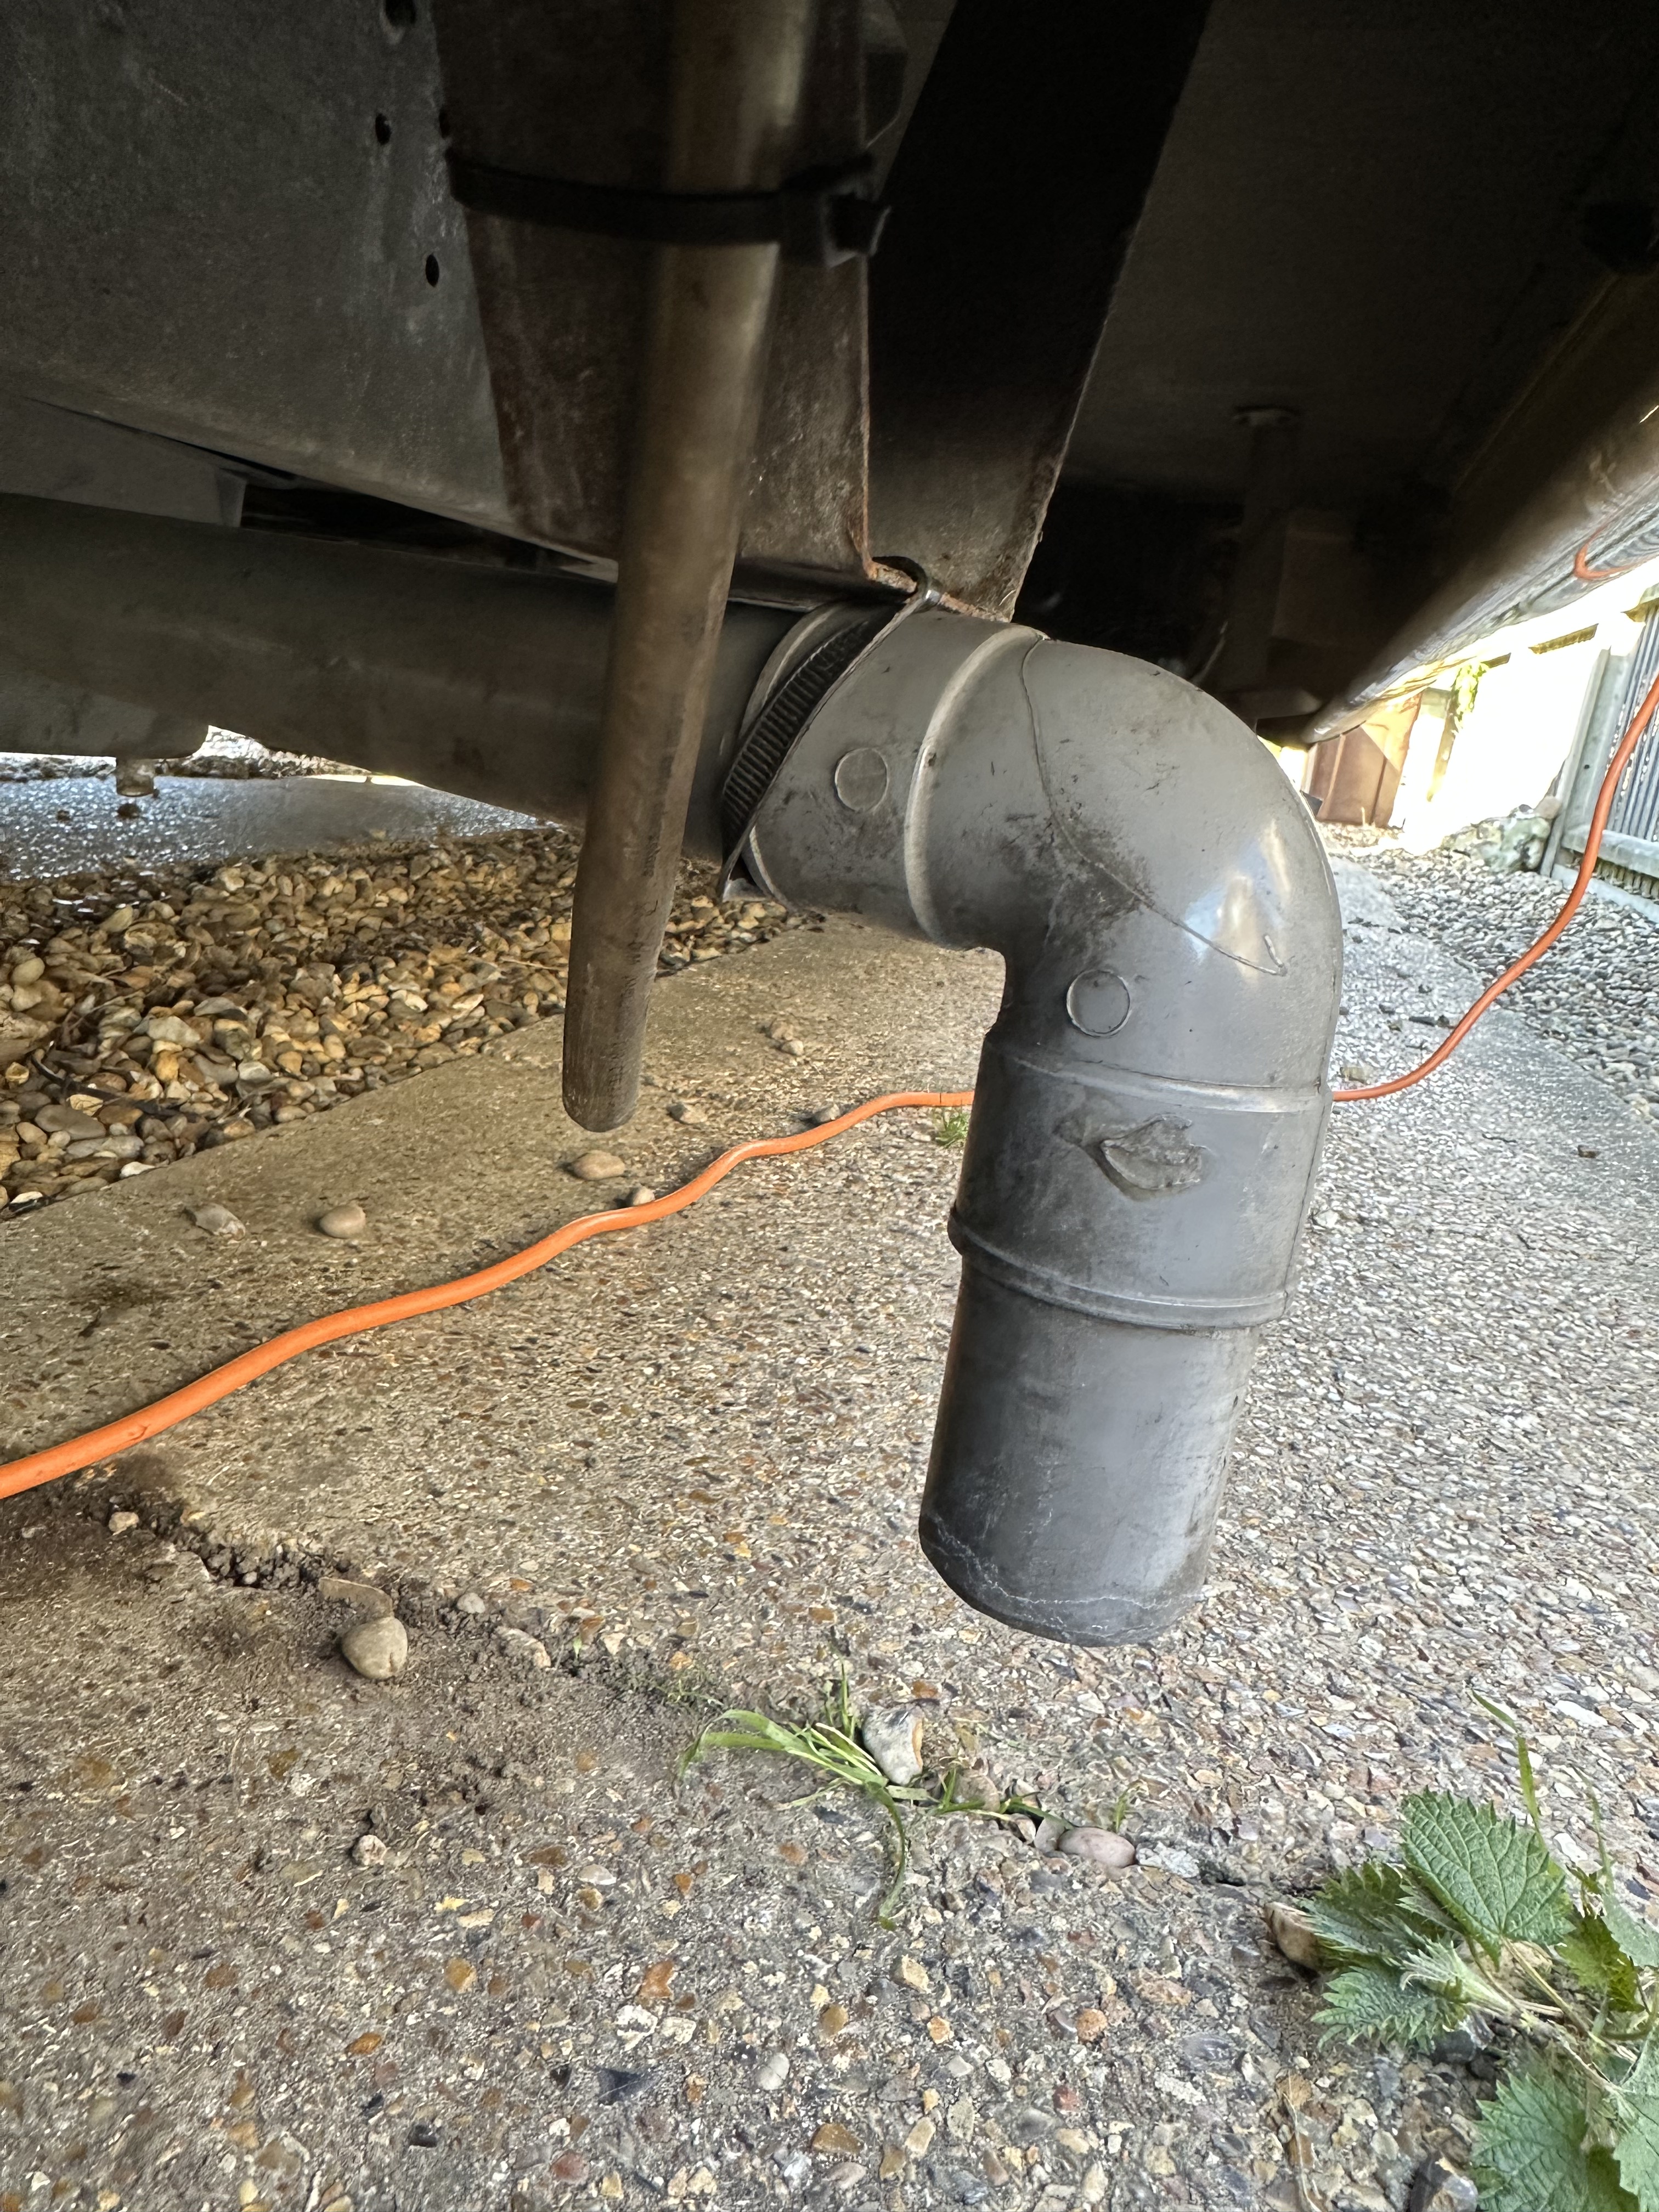
I could now see the waste gate itself – and once I had removed the connector pip, I could see into the mechanism – I was planning on taking the whole mechanism apart, but, I took one look at the seized bolts, nuts and aged rubber seals – and decided to just spray them down with a good penetrative spray, and then if I need to refit, then hopefully they will not be such a pig.

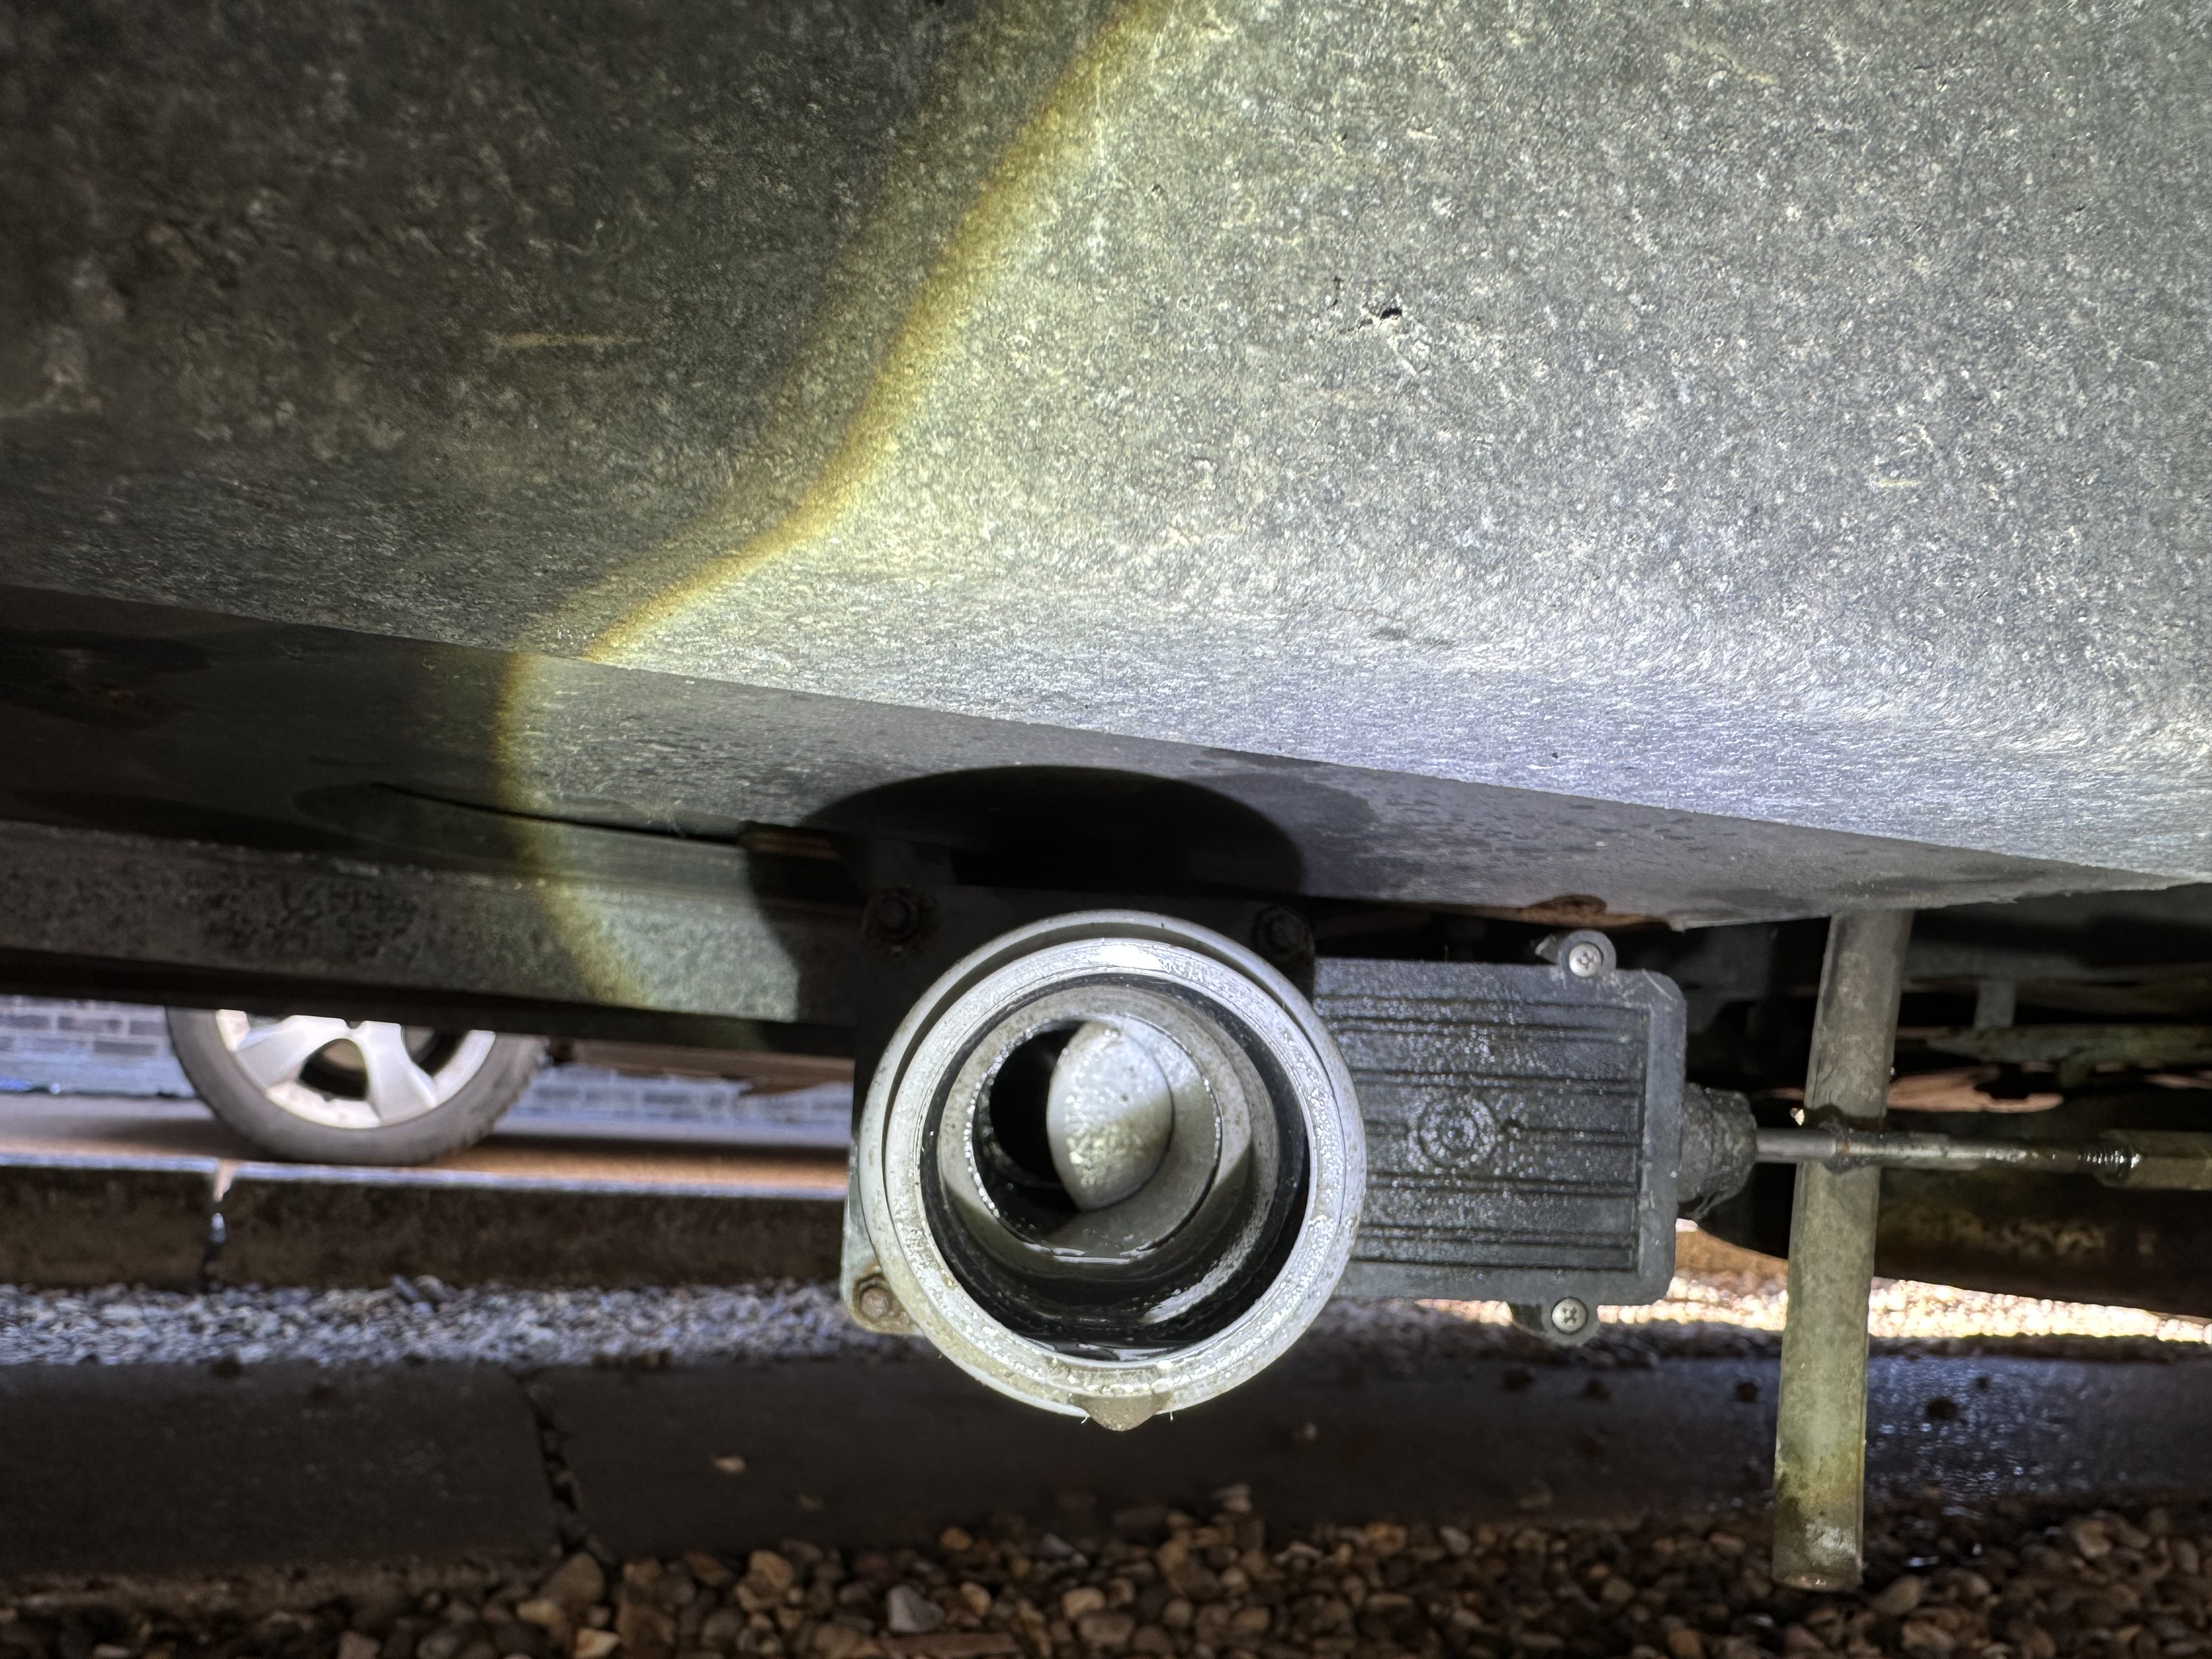


I then looked at how the white plastic gate looked – I couldn’t capture it well on picture, but the edge of it – that I know will sit in a rubber grommet to make the seal, looked minging – with a fair bit of detritus visible. I first tried to use an alloy wheel cleaning brush but that was just too big – however the largest bottle cleaning brush I had was a perfect fit – this was applied with vigour and soapy water – the results came up very clean. I also looked at the mechanism and realises that the stop gate – to stop you push it in to far had moved – and that ht waste gate when closed, was not fully closing – spray of lubricant and an adjustment on the spacer meant that it was then closing properly.
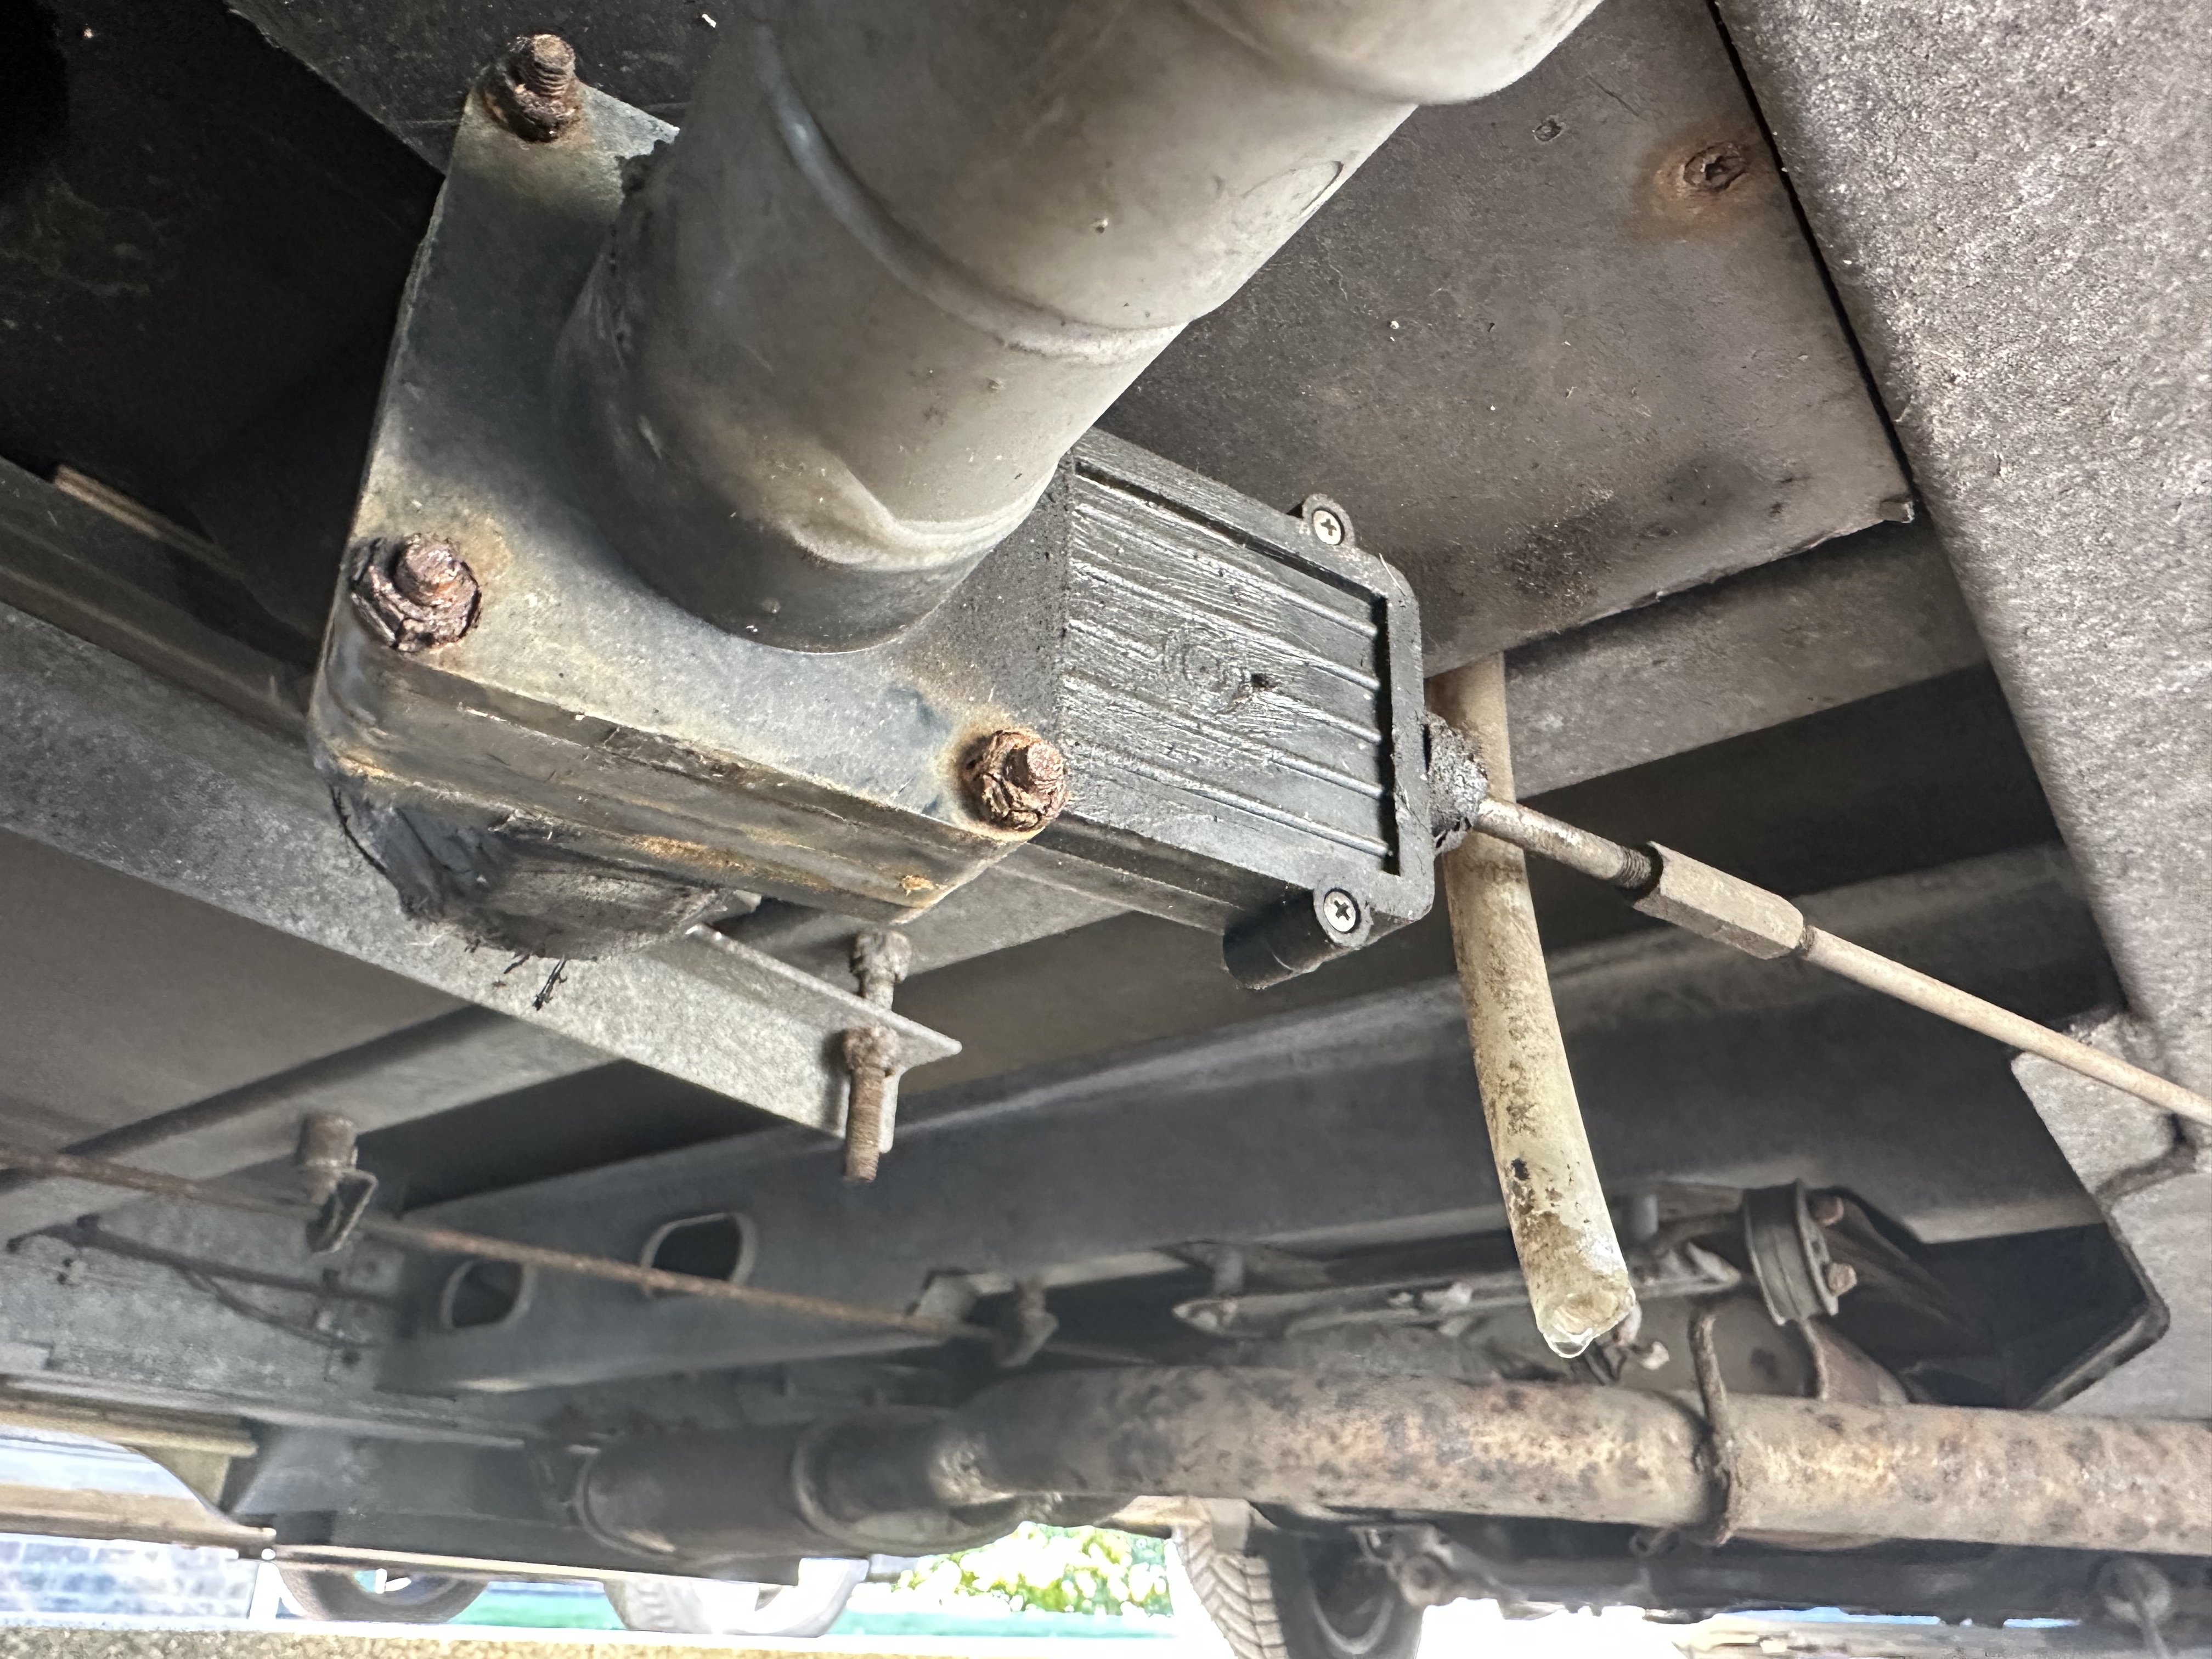
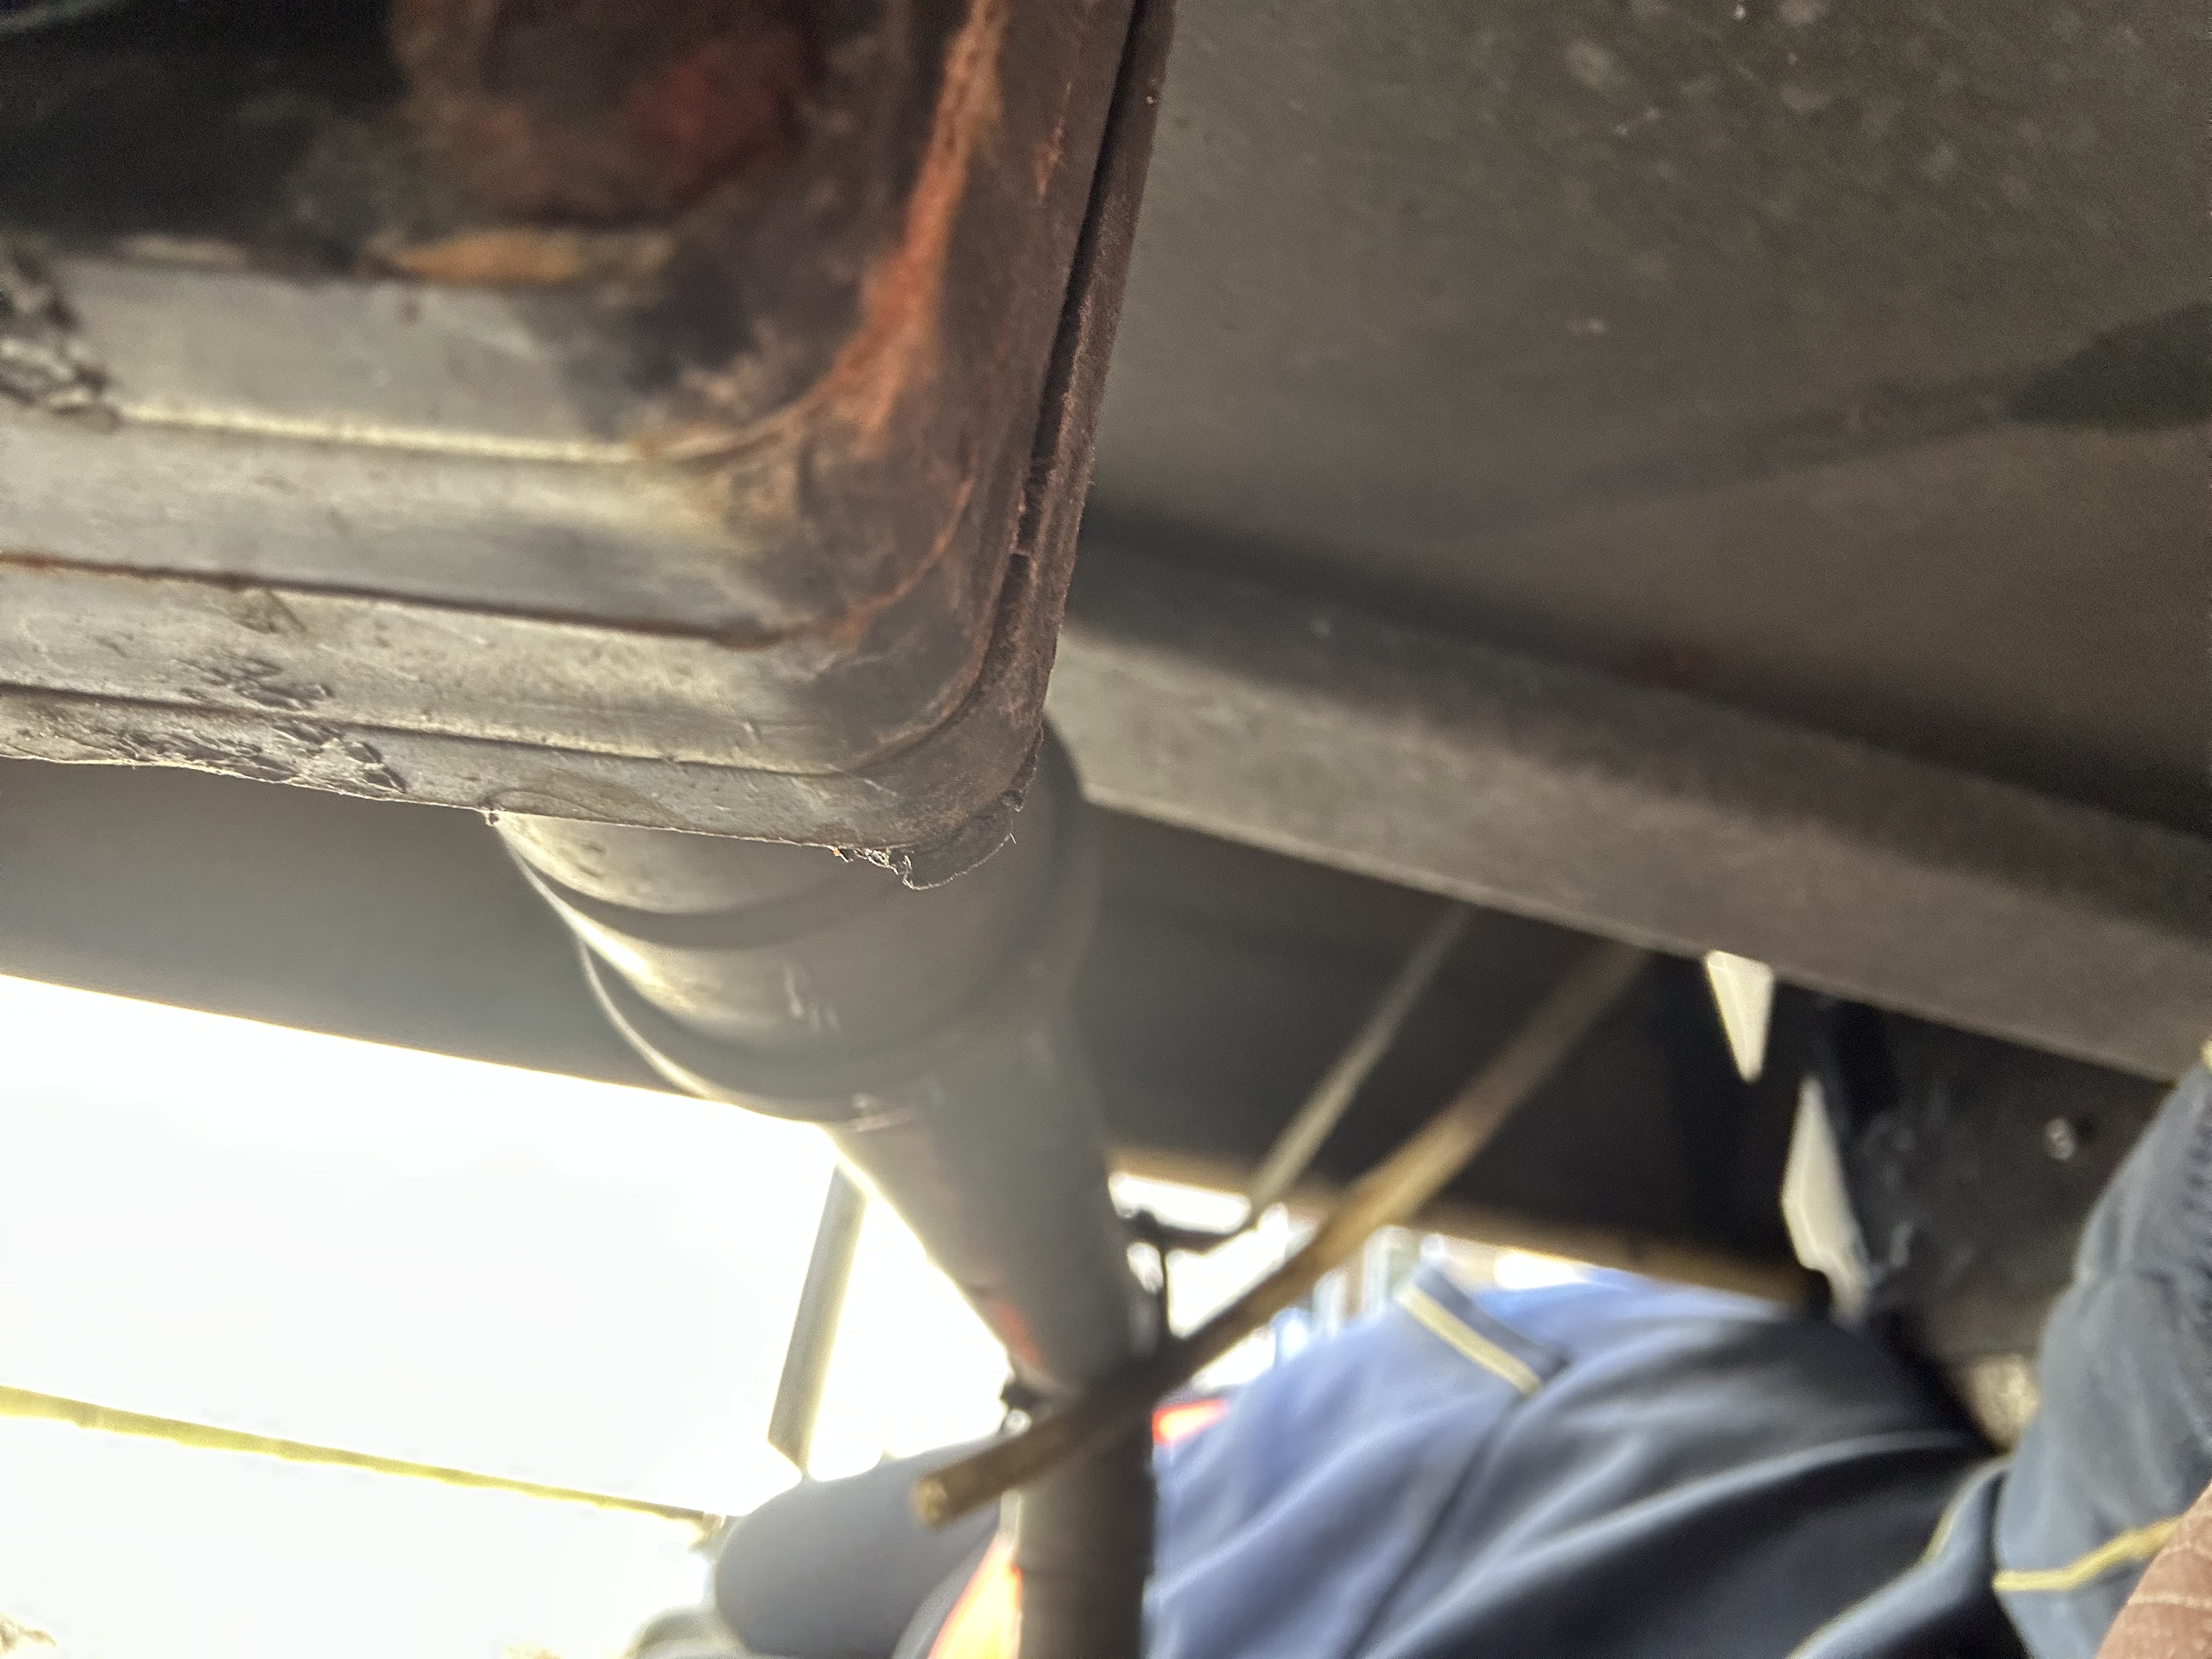
Once happy with that, it was time to reassemble the cover – I had noticed that one of the securing holes was cracked, so I used a washer just to be safe. I replaced the screws with brass ones and chose a slightly different pitch thread – they tightened well and properly. The trailing waste from the stove top that was trailing free – and looked untidy to my mind, was secured back with a cable tie.
Not a bad hour or so spent fettling 🙂

Leave a comment