
I am used to envy… Not just the envy that all chaps get when they notice certain car, or a bling watch or what ever – BUT – I get gadget envy…. and when it comes to Ziggy – I have always been envious of those who have solar fitted as I always imagined that meant they could wander off into the countryside and just enjoy freedom, secure in the knowledge that they have a decent amount of life in their leisure battery….. So, for some time I have been plotting and planning a way to acquire solar – last year we did use a small suitcase type panel to try and top up the battery packs for mobile phone charging at Latitude but…. having assessed its practicality and deciding it was shite – I skipped it.
I was also very nervous about making a hole in the roof of the Moho – and it was a chance observation that made me think laterally….
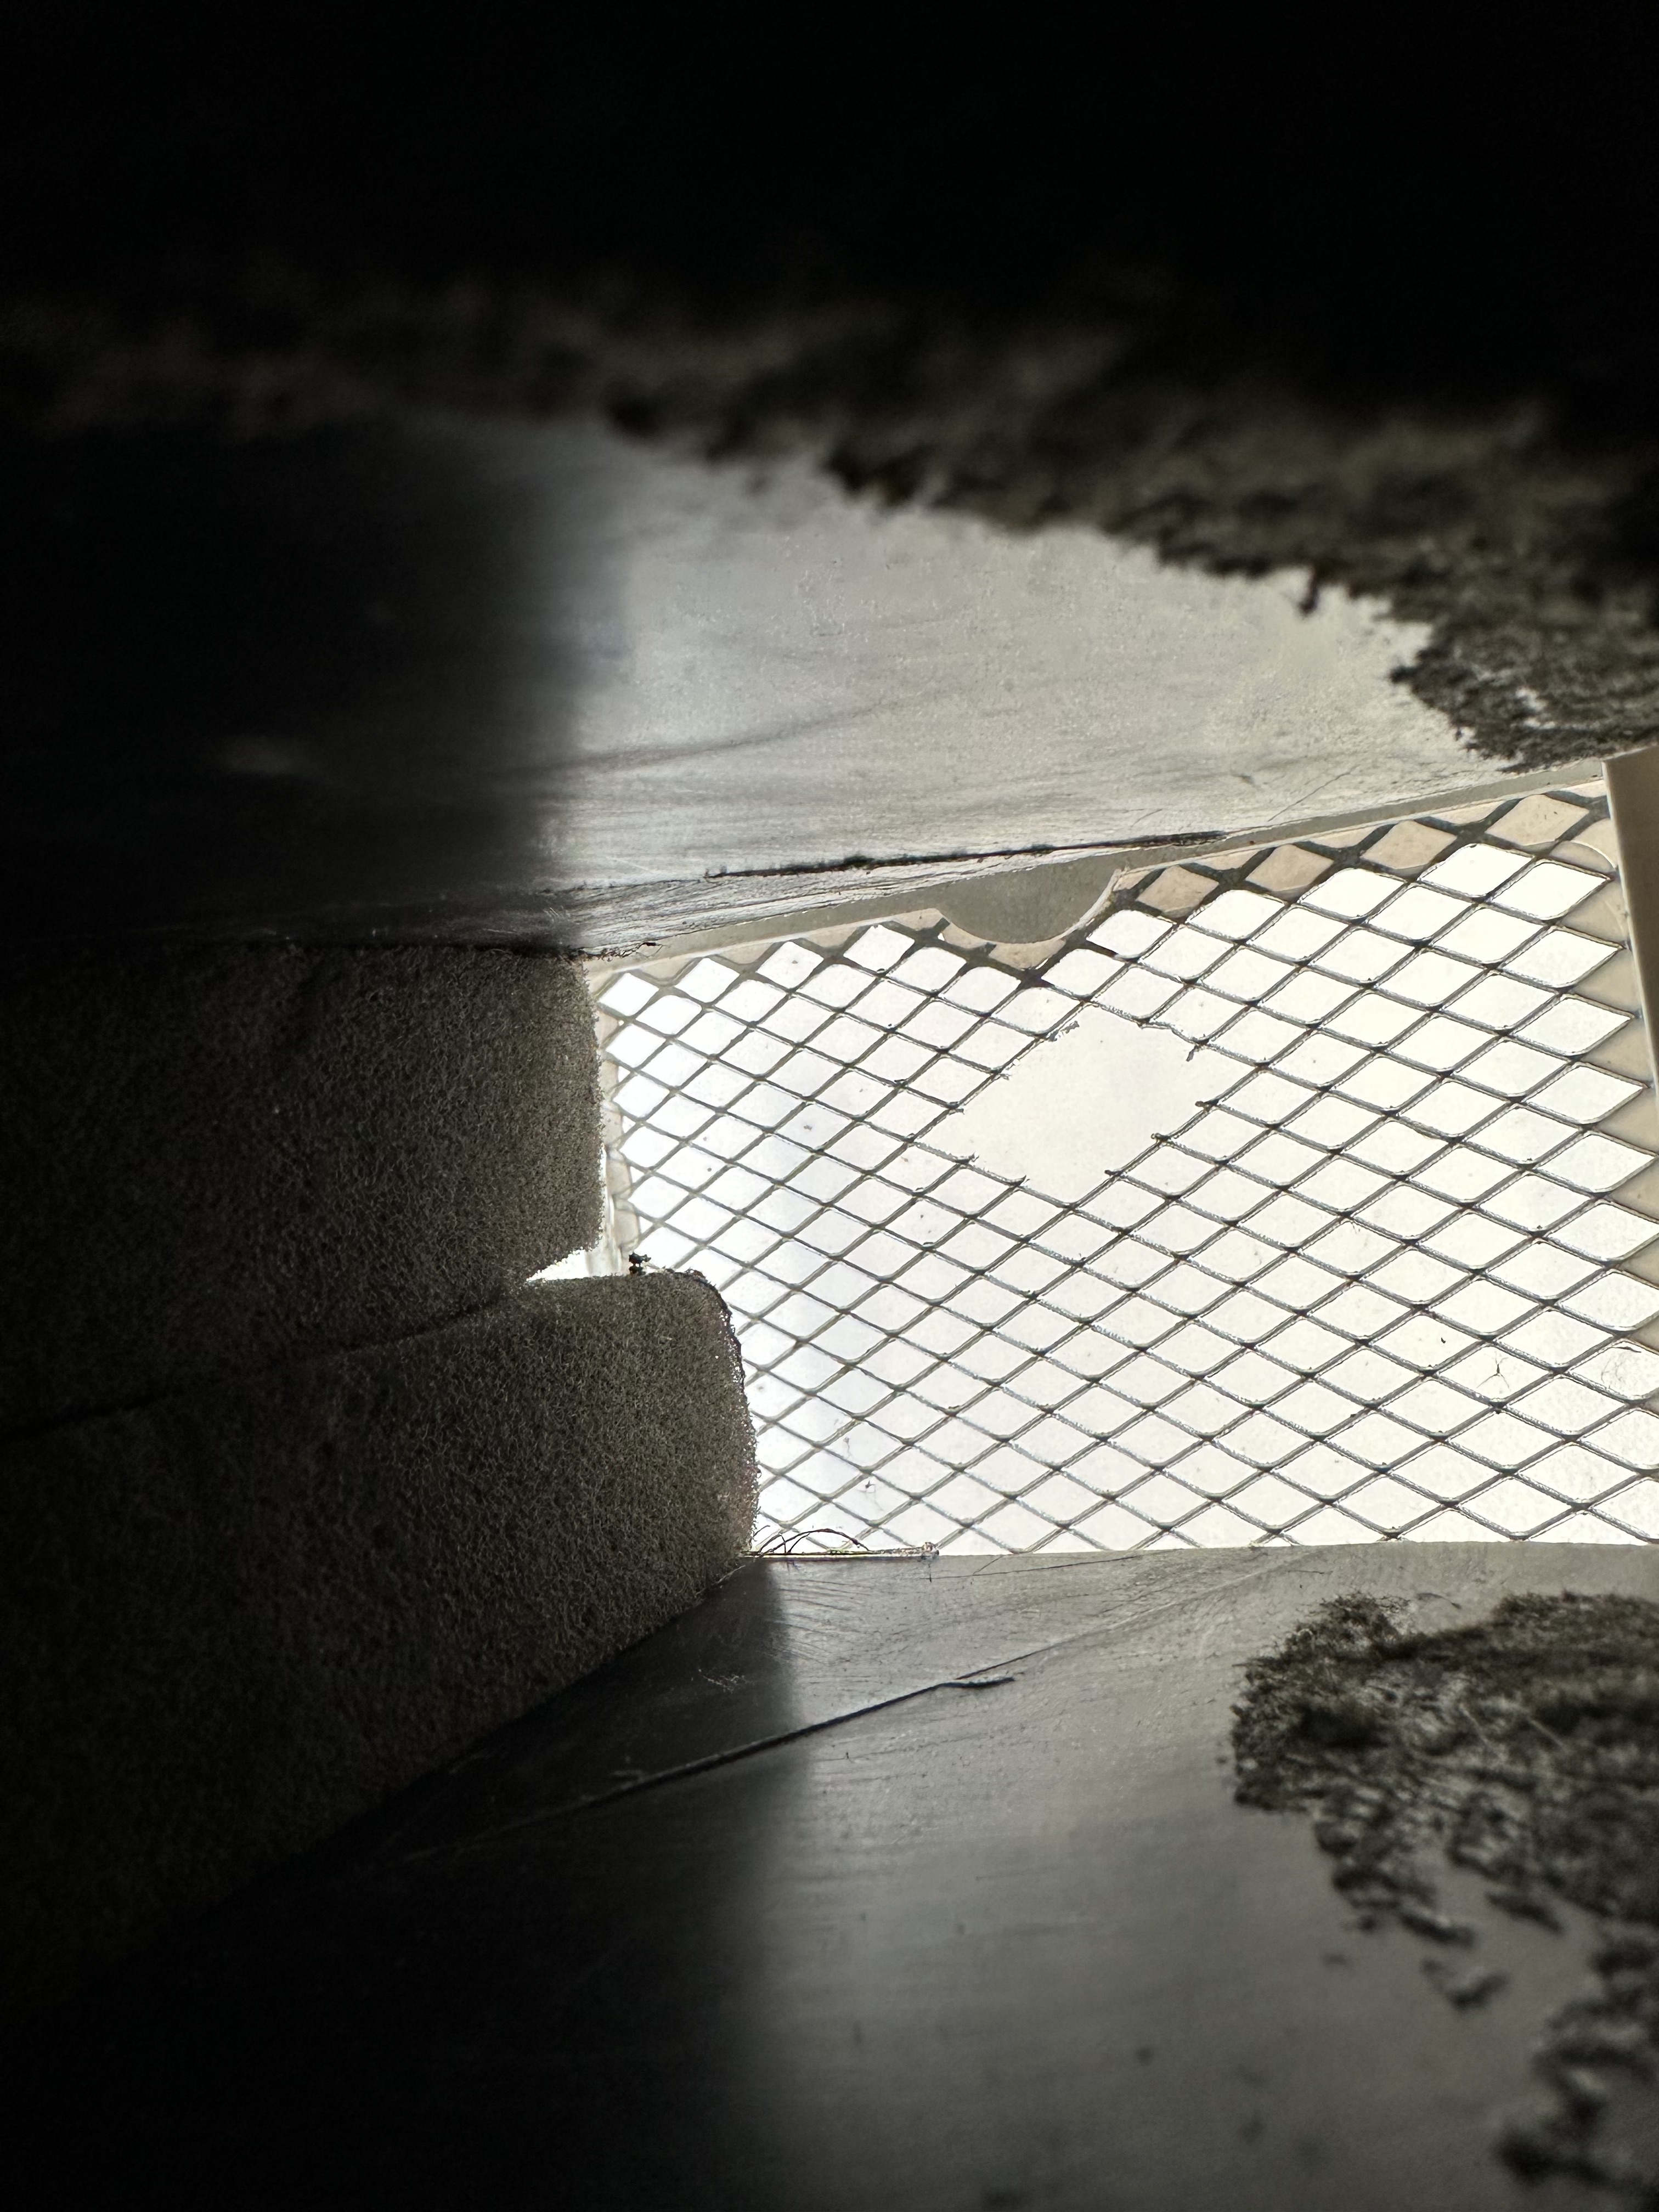
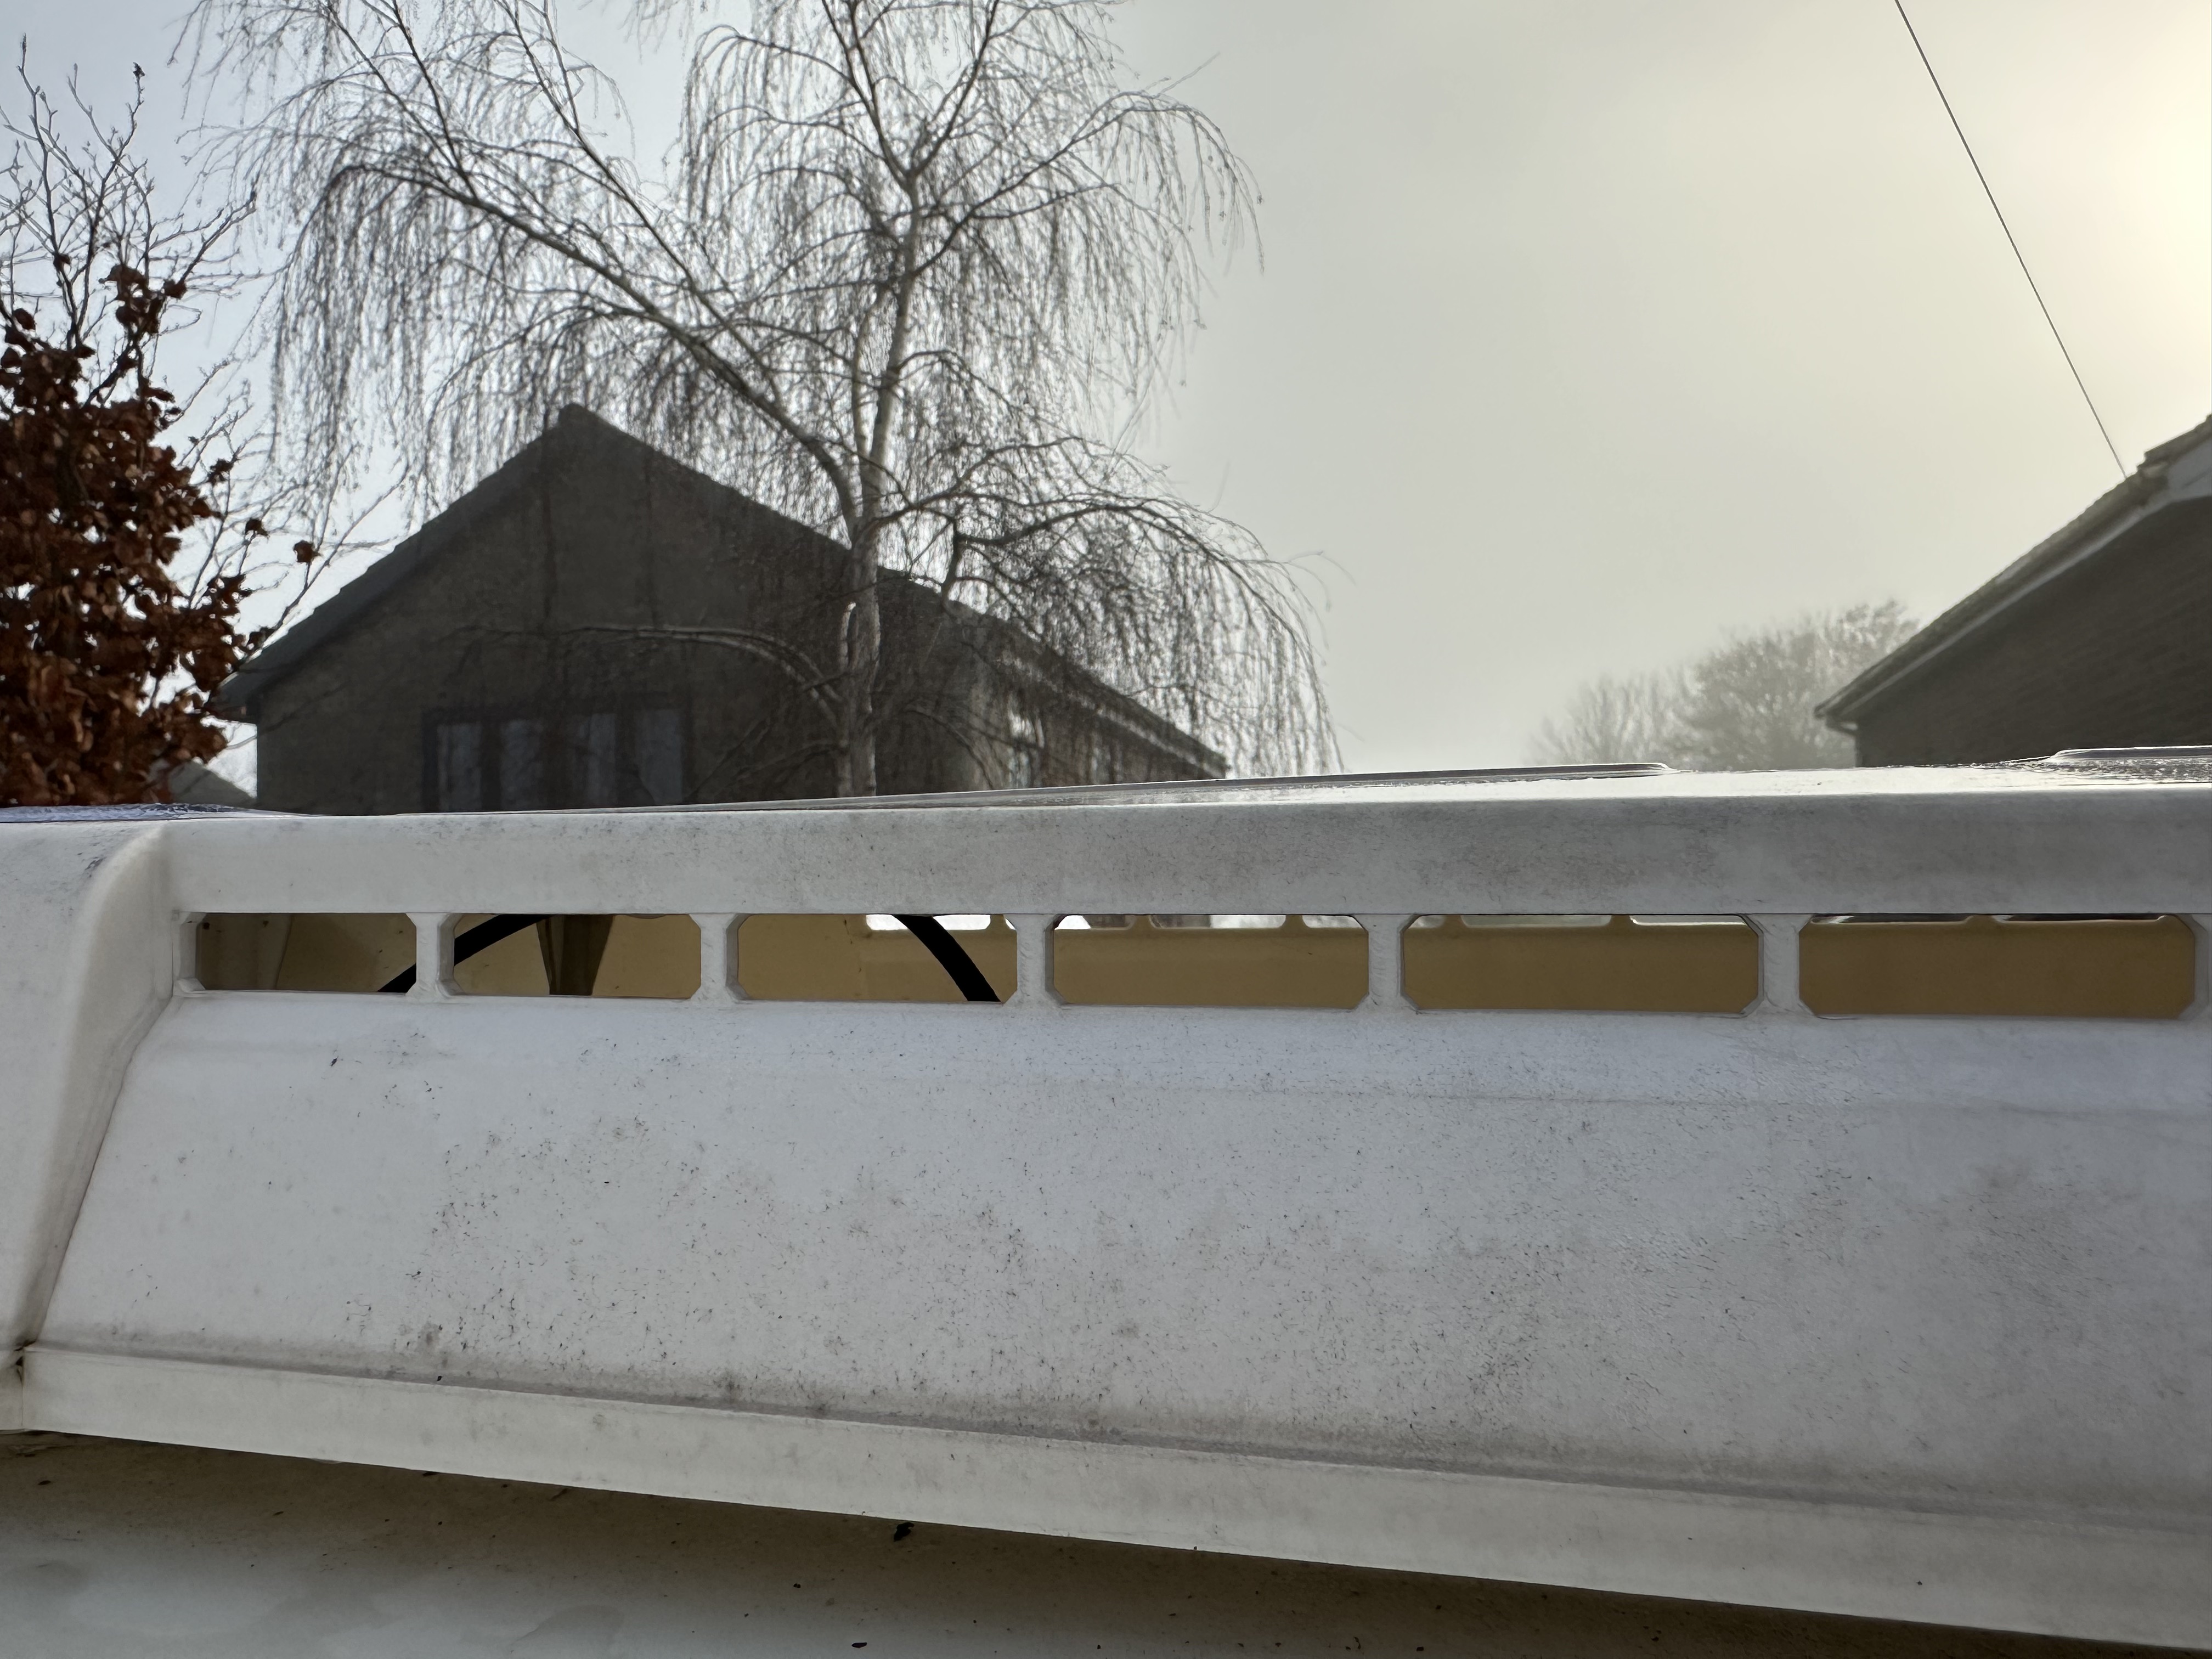
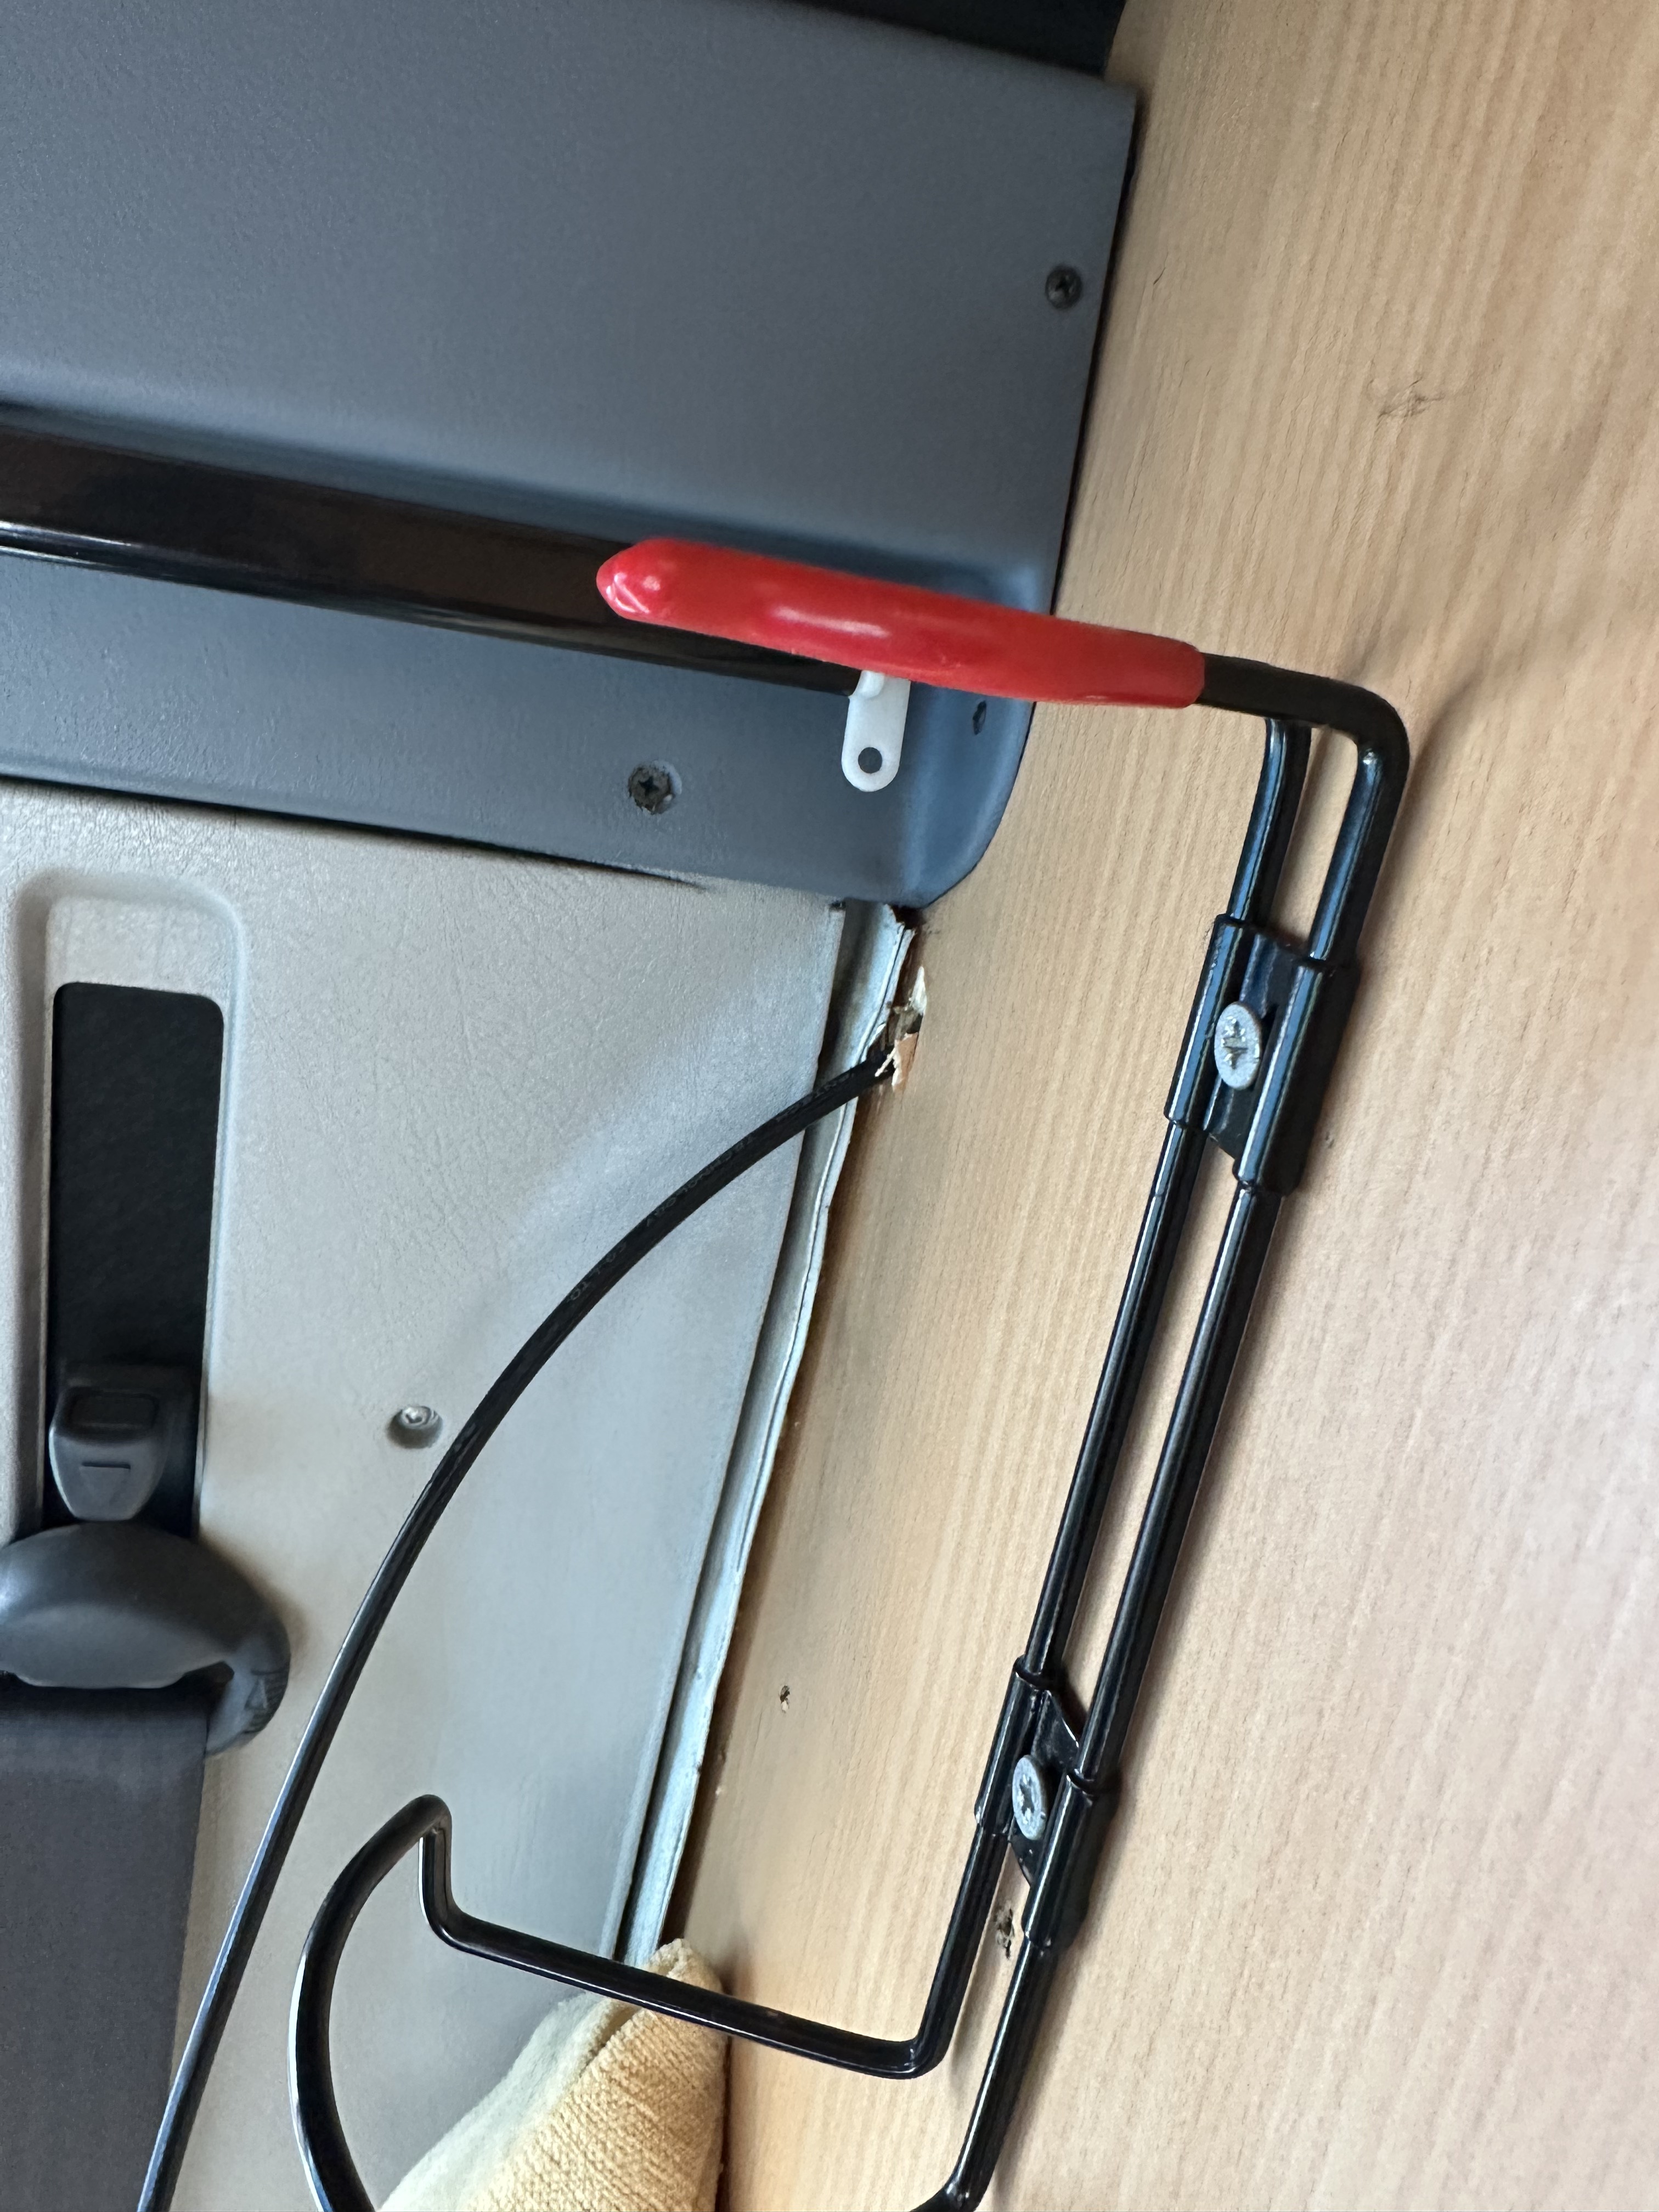
Above where the oven was originally fitted, there is a wire mesh grill – the above image is from after I had made an opening and cut it for the feed cables. Oh – and on the roof of Ziggy there are three roof bars….. and those got me thinking about how to use those to mount the solar panels and ….. so – it was then time to start really researching what I needed to know, and where to get the bits of kit from. Evilbay has an awful lot of generic kits – but I wanted to find somewhere local that I could also use as a knowledge resource. Fairly close to me is Sunshine Solar and I have to say their knowledge and guidance has been brilliant – I asked a lot of questions by phone and using their online chat facility / a chap called Evan iirc – thanks!
I had decided fairly early on that I wanted to fit as large a panel as I could and that meant measuring the available space and seeing what would fit – The 190w chosen was just about the perfect size, and I had it in my mind’s eye that I could position it behind the main skylight – removing / reducing the risk of wind affecting the mounting. I had also made a decision with regards to what type of controller to use – in my case MPPT. (This link is a simple guide to some of the basics when looking into things!) So – knowing nothing about the different types of MPPT controller, one thing became clear – the Victron’s were regarded as the best – but is that name worth the extra cost for a lay person like myself? Having spent my time researching things, I elected not to go for the Victron, but spent the money on an EPever Xtra 20 amp model – this one having the amperage I needed as well as bluetooth connectivity built in – more on that later as I did have a steep learning curve! Either way, kit ordered and I booked time with Michael to help me fit everything – its quite appropriate as Eldest Sulk is now applying for both electrical engineering degree courses and electrical engineering apprenticeships – and this is a great project for us to do and I valued his input / insight and ability to be sworn at …..
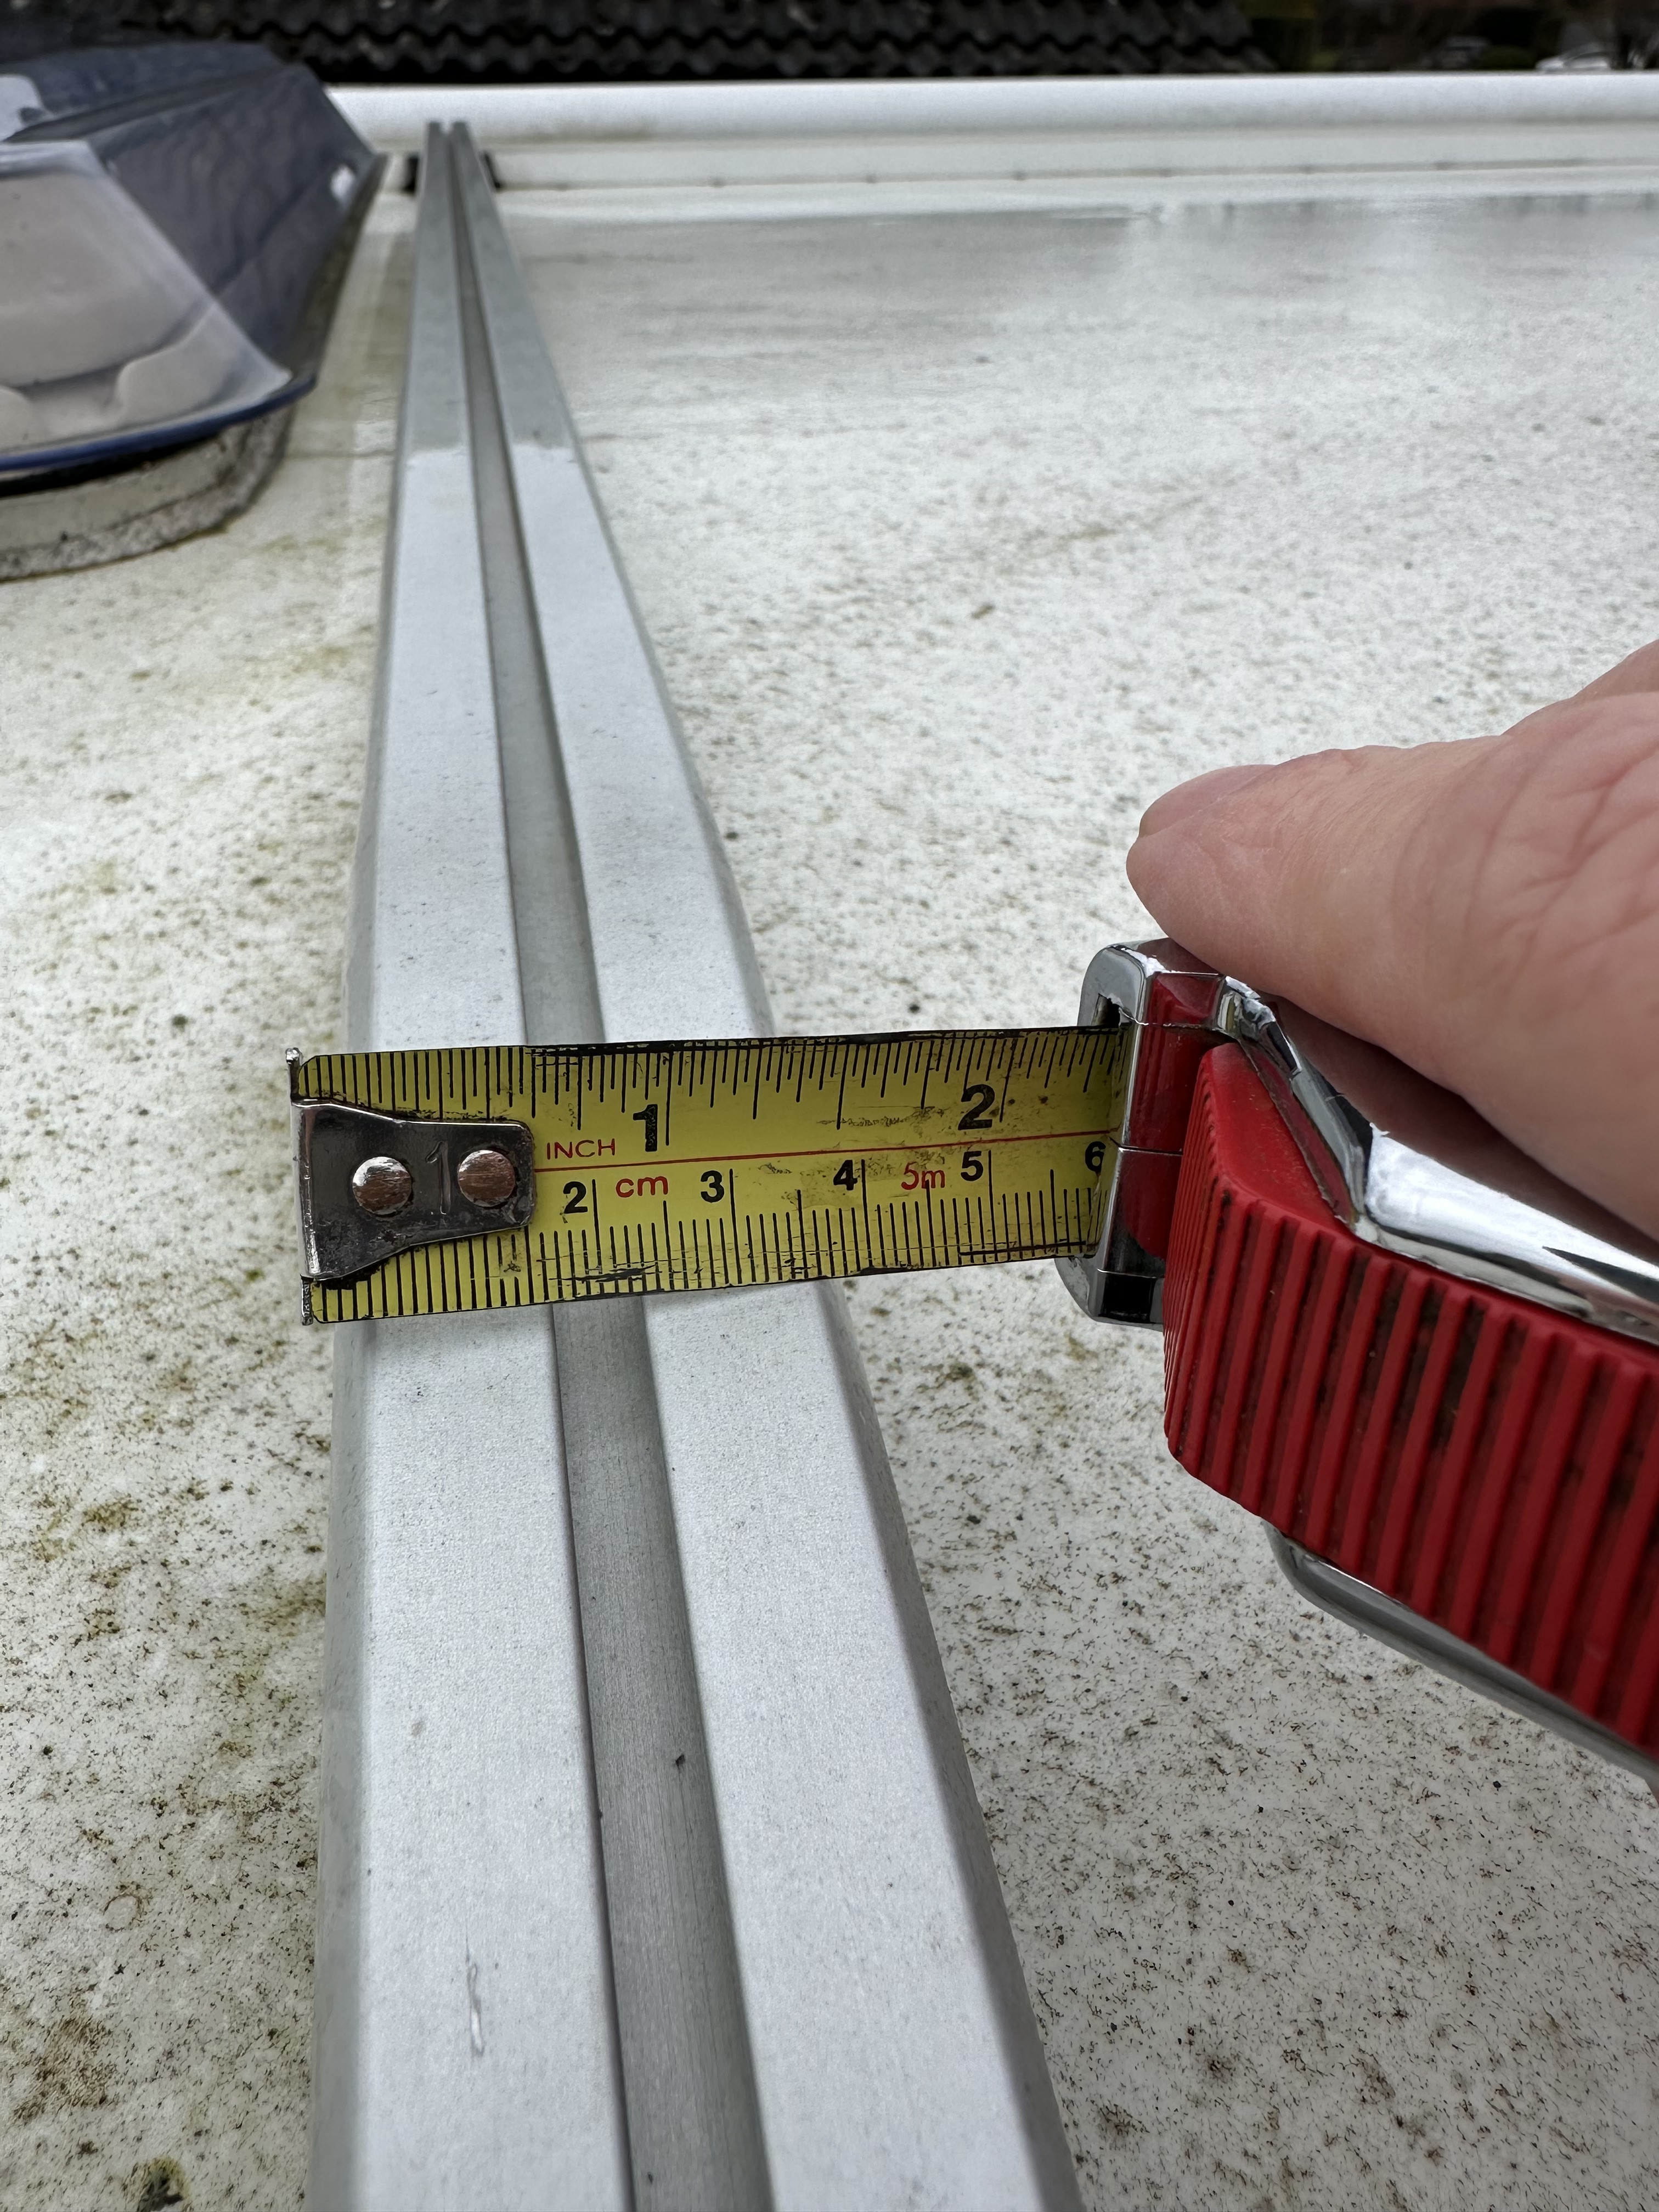
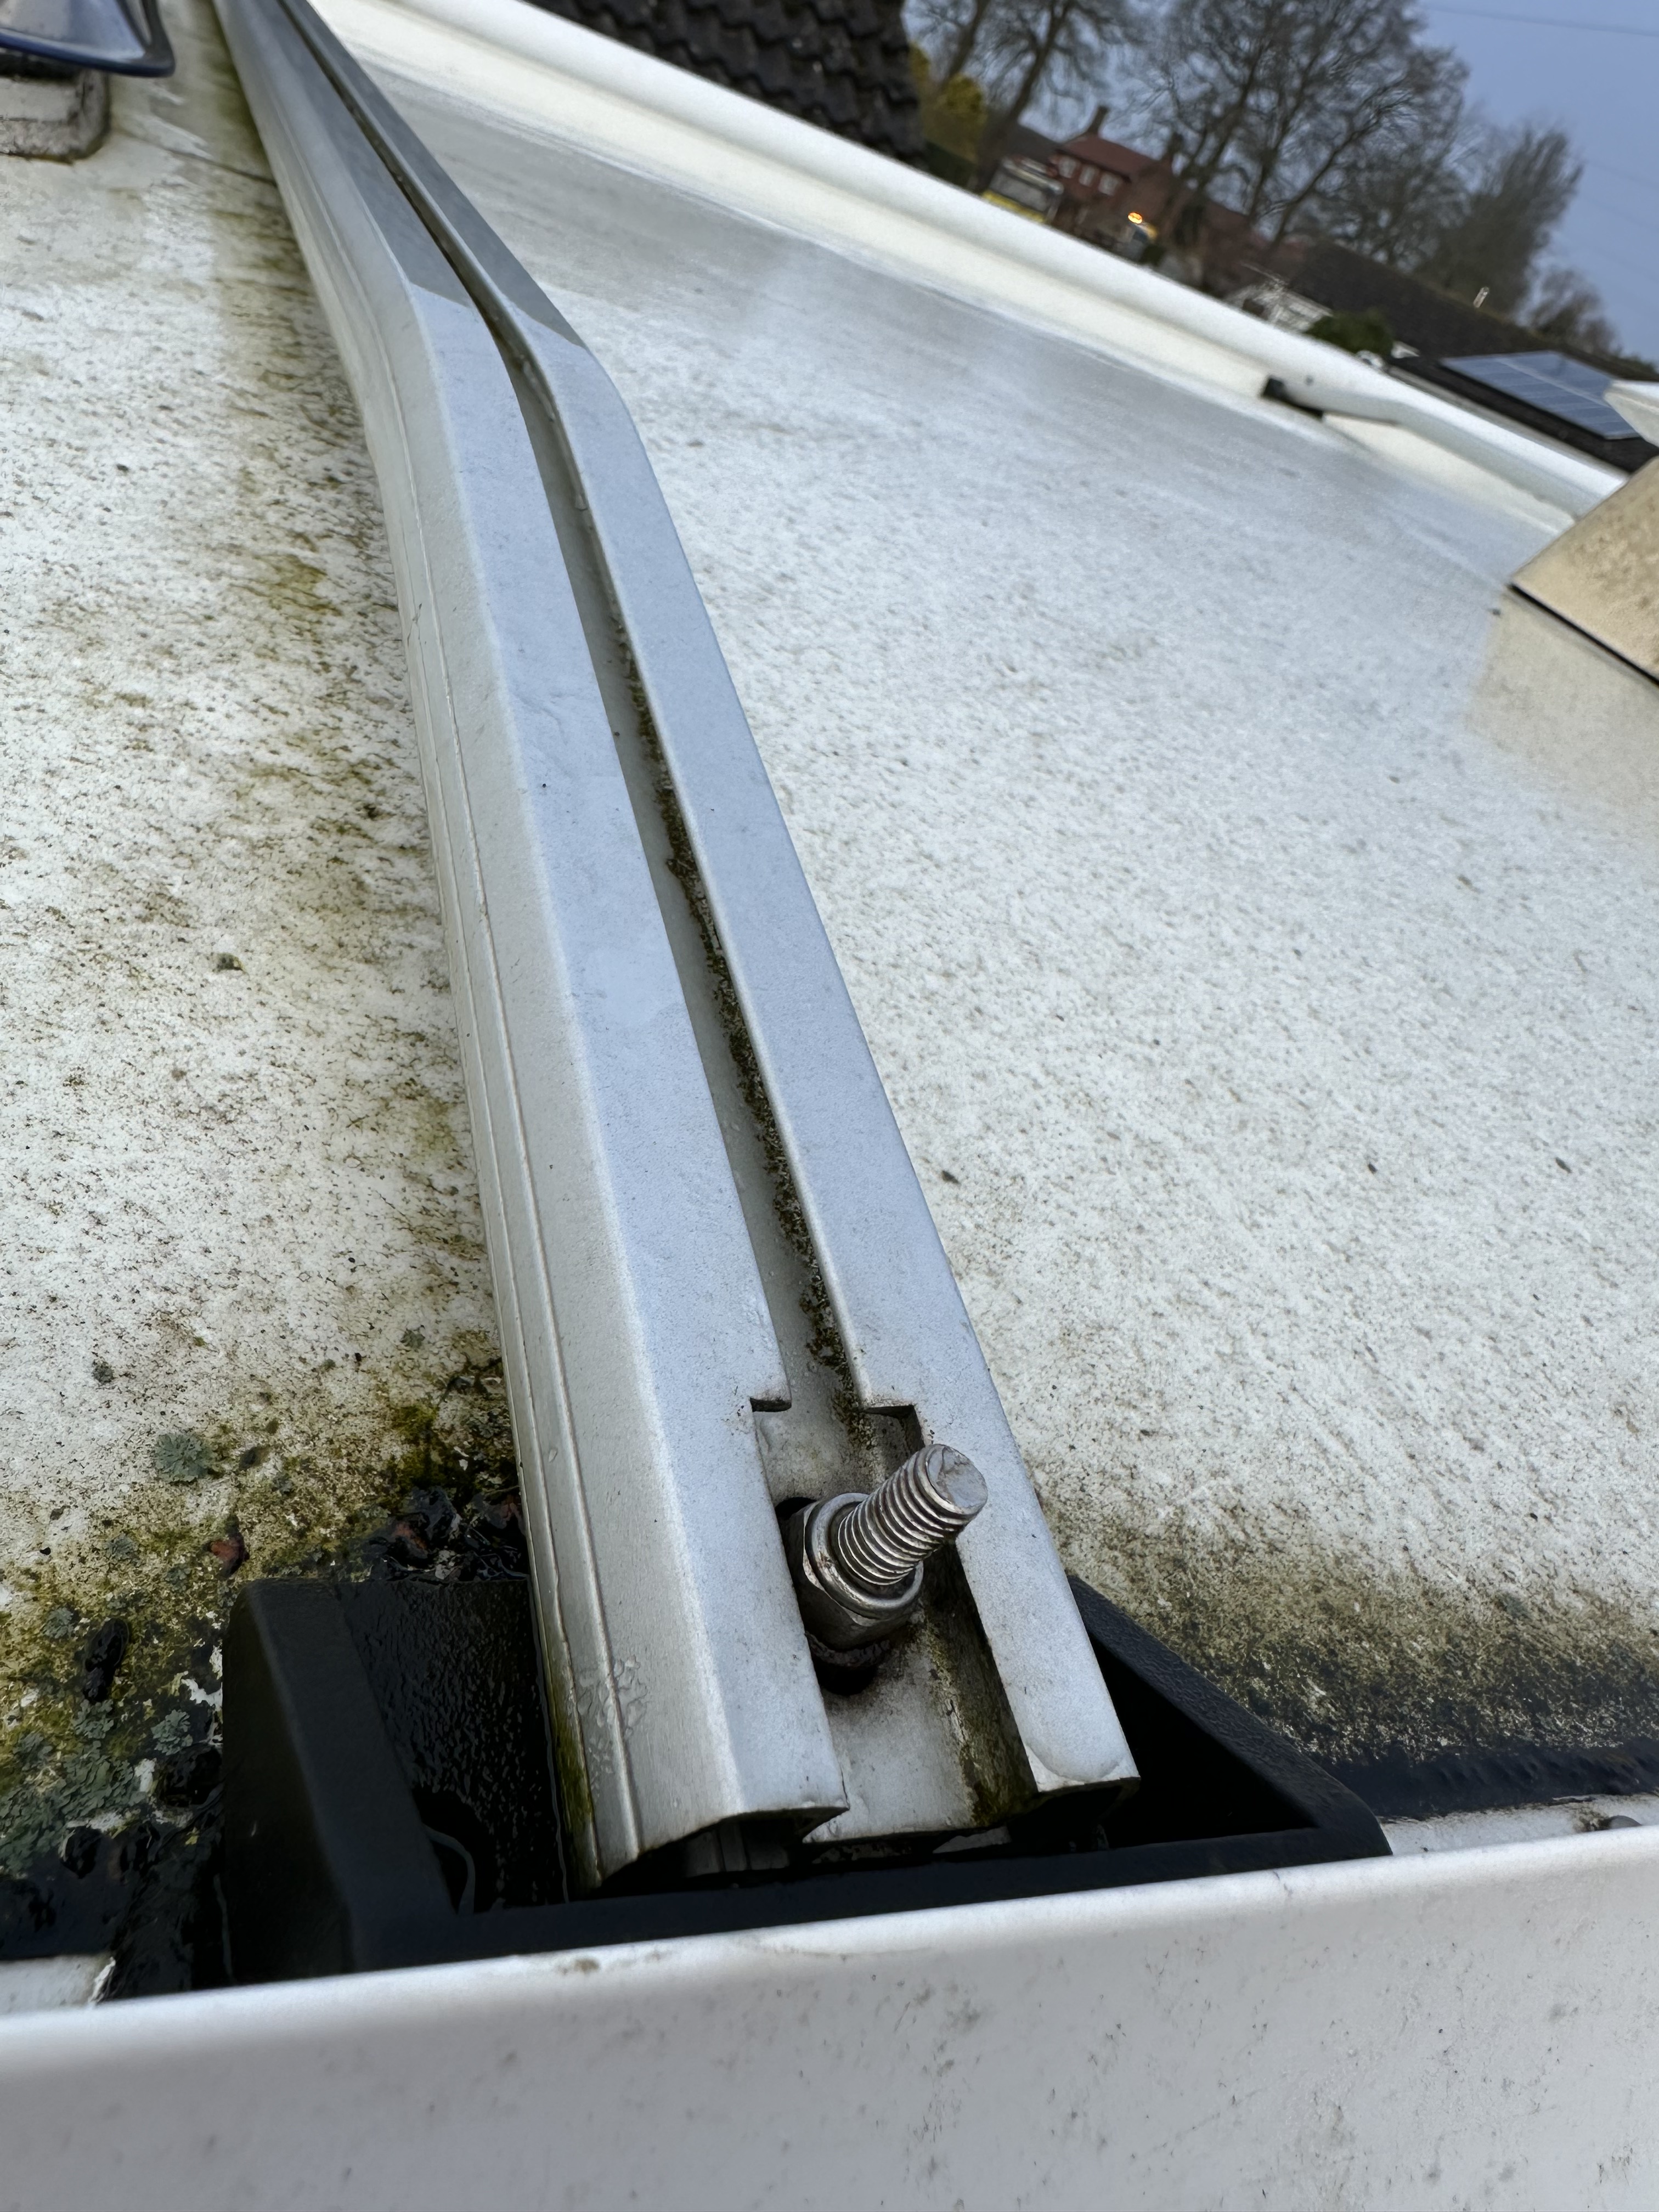
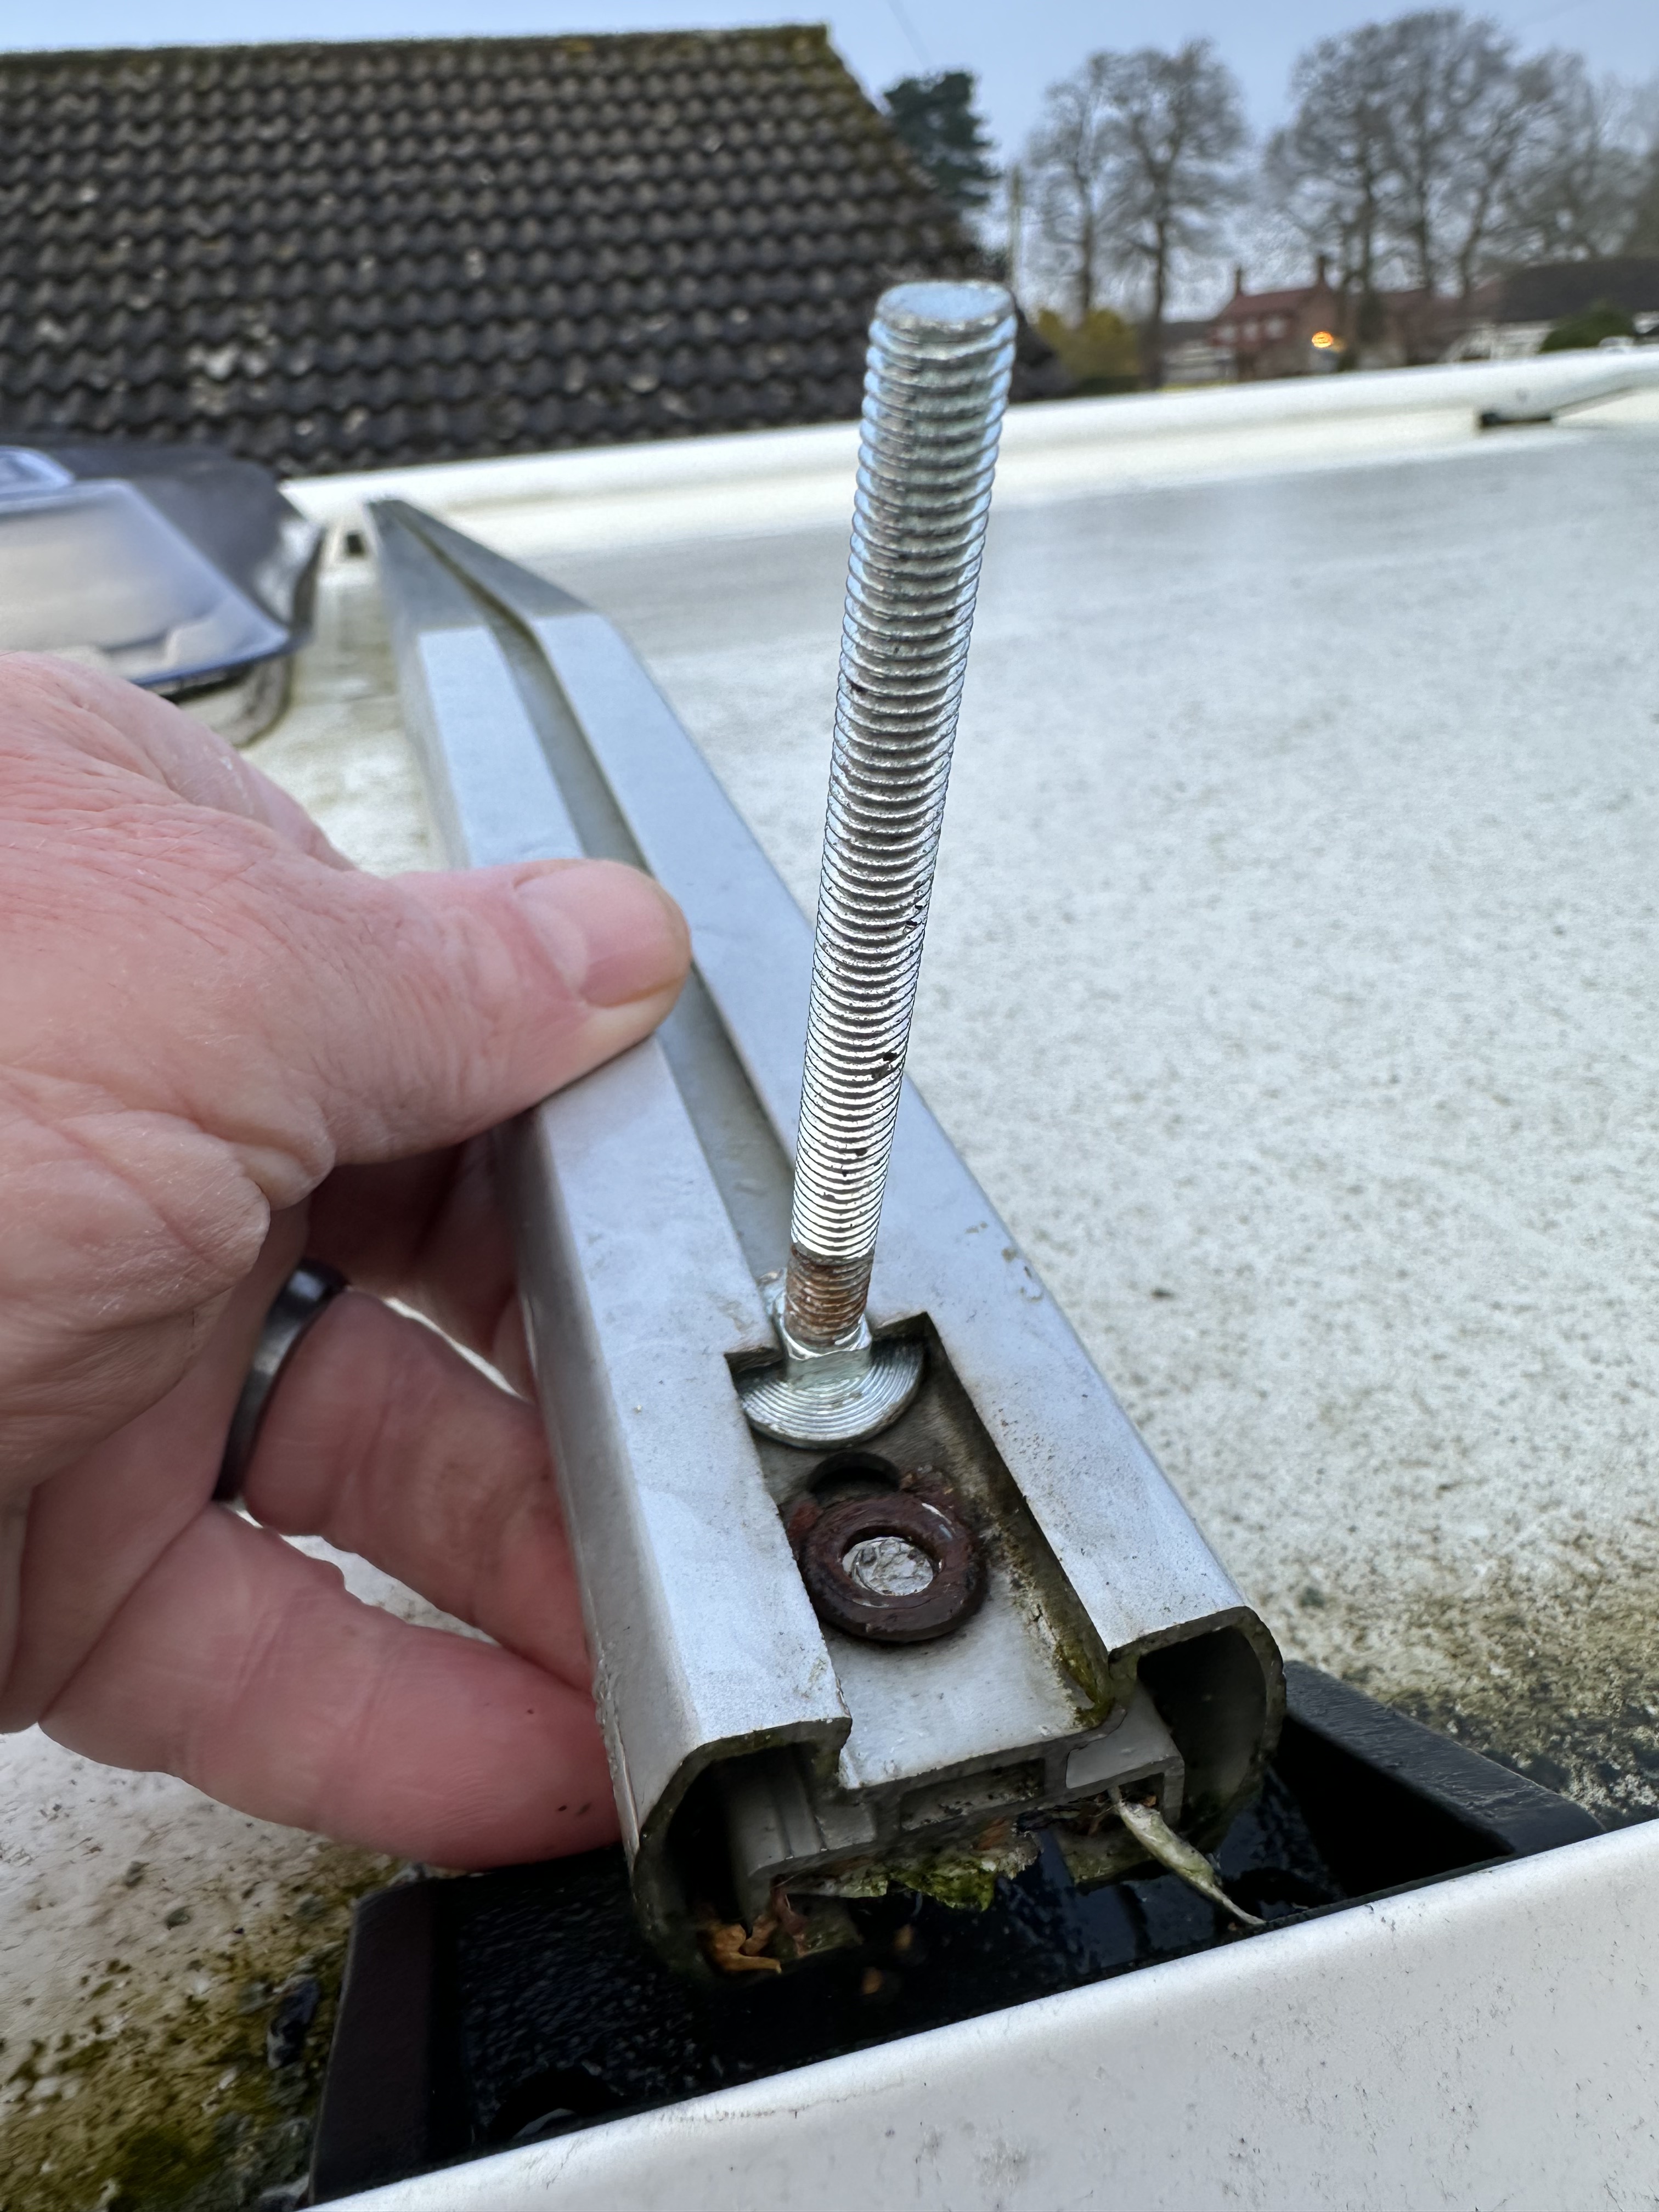
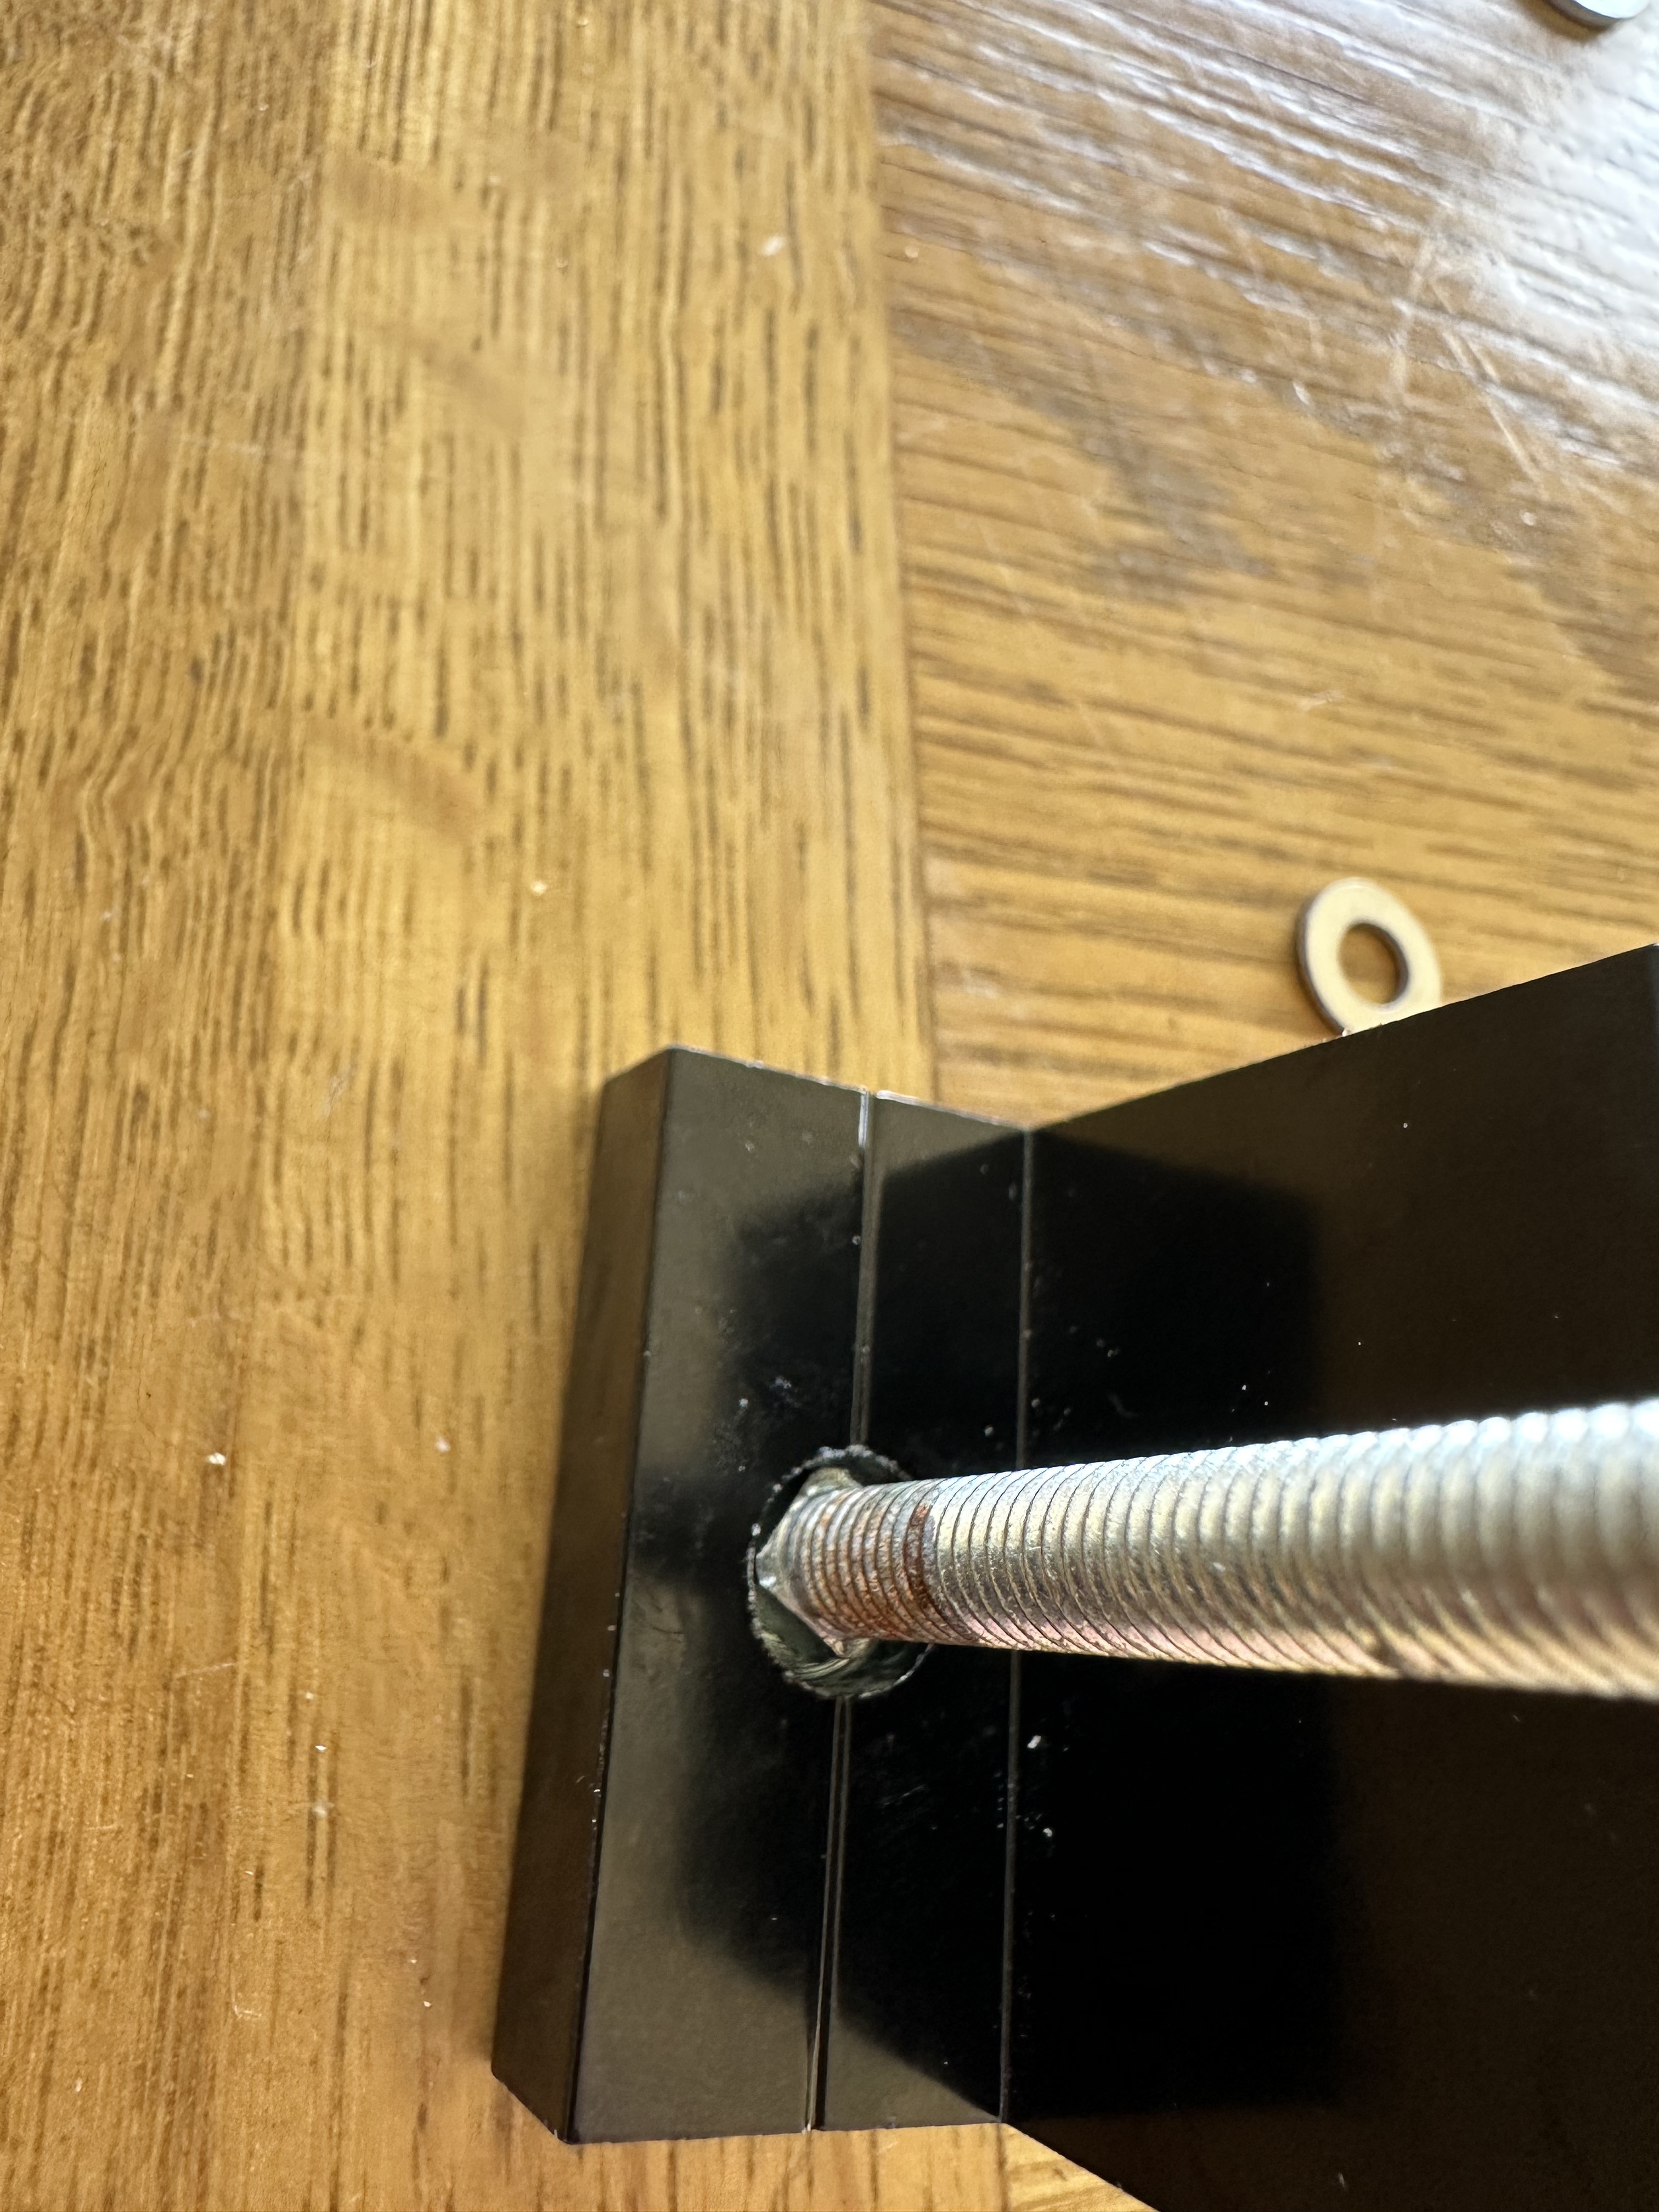
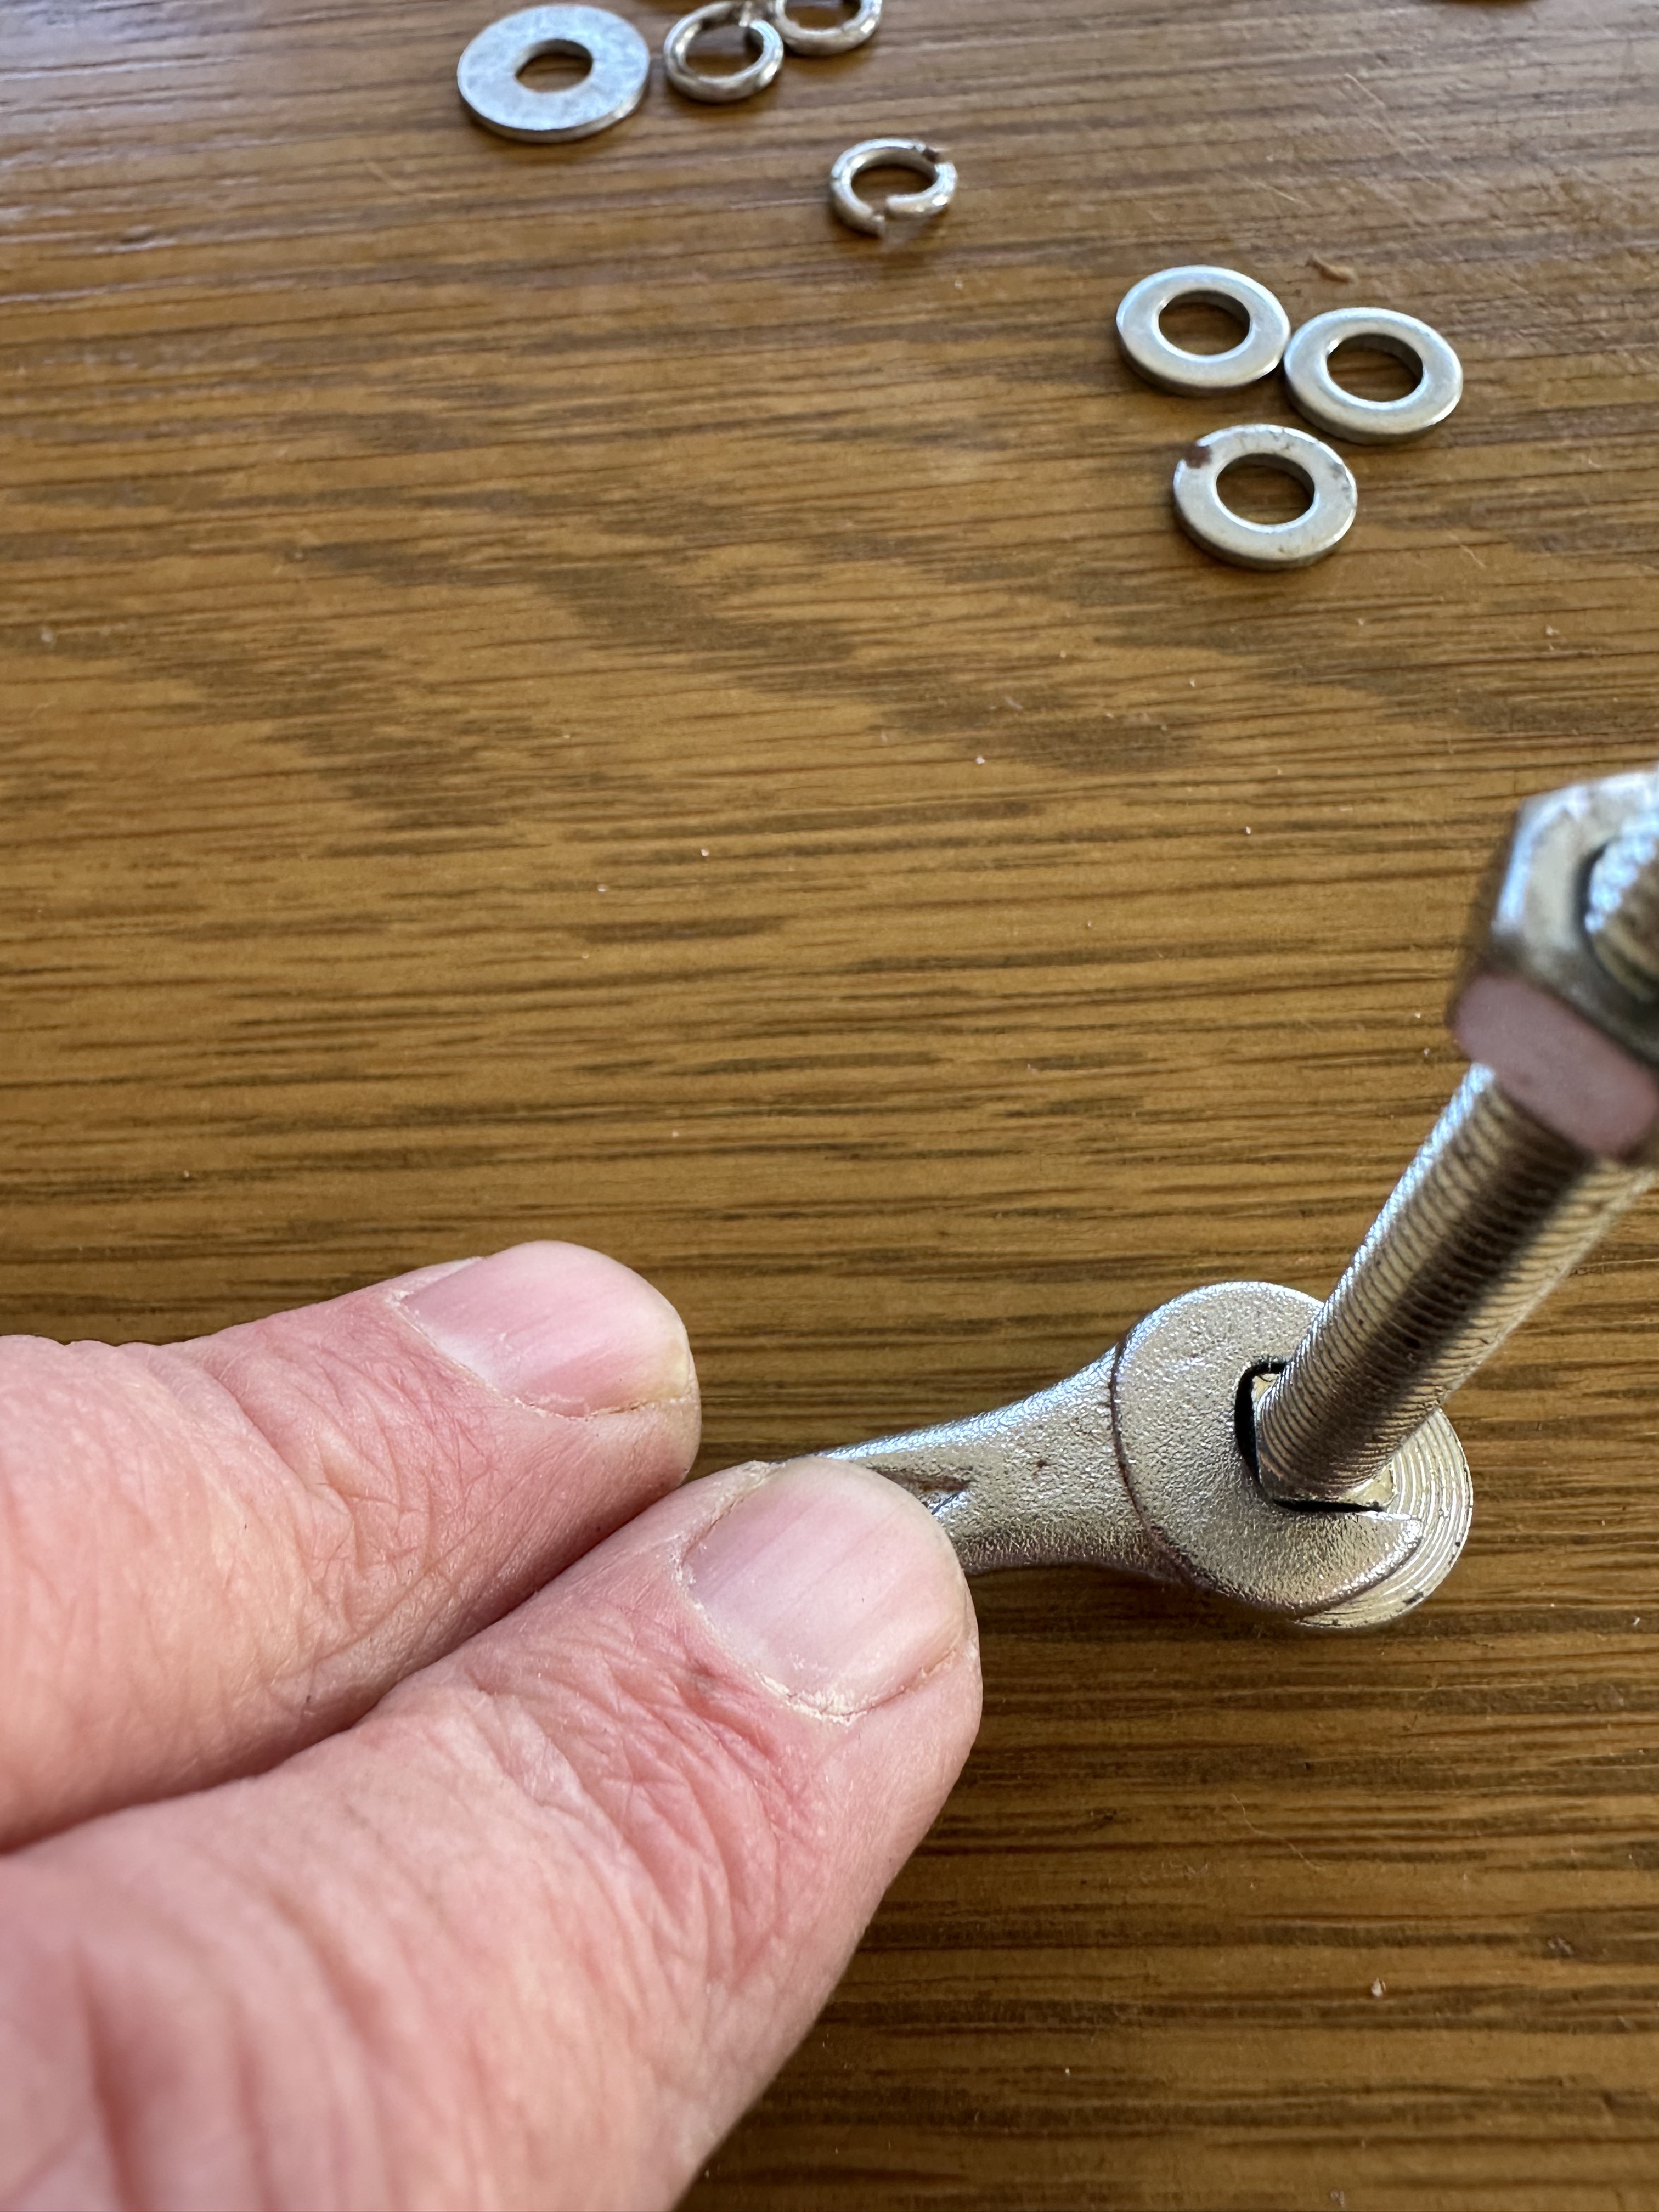
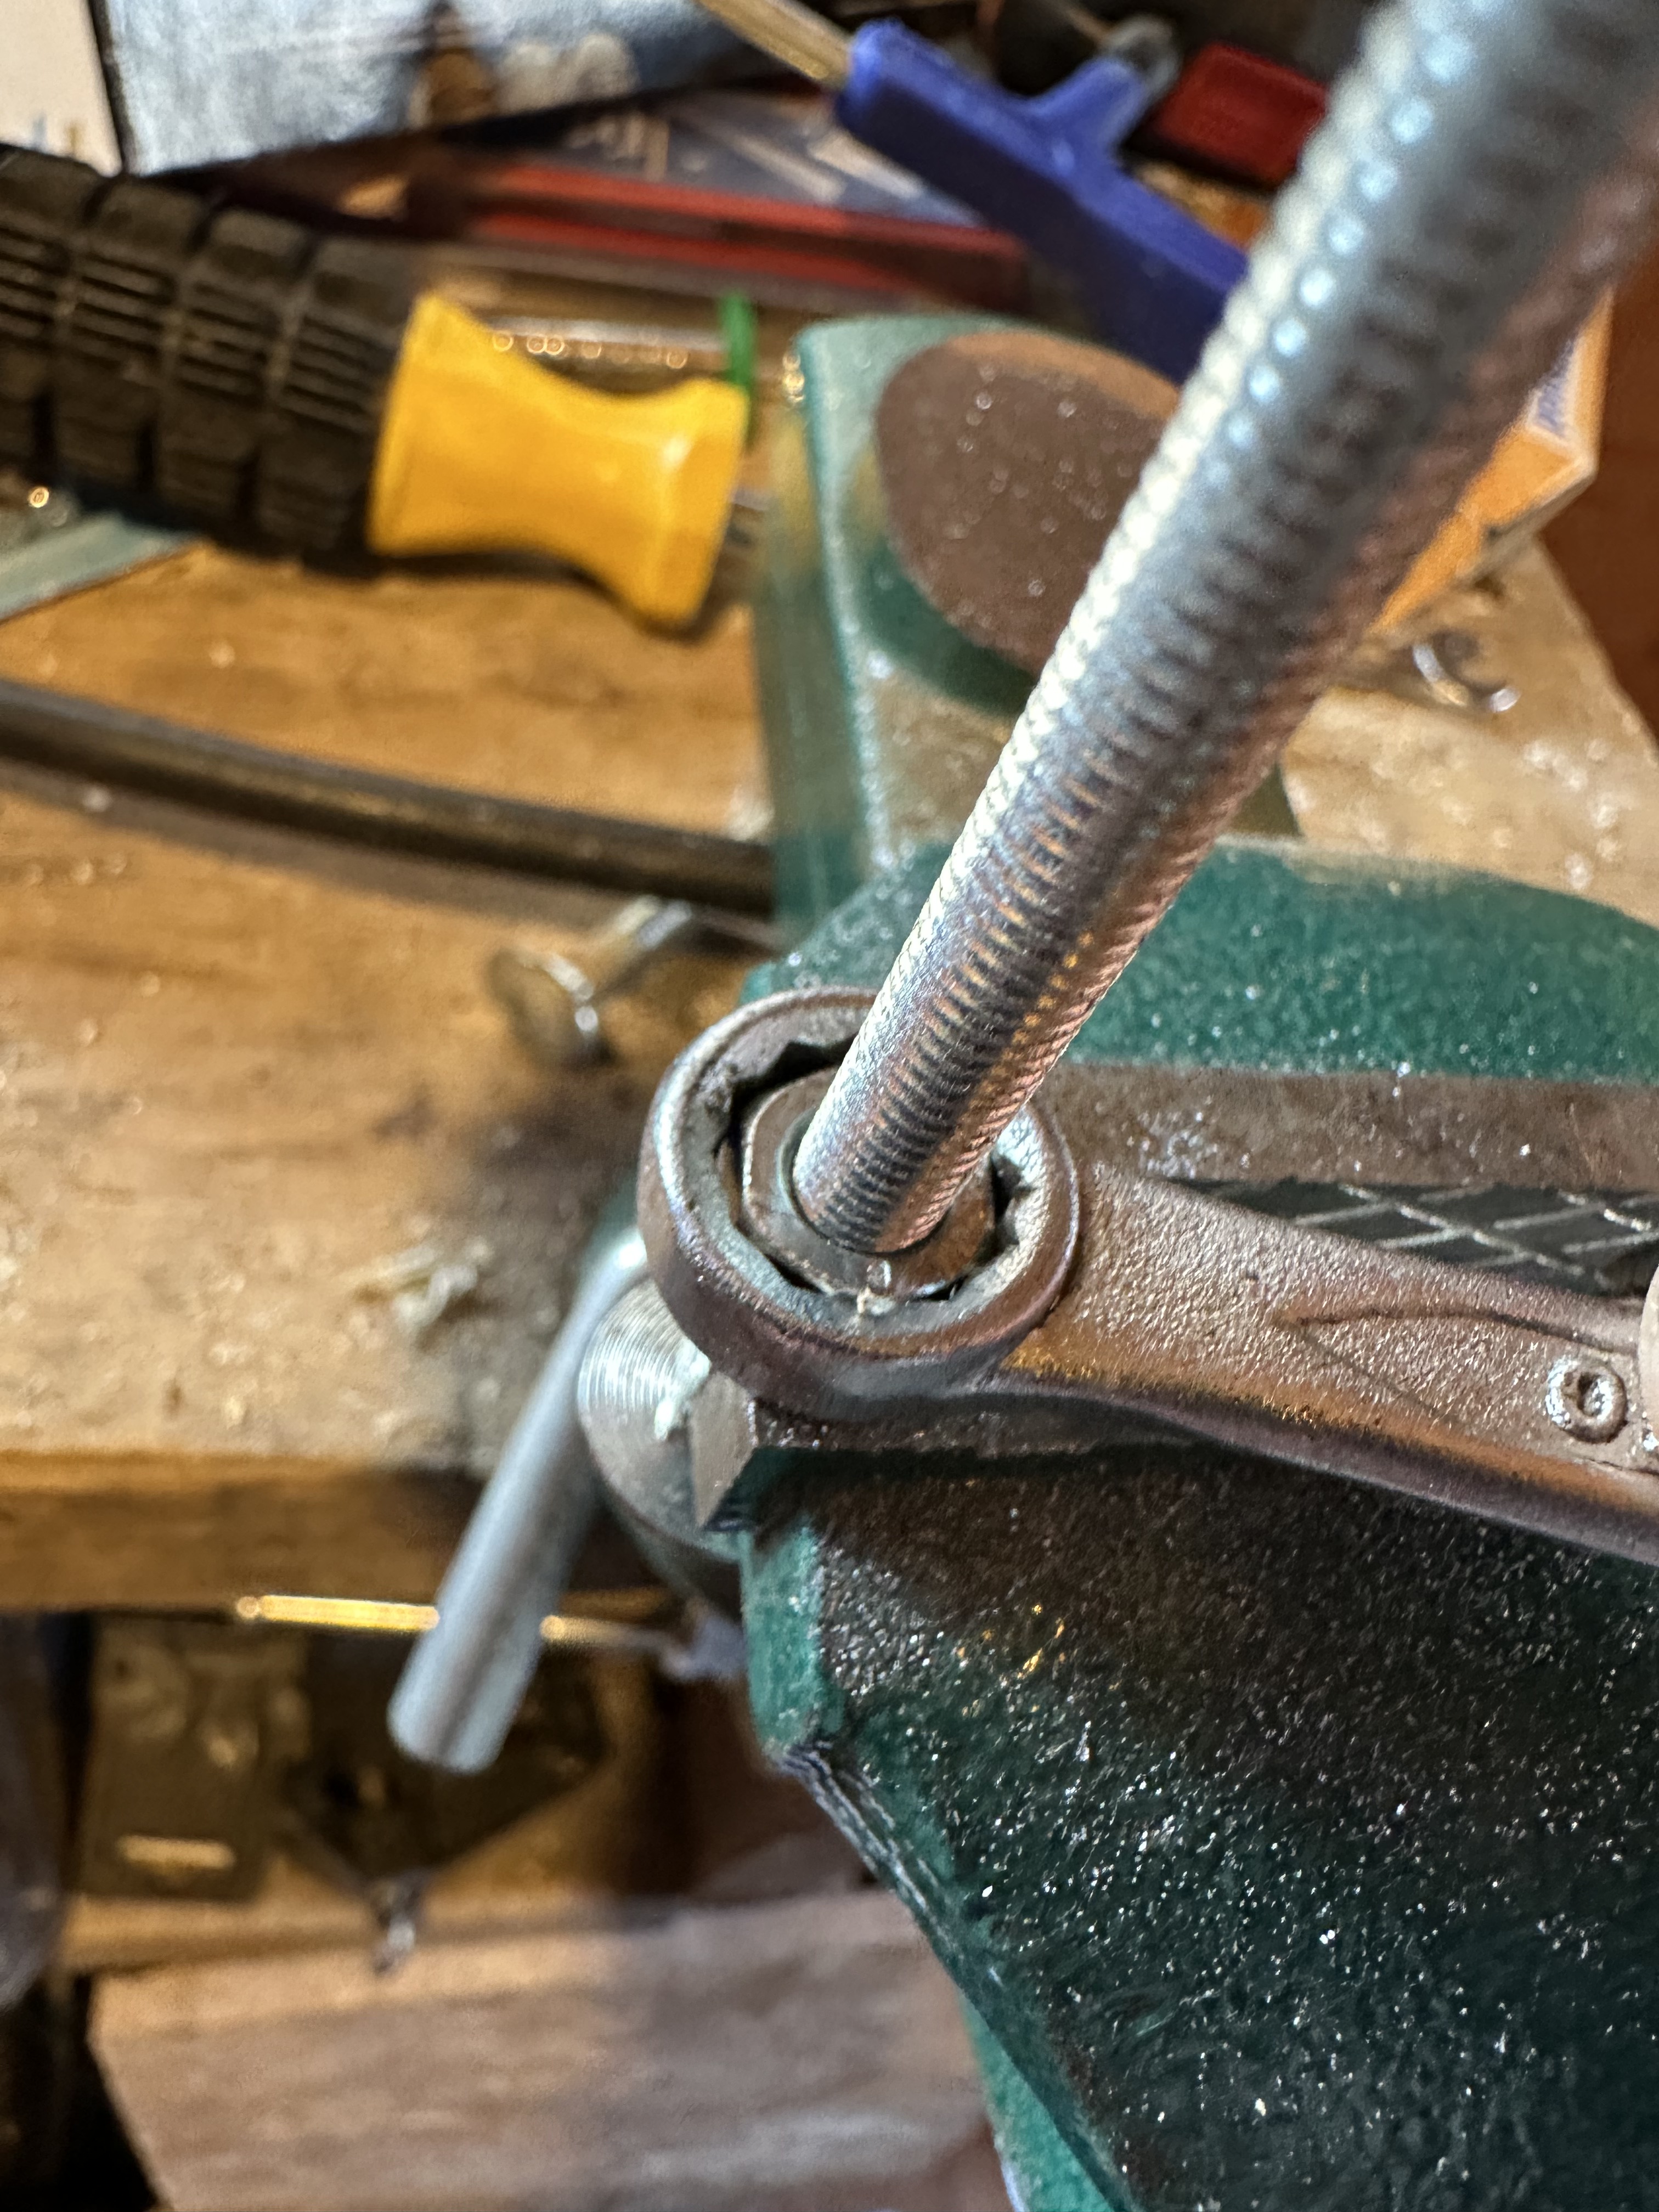
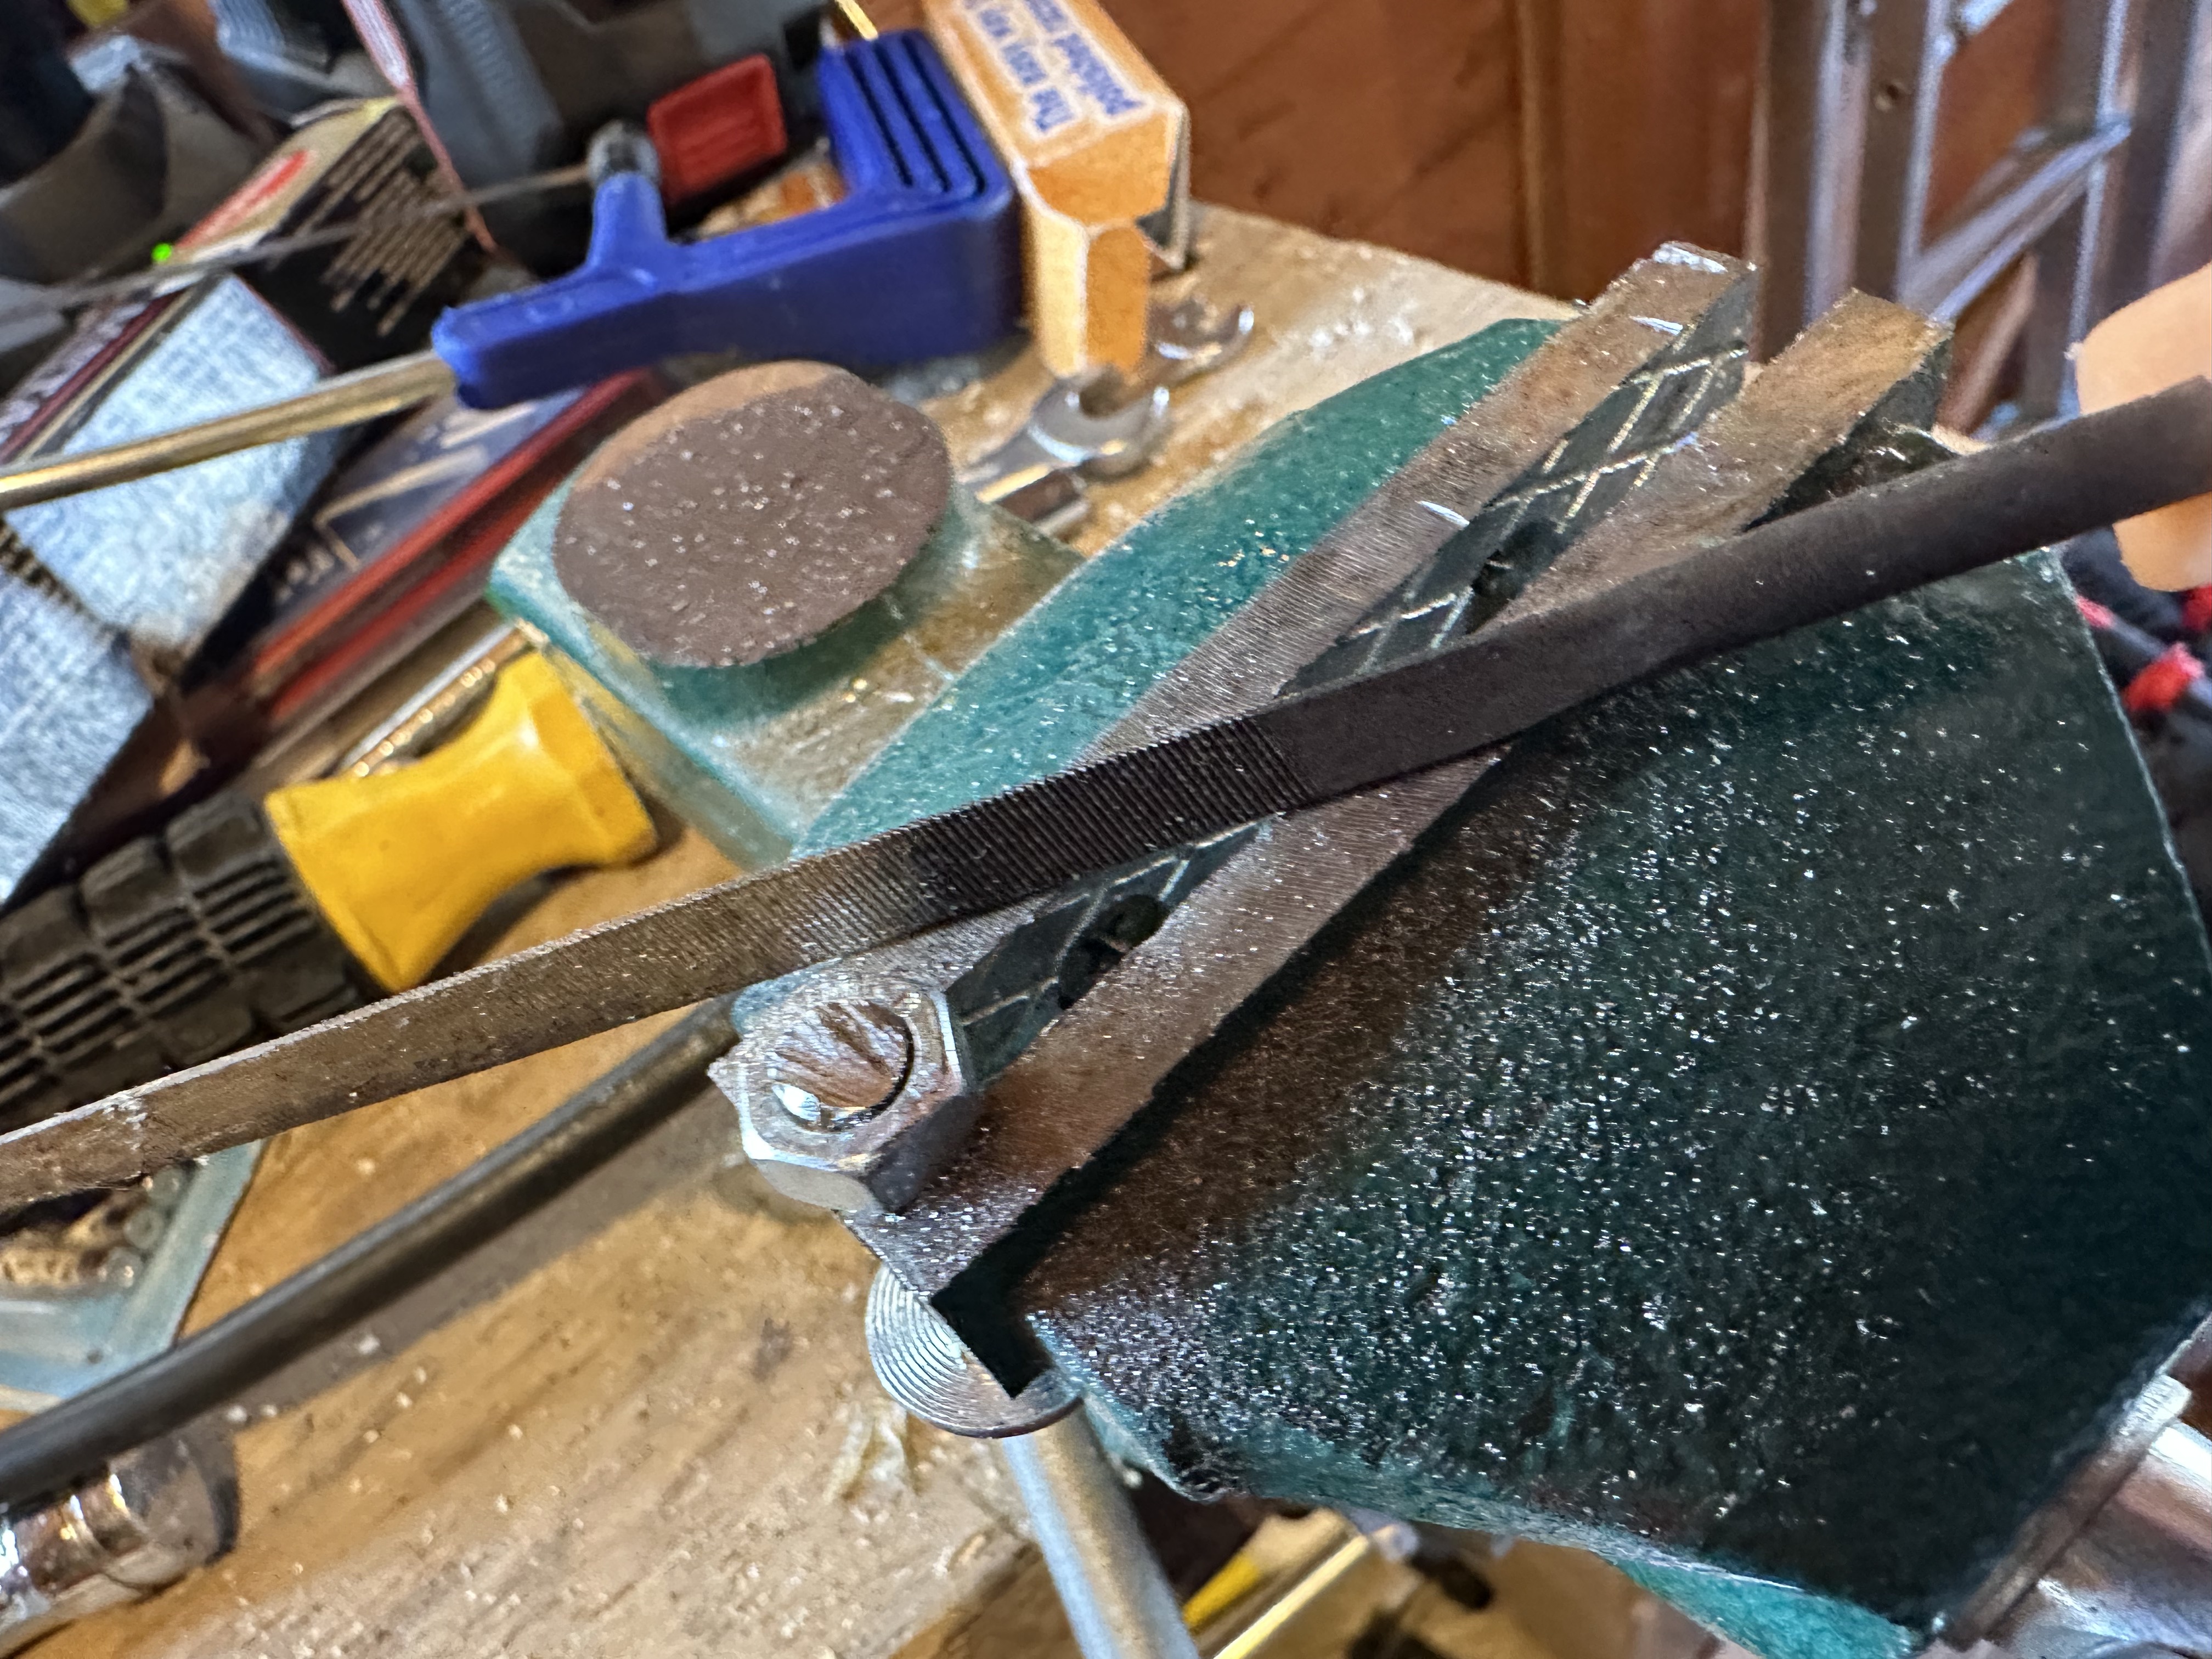
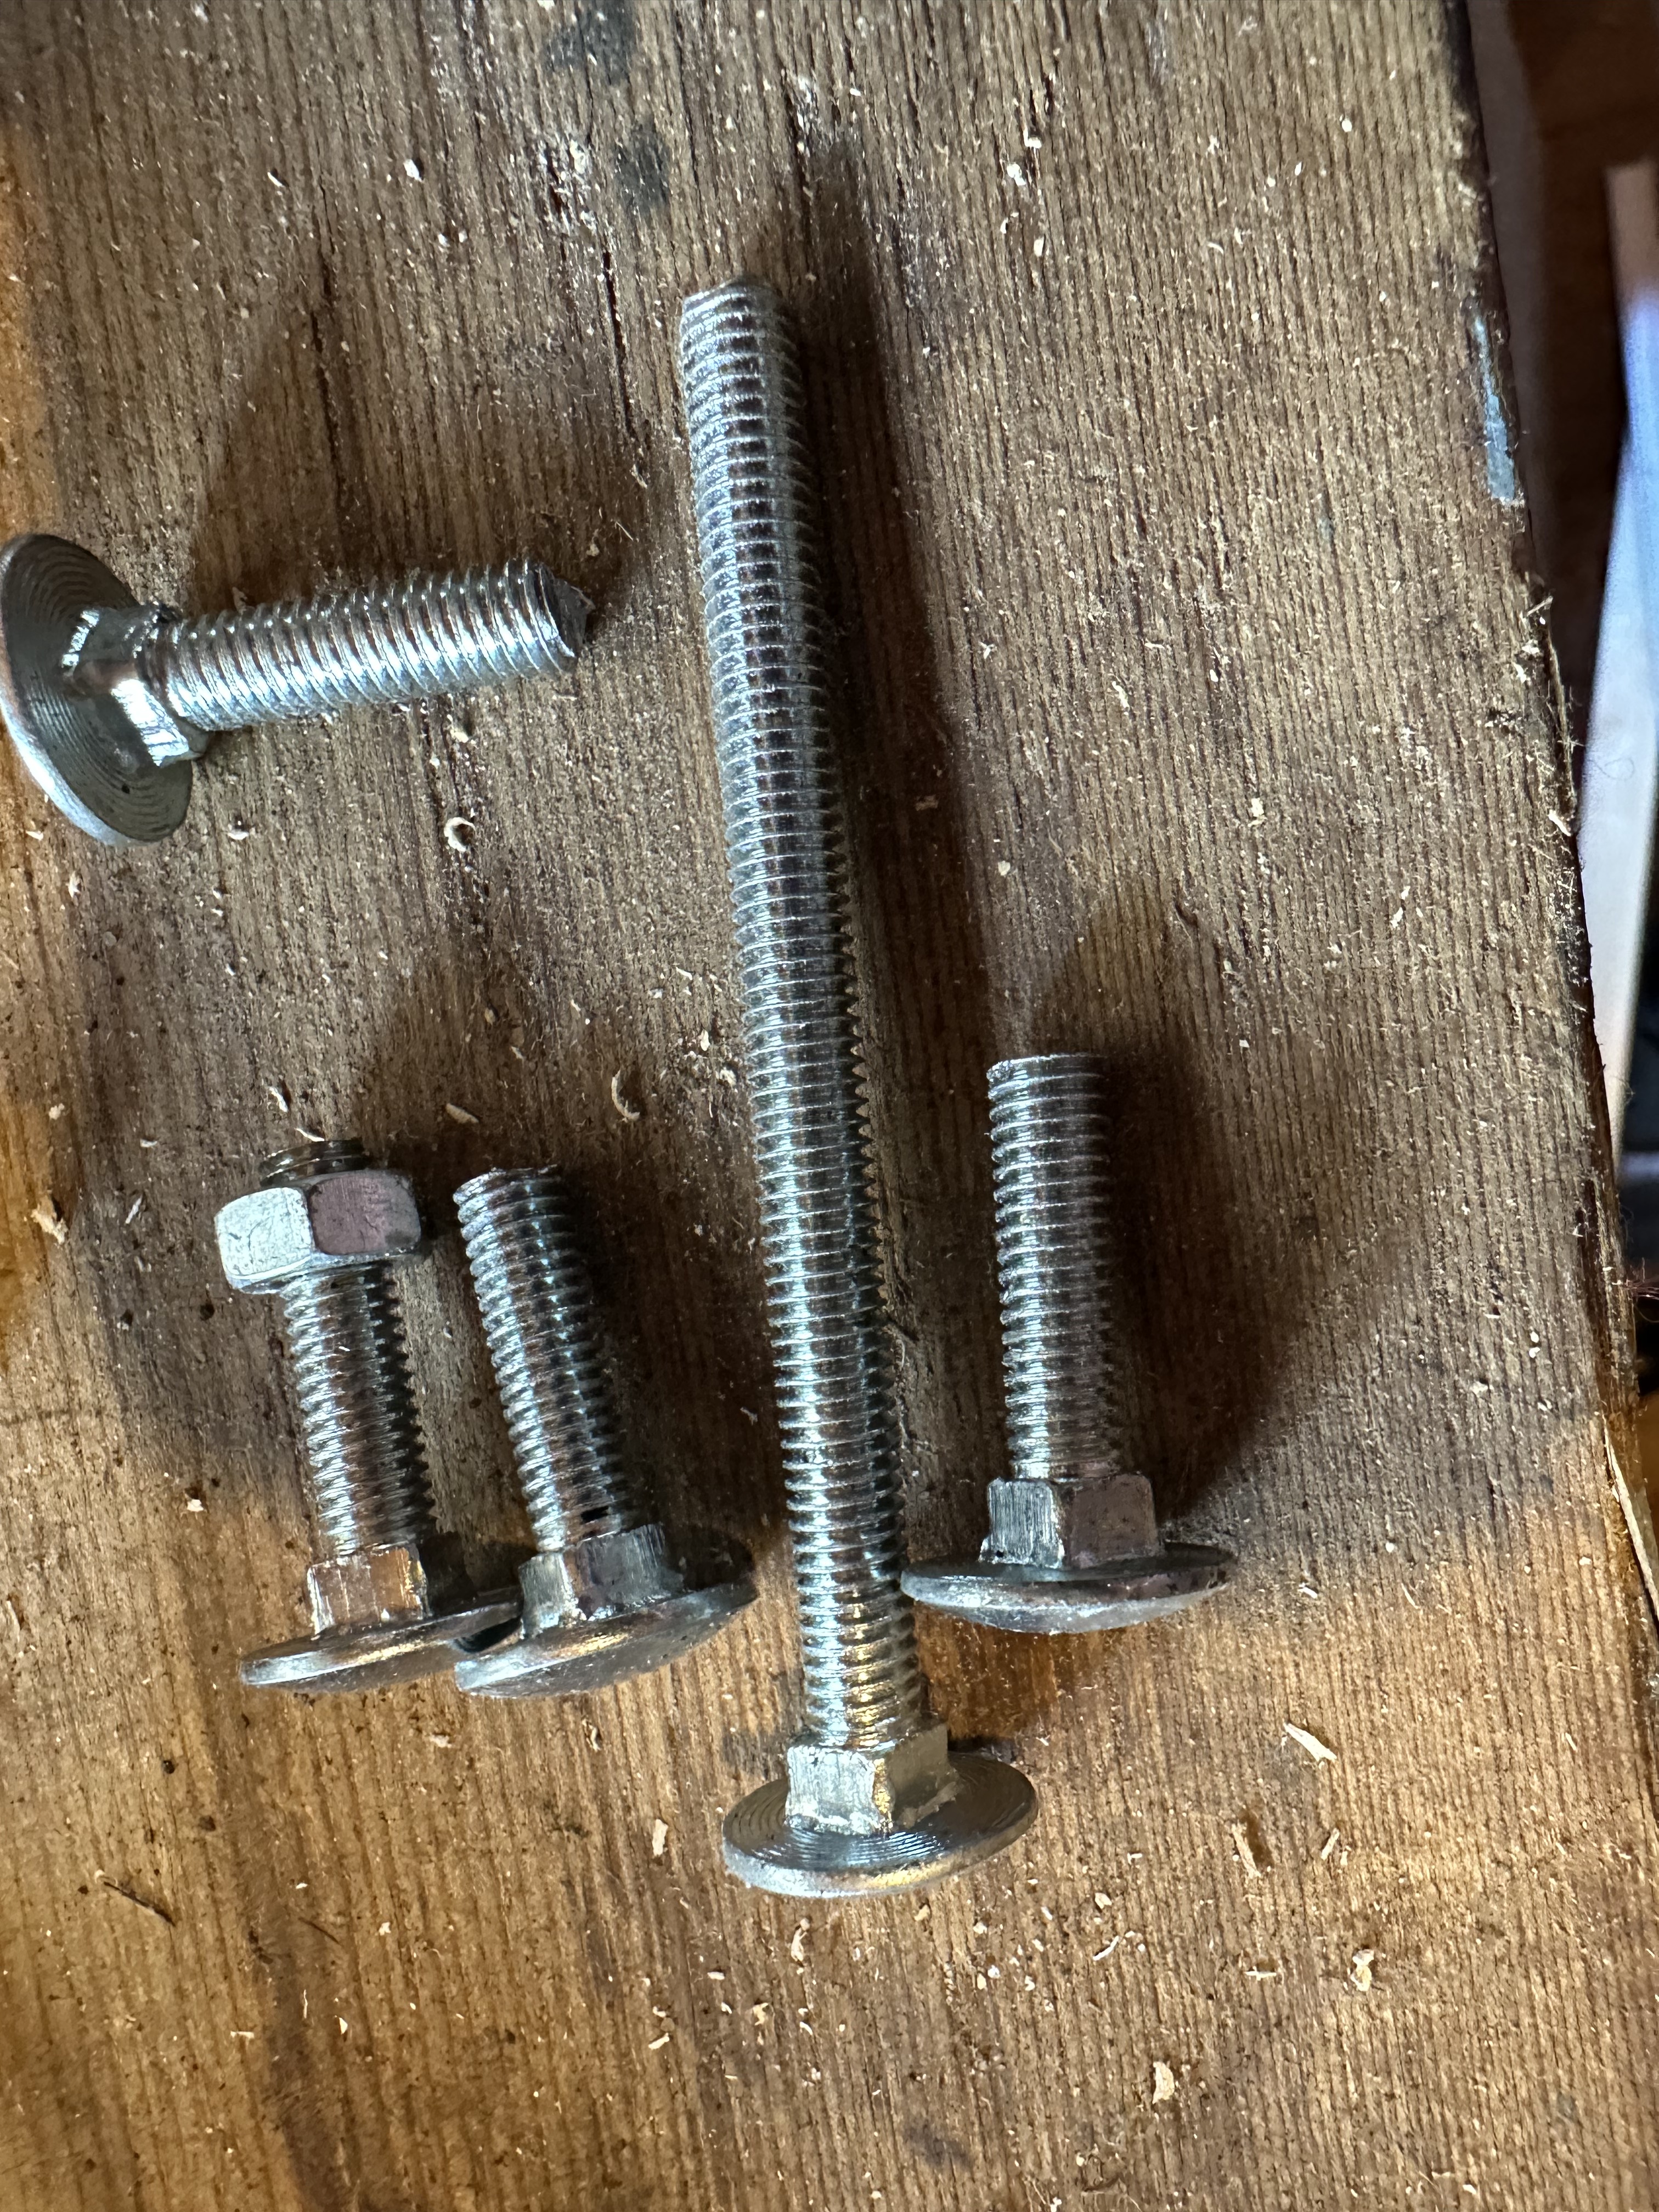
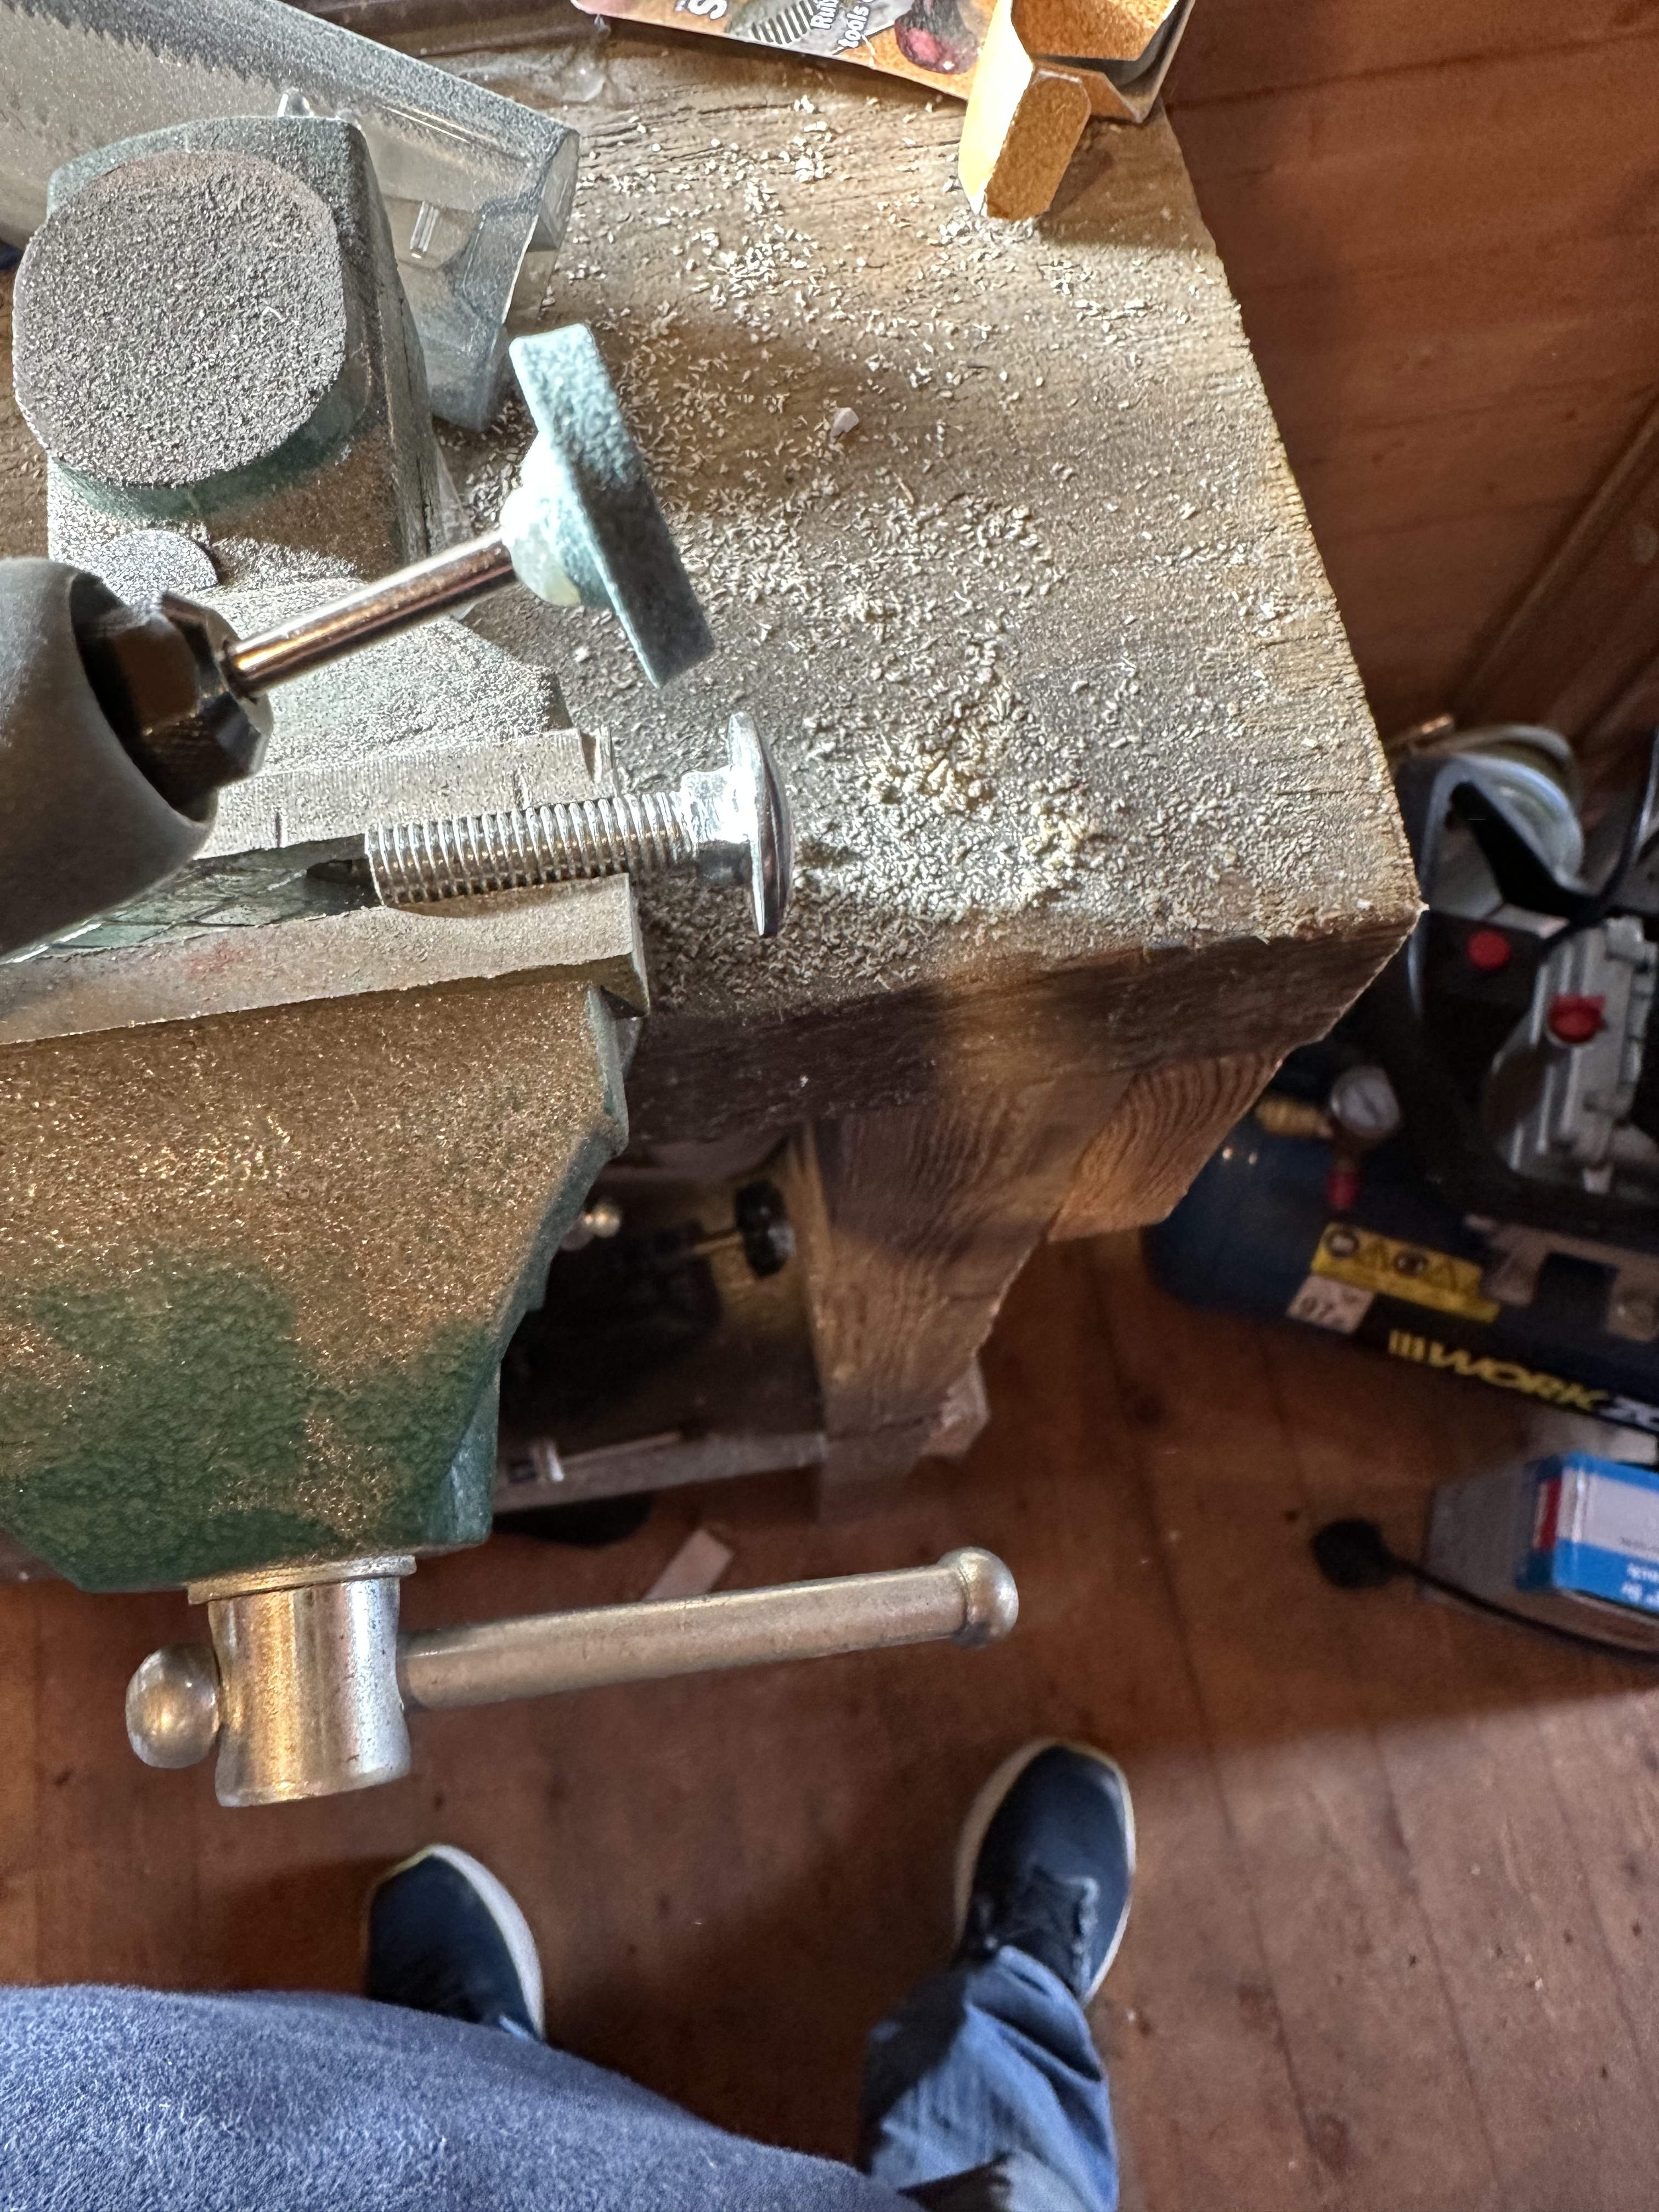
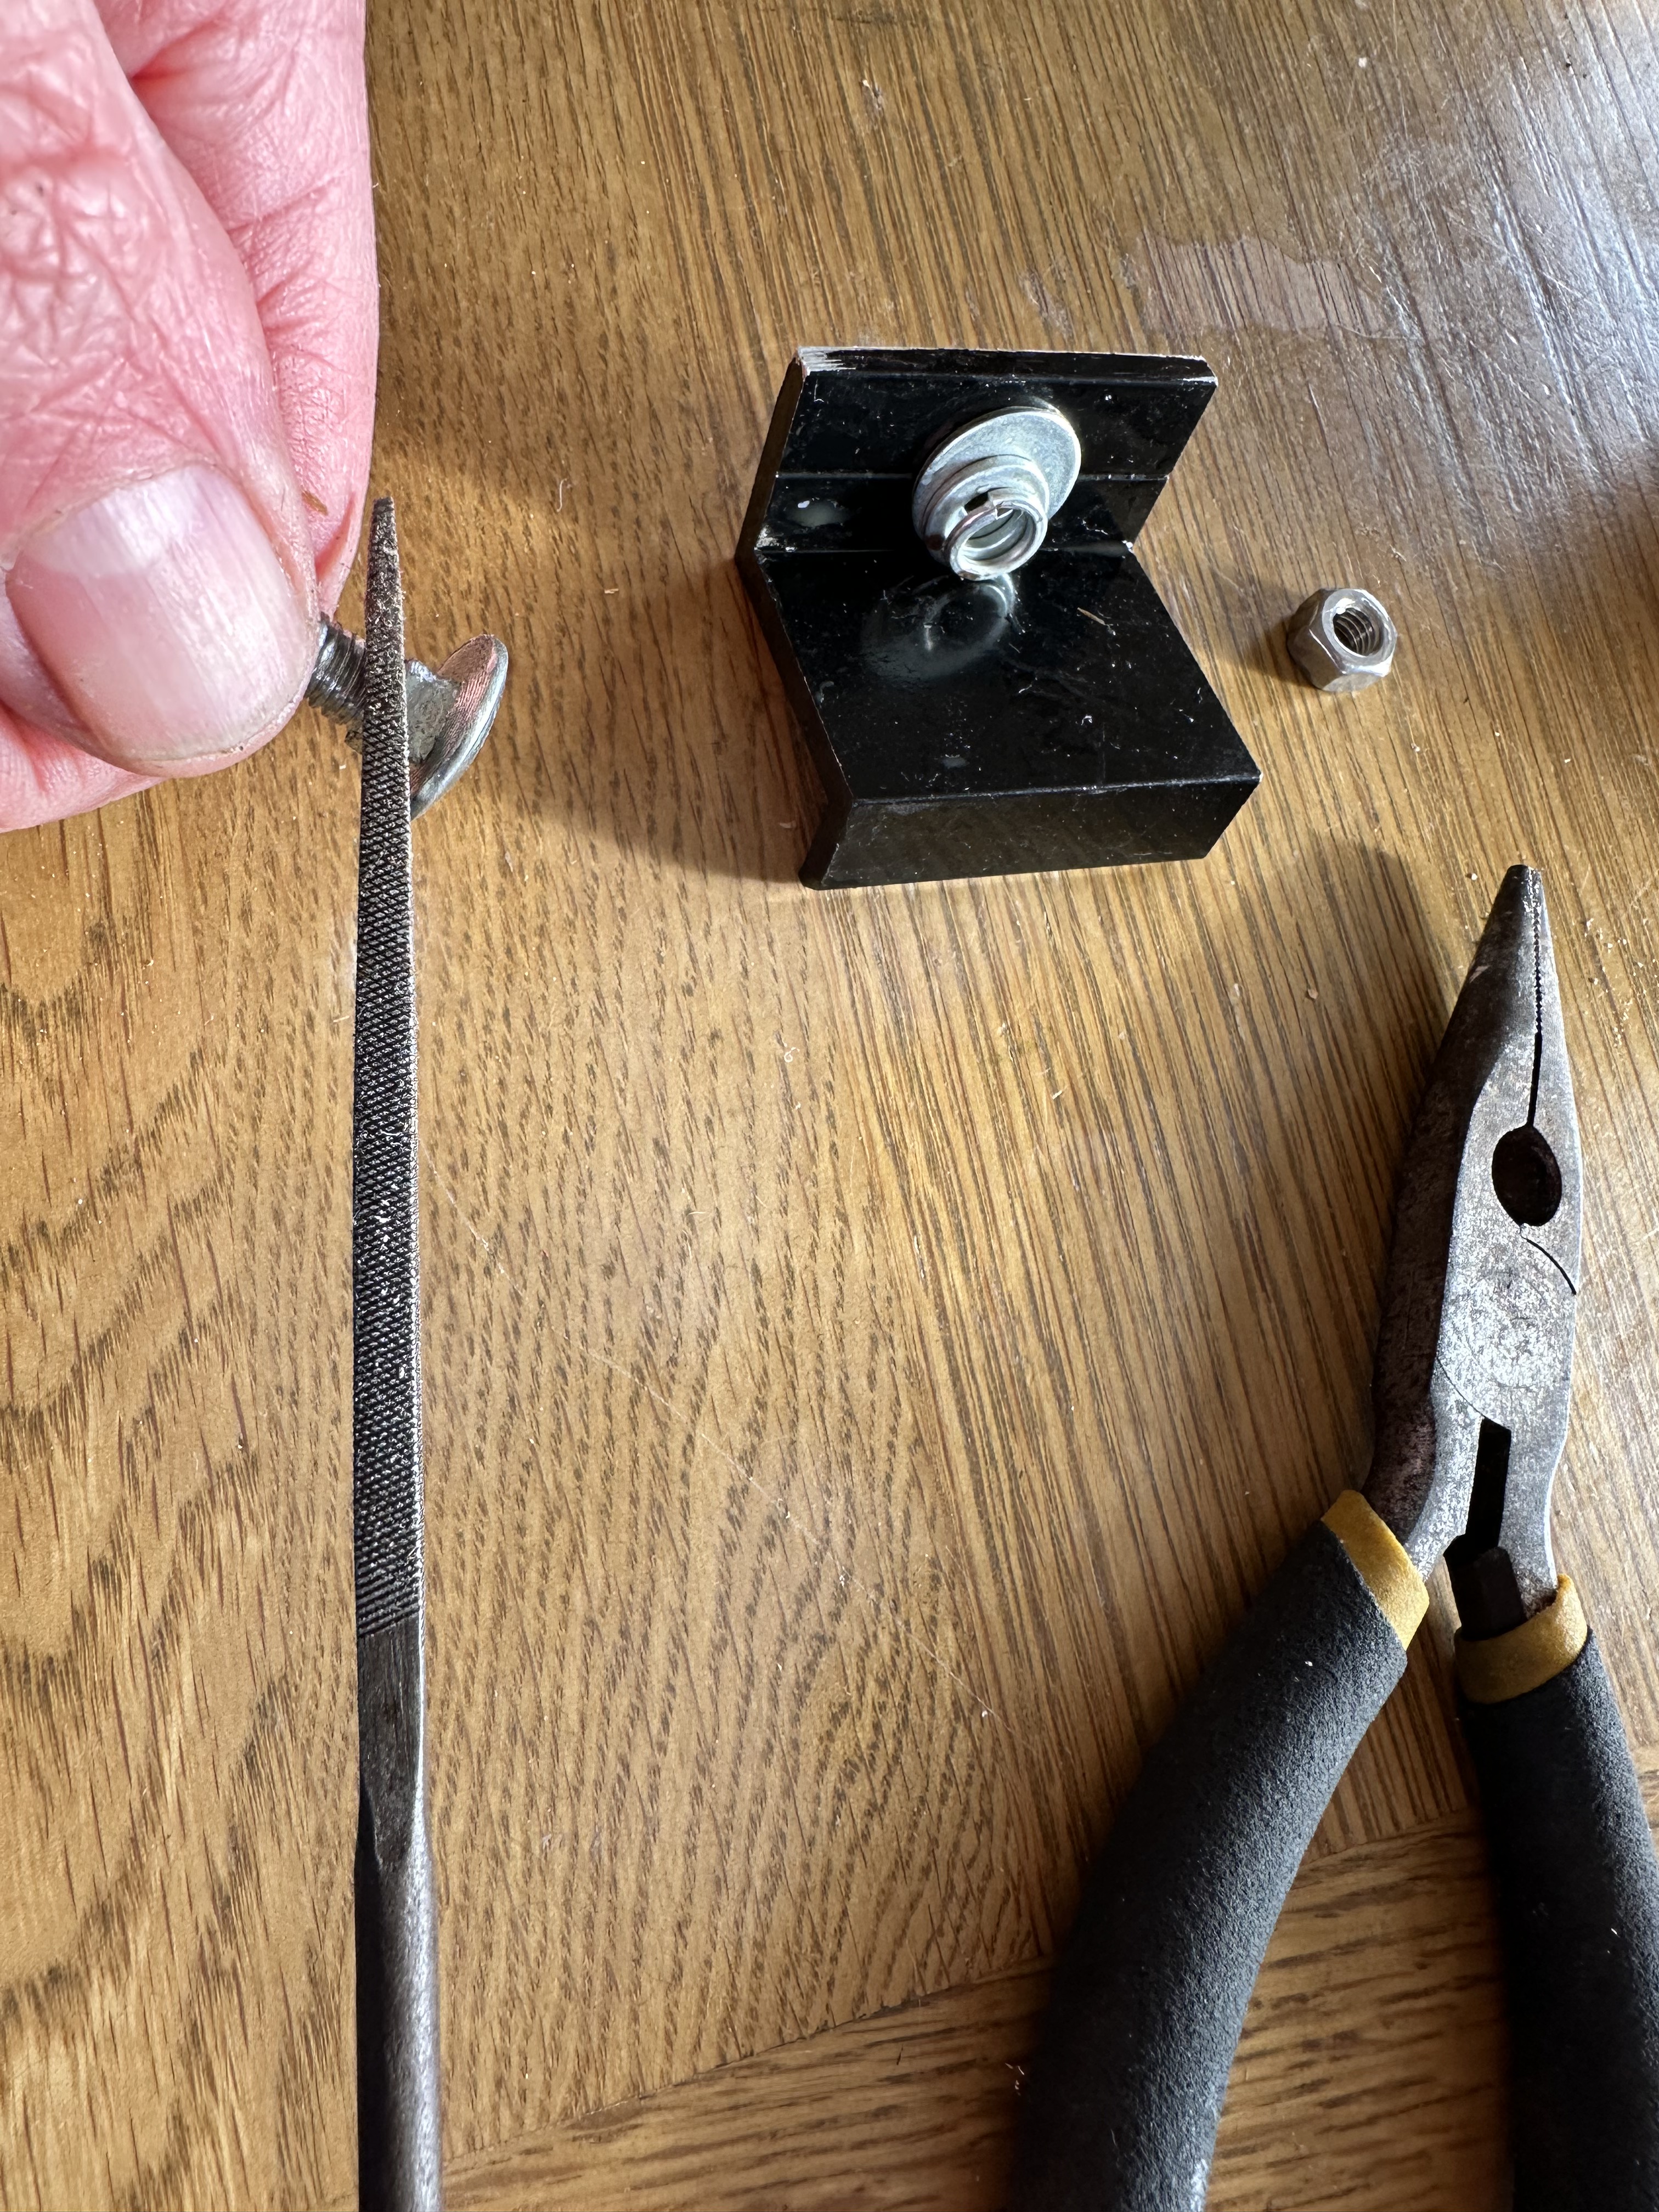
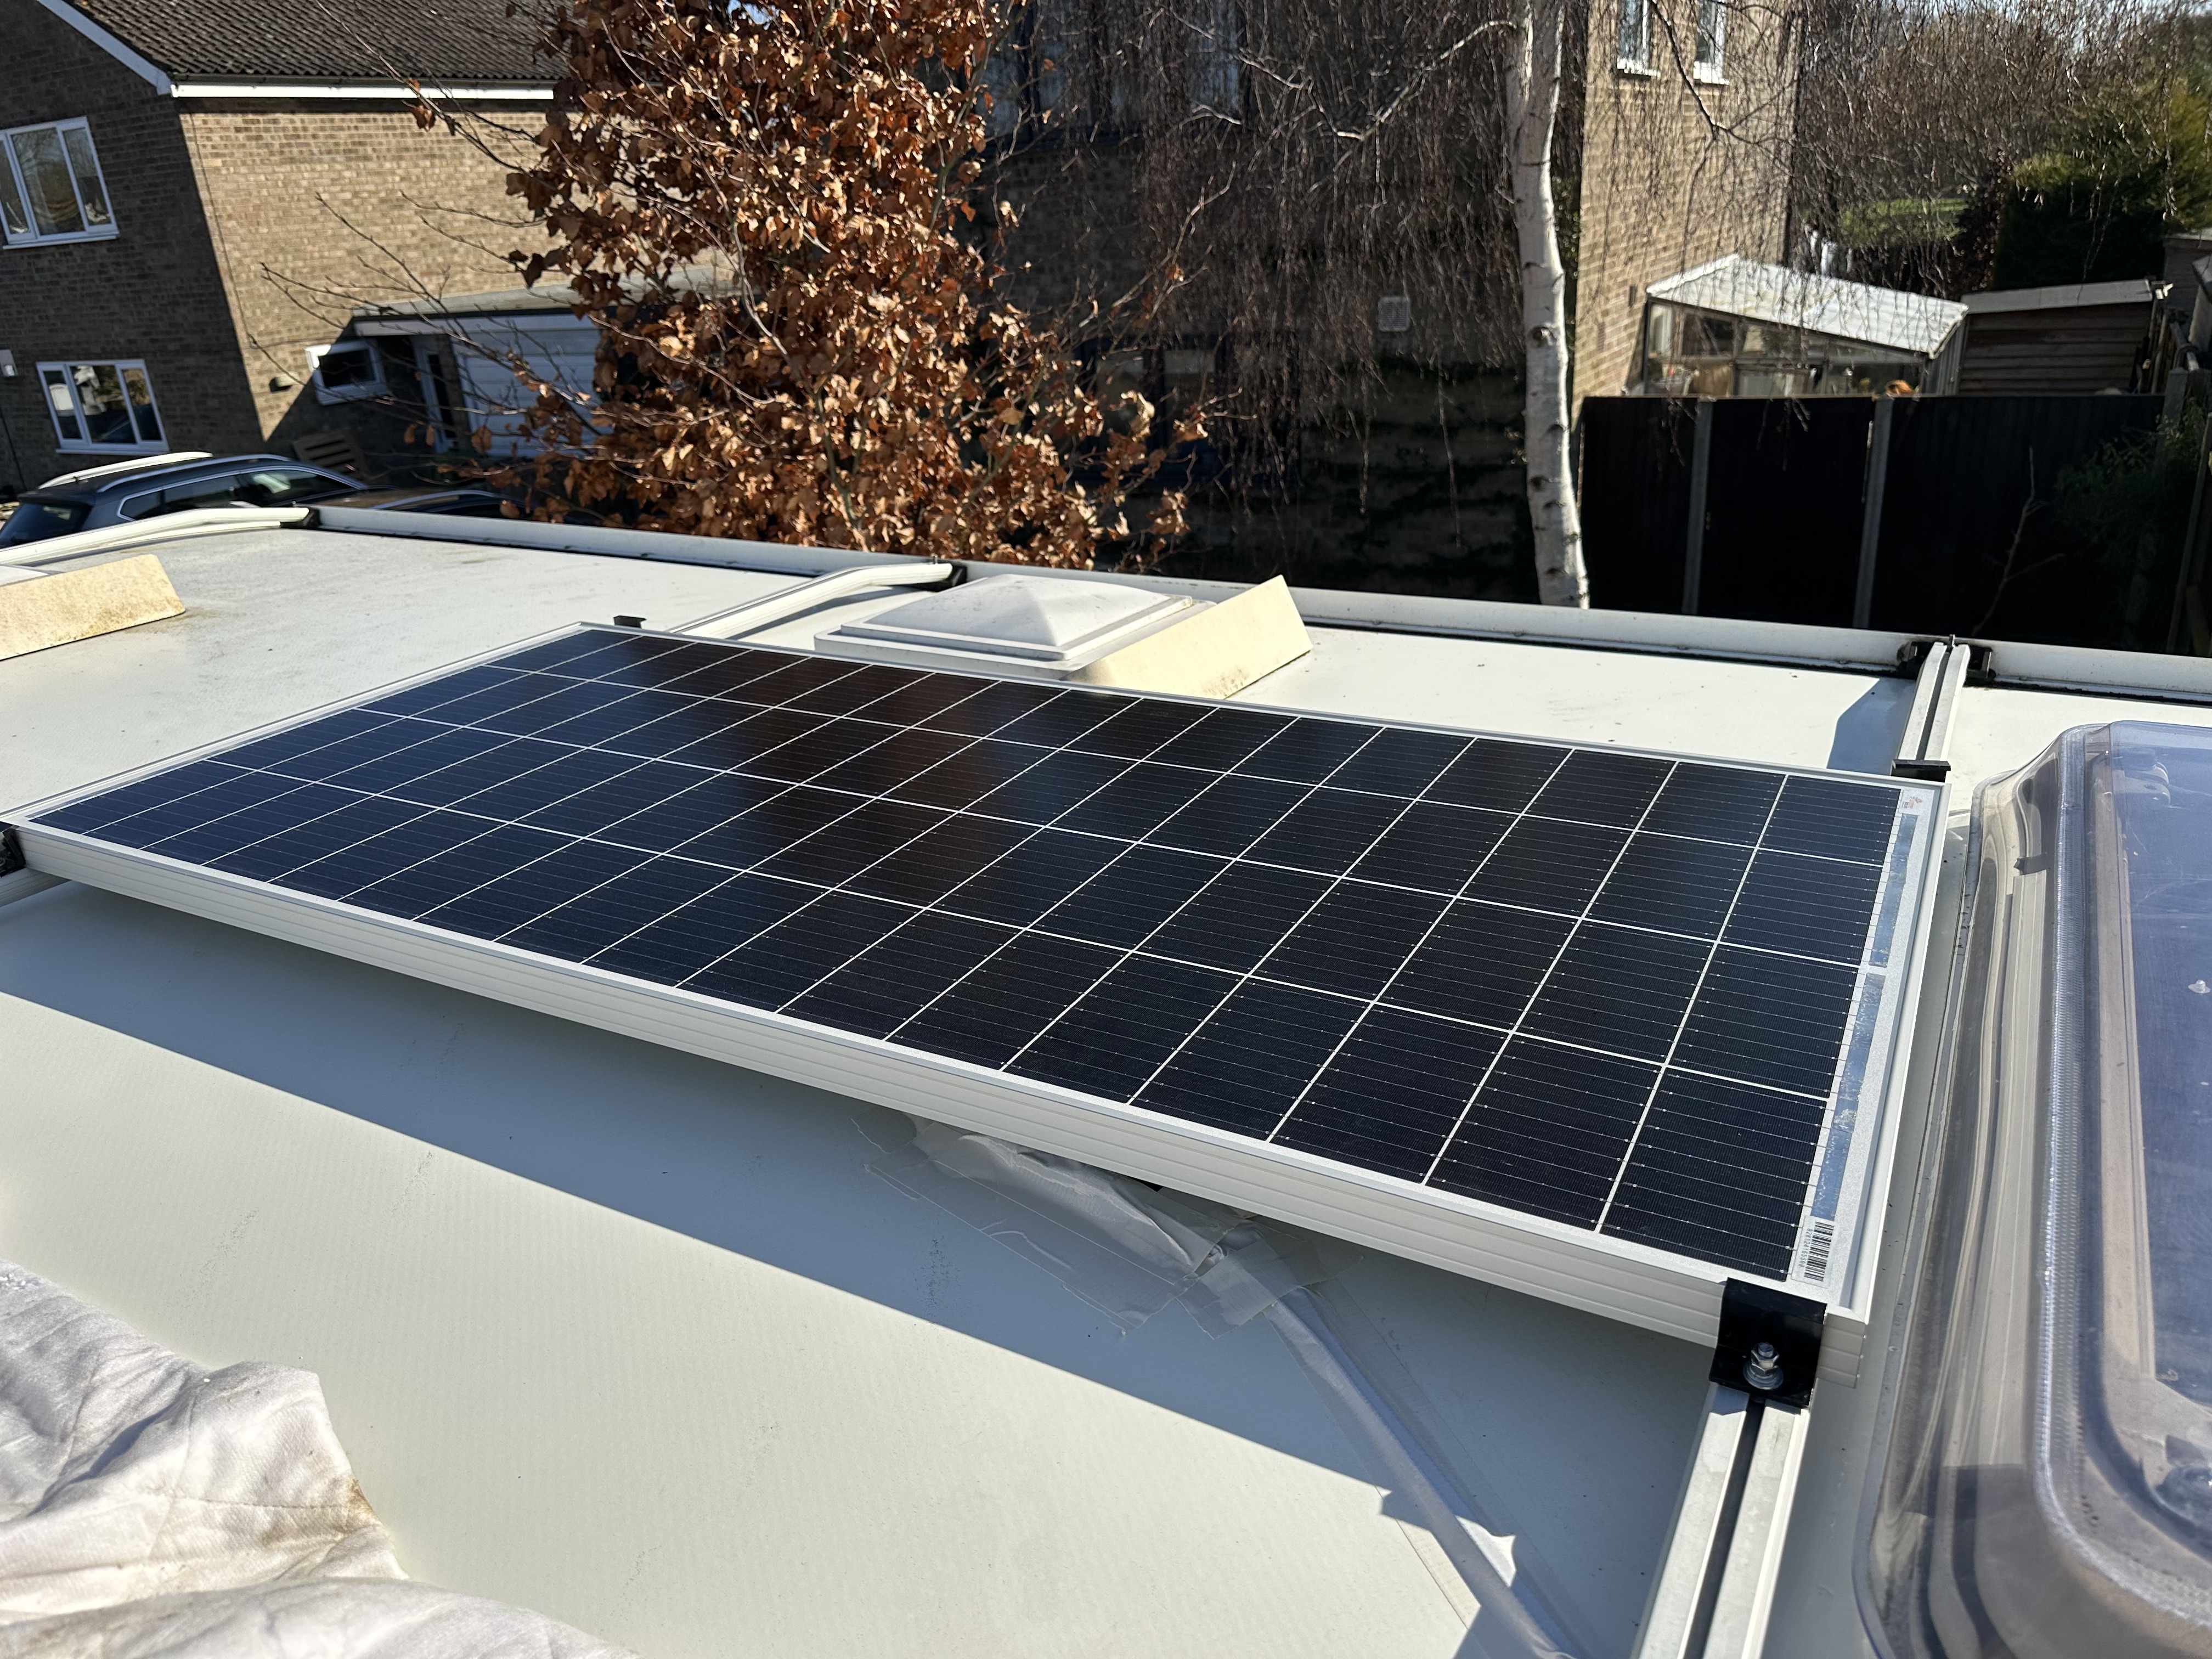
First job was working out how to mount to the roof bars – as you can see the roof bars have a T section – and this is where I started to plan – oh – the roof was ringing when I got up there – in later photos you will note the application of 17 years elbow grease. I thought at first I might be able to use a Thule roof bar bracket but – that didn’t quite work as I intended. Sunshinesolar had included 4 of their own roof bar brackets for me, and as they are substantial milled alloy, that was the starting point. I already knew that M6 coach bolts are the perfect size to slide into the T section – but the bolts were far too long. My dad was an old school engineer, and one of the tricks he taught me was how to cut a threaded bolt down – simply use the nut as your cutting guide! the other reason for using the nut as a cutting guide is that if you use a spanner to undo the nut, the nut should remove any extraneous metal – I also used a small fine rat tail file just to be certain…. Now, next thing is that coach bolts are mass produced and are not uniform – so I used the Dremel to both smooth the square section beneath the thread and also to square off the top circle – two of the four bolts needed 1 mm off in total to be able to slide along the channel. Having manufactured the four bolts ready for the plates, I then look at those. From the factory, they had a pronounced lip to clamp the solar panel down, but also had an opposite ledge – presumably to hook over the roof bar – but that would not work on my system. I therefore used a vice to hold then and ran a Dremel cutting disk along the edge, and then a metal file to ensure that all was flat.

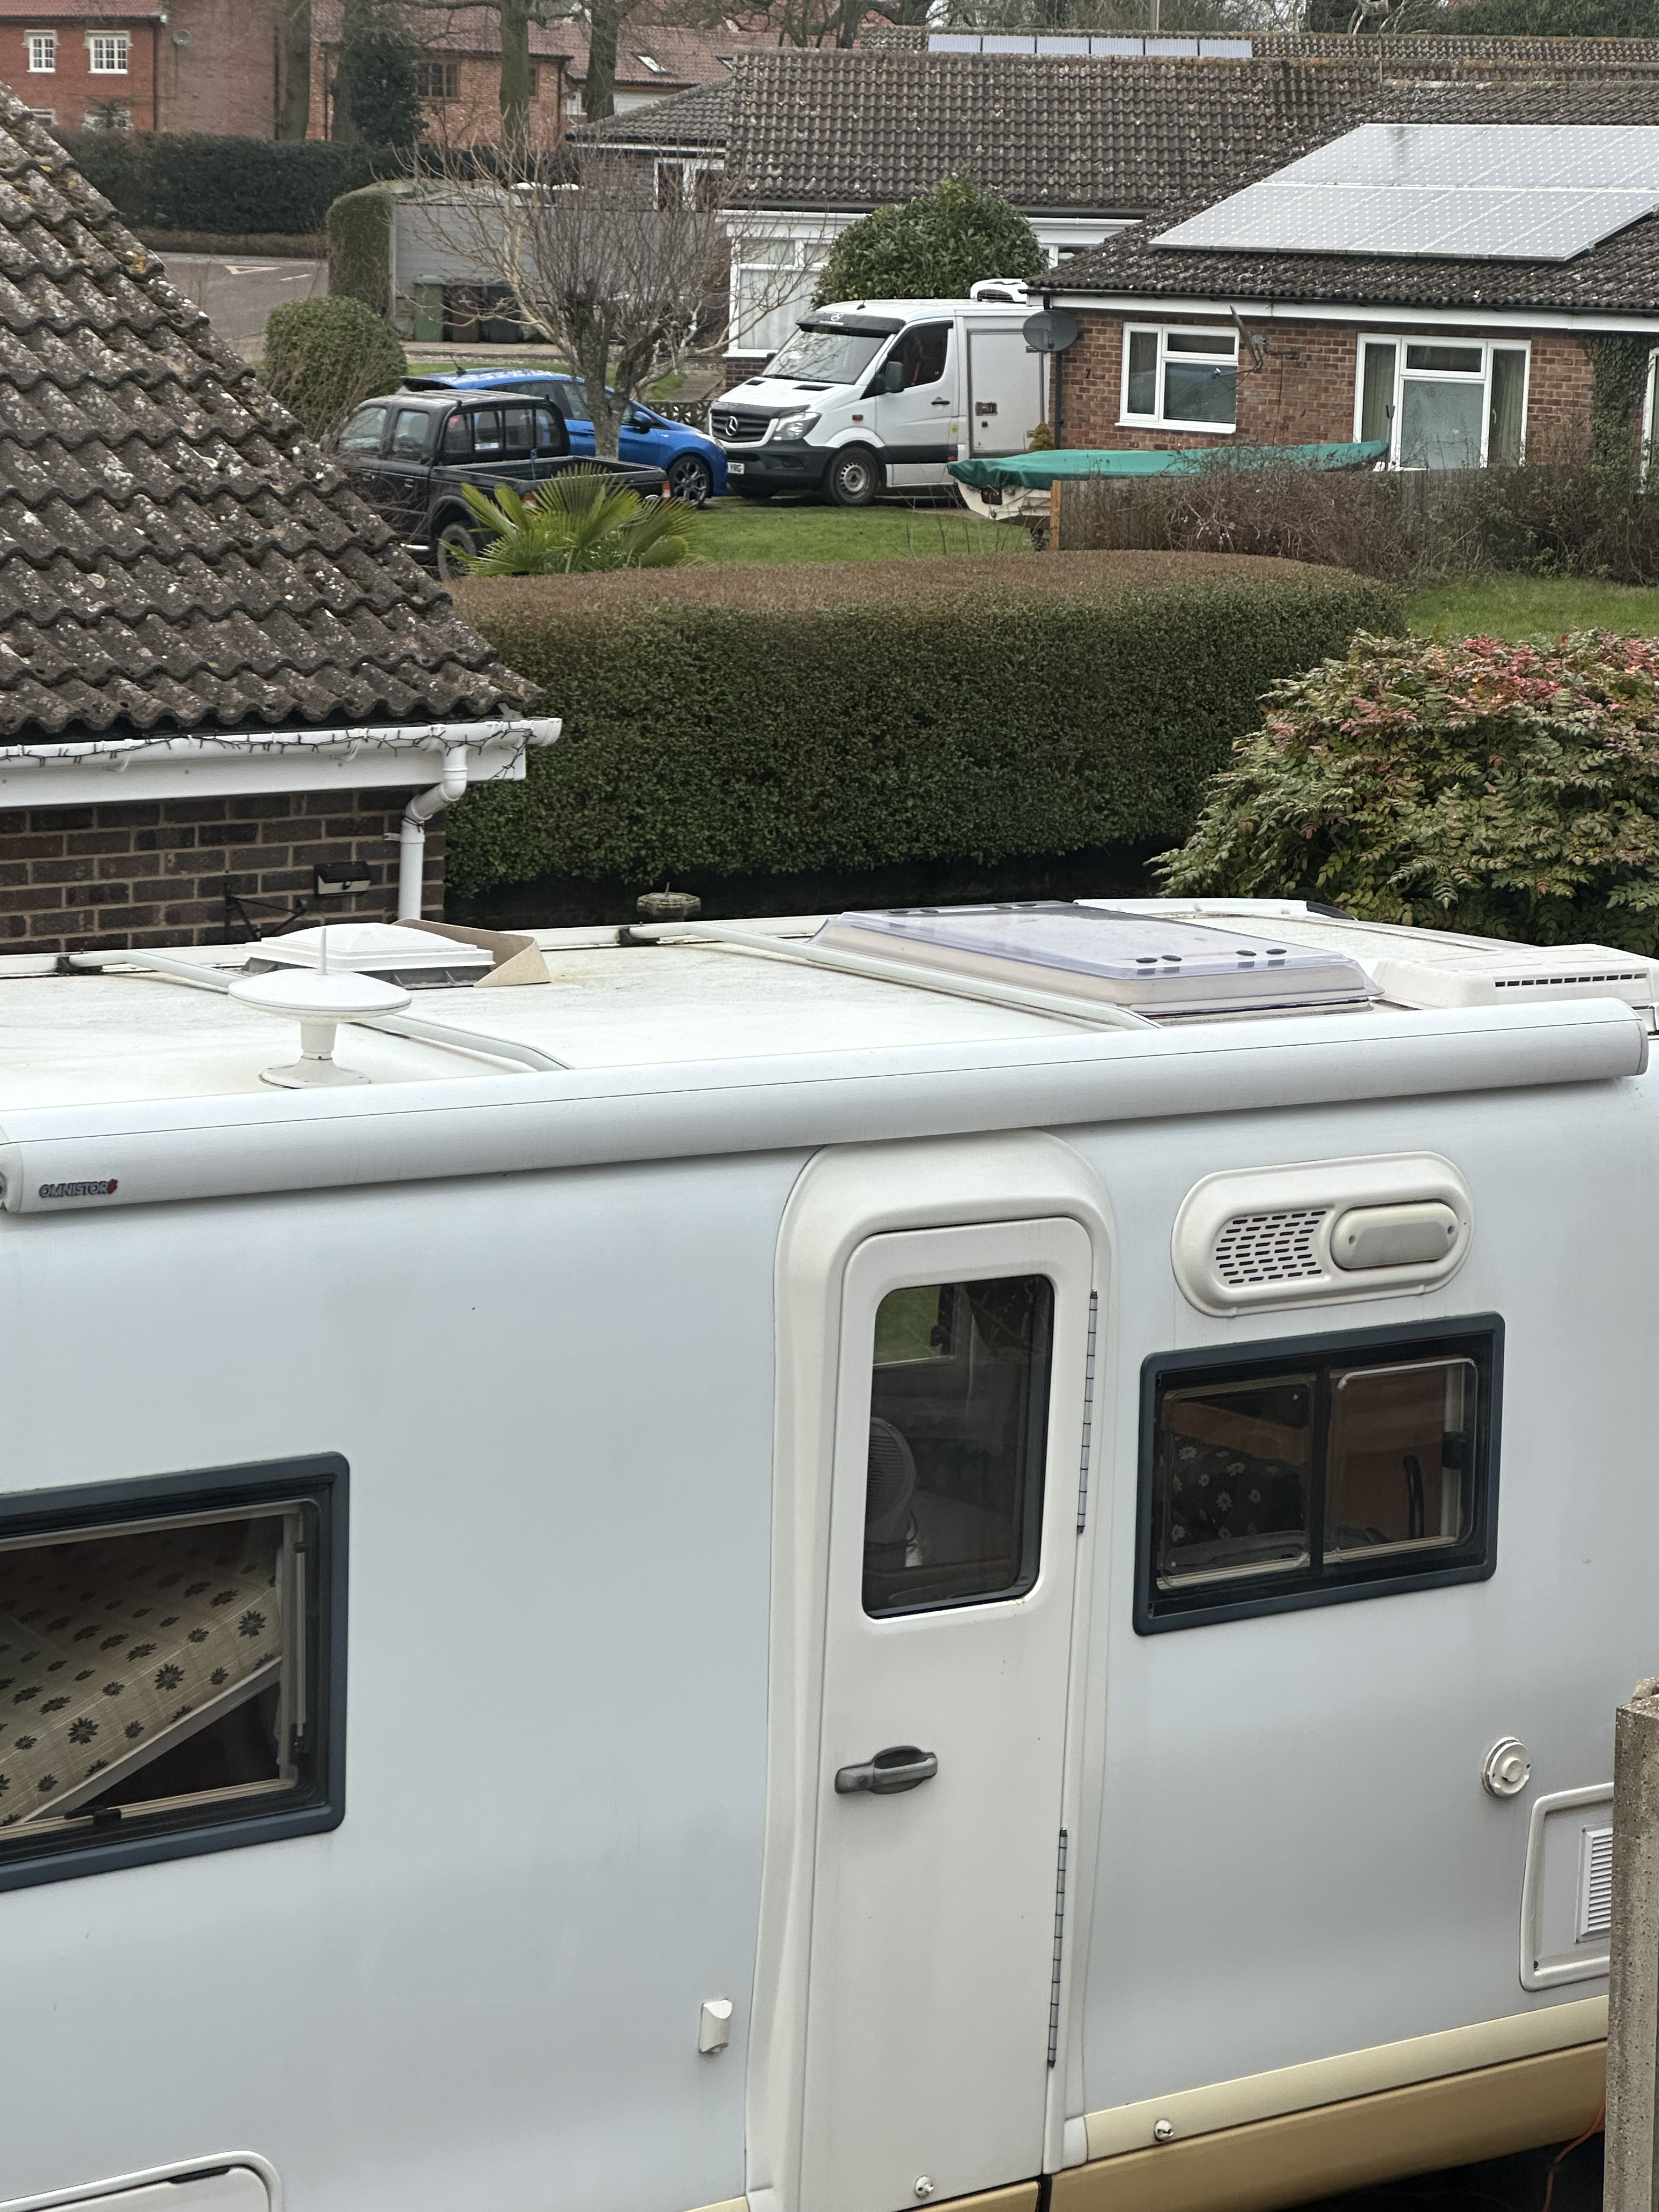
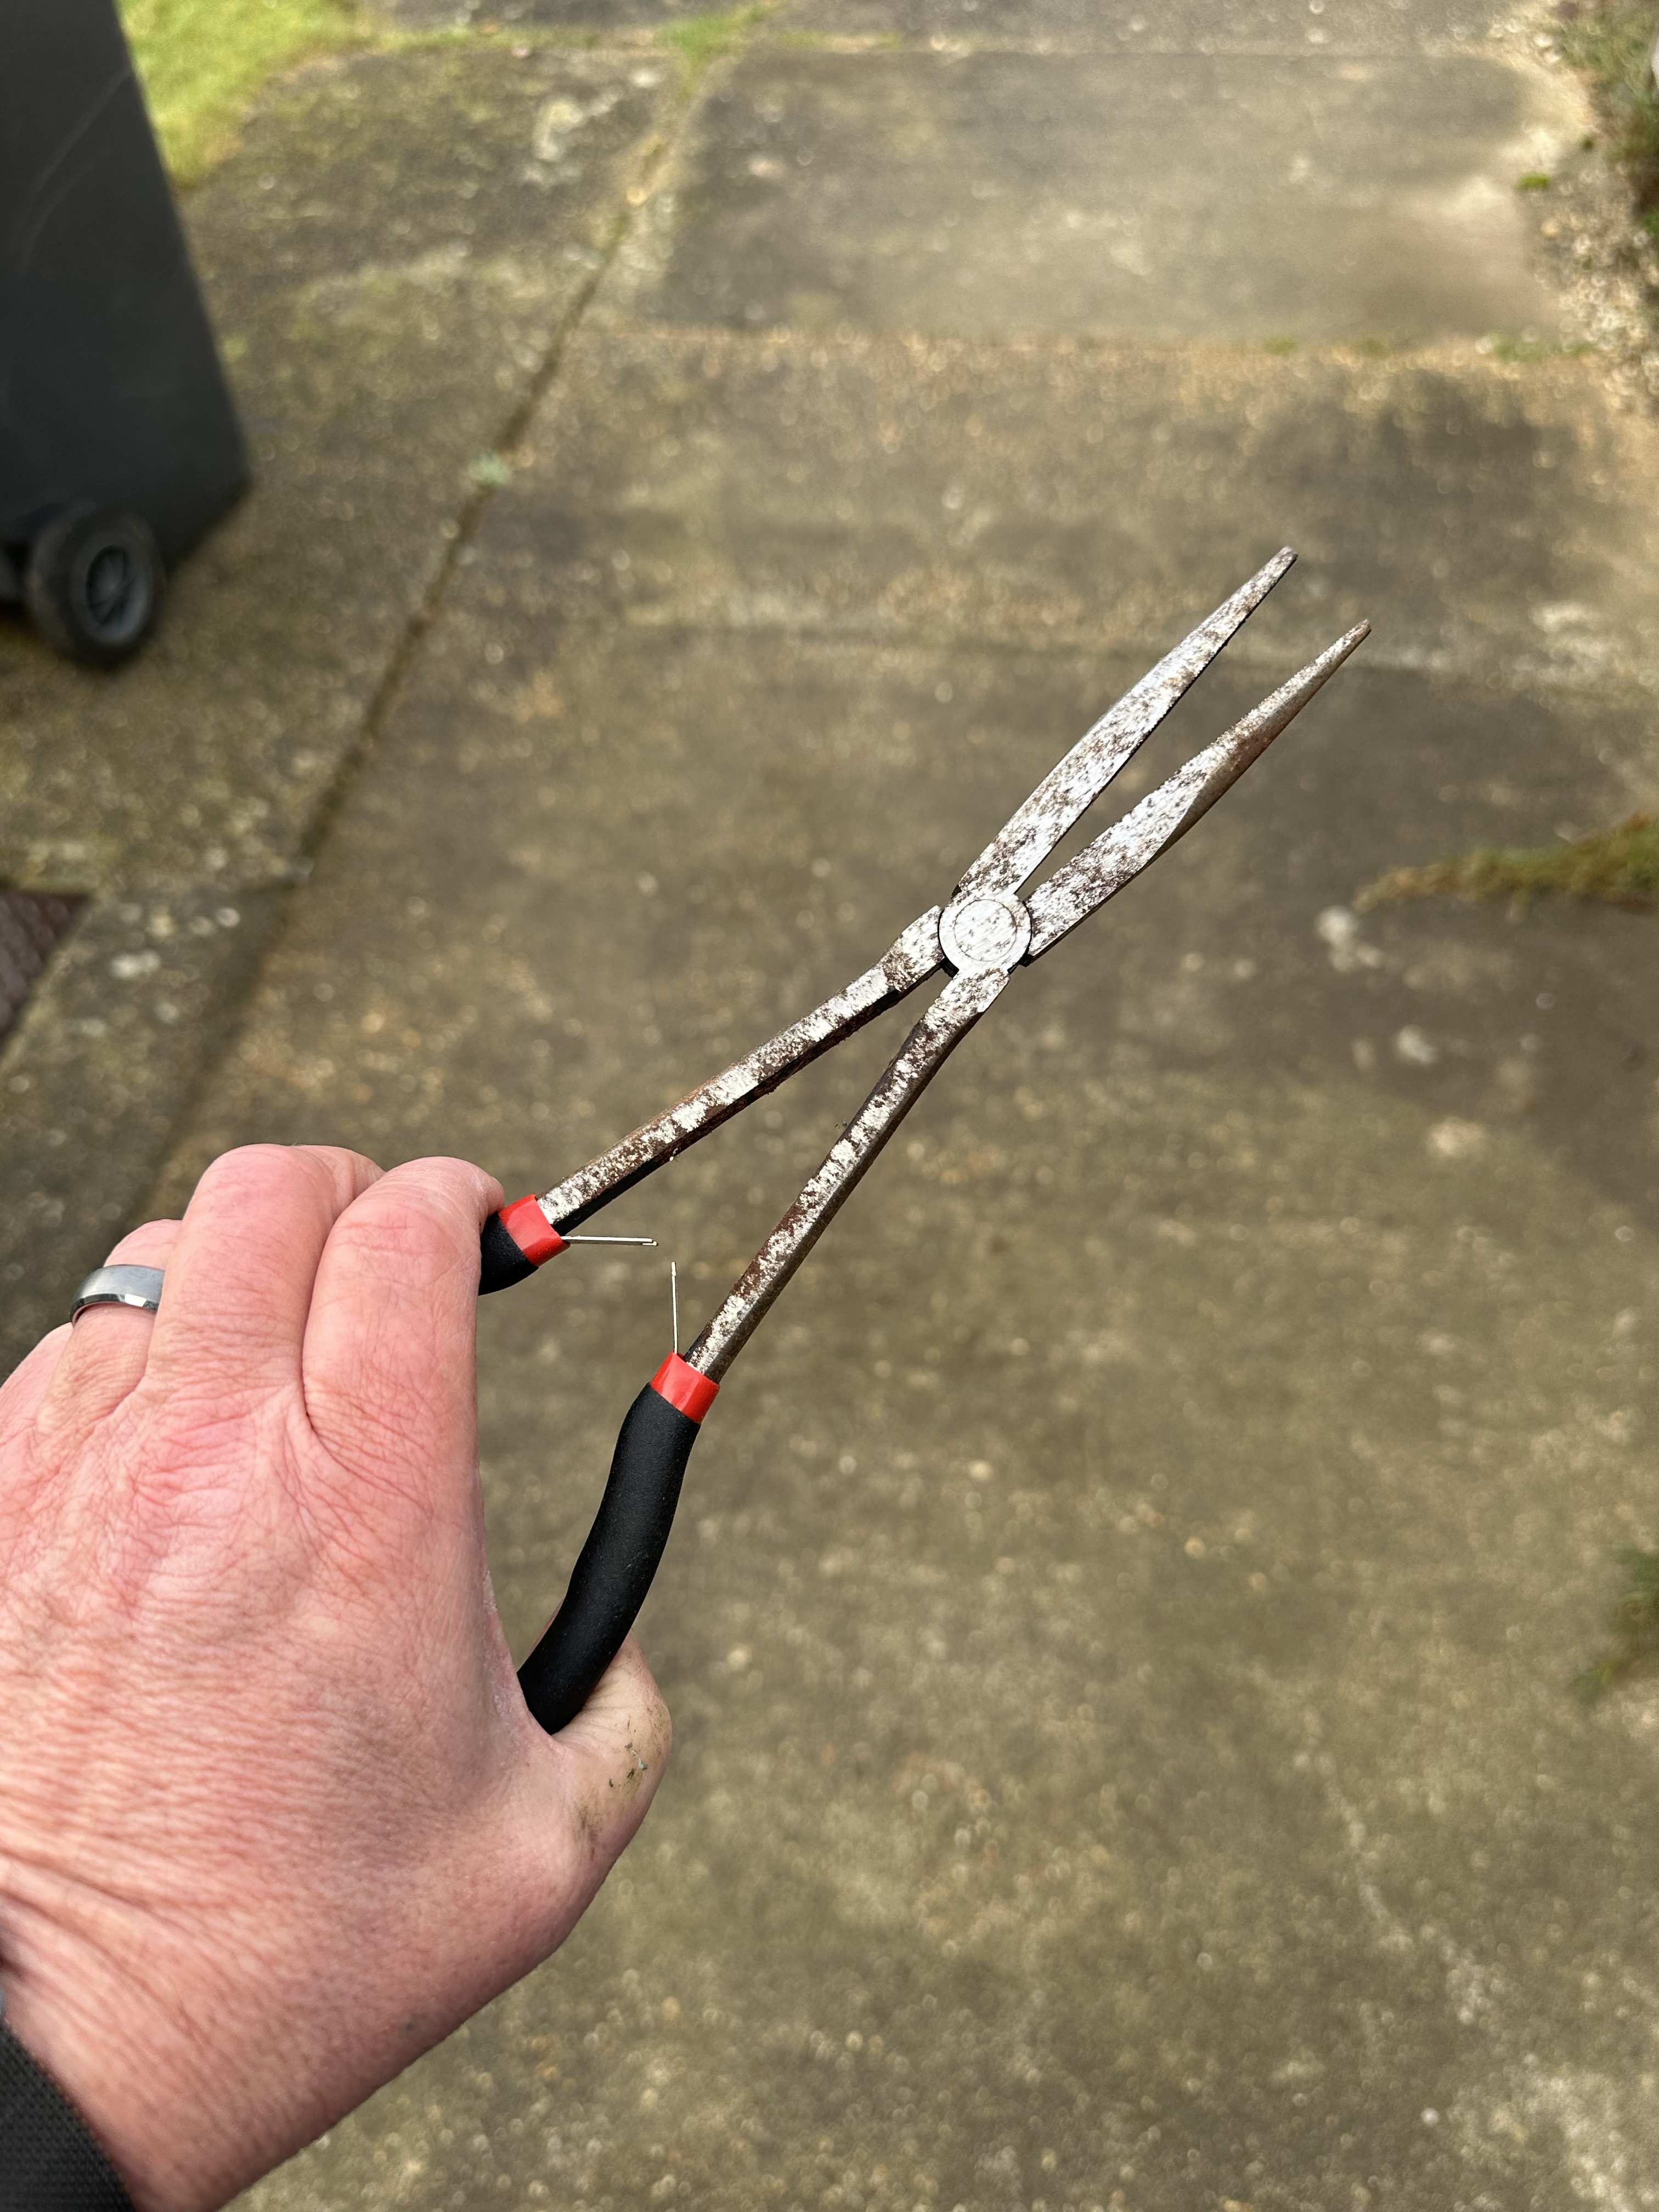
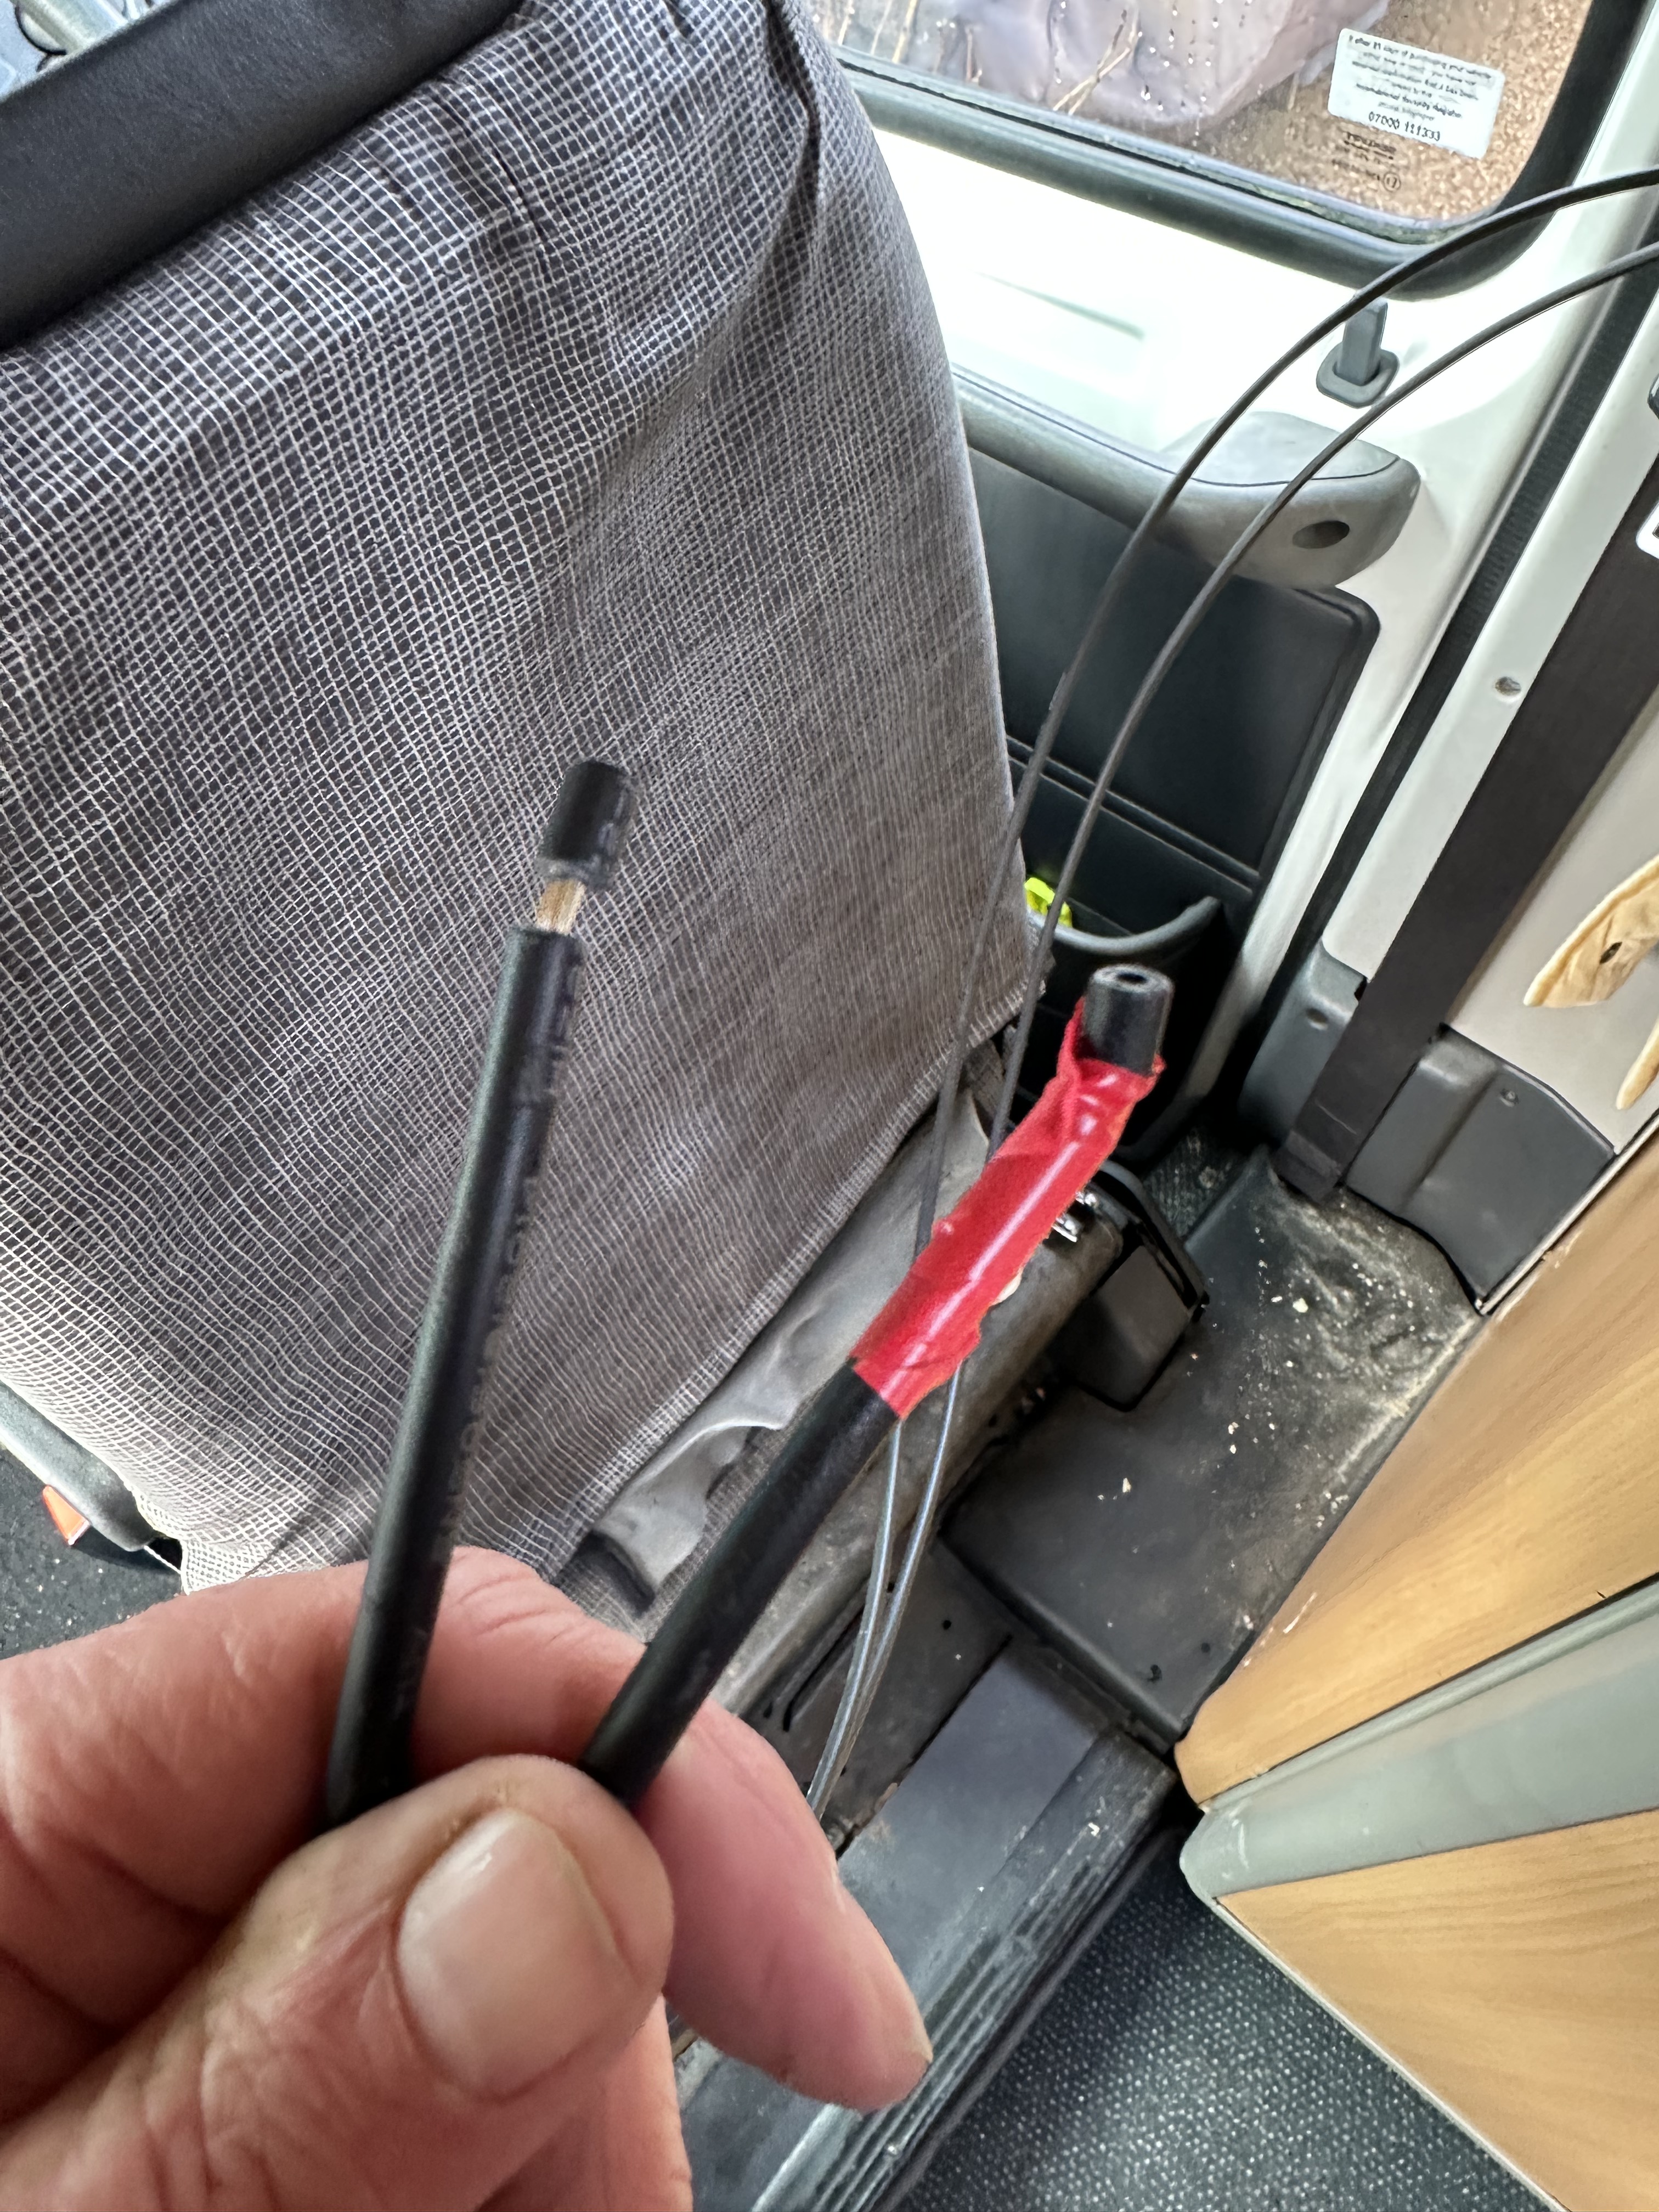
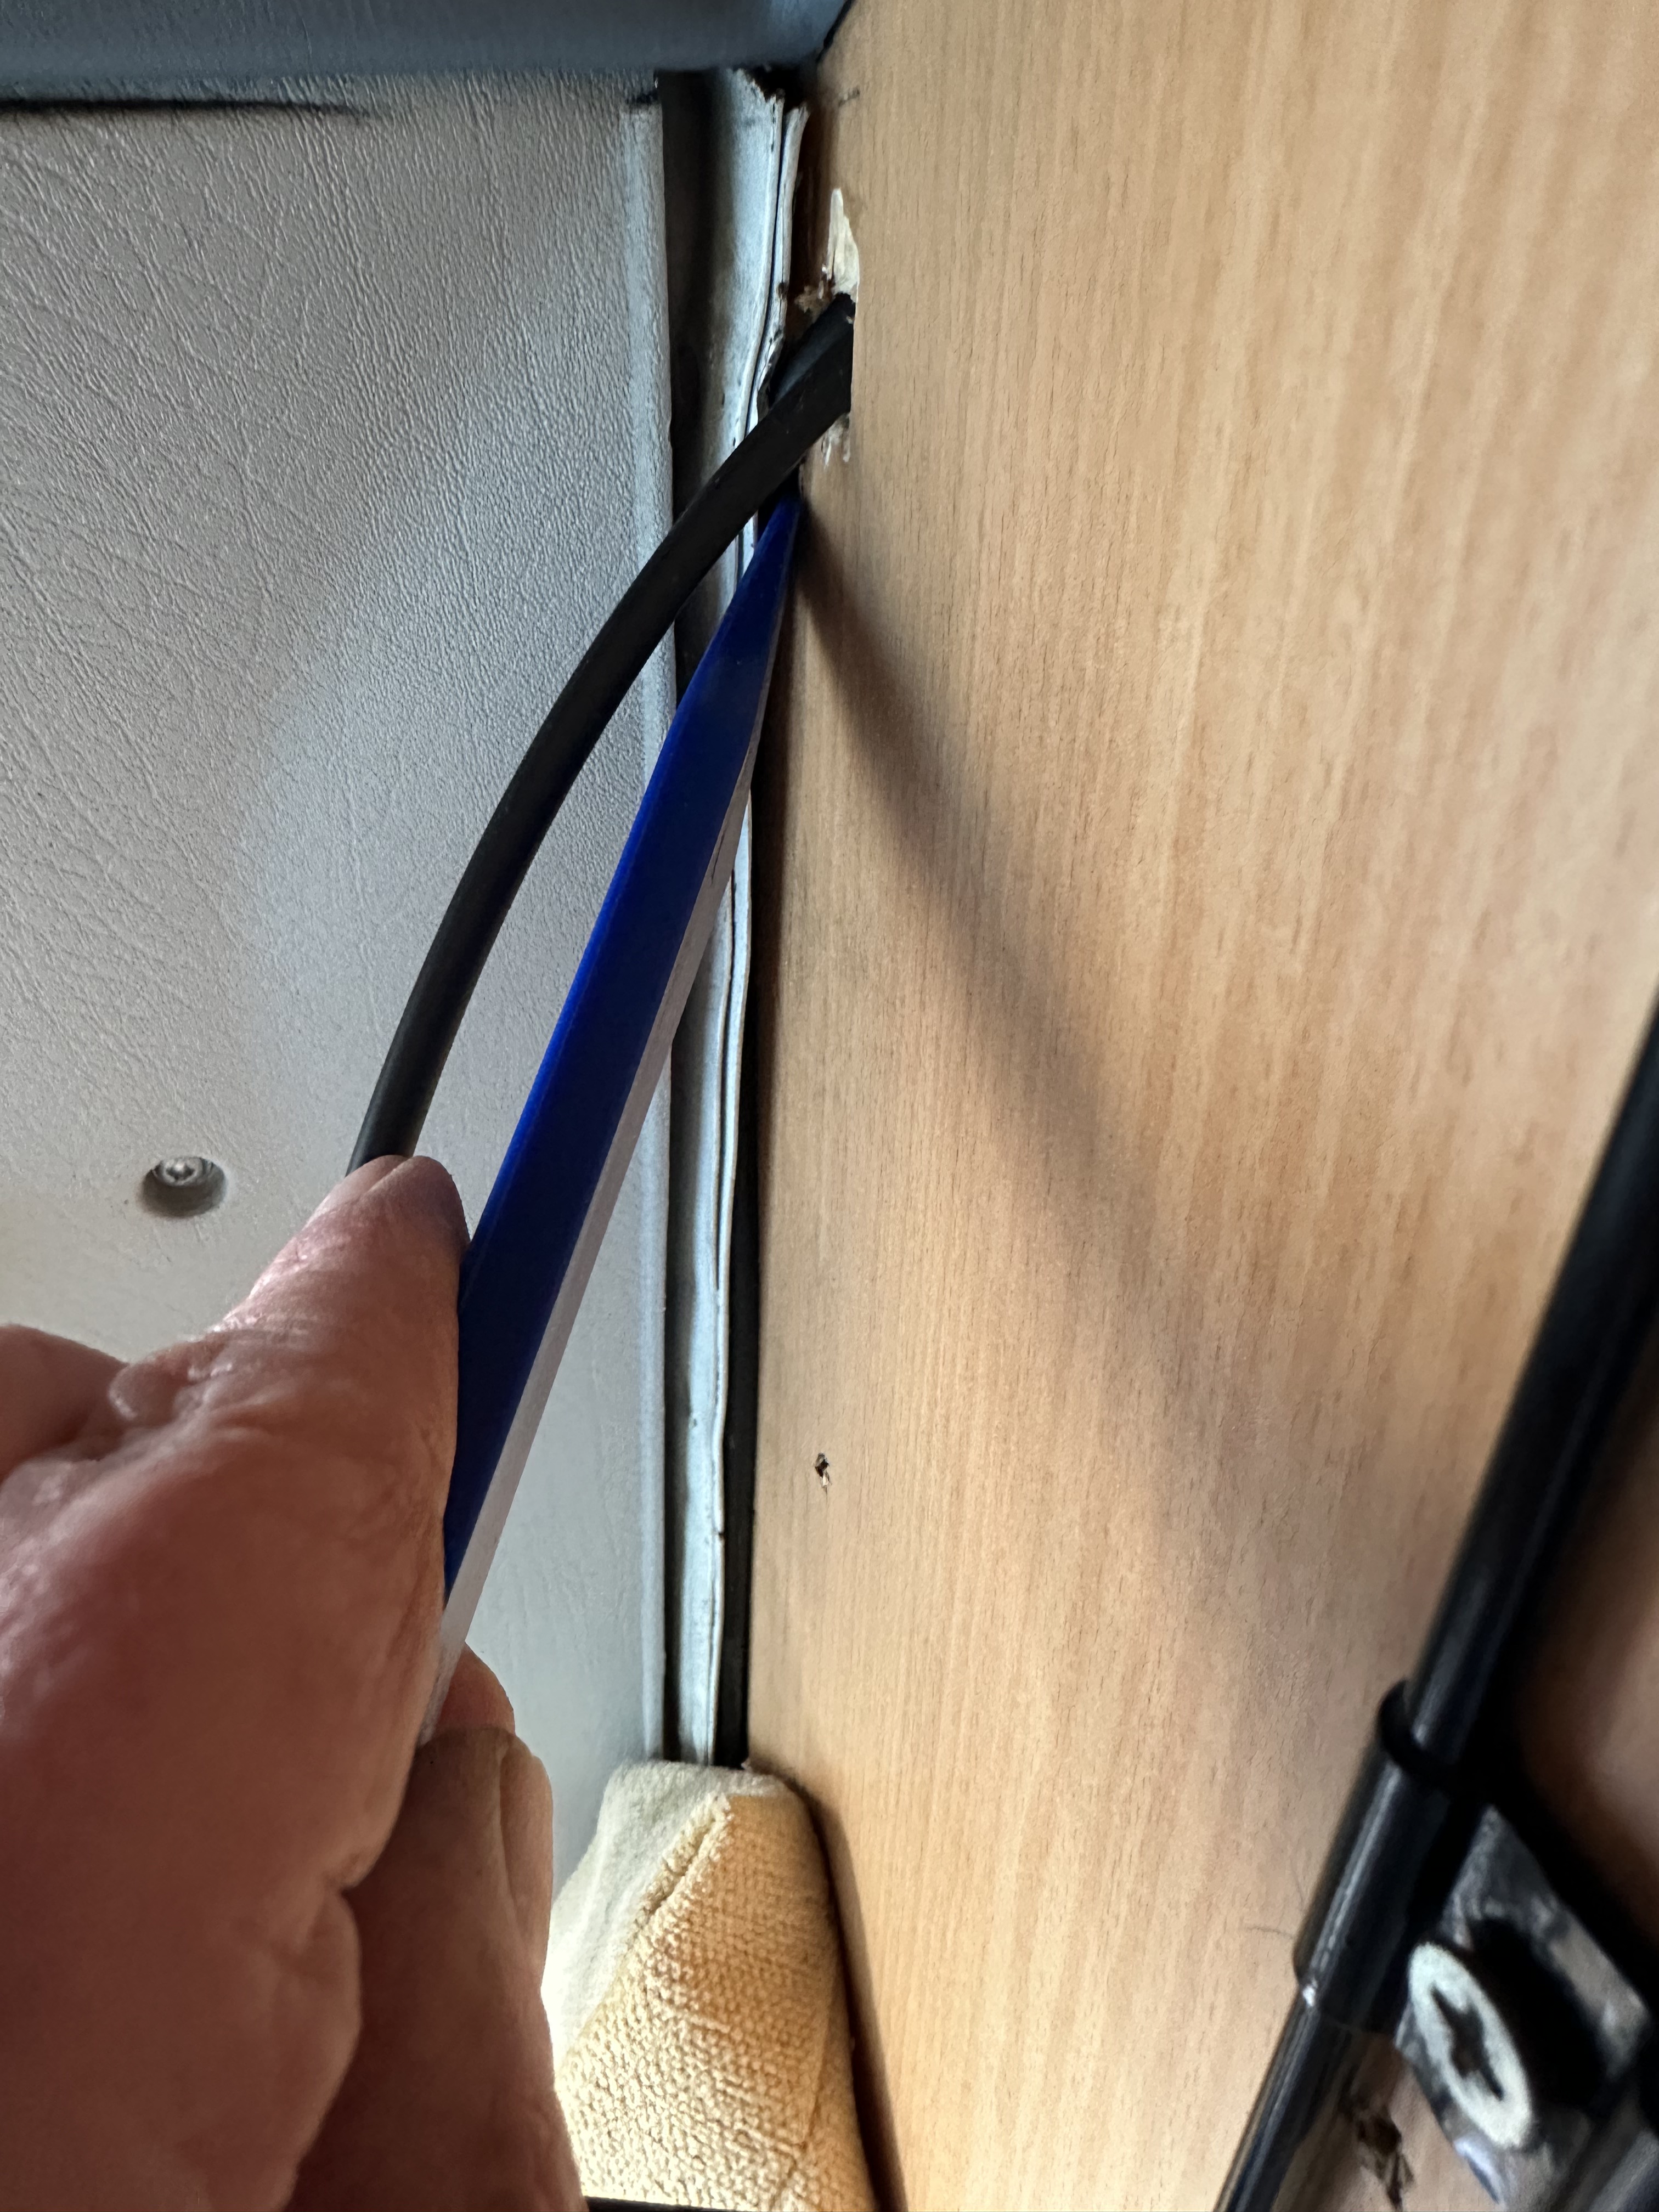
So, the panel was ready to be fitted, but the next stage was to actually route the solar panel cables. Therefore I laid the cables out along the roof and led them to the roof vent where they would enter the Moho – what I was able to do was envisage from the open side of the vent the opening in the wire mesh and being lucky enough own some long handled piers we were able to thread the cable through. Note that there are two different connectors for the panel – but – the ends are uniformly black – so I marked the positive cable end with red insulating tape to reduce the chance of Mr Cock-Up coming to visit later. once the cables were laid out and fed through, we could start mounting the panel itself.

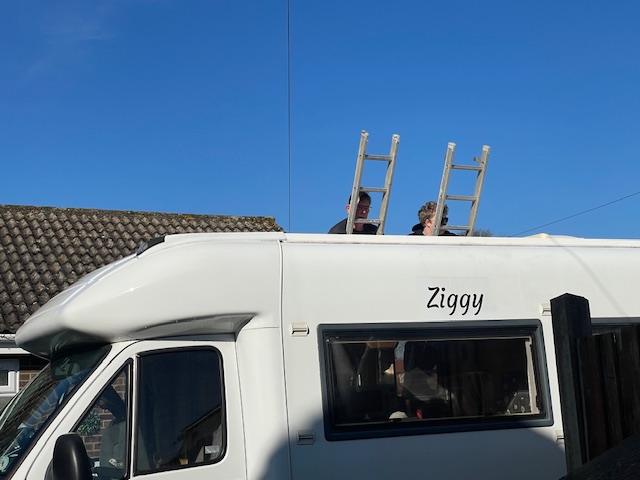
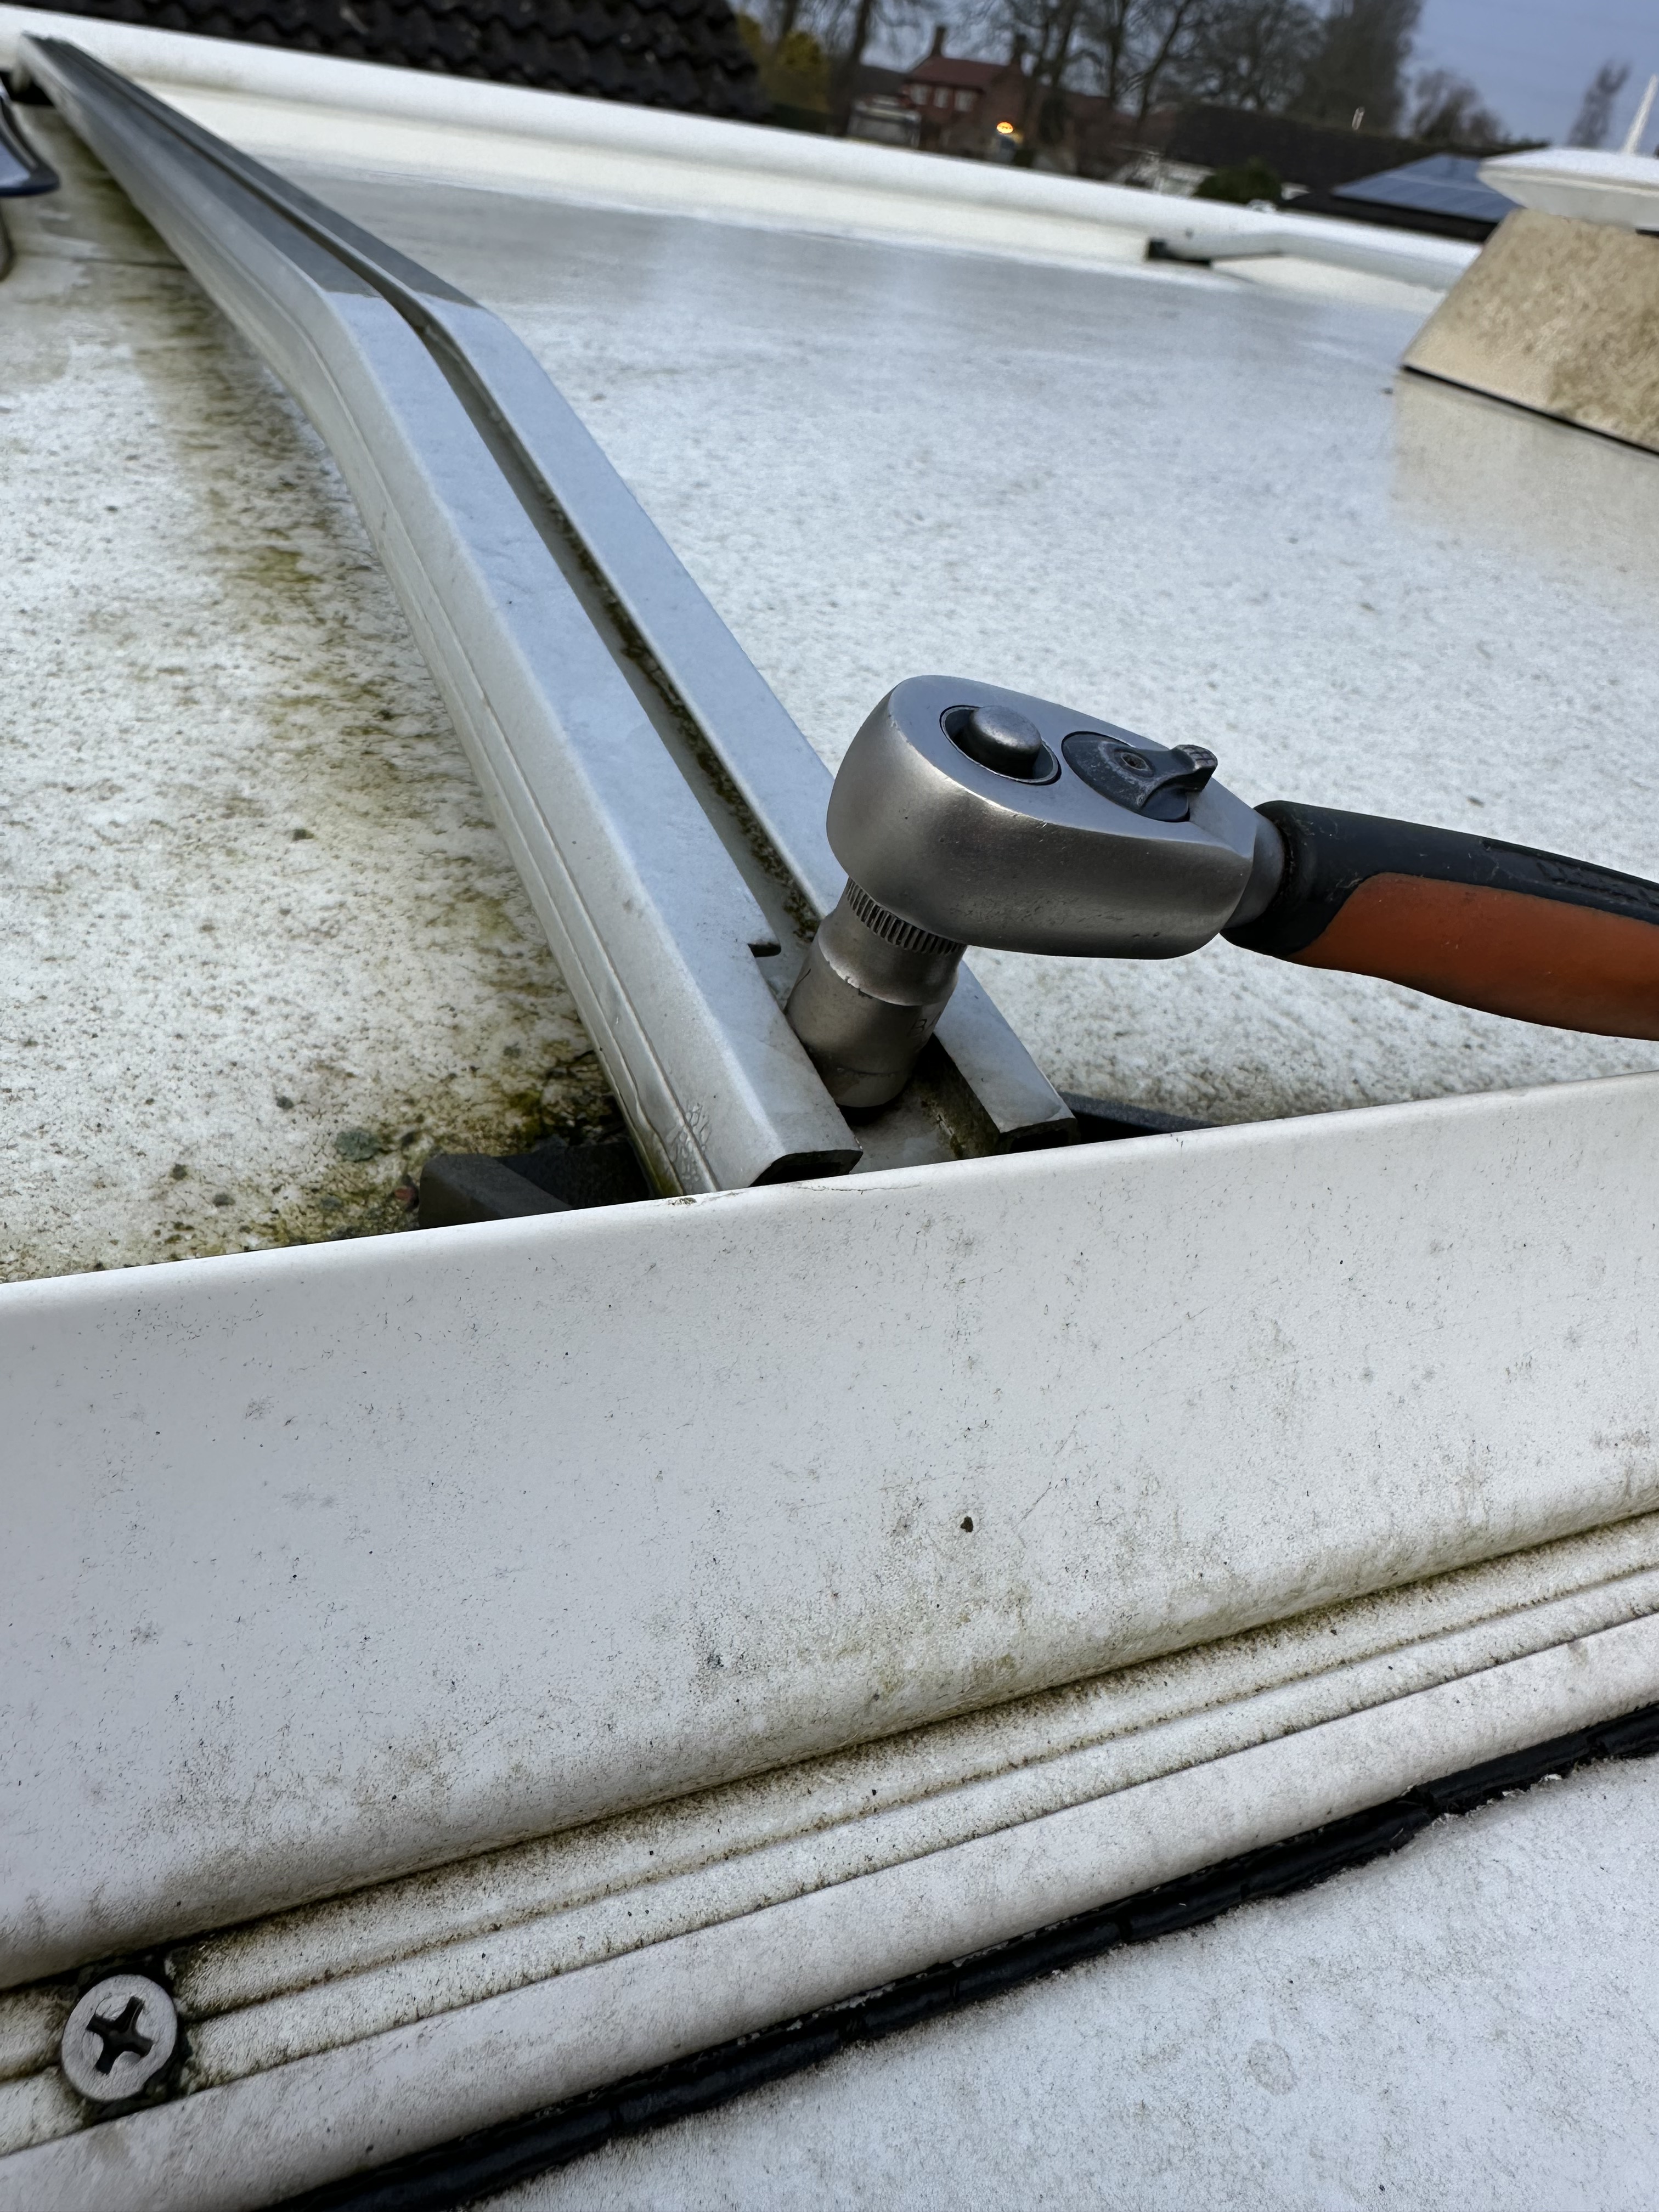
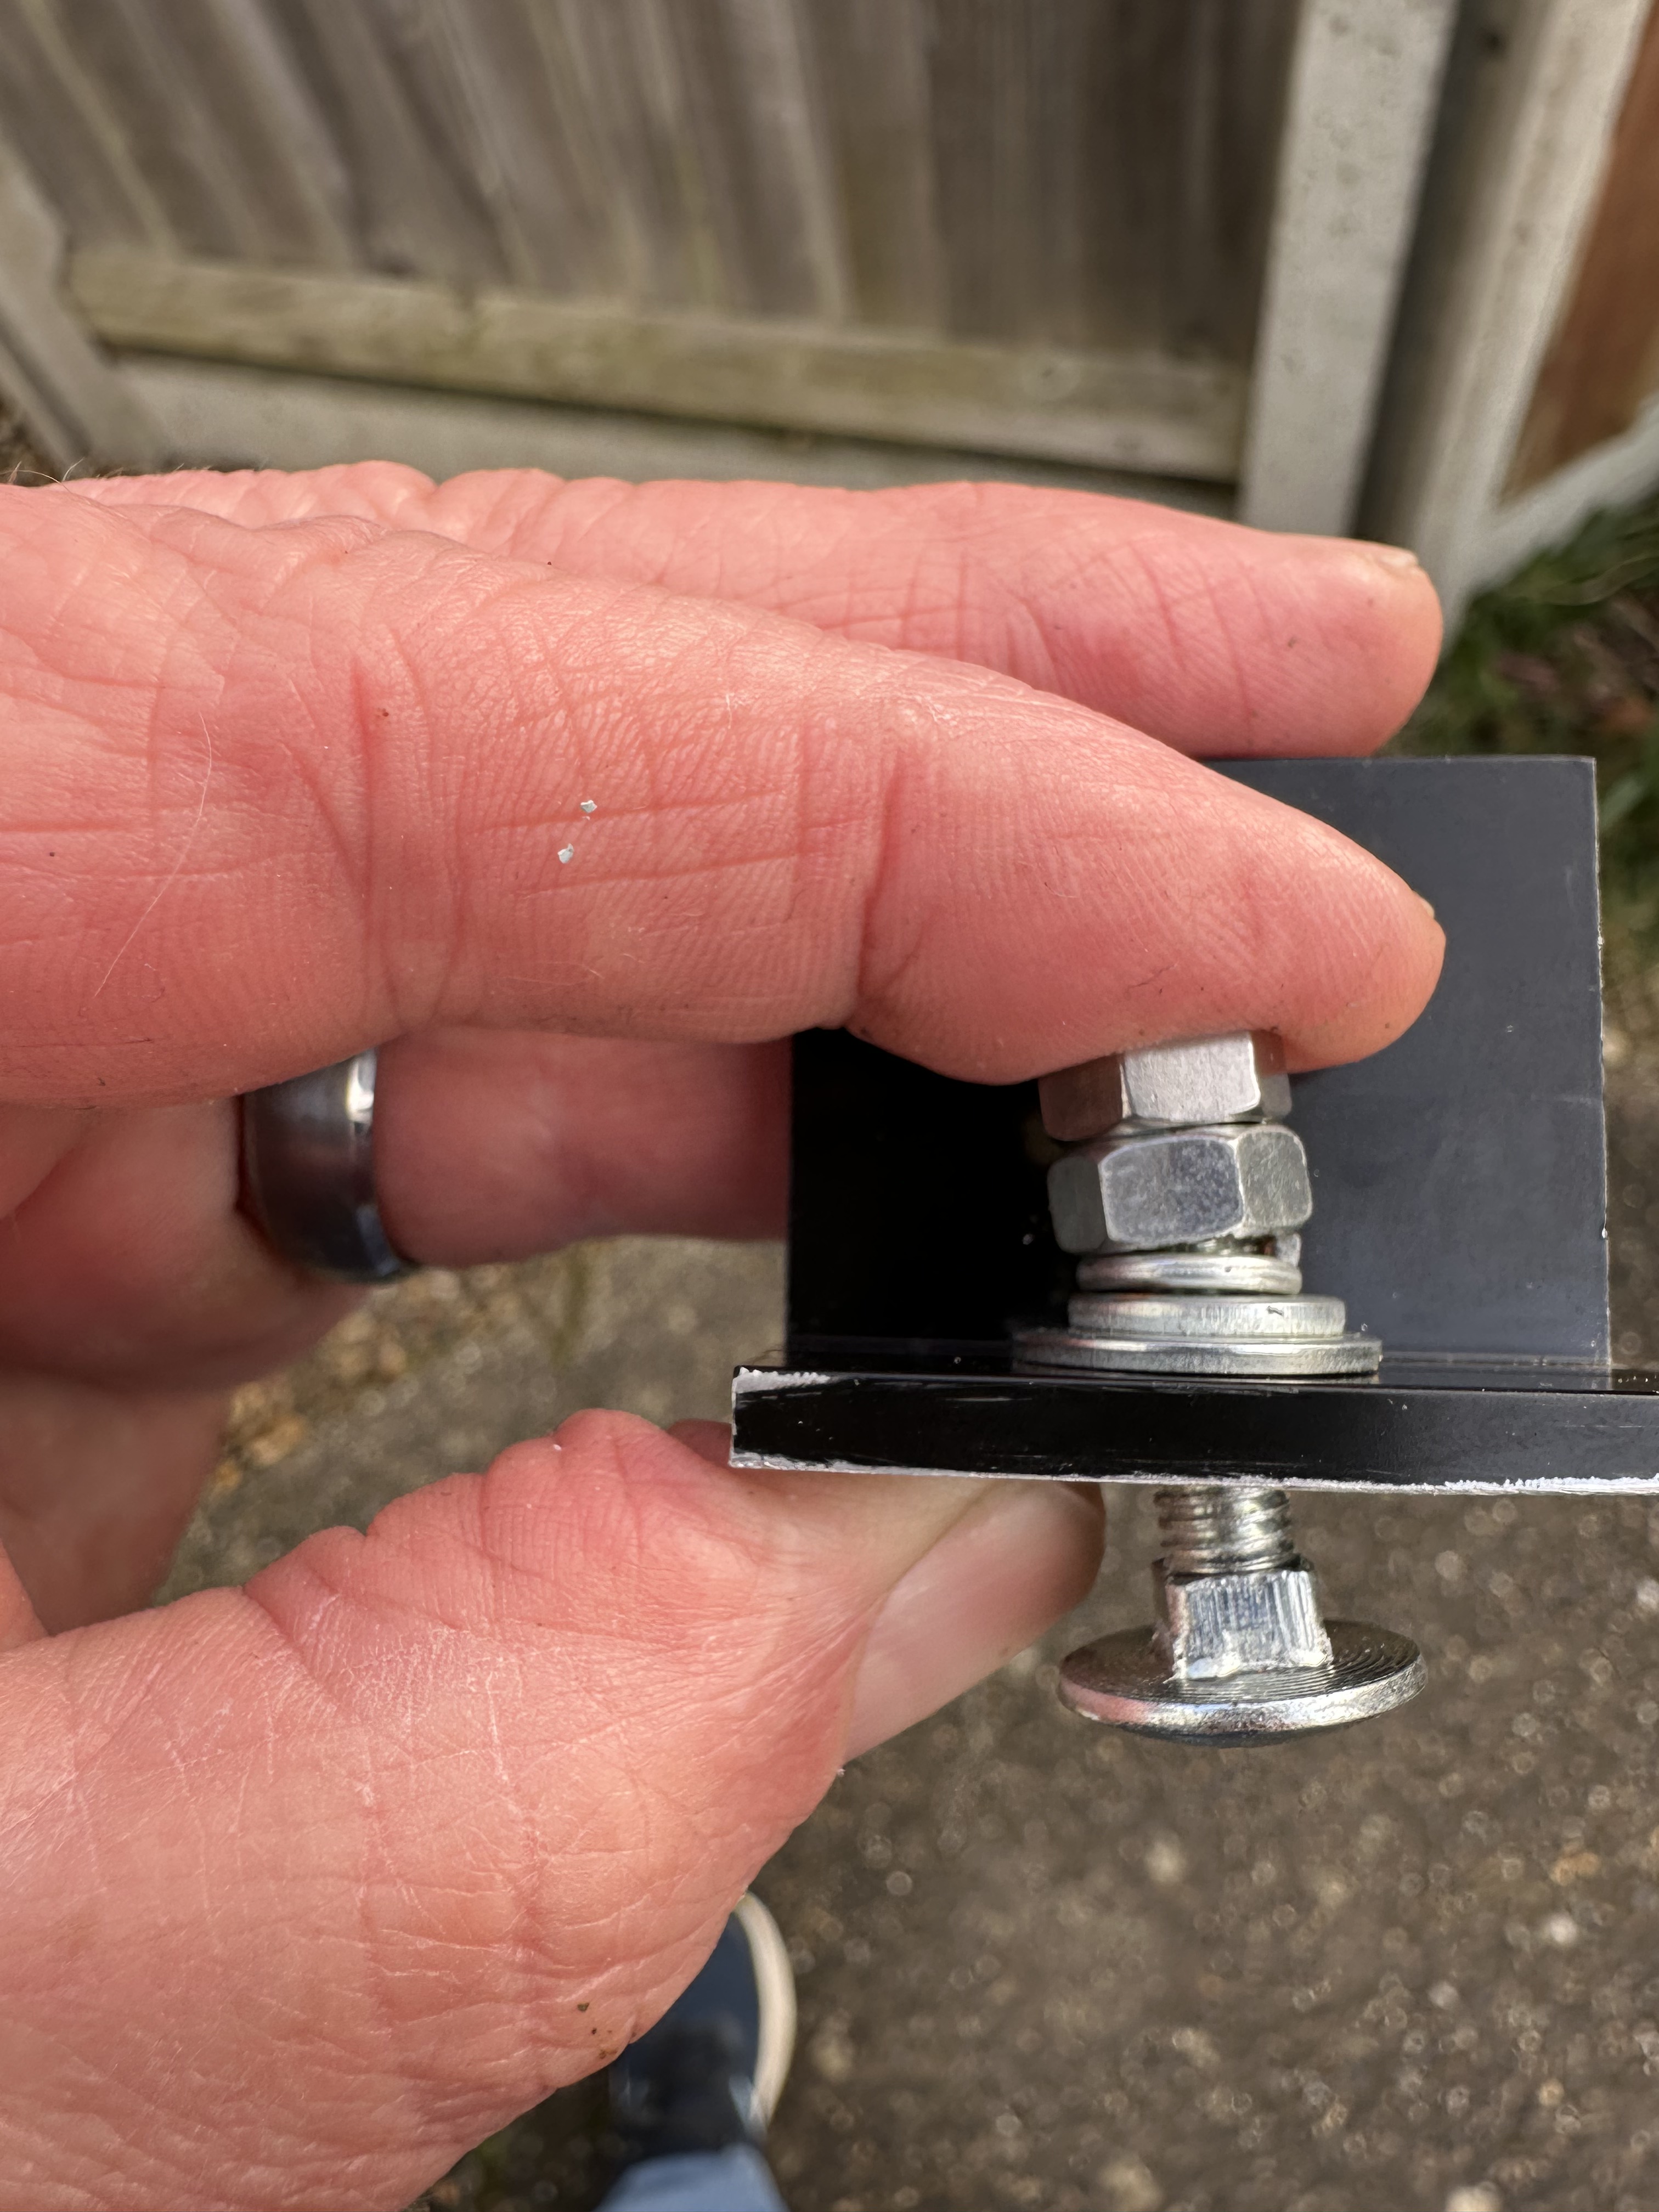
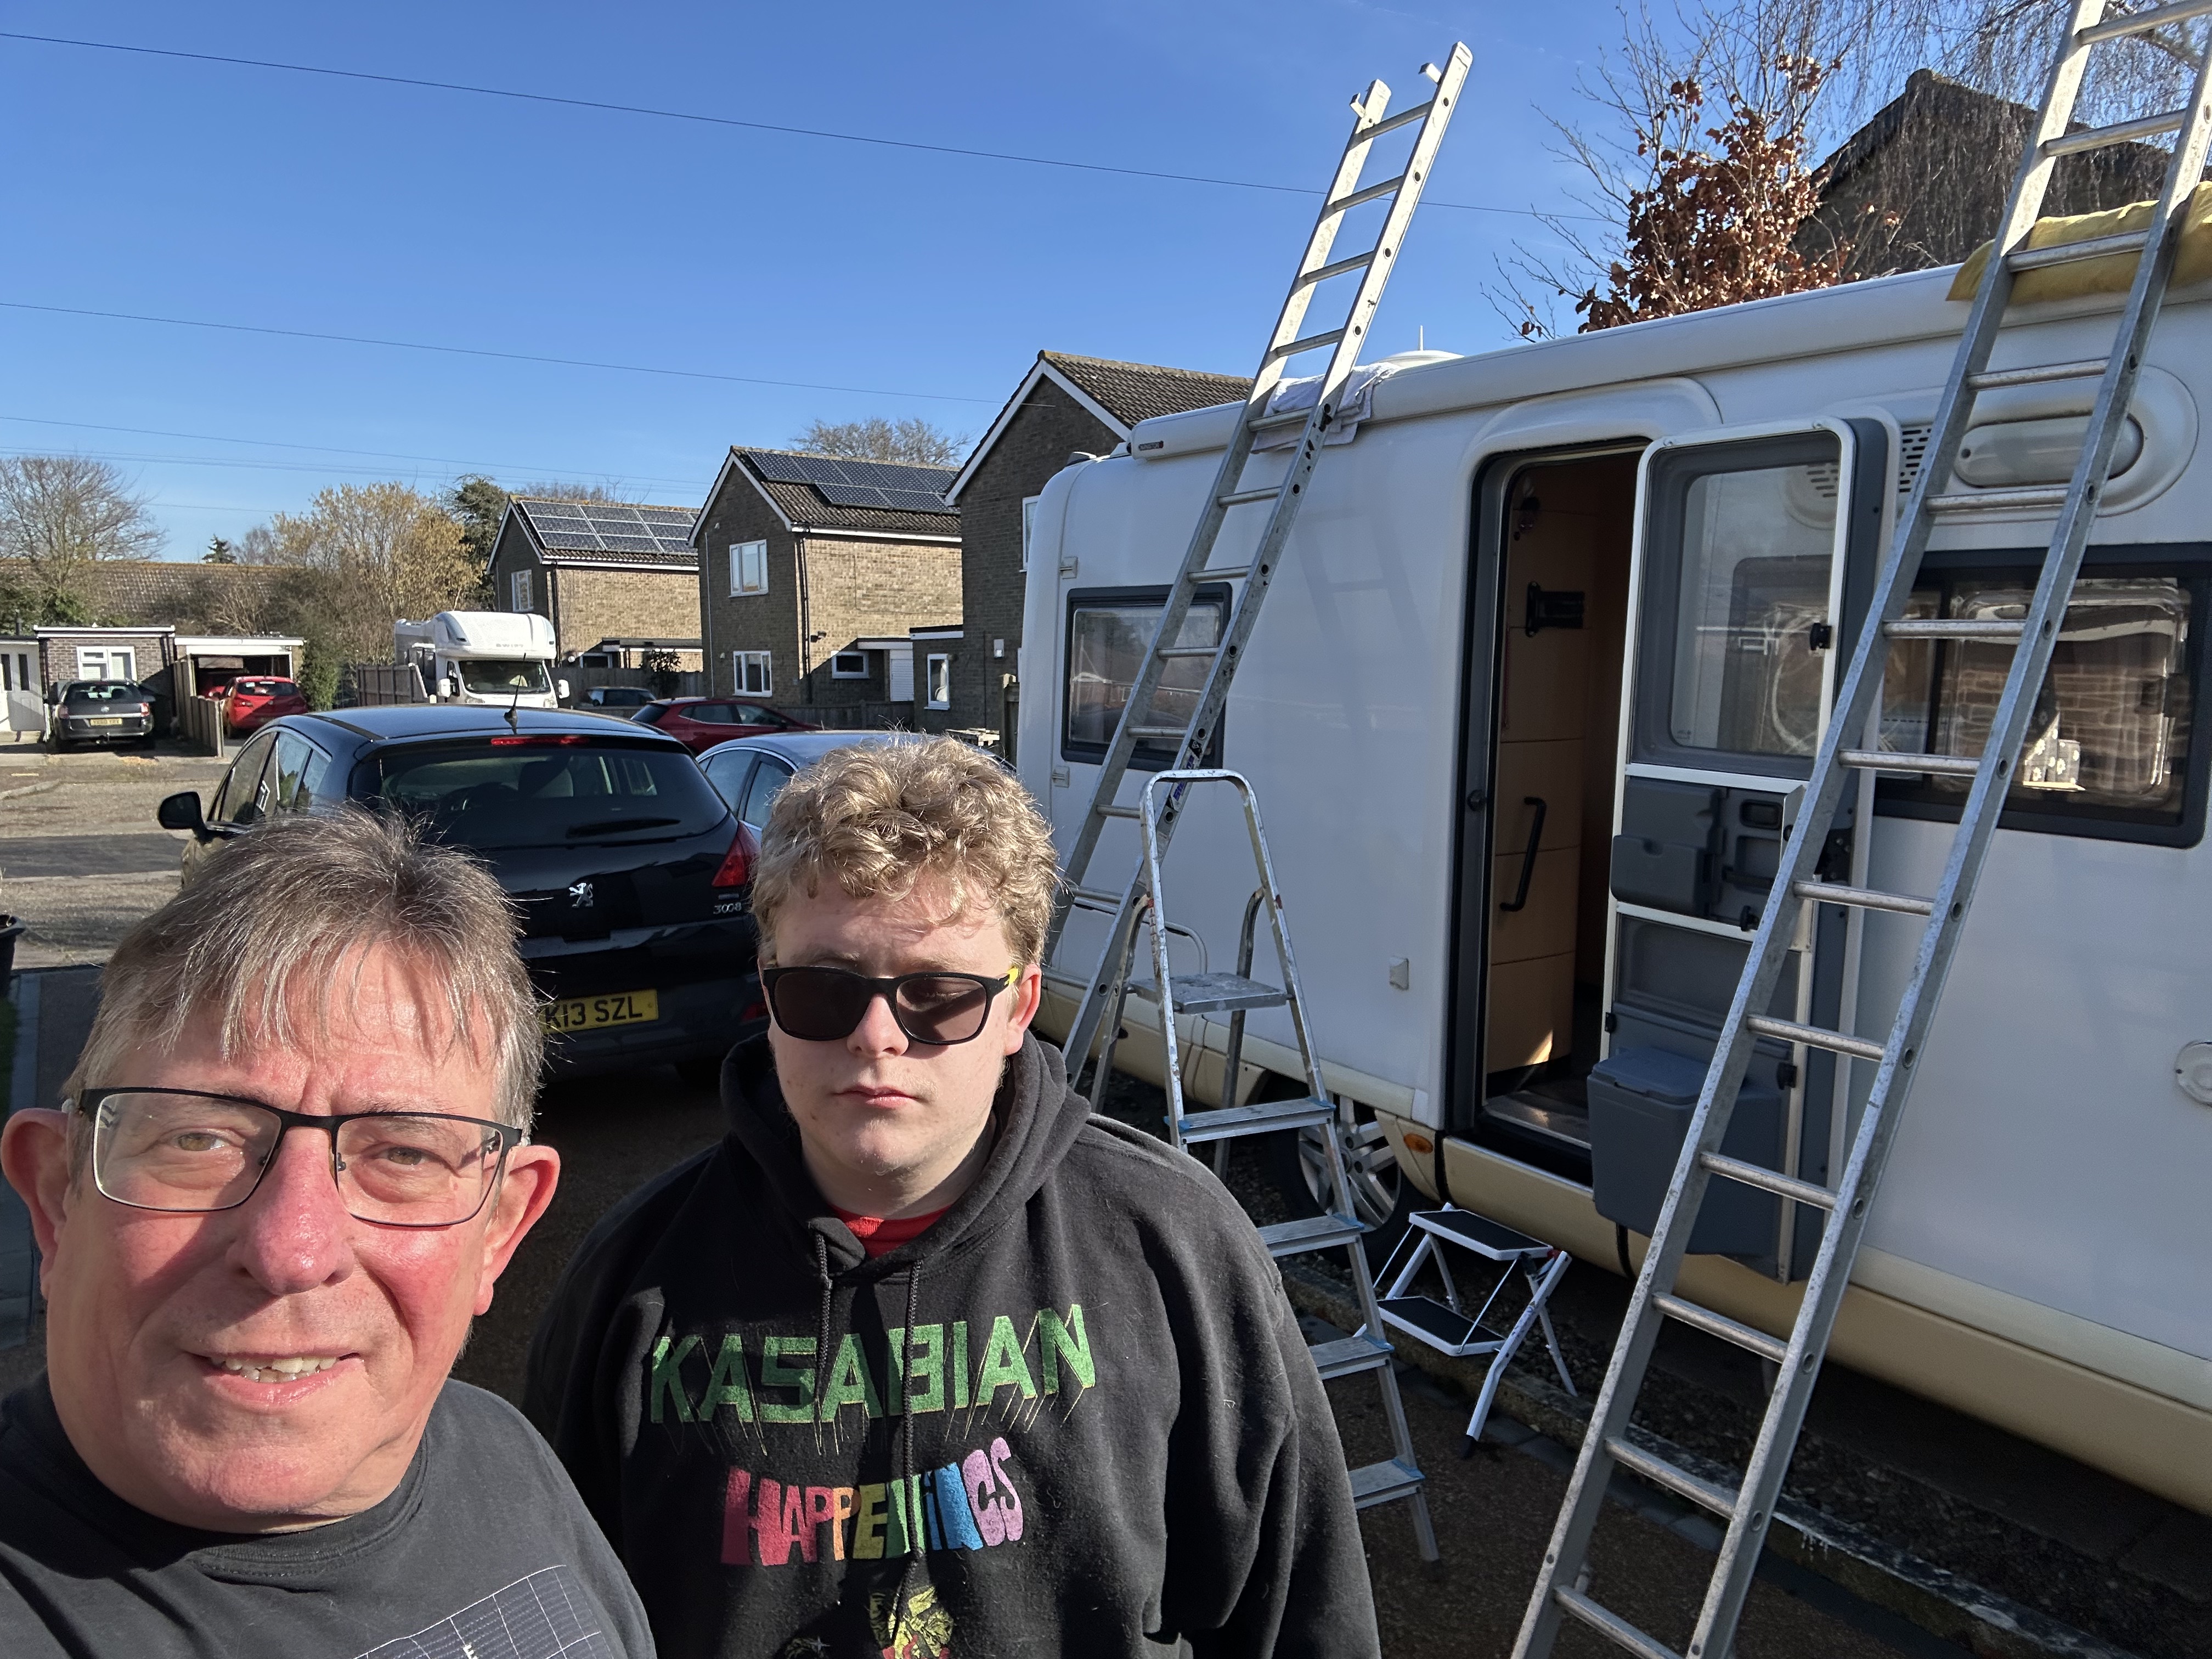
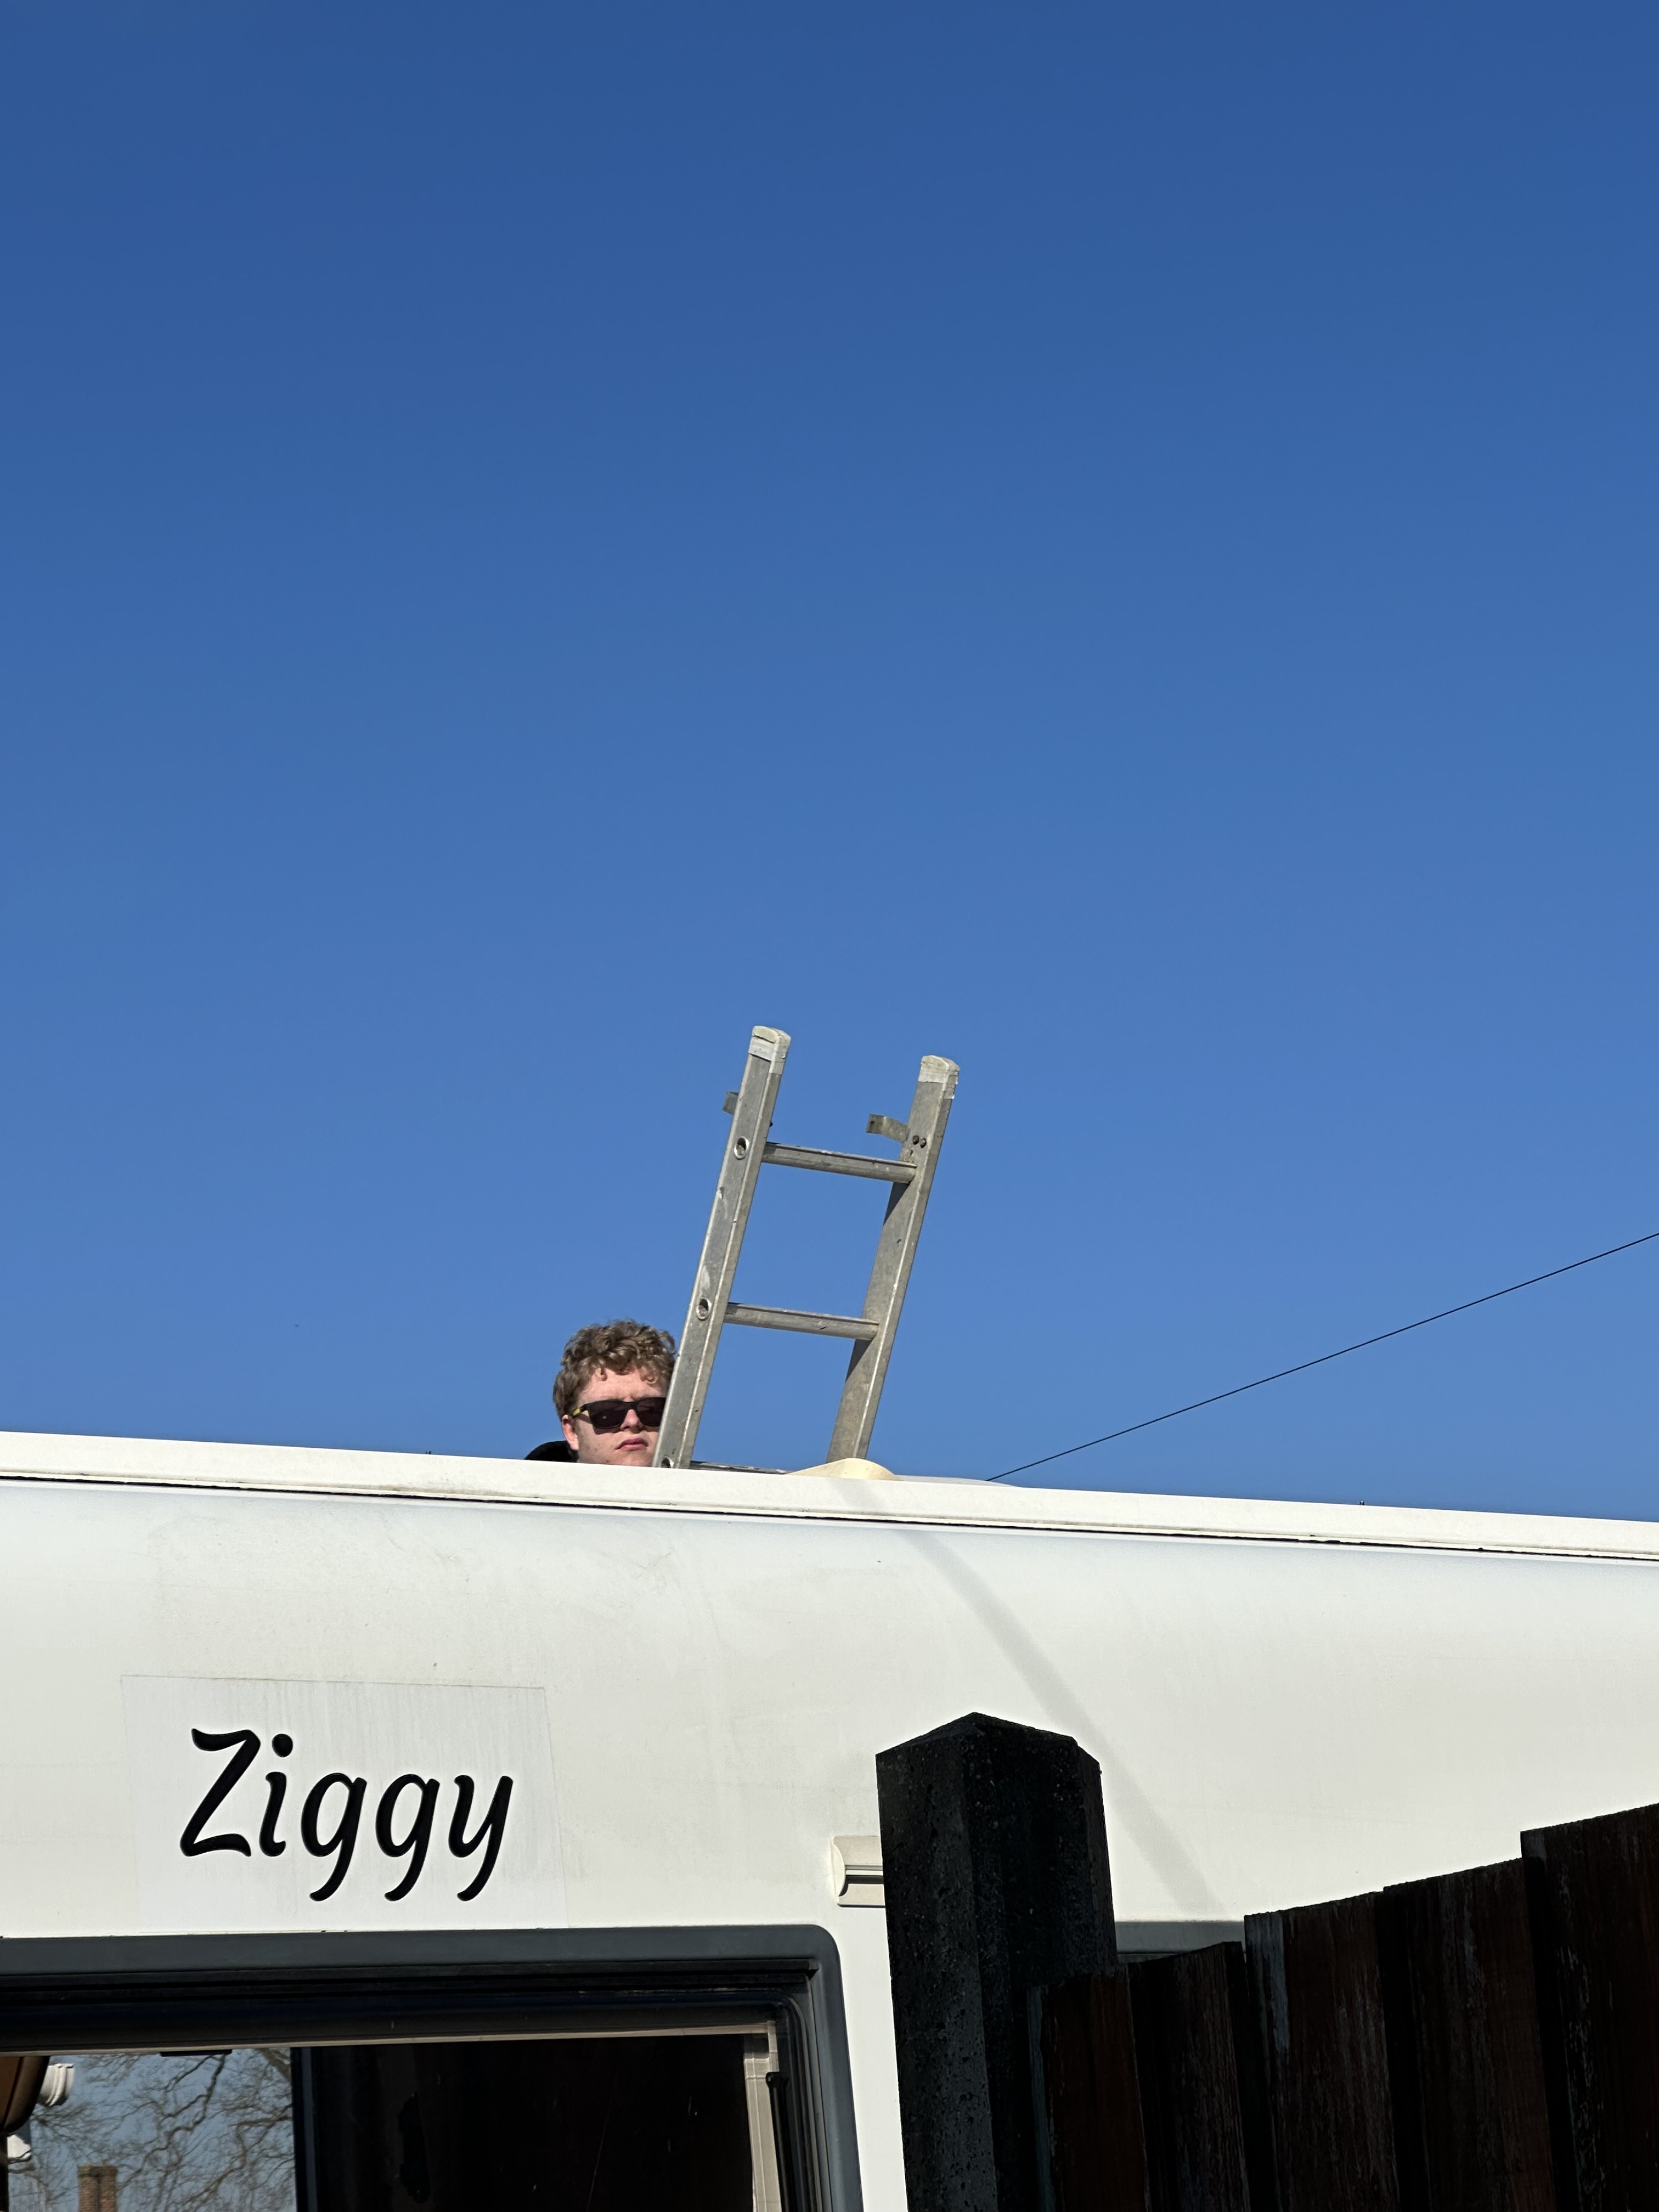
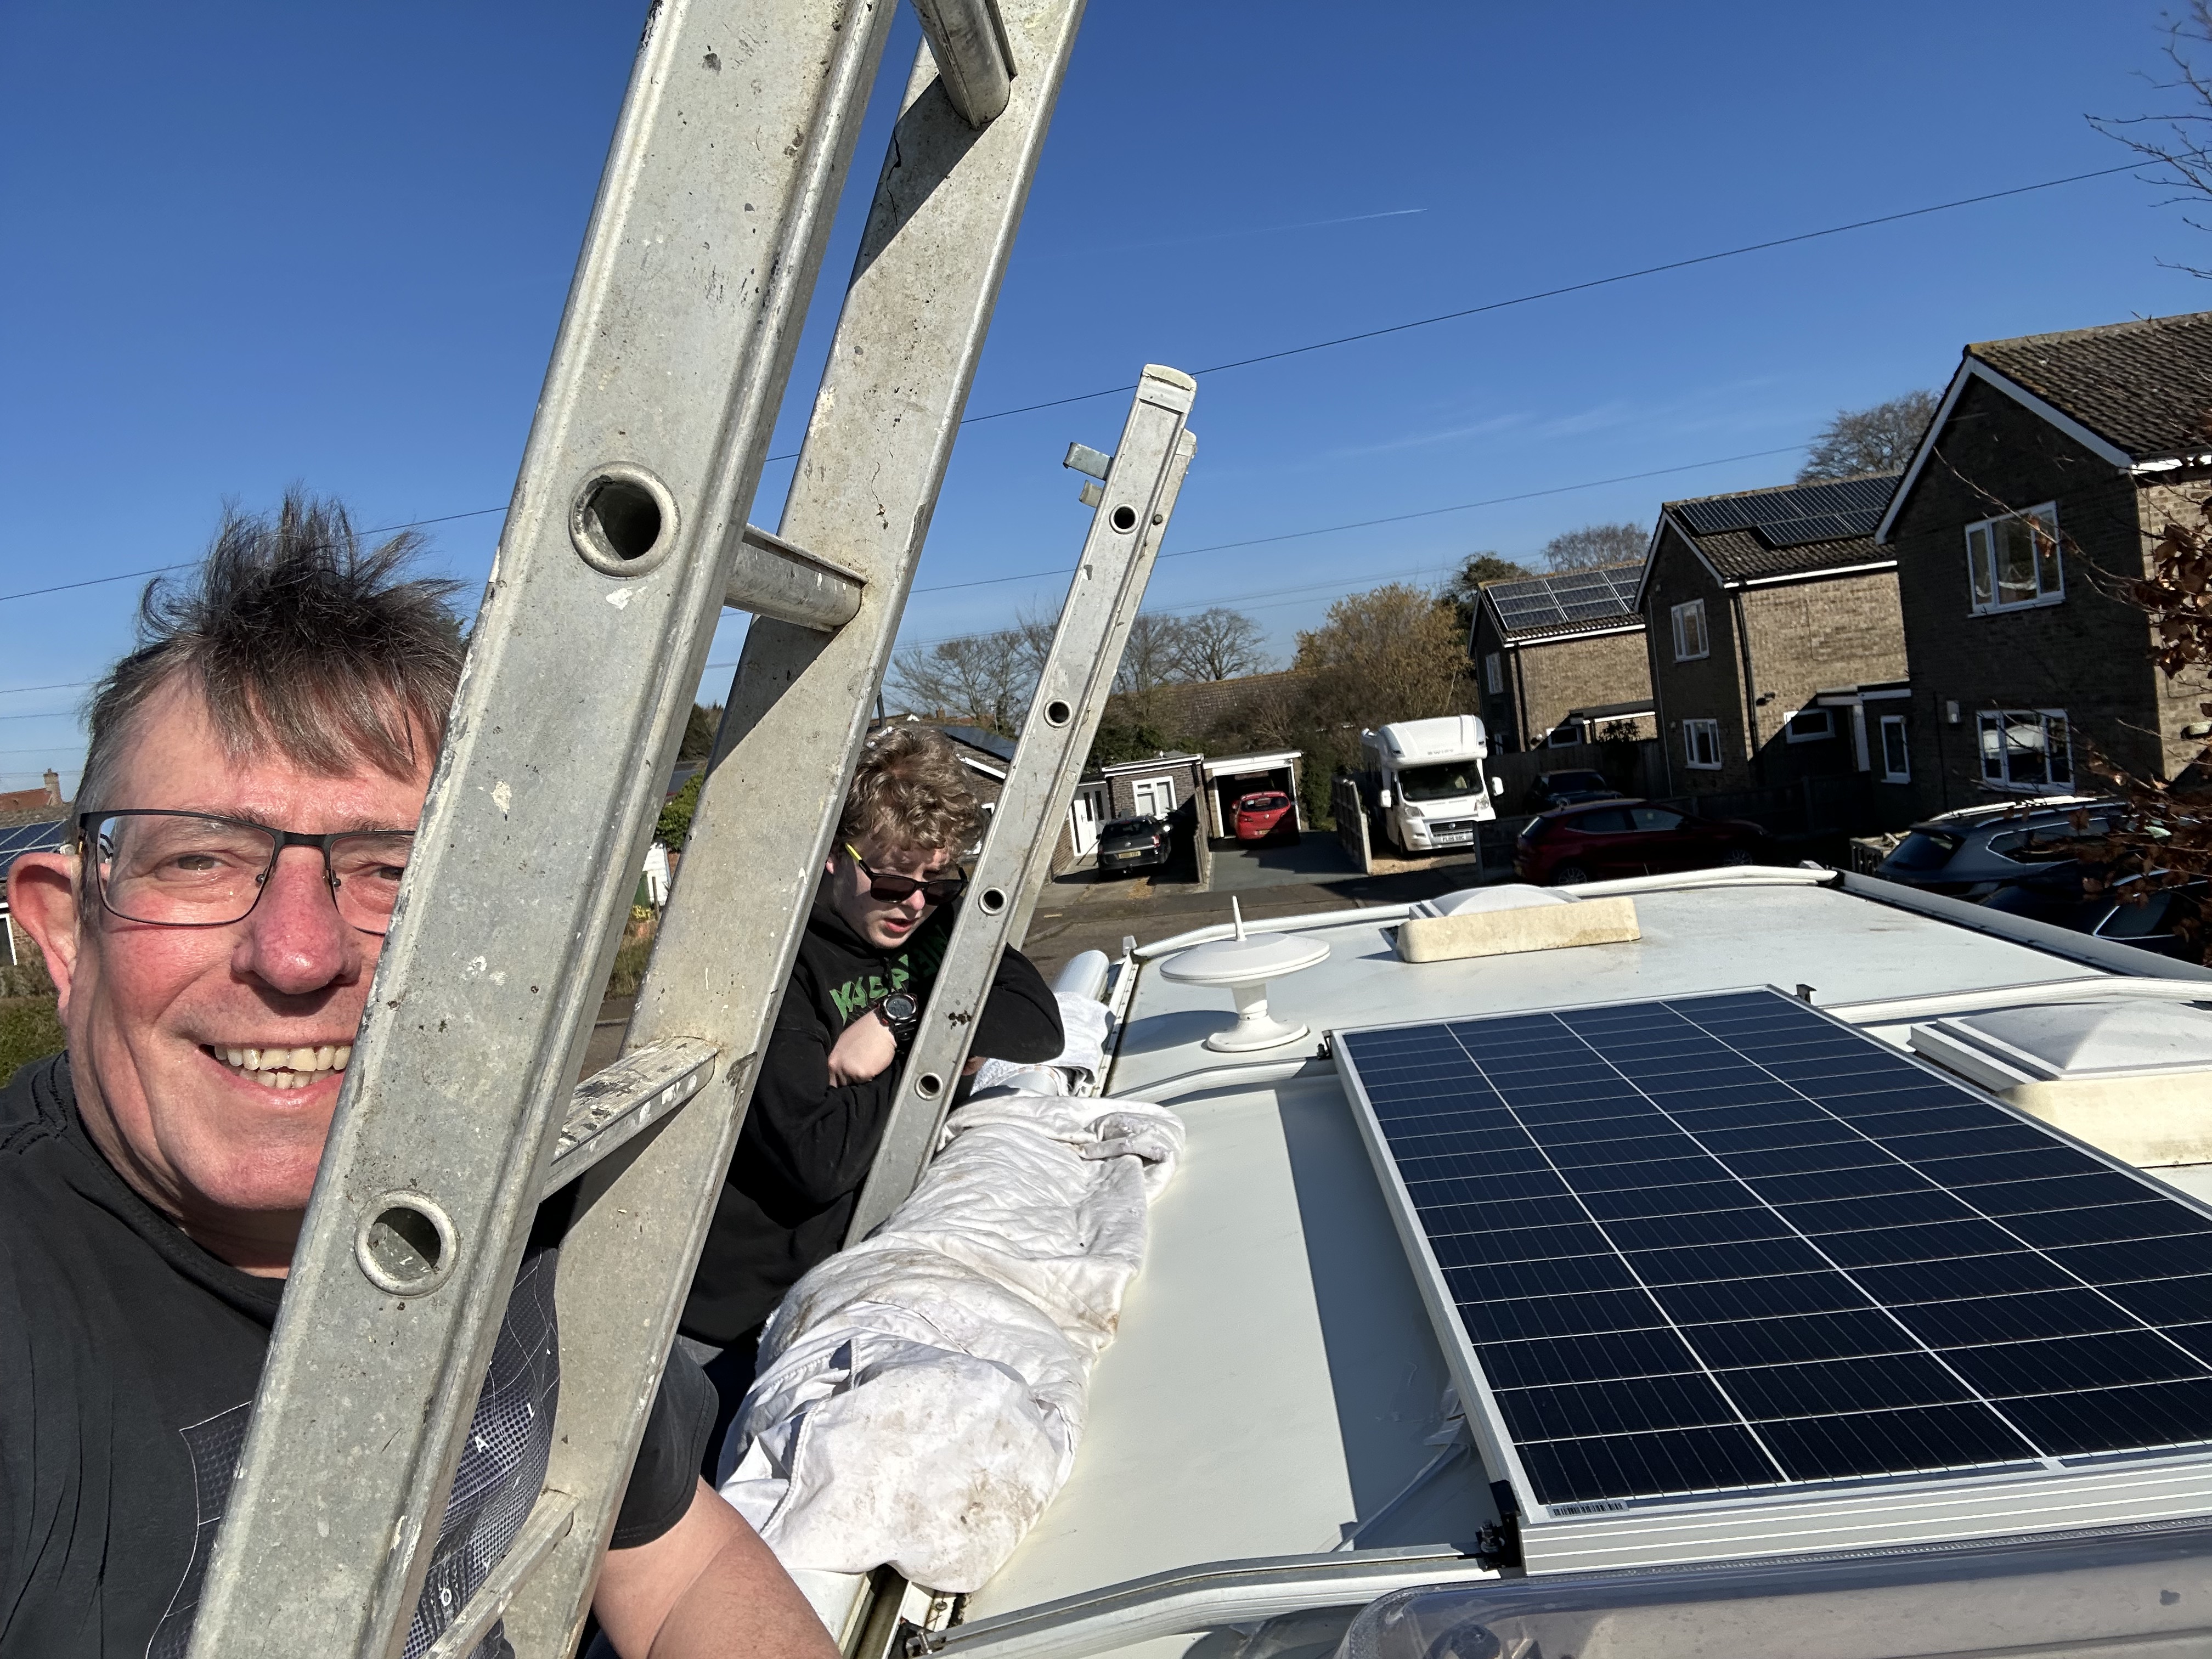
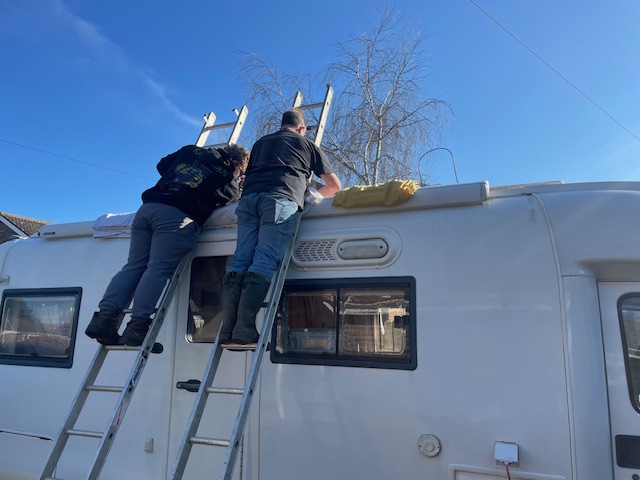
Fitting the panel meant asking our neighbour to move his car so we could put the two sections of the ladder alongside the Moho and we could then “walk” the panel up and onto the roof. Once up on the roof we could then move and tighten the retaining brackets – the first thing is that I would like to dedicate some of these images to all those ‘Elf n safetee folk who will criticise me – obviously the camera people footed the ladders etc….. (This was also when some rude words were uttered to Number One son – mainly about right angles BUT – job was done in the end!) You may have noticed that I have used double nuts on the brackets – even though I have used spring washers, I also wanted to be doubly secure – so the extra nut was used to lock down the nut – I will be checking those for any loosening over the next few weeks!
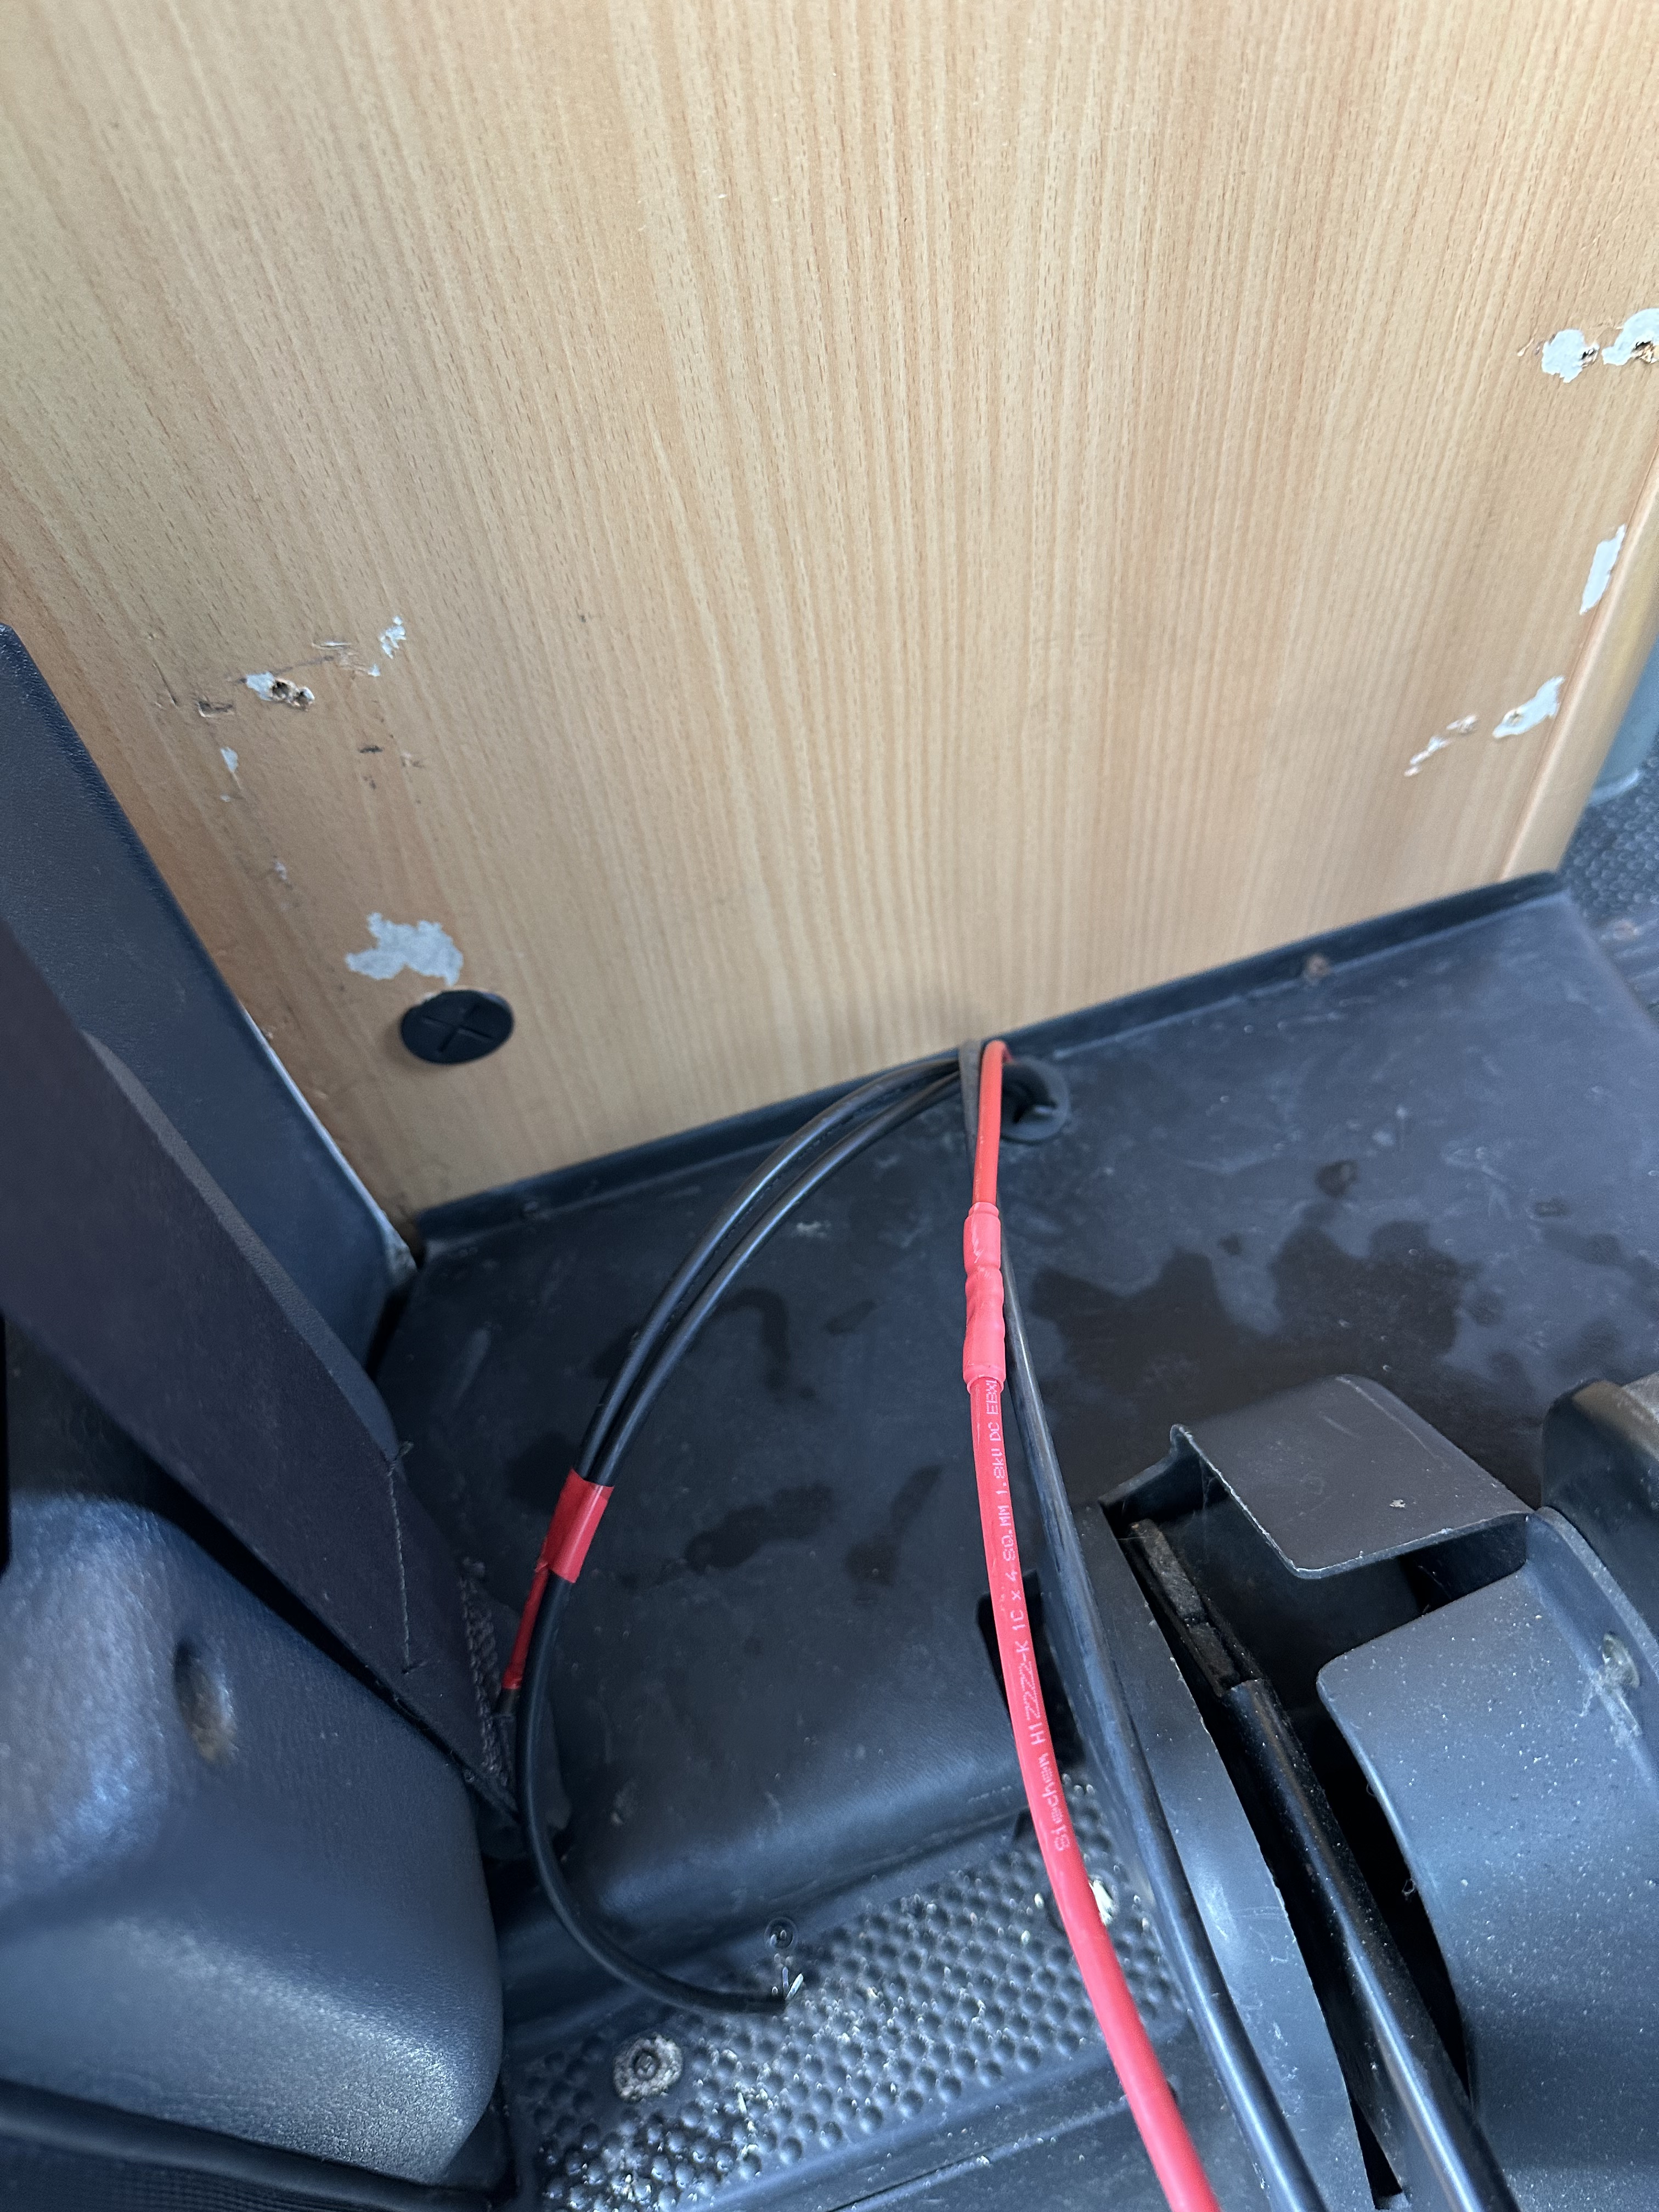
So, panel fitted and cable routed inside – rather than leaving the cable loose I used white duck tape to make a clean looking job, but how to route the cable inside? Initially I had planned to drop the cable to the side of the fridge and then bring it through the wall behind the driver’s seat, where the leisure battery lives….. I had read before about how much of a sod removing the fridge was and having looked and tried a few things for an hour or so – we gave up and thought again. I looked closely at the trim in the corner behind the drivers seat, and decided to look behind it – then I gave thanks for my Spudger set! I drilled through at an angle from the microwave locker and that brought the cable out right by where that trim runs….

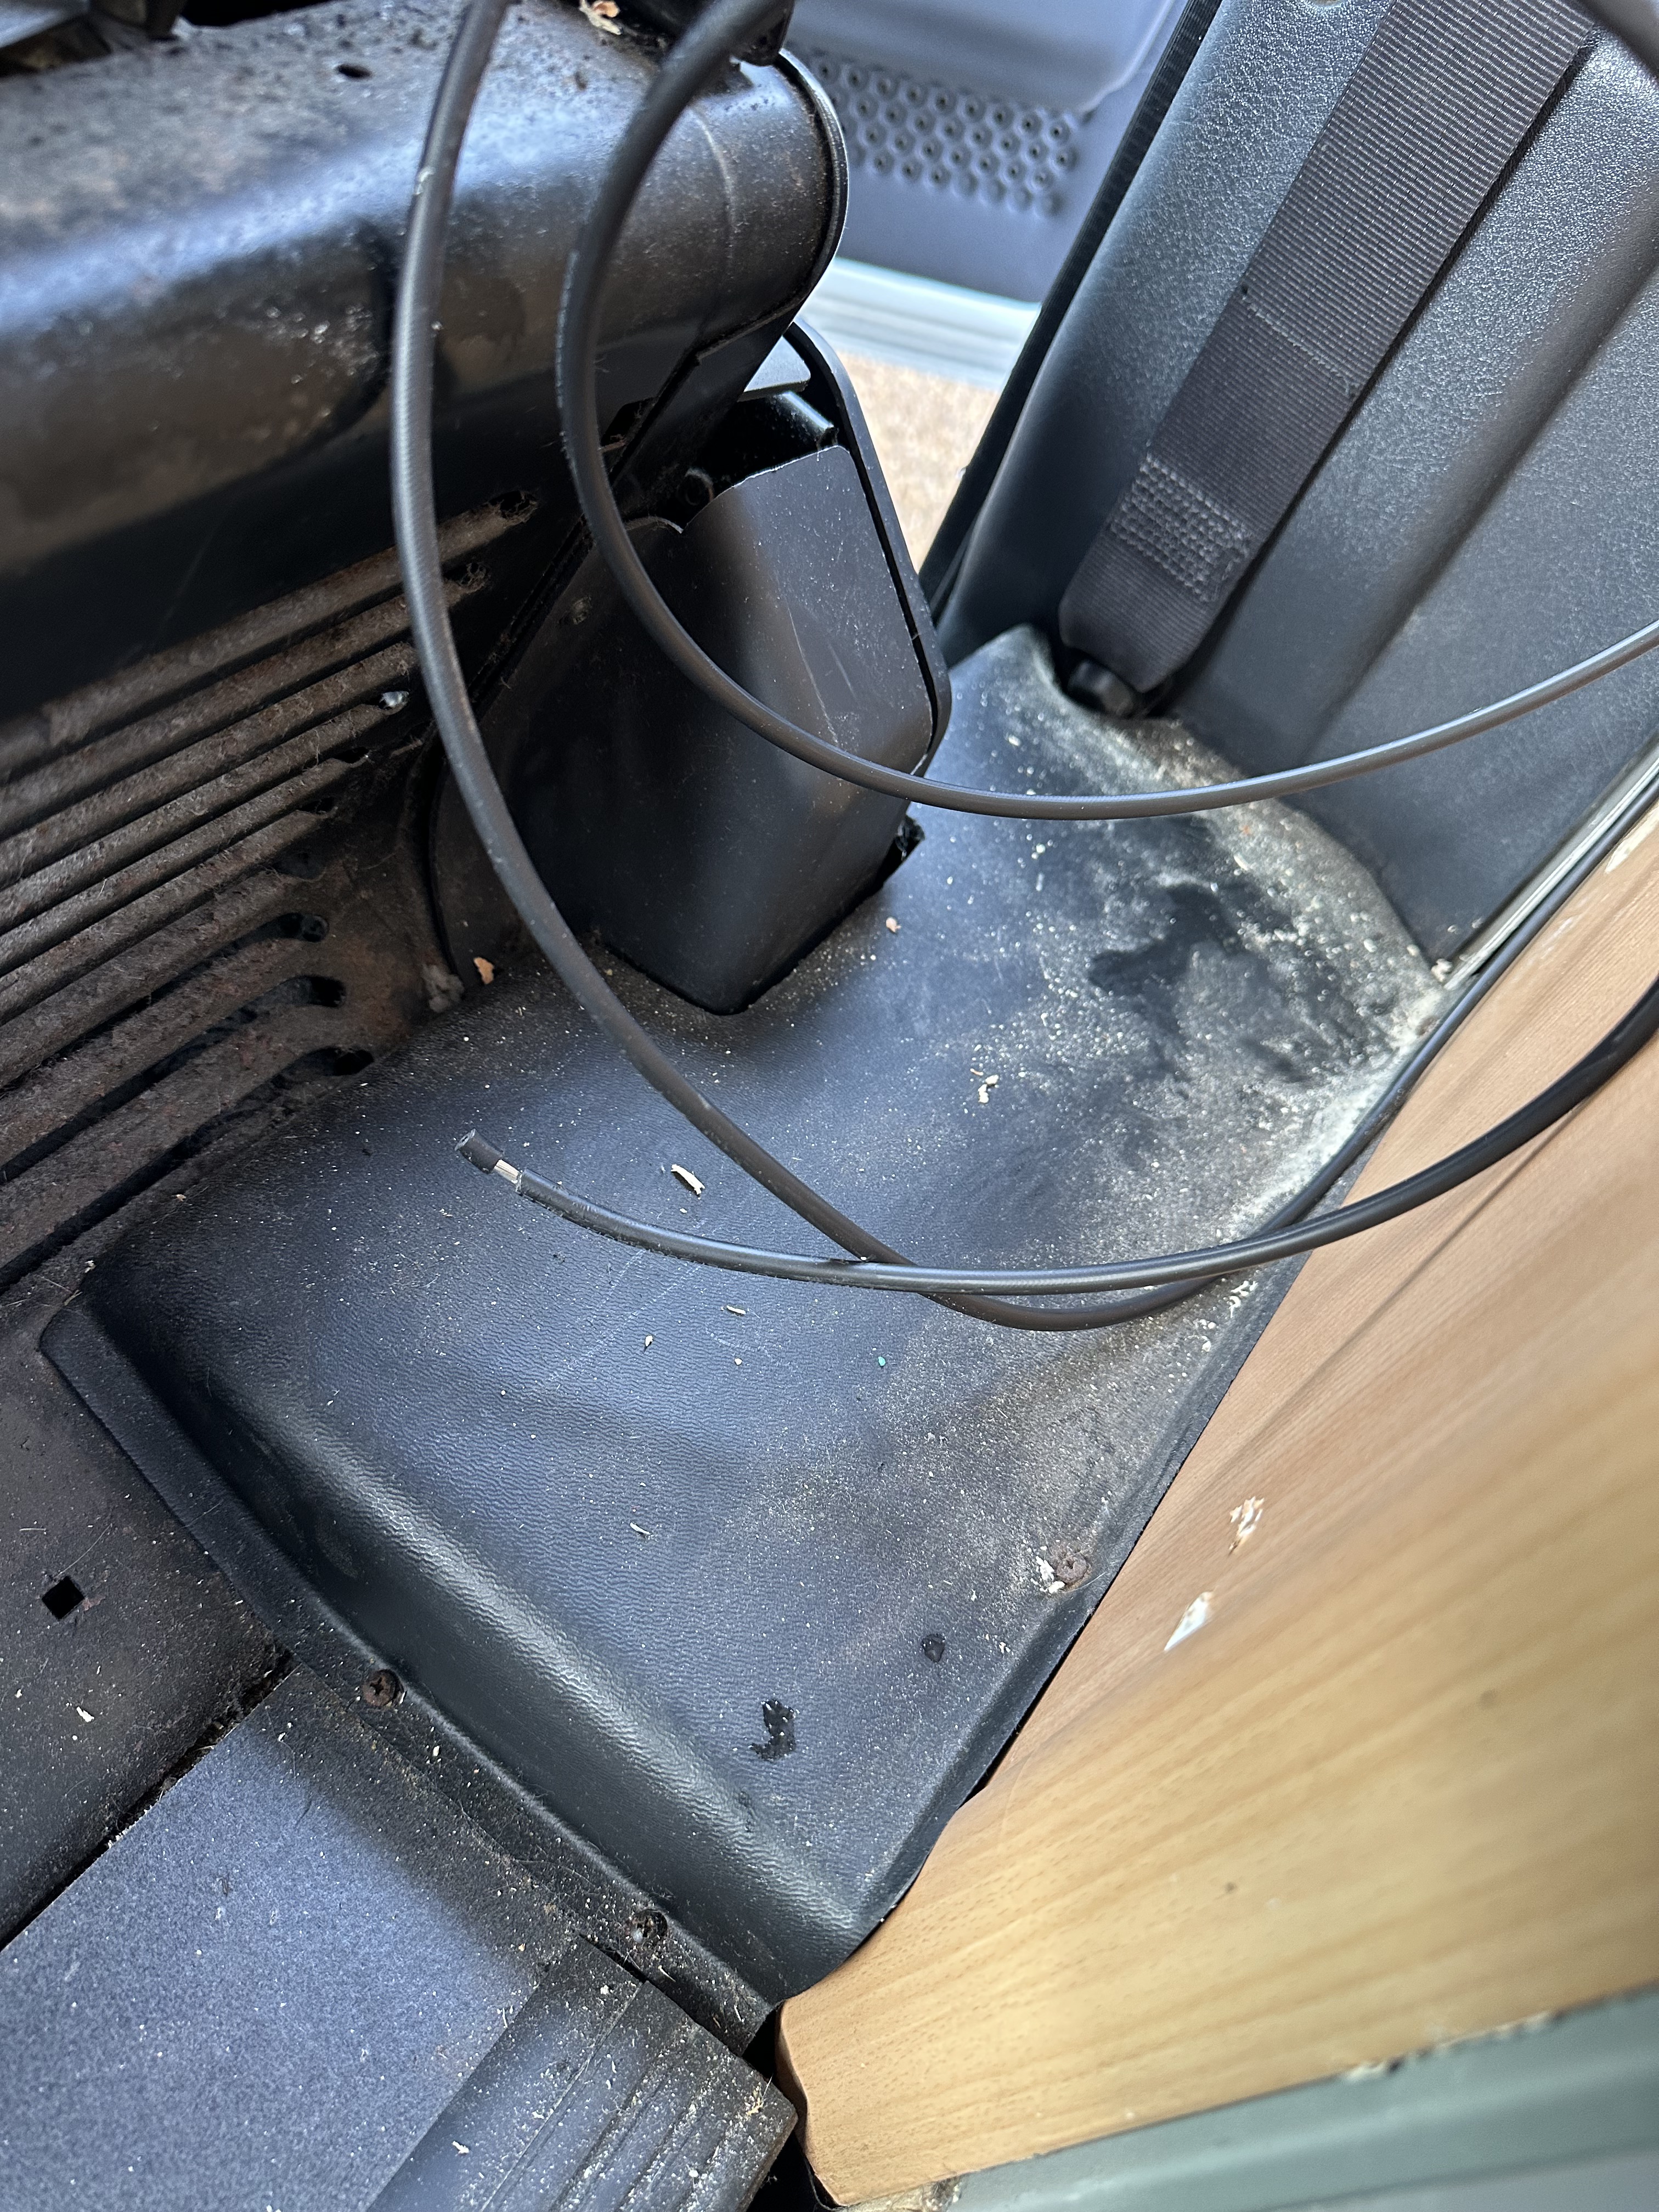
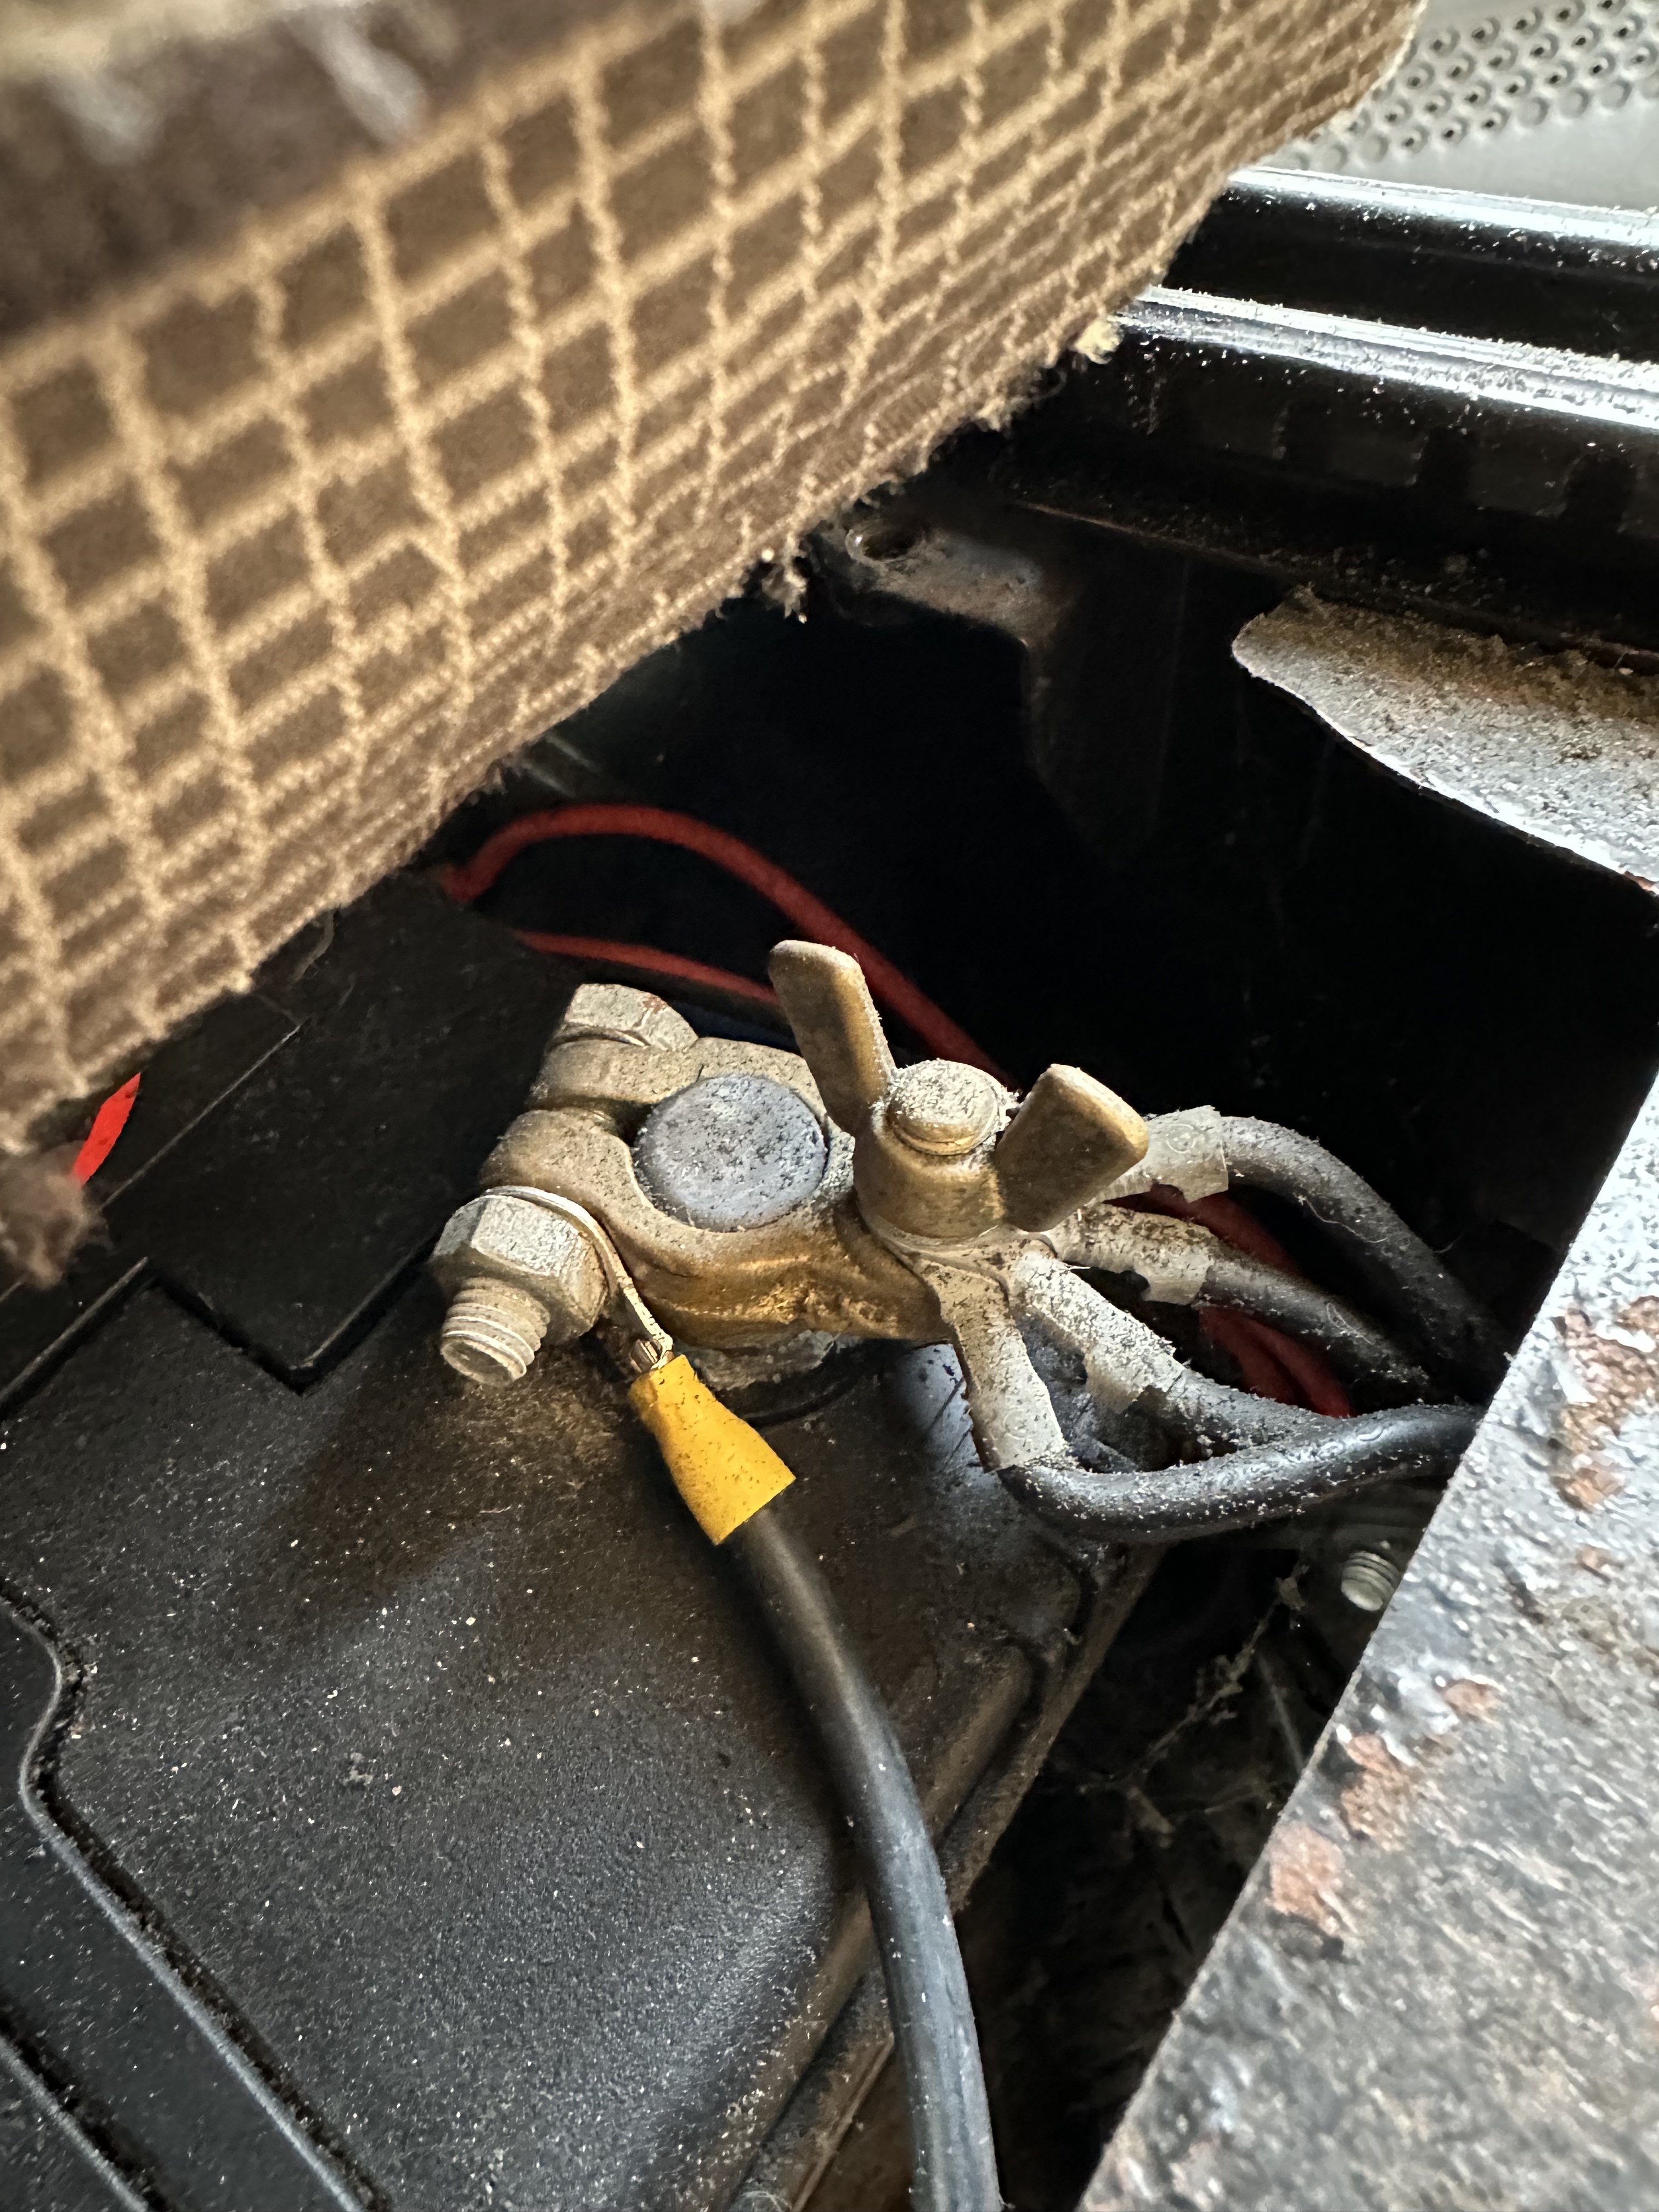
So this got the cables all the way down and once I had lifted the cover for the electrical connections behind the drivers seat, I was then able to hide and secure the cables away – as well as hide the cables the led to the battery terminals – I had already bought some trim pieces for the holes to make everything look tidy and out of sight. (I would also like to point out that IF you are going to use a metal spanner to tighten the positive terminals on a battery avoid touch the metal driver seat stand…. )
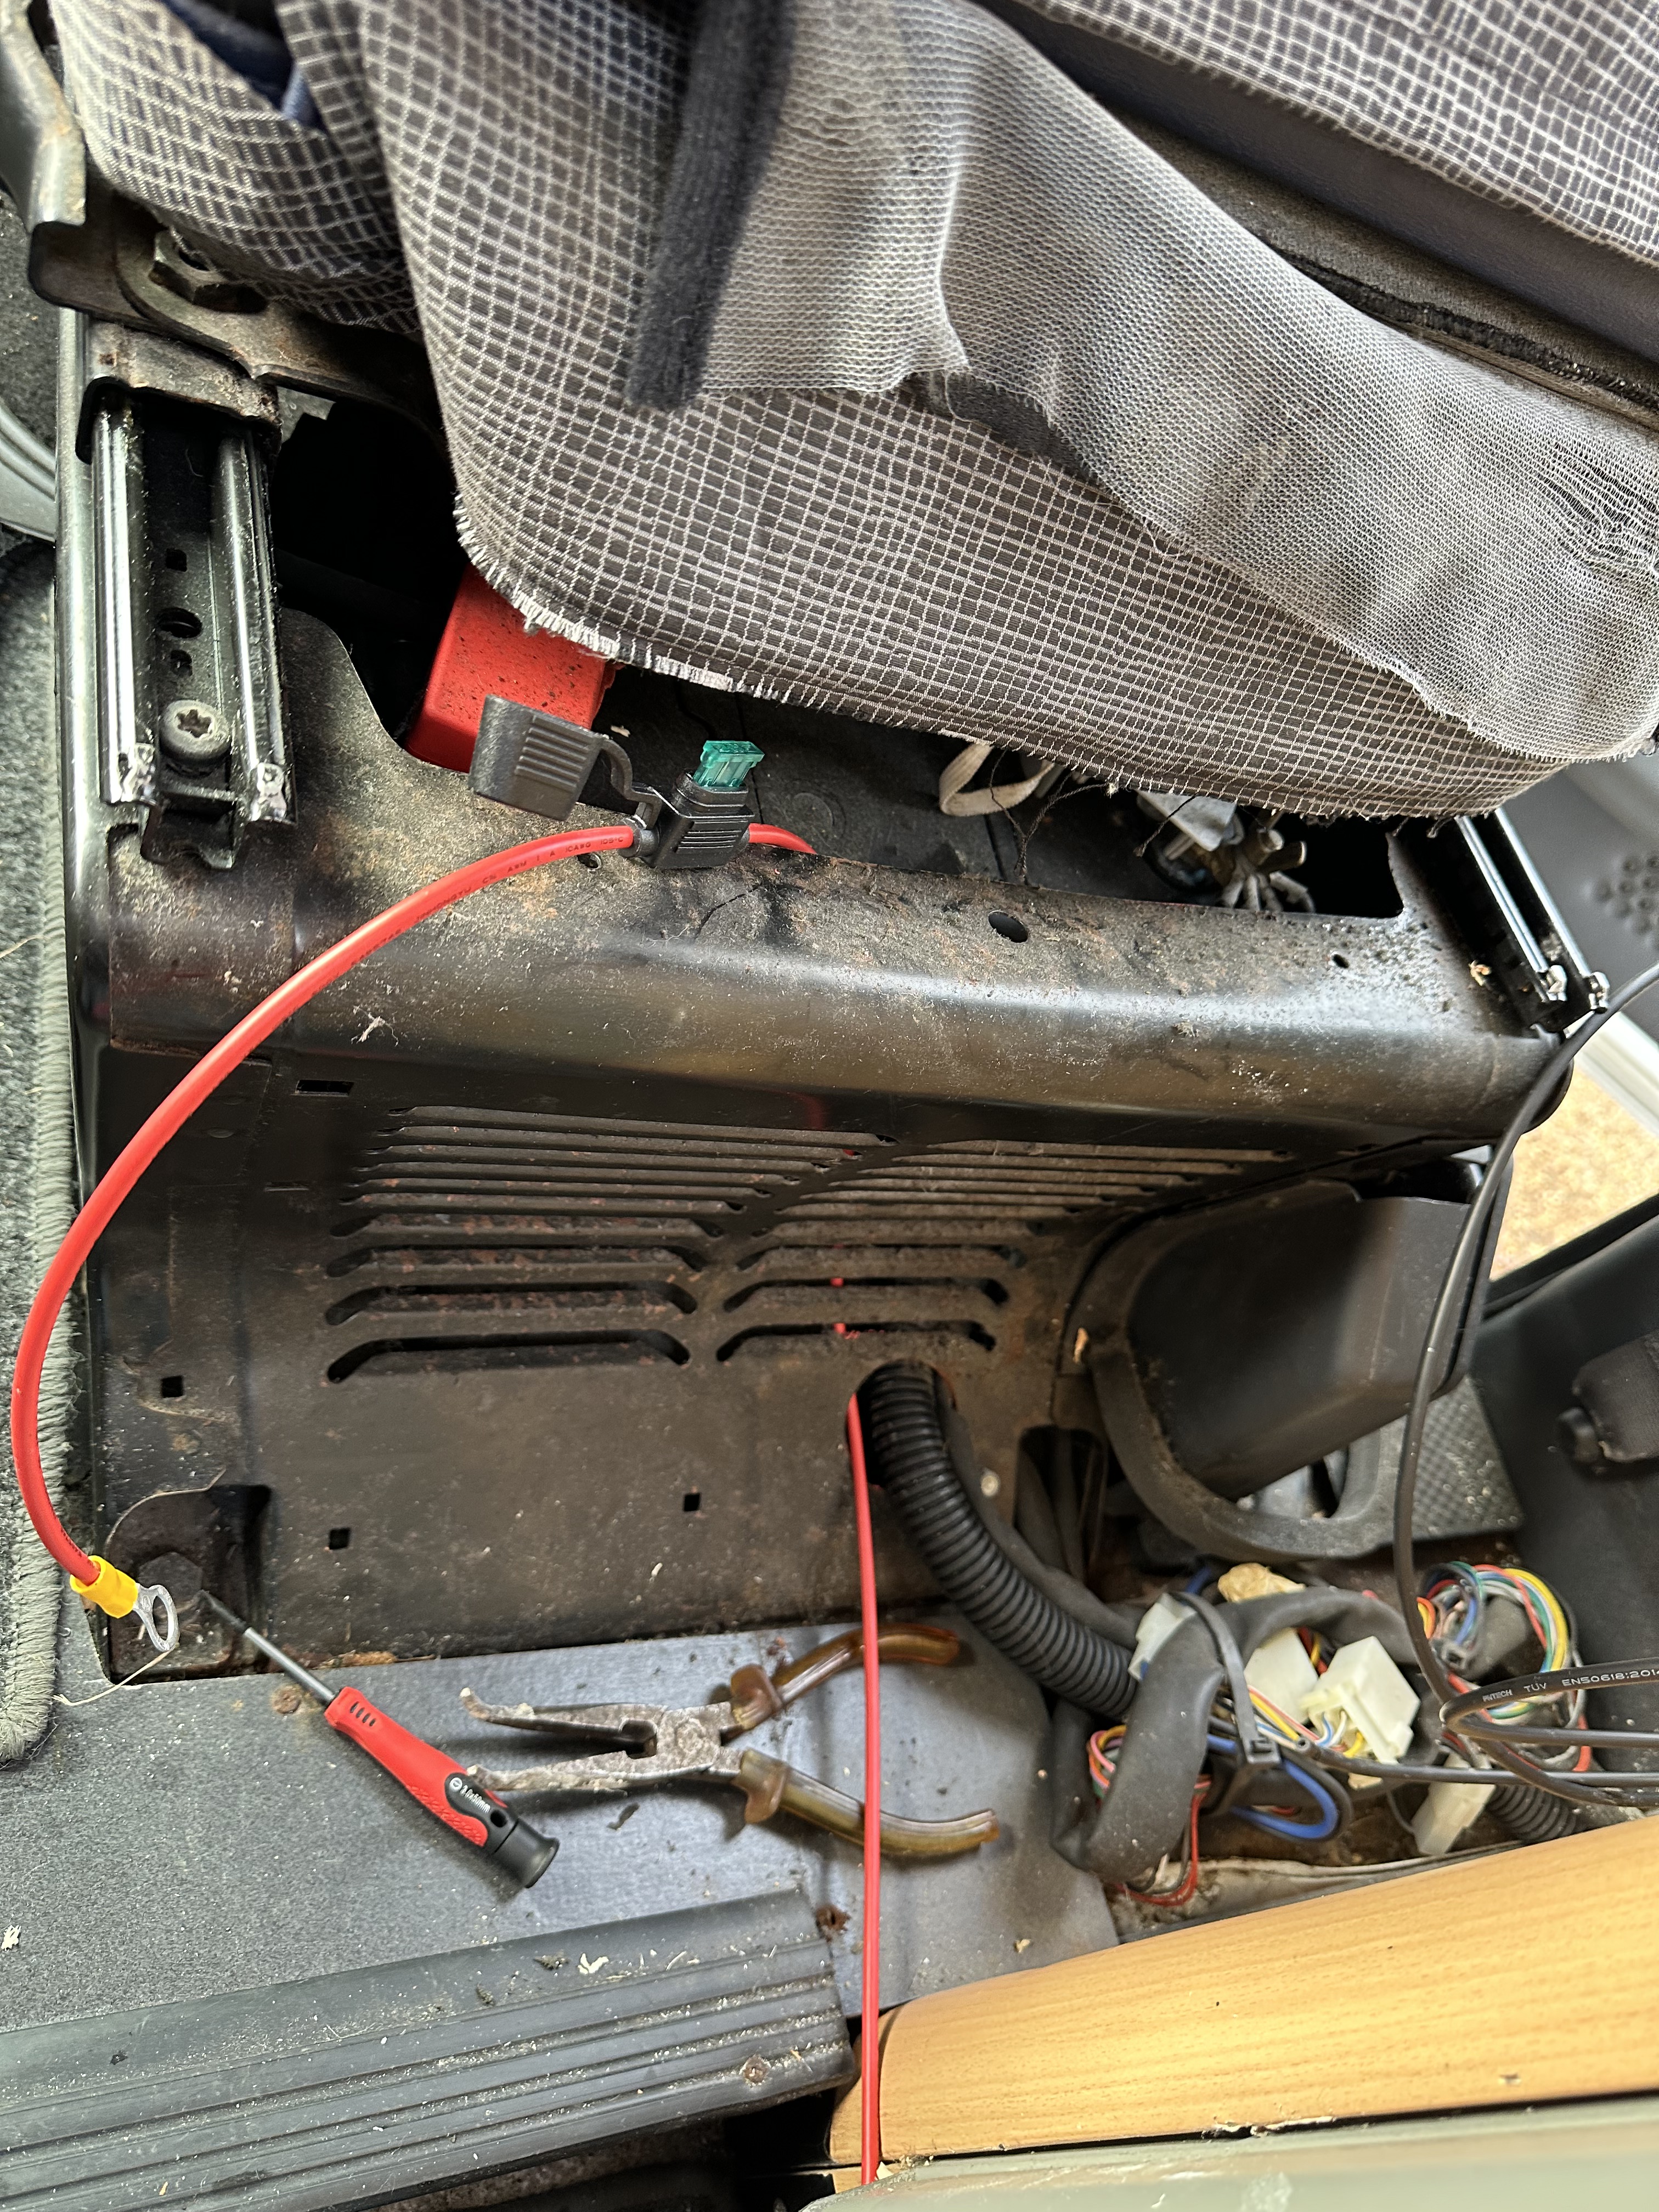
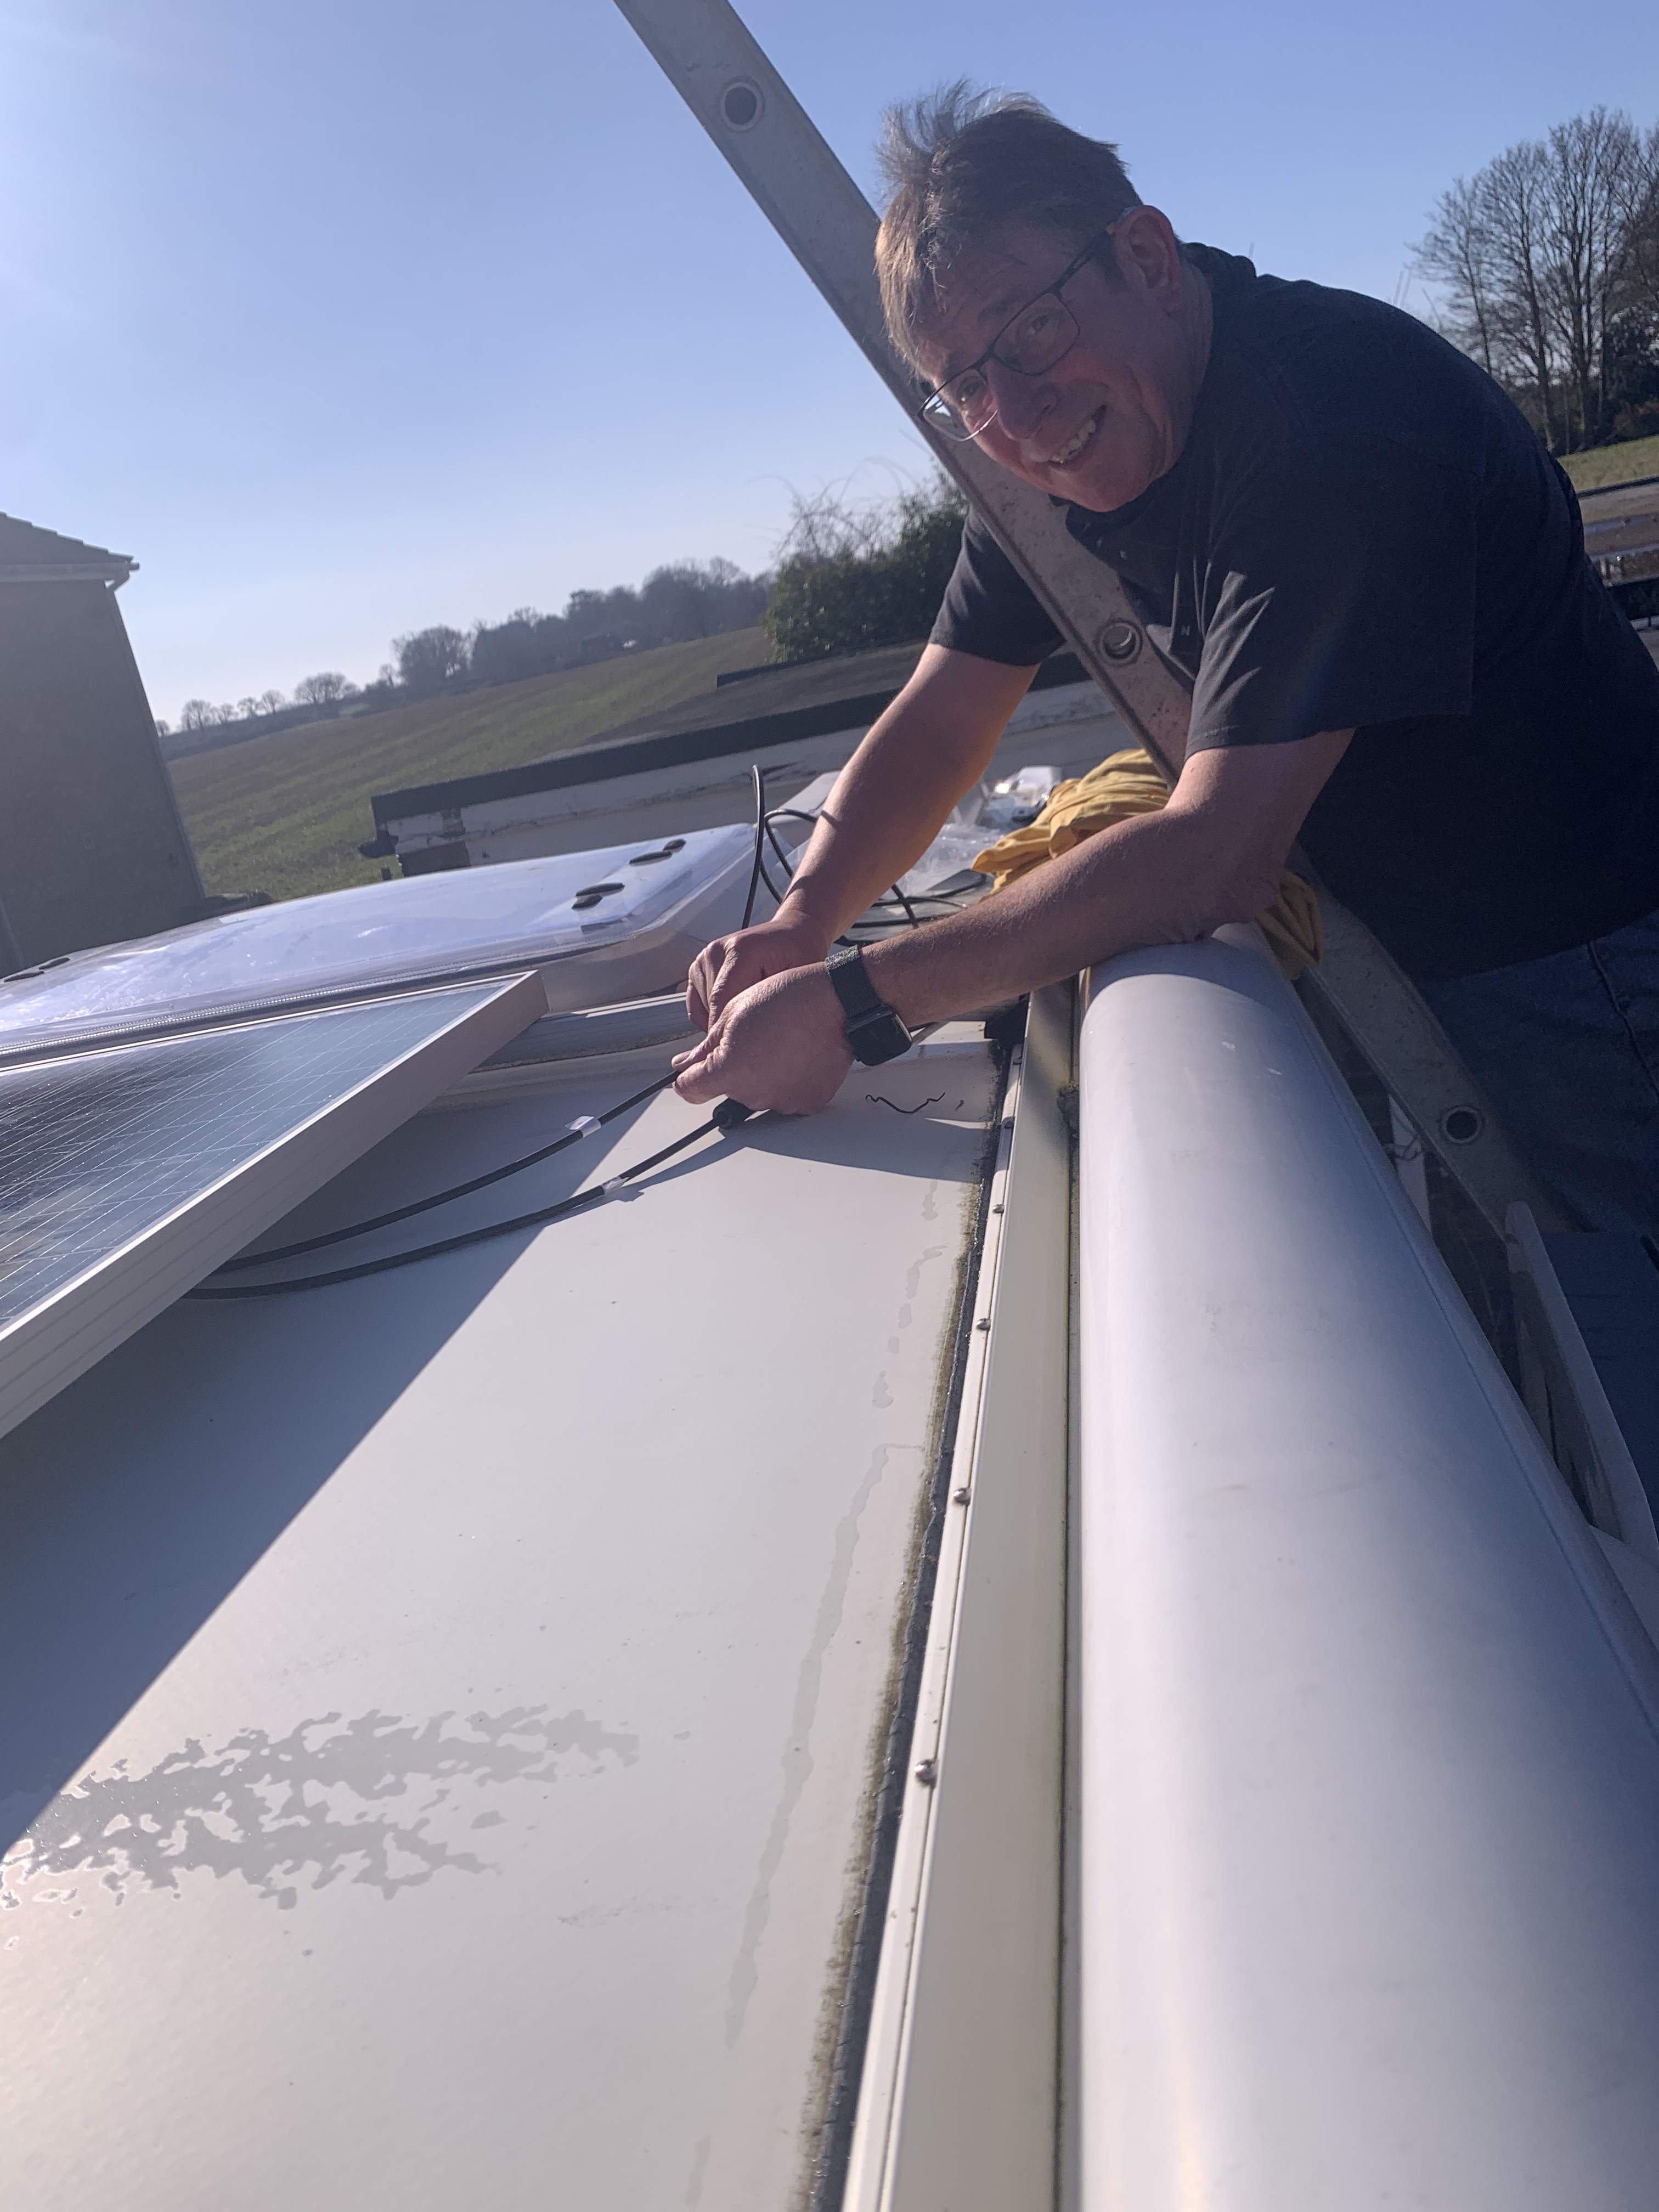
So – last thing to do was to connect the controller box and then secure everything away properly – Michael showed me that I was wrong about a flat edge – possibly revenge for the right angle comments and then we were all set – ish

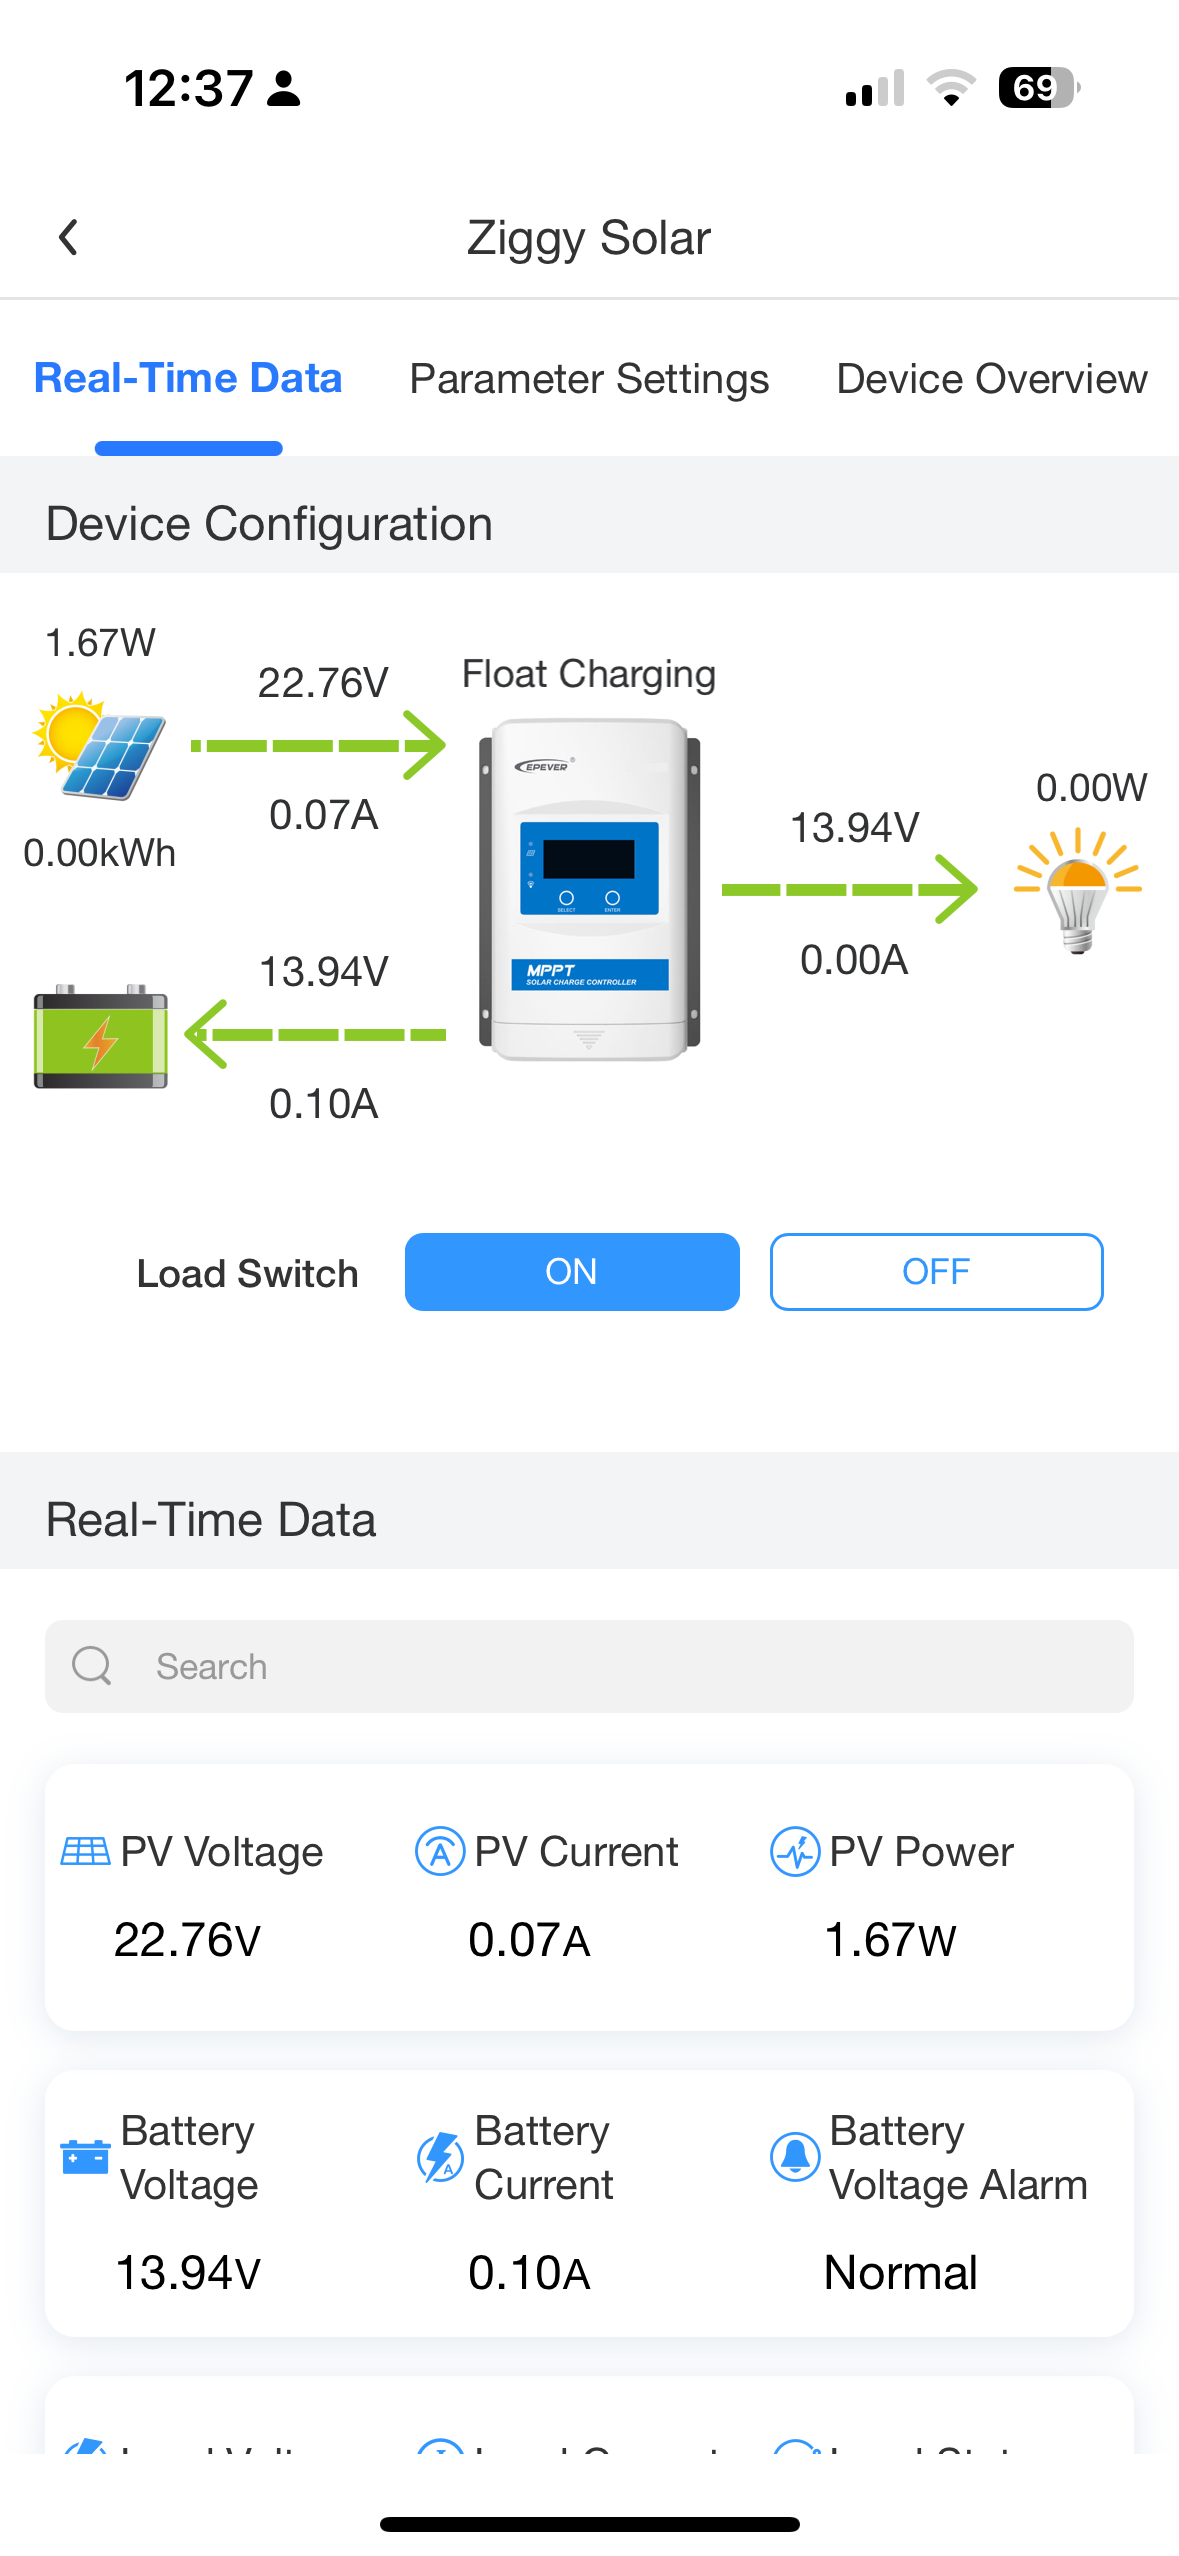
Michael correctly got the wiring sorted after my test – ok, I am lying, error and we had a fully functioning MPPT control box – so I set about trying to get the bluetooth to talk but, that defeated me. I sent an email to EPever and they told me which app to use – its called Solar Guardian and Will at Sunshine Solar shared a great guide on how to set the app up – once that was done, I now had the data on my trusty iPhone 🙂
So – thats how I fitted the solar panels, and hopefully people will get inspired by the approach I took – it’s not a perfect job – but it’s pretty good I think – and it works! Major thanks to Michael – have to say I am proud of him

Leave a comment