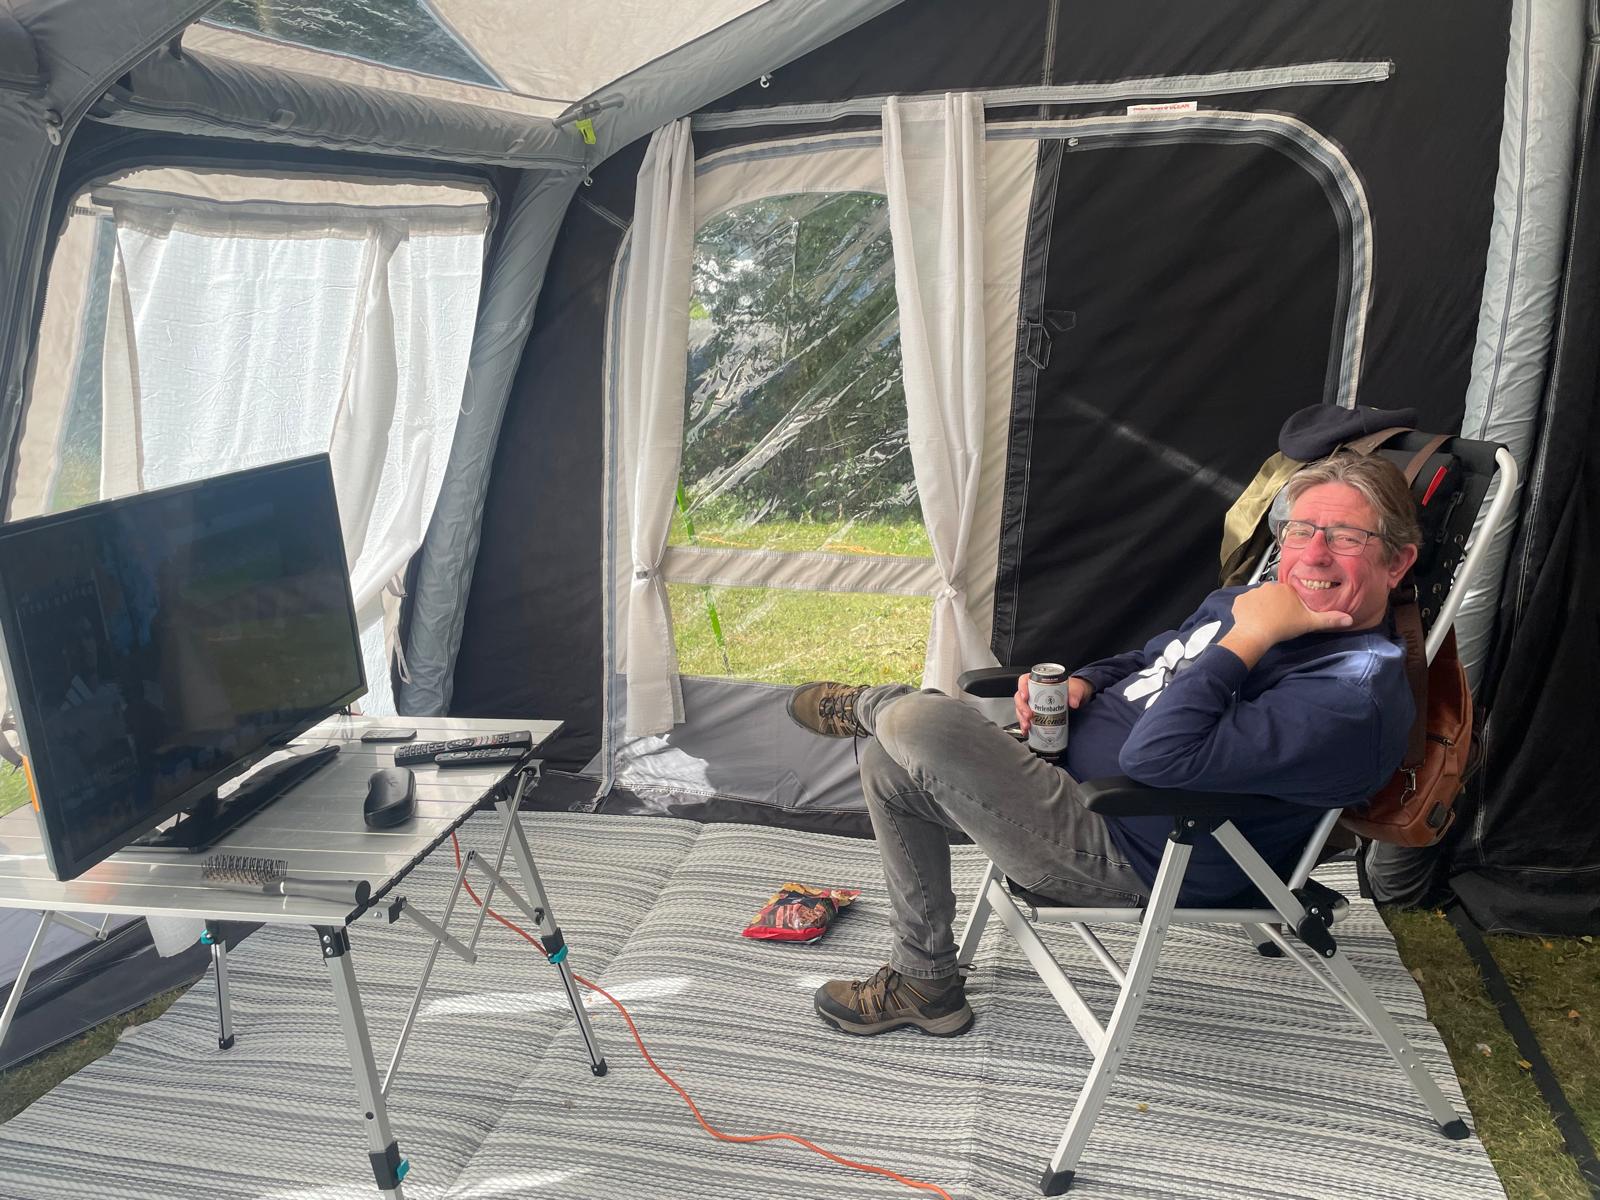
We do not often use a TV in Ziggy – but there aree occassions when we do like to hunker down and perhaps watch a movie – or the odd Leeds United game – in the past I have been known to even set up an awning so as i could watch the match but….
Now – i do love Ziggy to bits, but we do not have anywhere where a TV can live easily, and with the mininum of disruption to the MoHo – but as i am currently “resting” i set about a solution.
The first thing is to consider the TV size – I am old – and have coke bottles for glasses so i do need a decent size screen, but nothing to much – a 32″ is too big – our old TV was a 32″ and that carted around on the Bed, and then put on top of the stove when in use – this does kind of hamper cooking etc so….. With that in mind I have taken the opportunity to look at how other people have worked on a solution, and came up with this – it may not be right for everyone but…. Oh – it is also over engineered – but thats me!

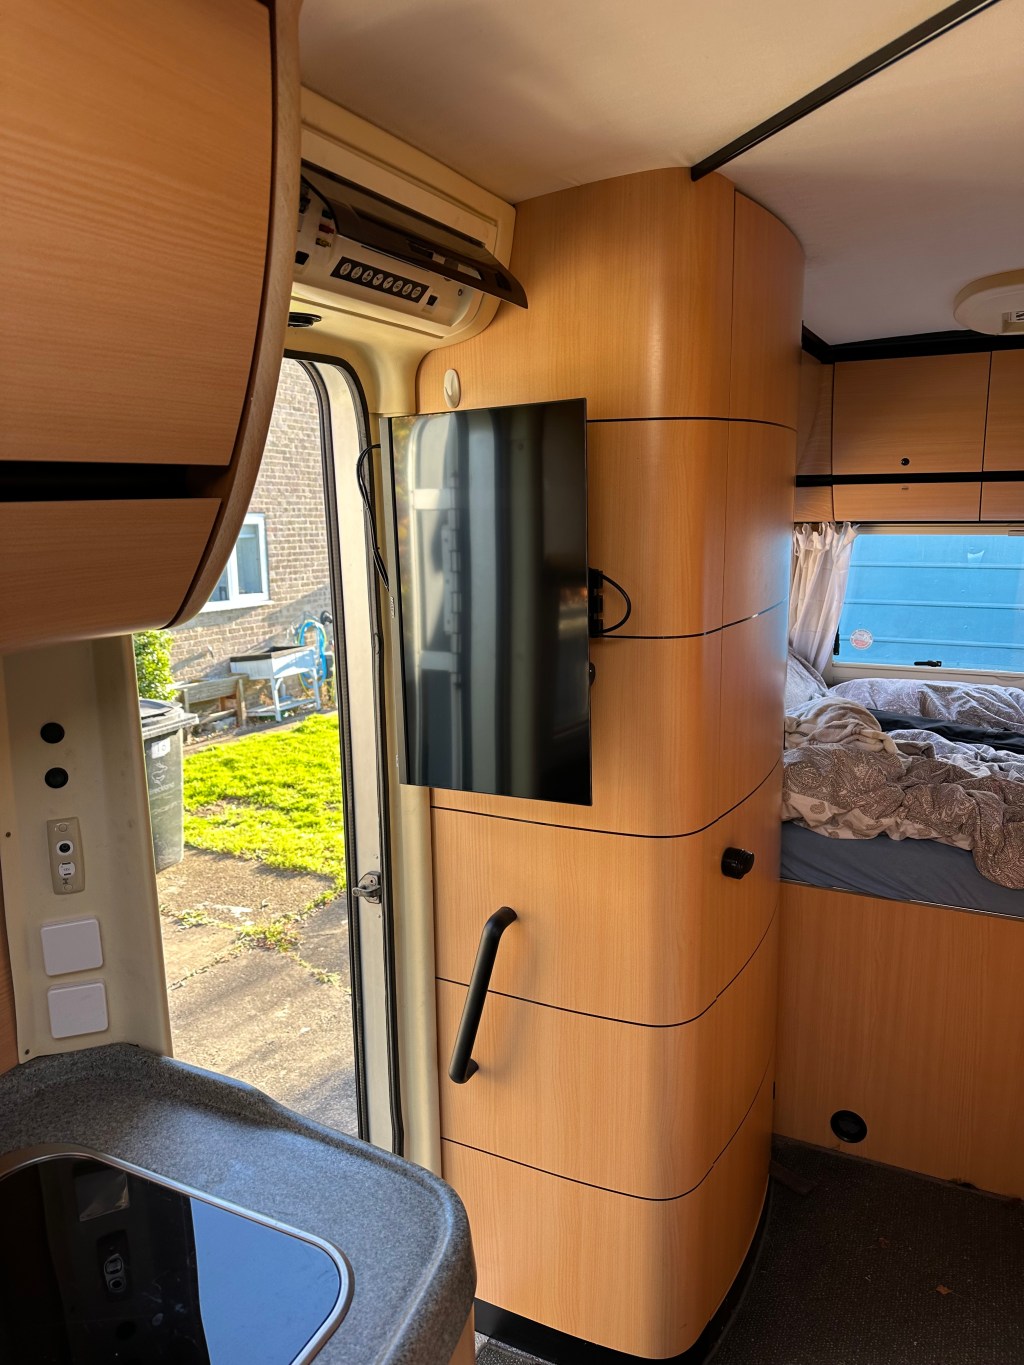
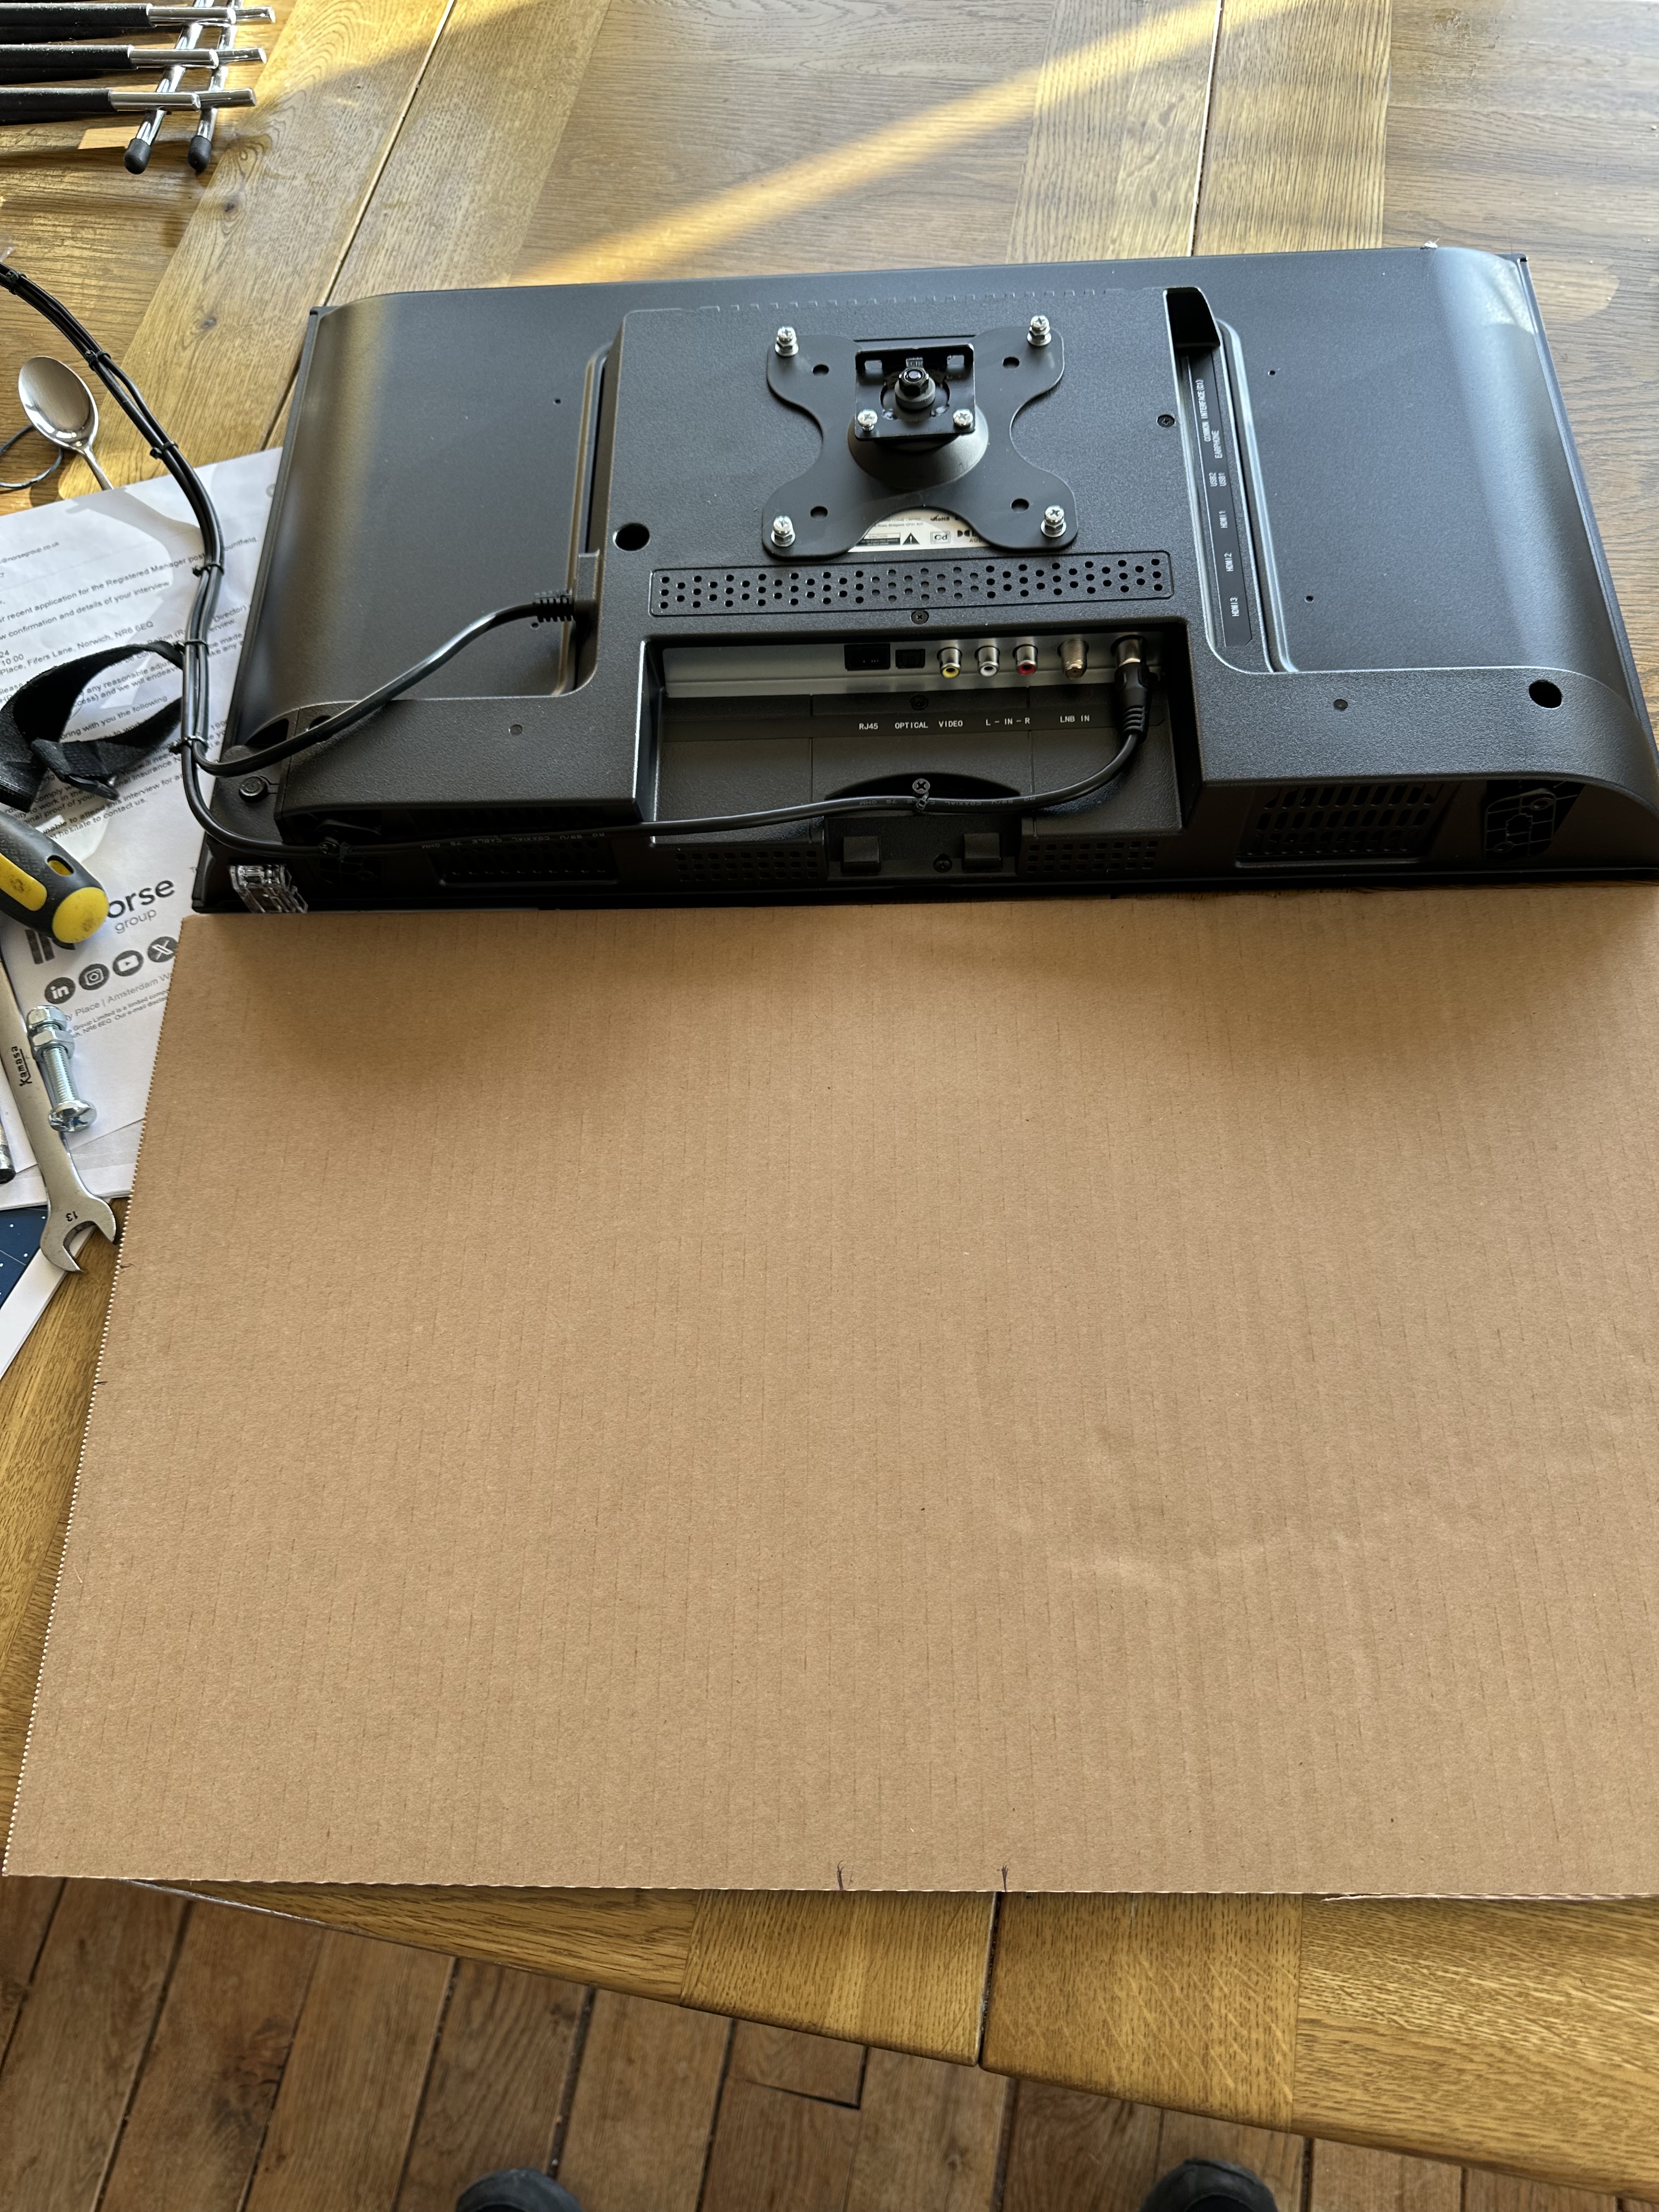
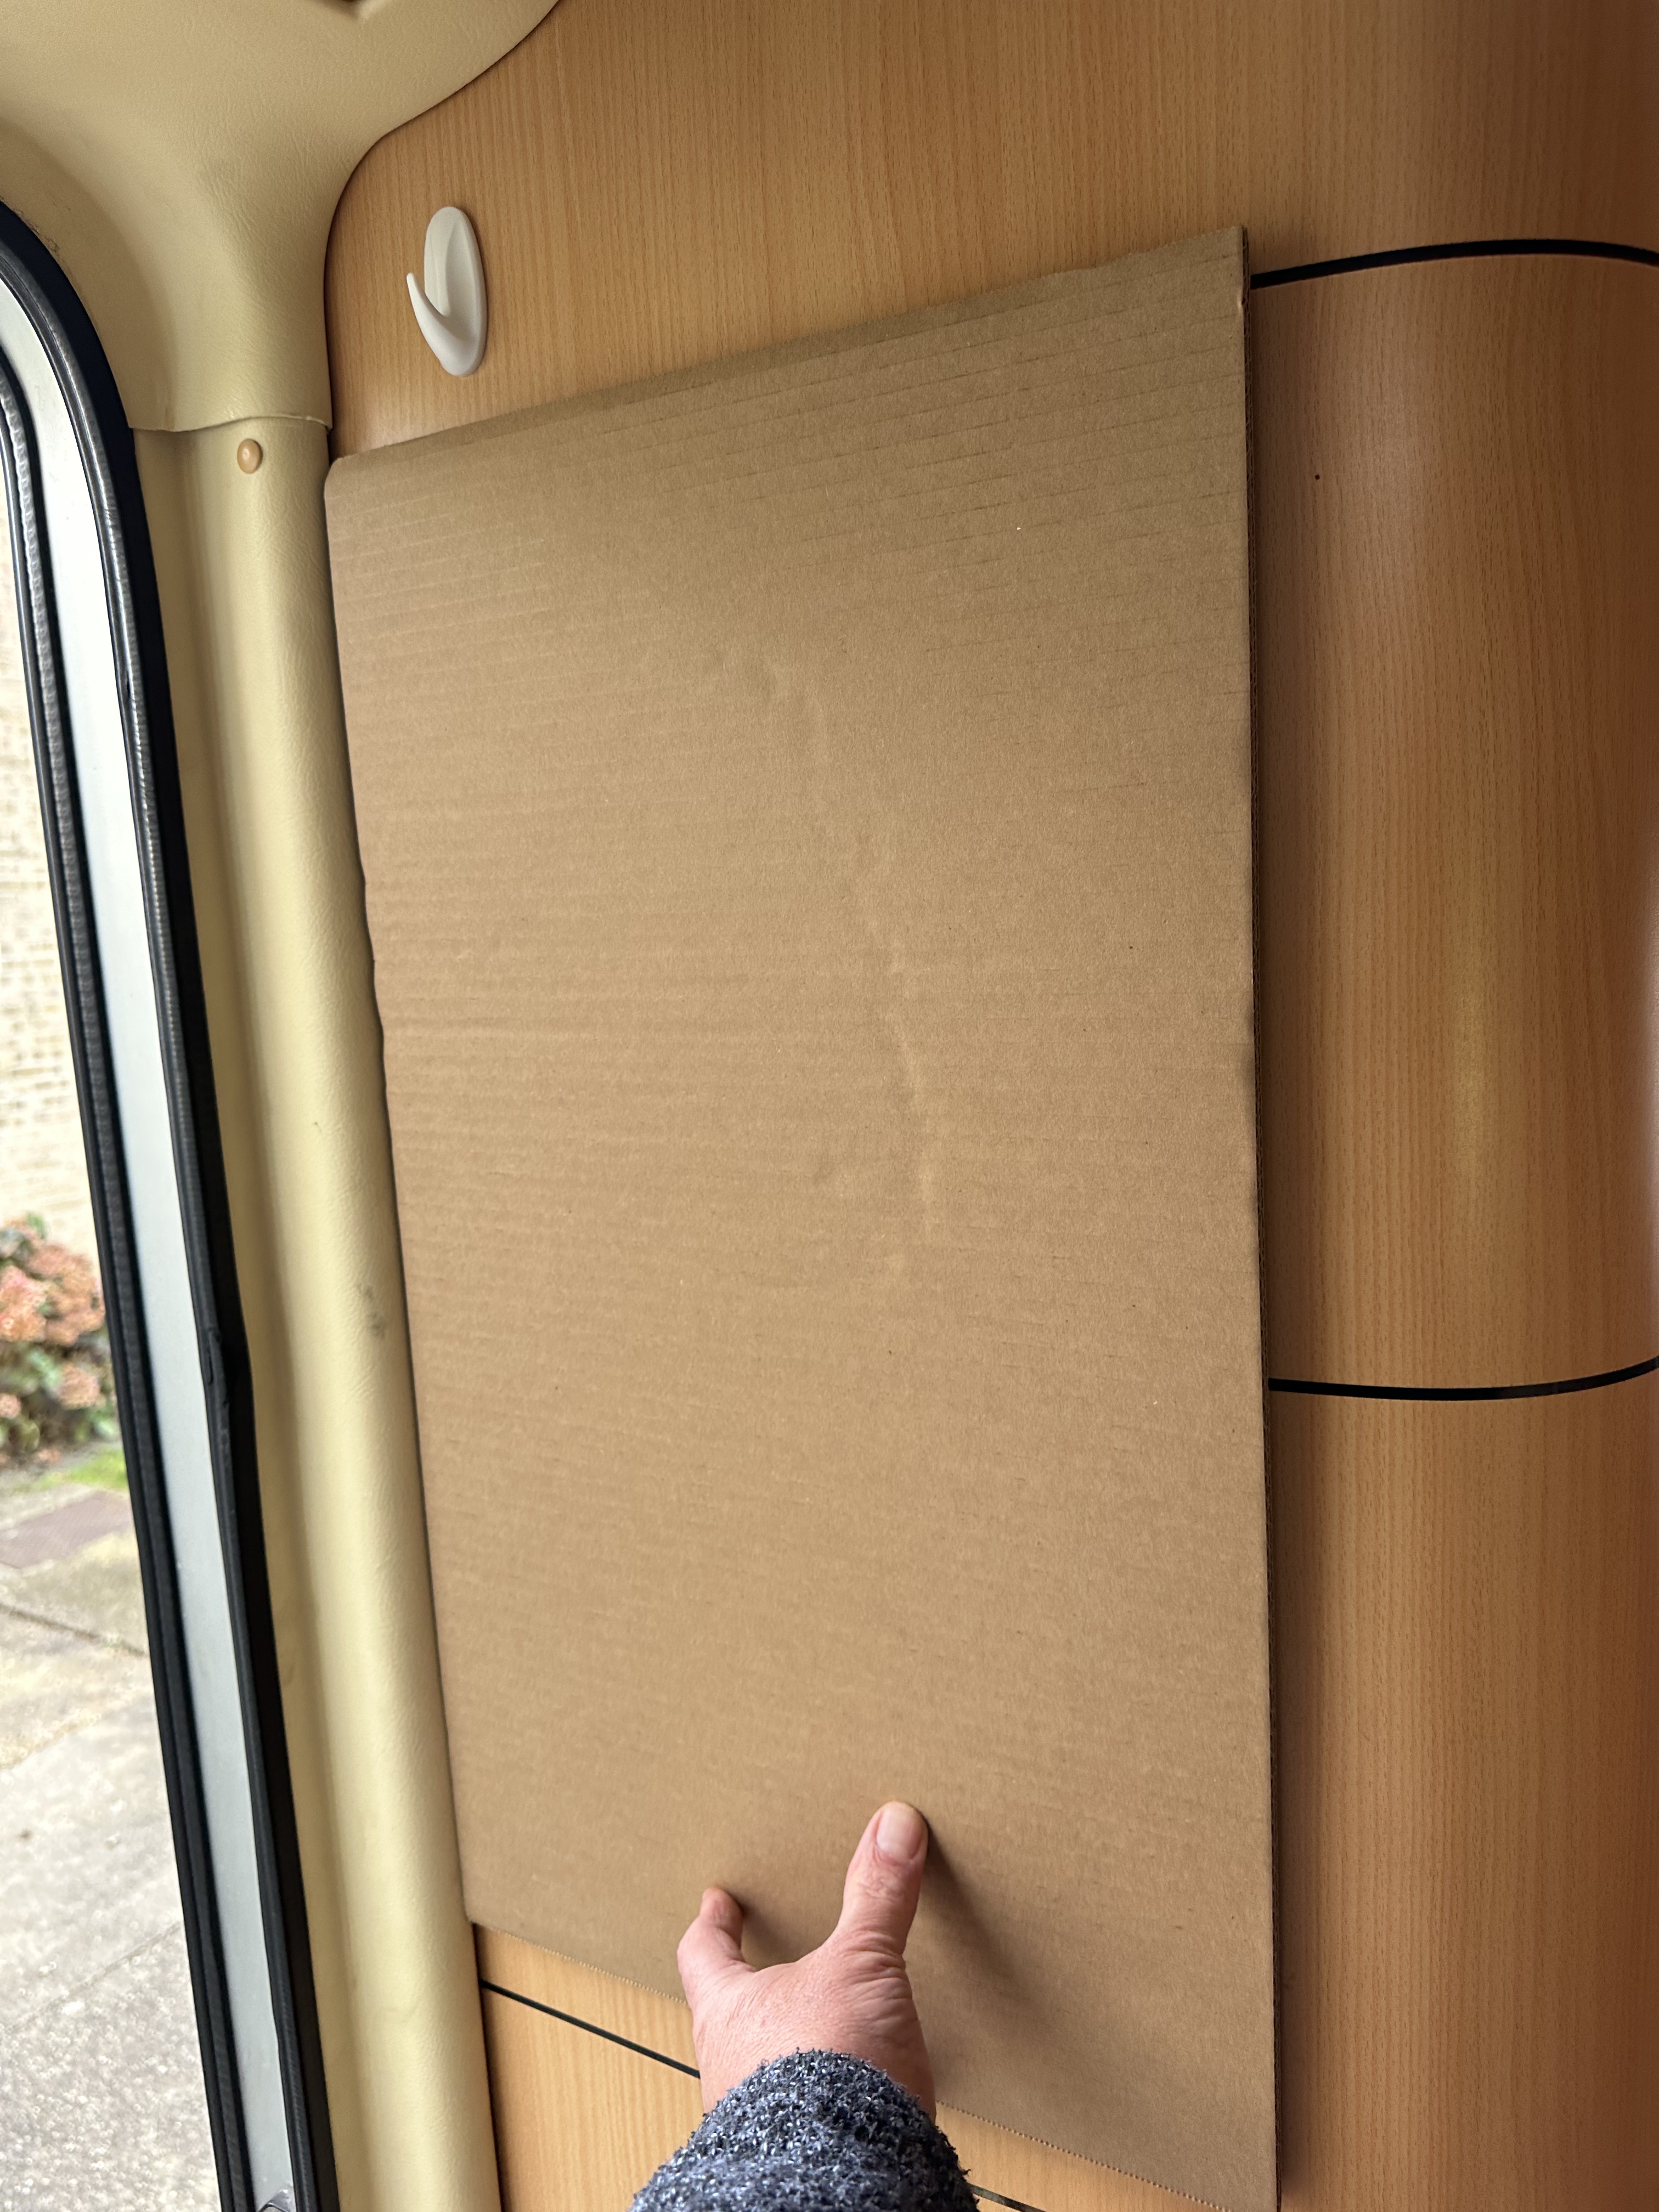
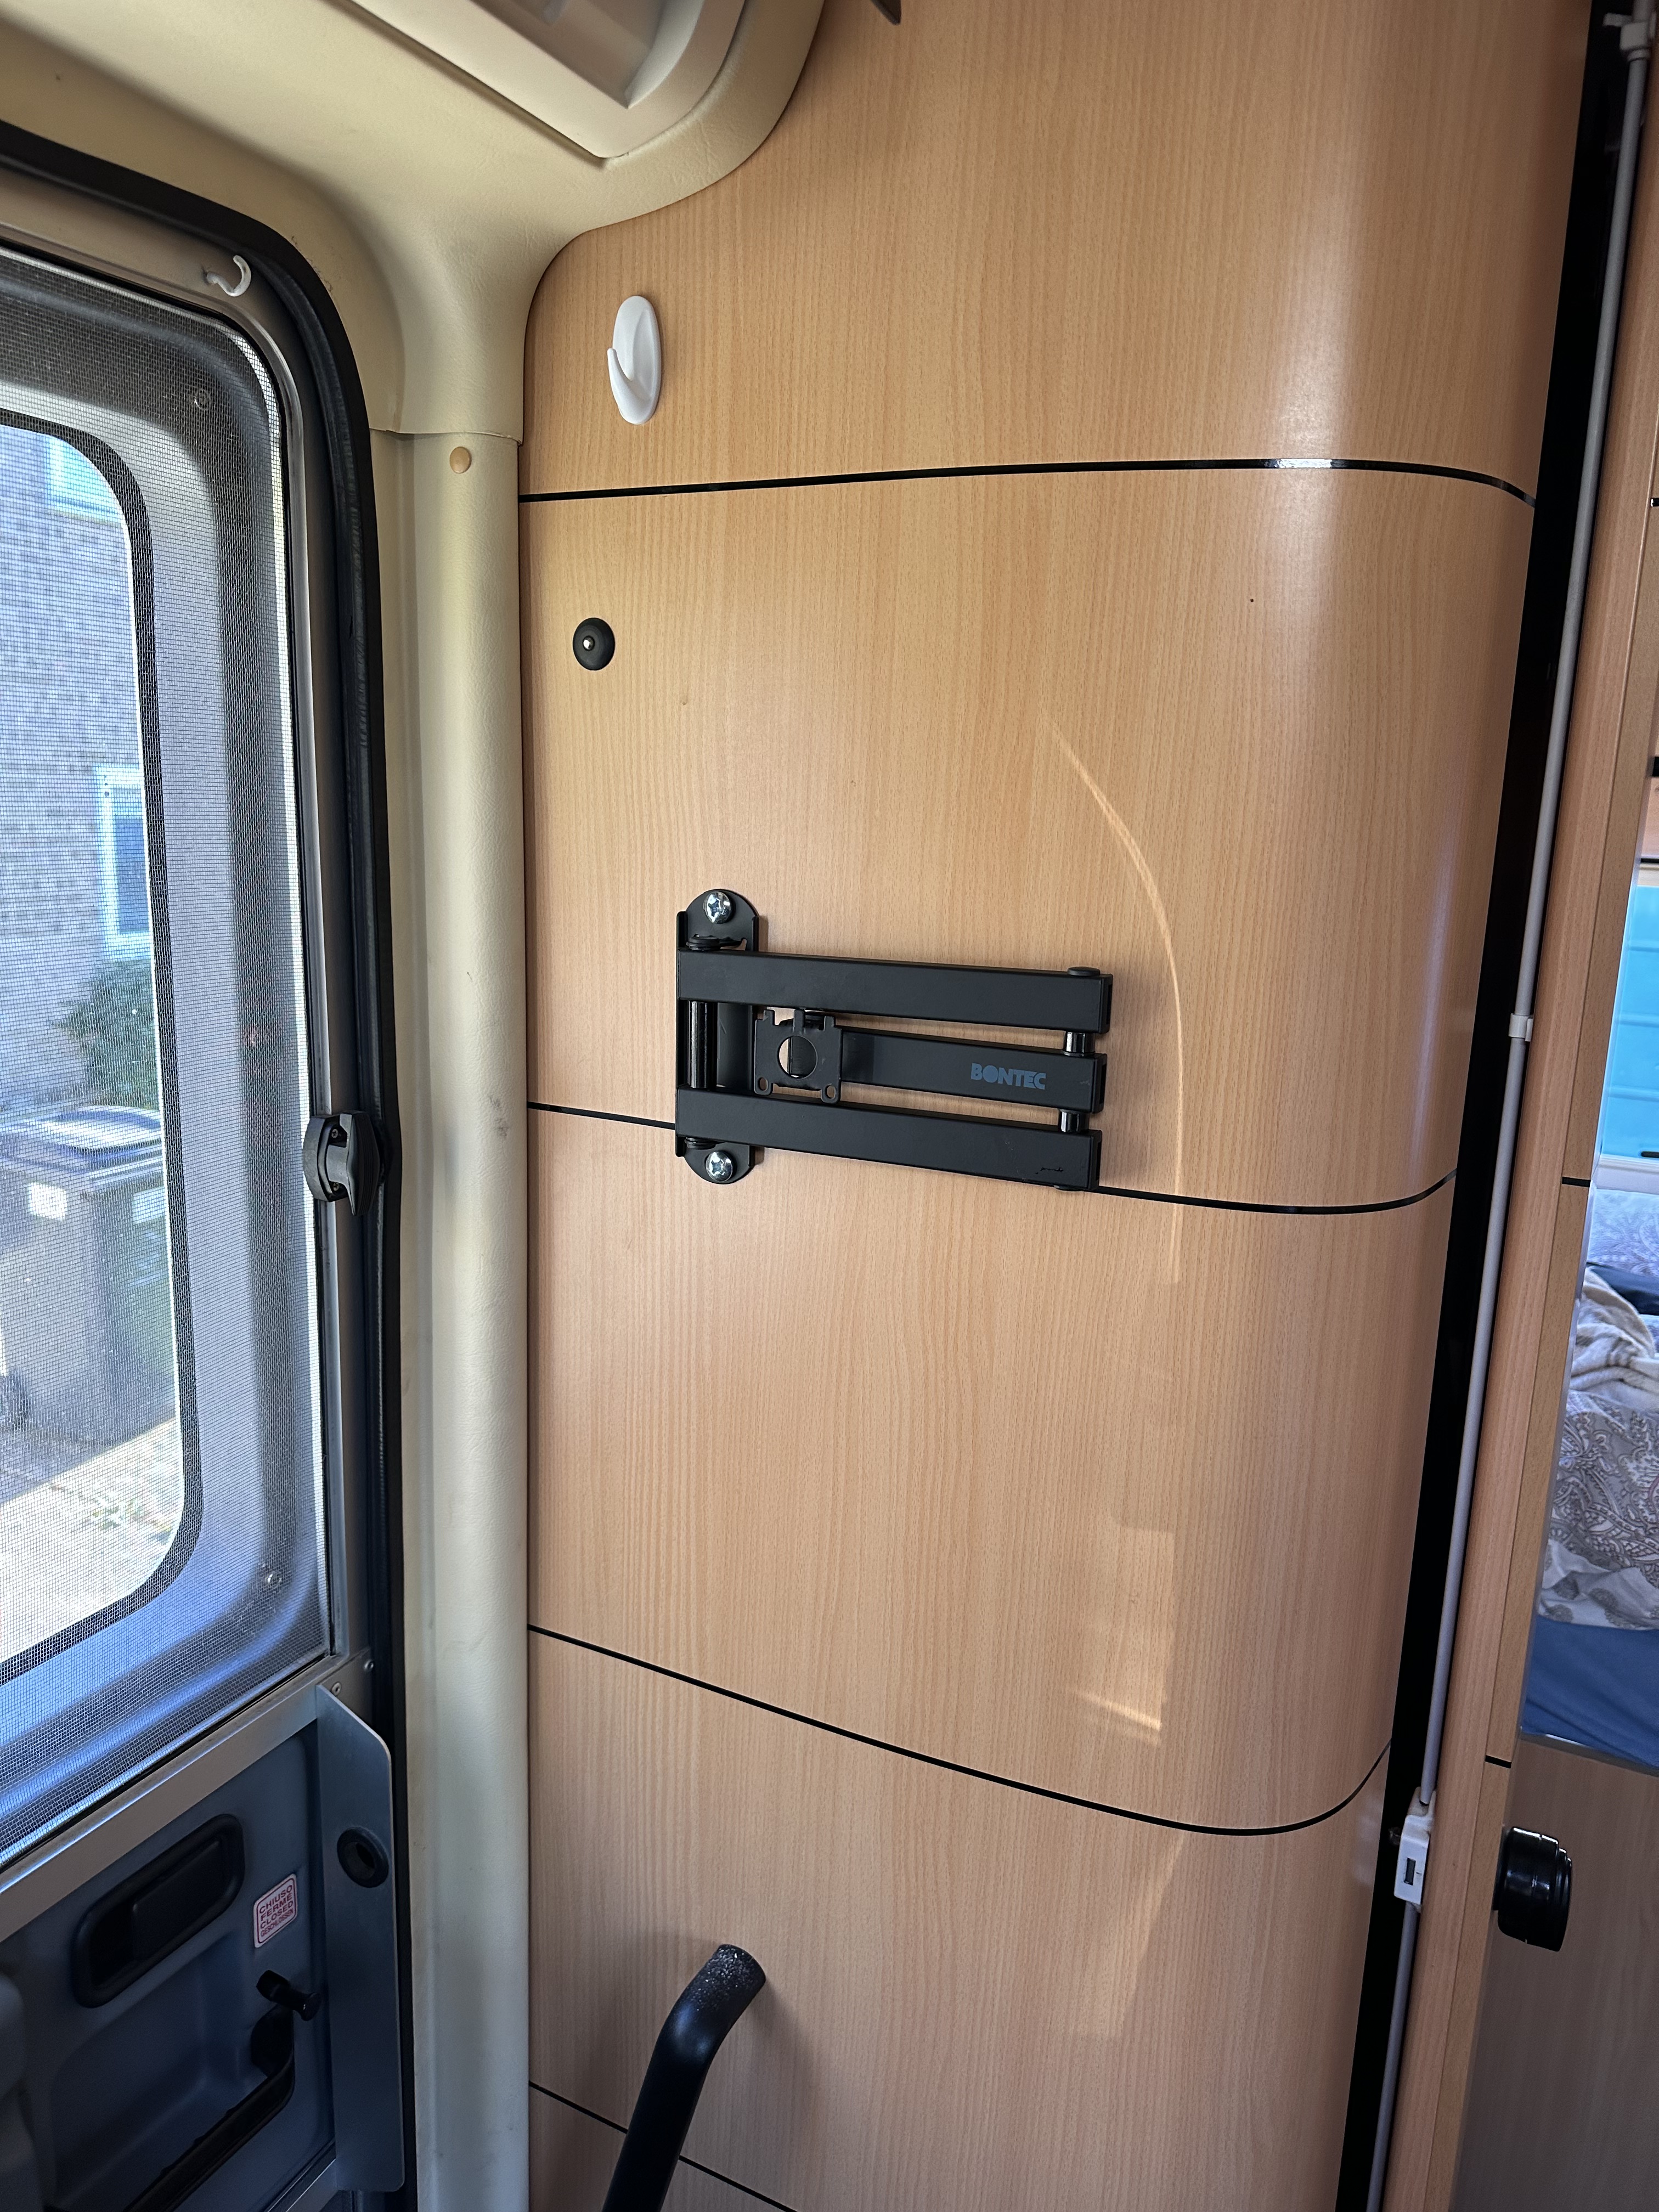
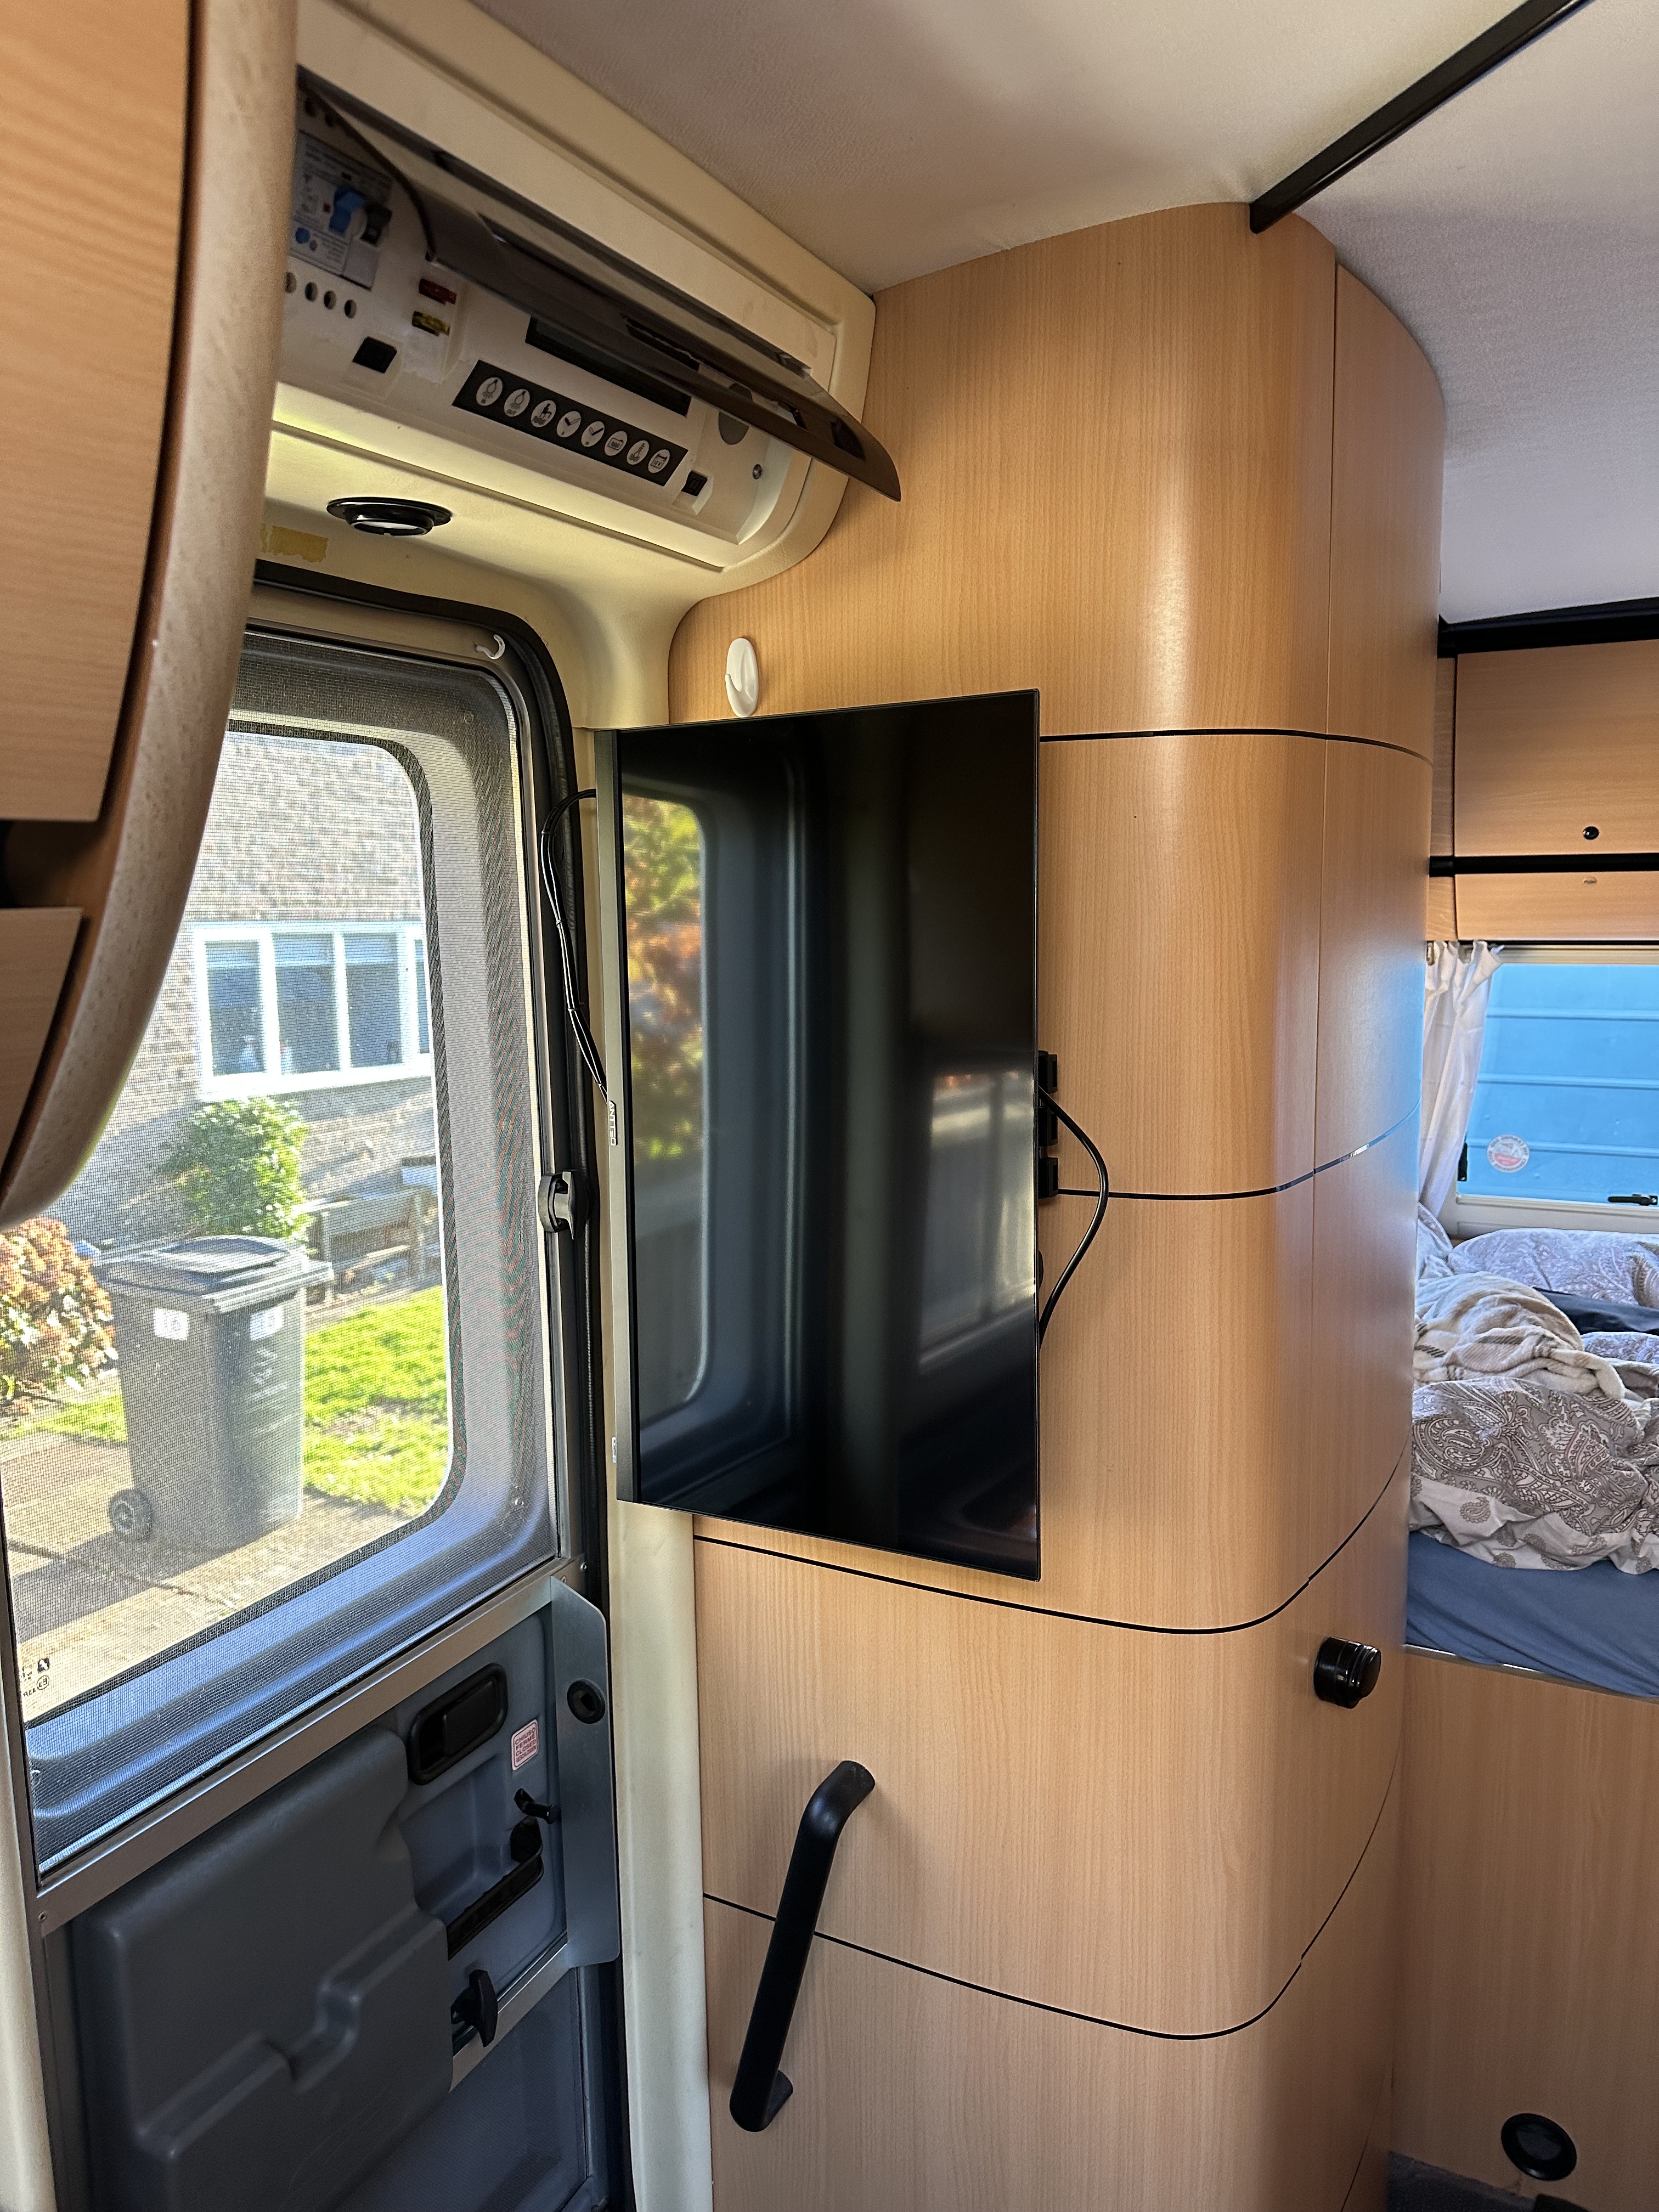
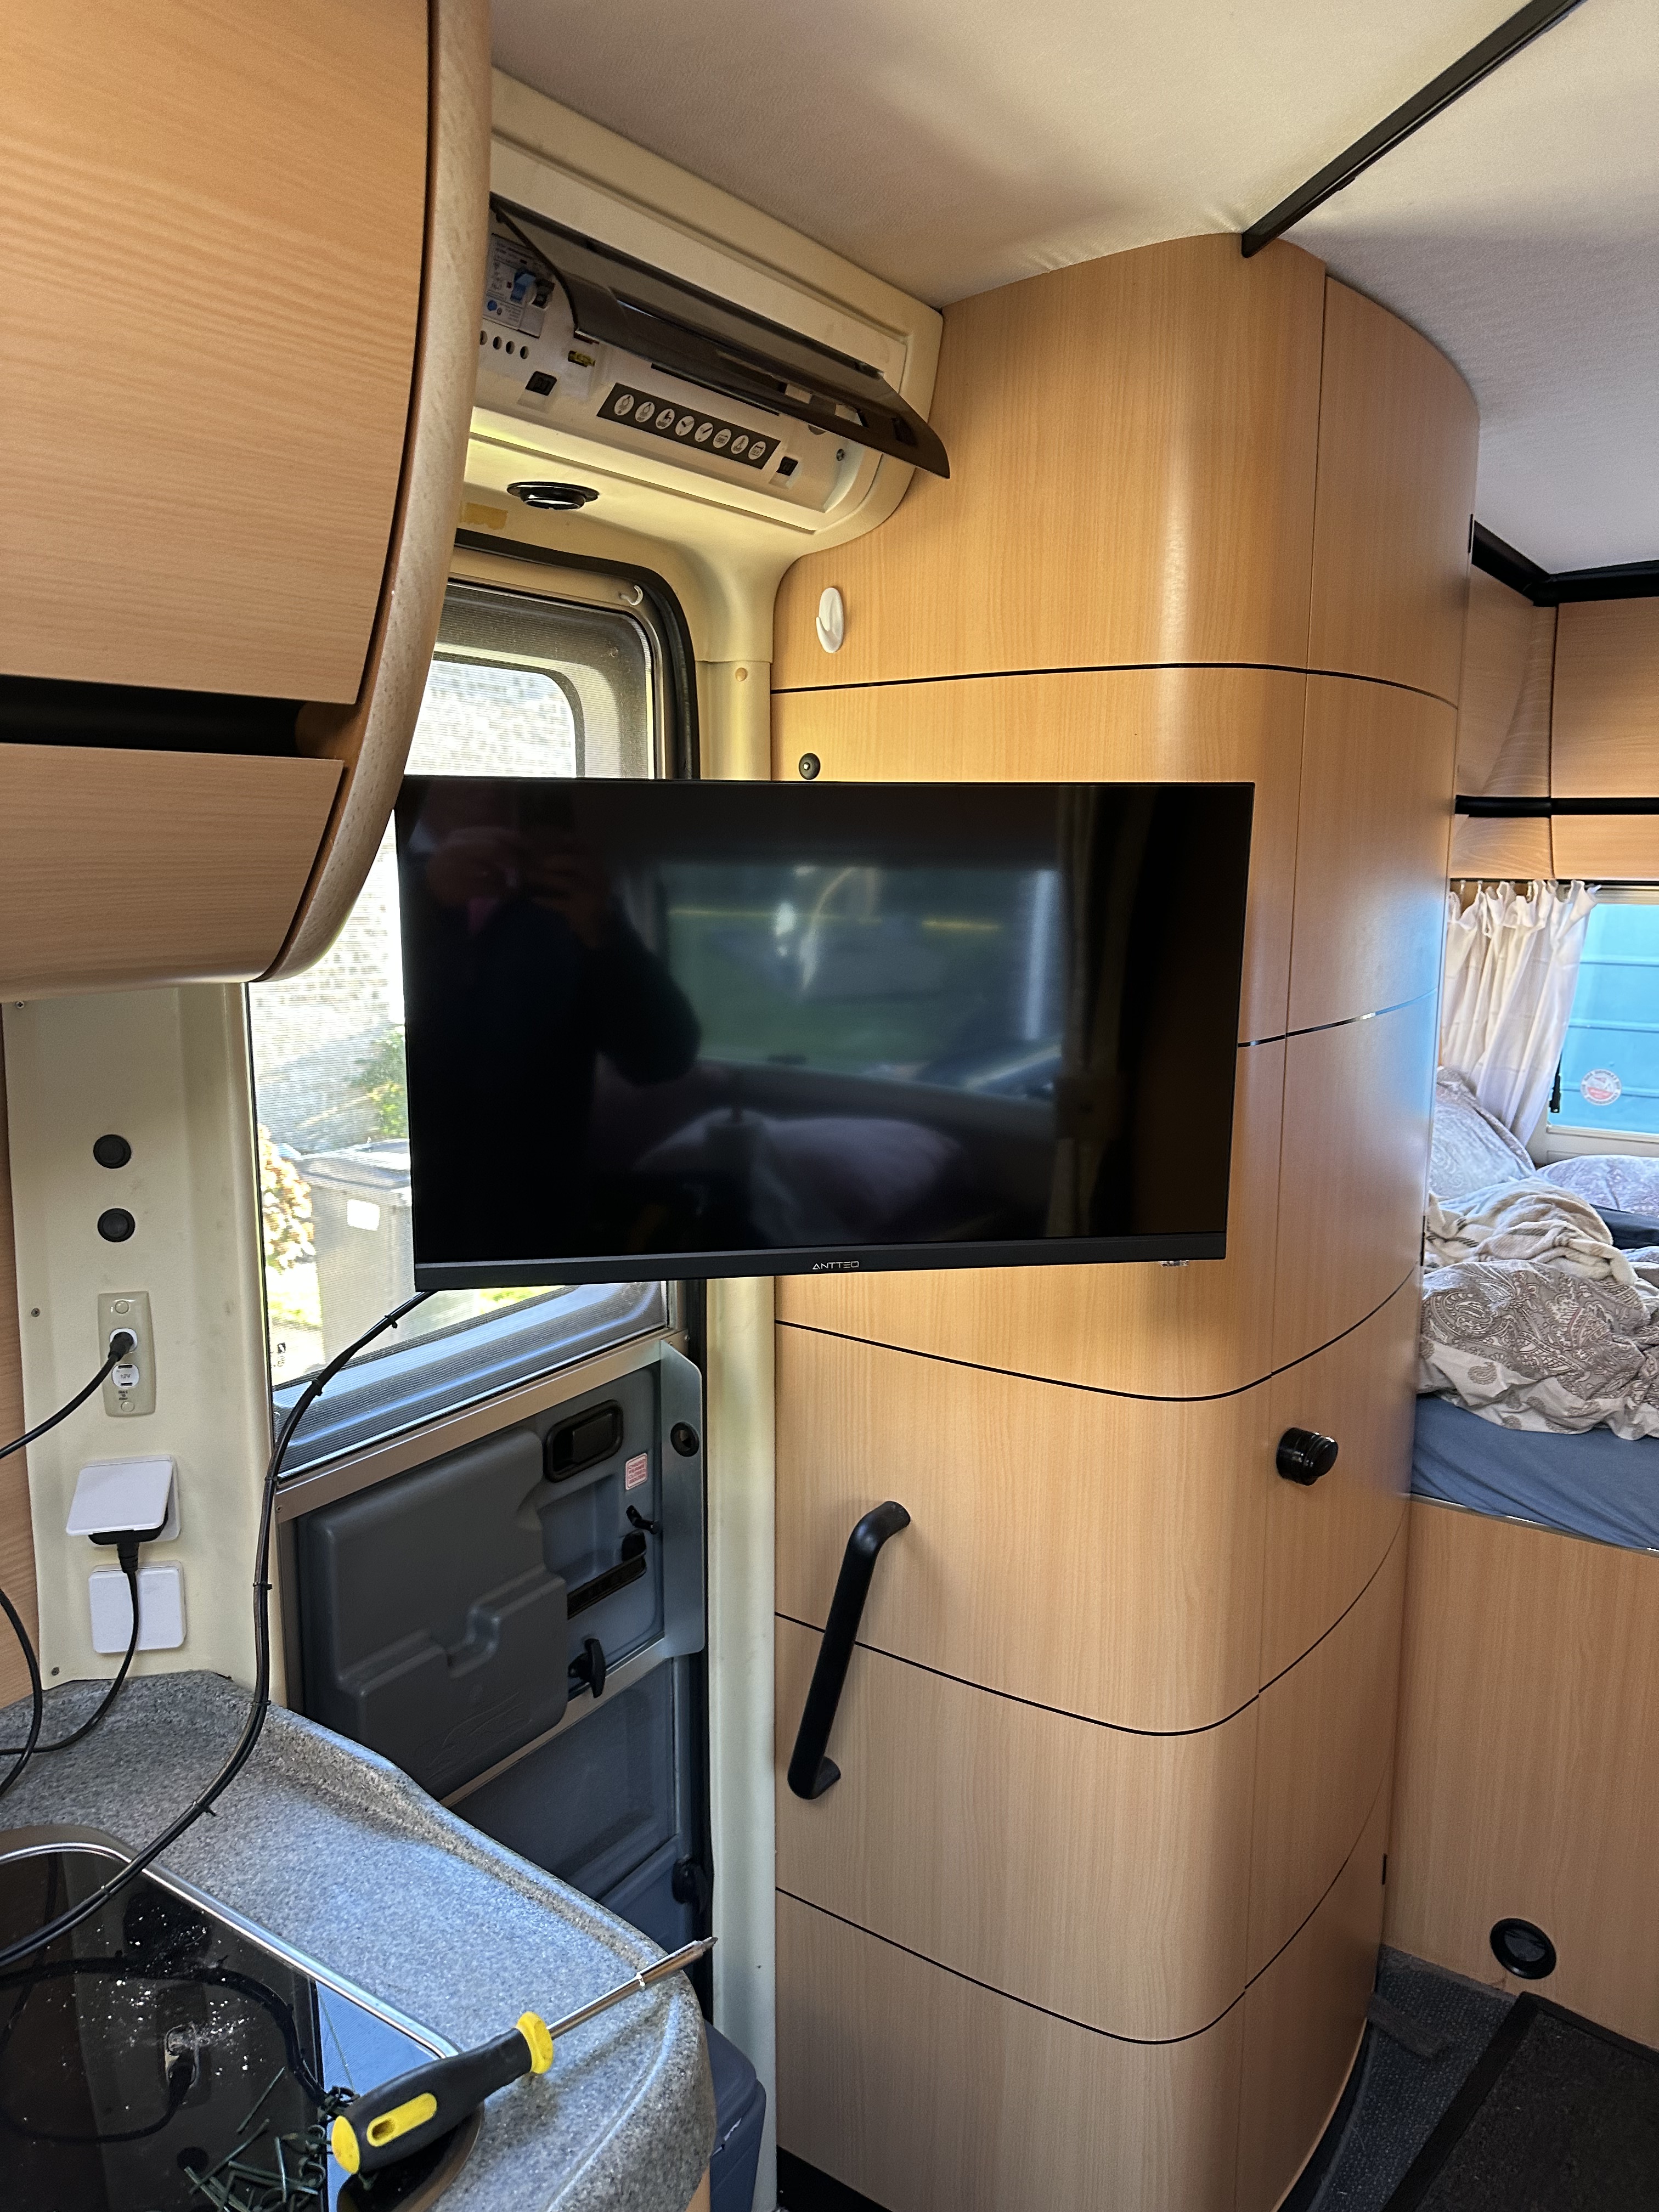
This space, by the door looked like it had real potential – and being by the door, was also by the TV aerial point – its on the opposite side of the entrance but…. The reader may also note that the gap is an upright rectangle – and a TV is a horizontal rectangle….. more on that later. Now, unbeknownst to SWMBO I have been plotting this for some time, and our TV for Ziggy was bought with that gap in mind – so I had ensured that we had the right size of tv – this one to be precise – This is a brilliant full HD 25″ set and especially important for me supports WebOS – and AppleTV – I am such an apple FanBoi! Additionally, I had made sure that the set was as slim as possible.
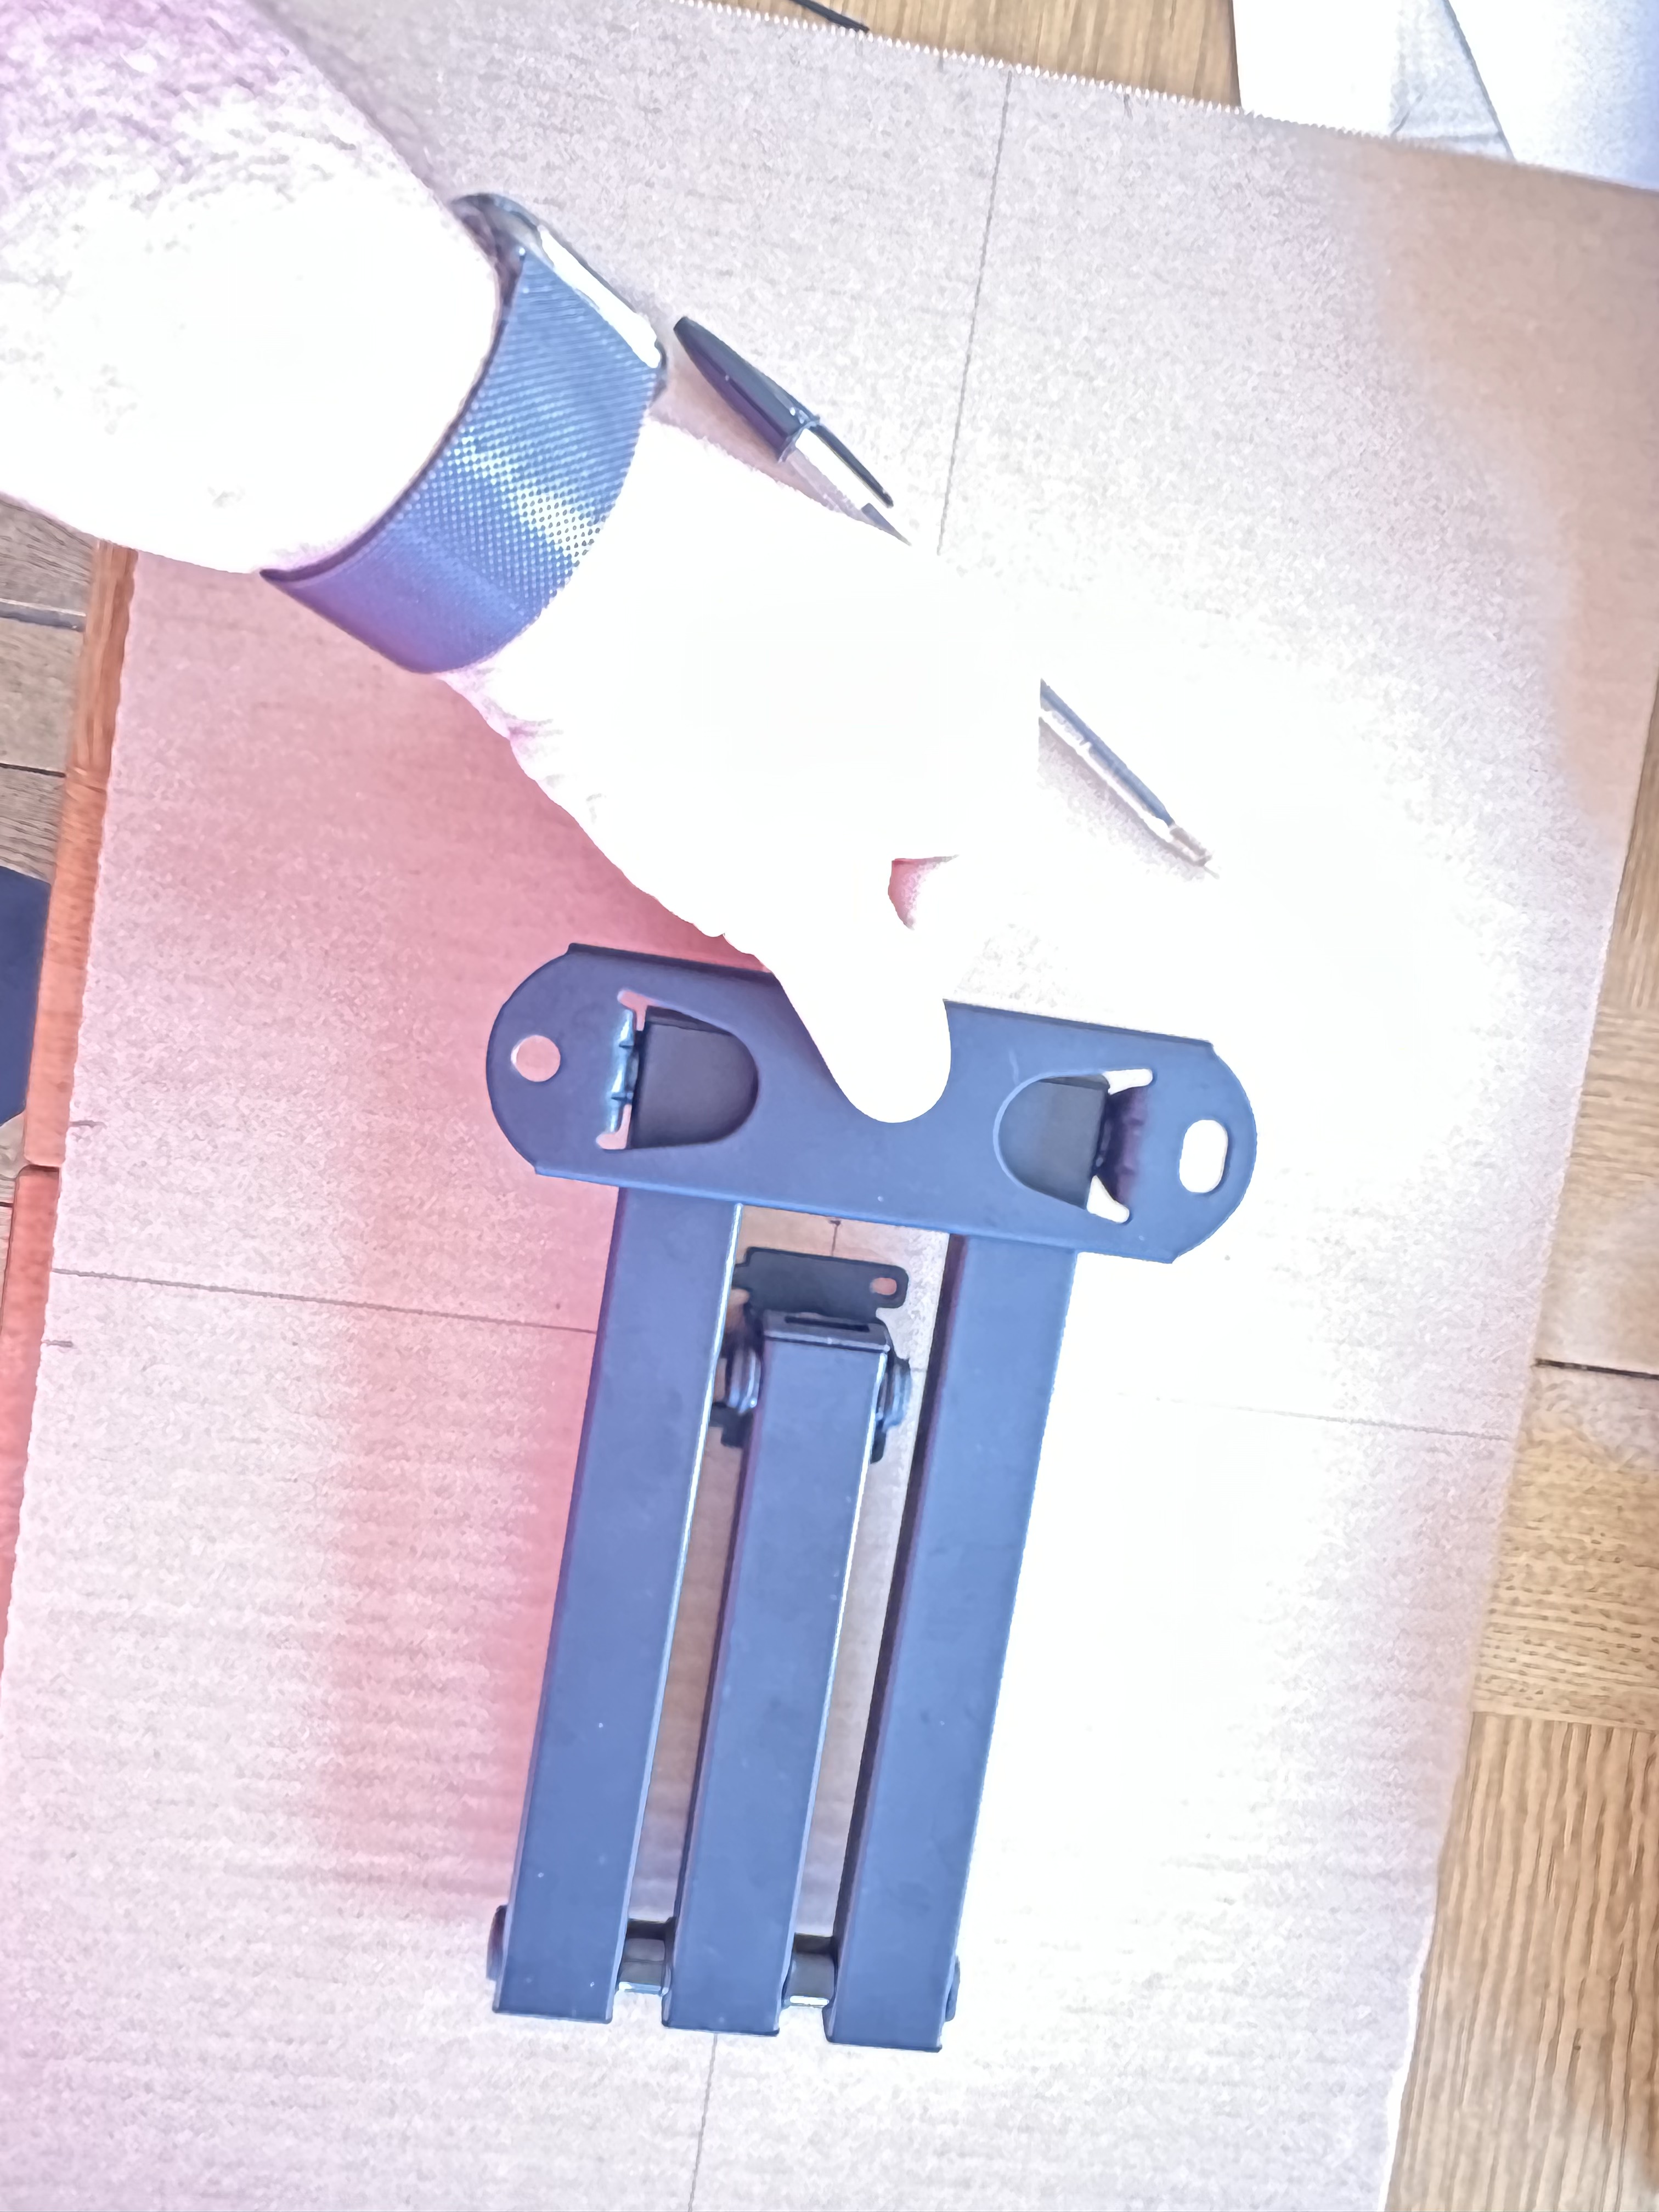
We all love cardboard – and i love to use cardboard when i am trying to work out how to place or secure something – I had sourced a nice little wall TV bracket that would allow me to swivel and rotate through 360 degrees…. I had also made sure that it supported the correct VESA mounting for the TV ! but then i needed to work out how it was going to fit into the space that i felt was right – and would be at the right height etc for watching…. This was also going to be used for working out where the Wall bracket was going to mount….. I am so glad i like geometry at school! I started by getting the Cardboard to the same size as the TV and then worked backwards with the bracket actually on the cardboard template – I marked the holes for the actual bolts and used a wood bit to then make a hole through the cardboard – that was then put up and a mark made ready to drill.
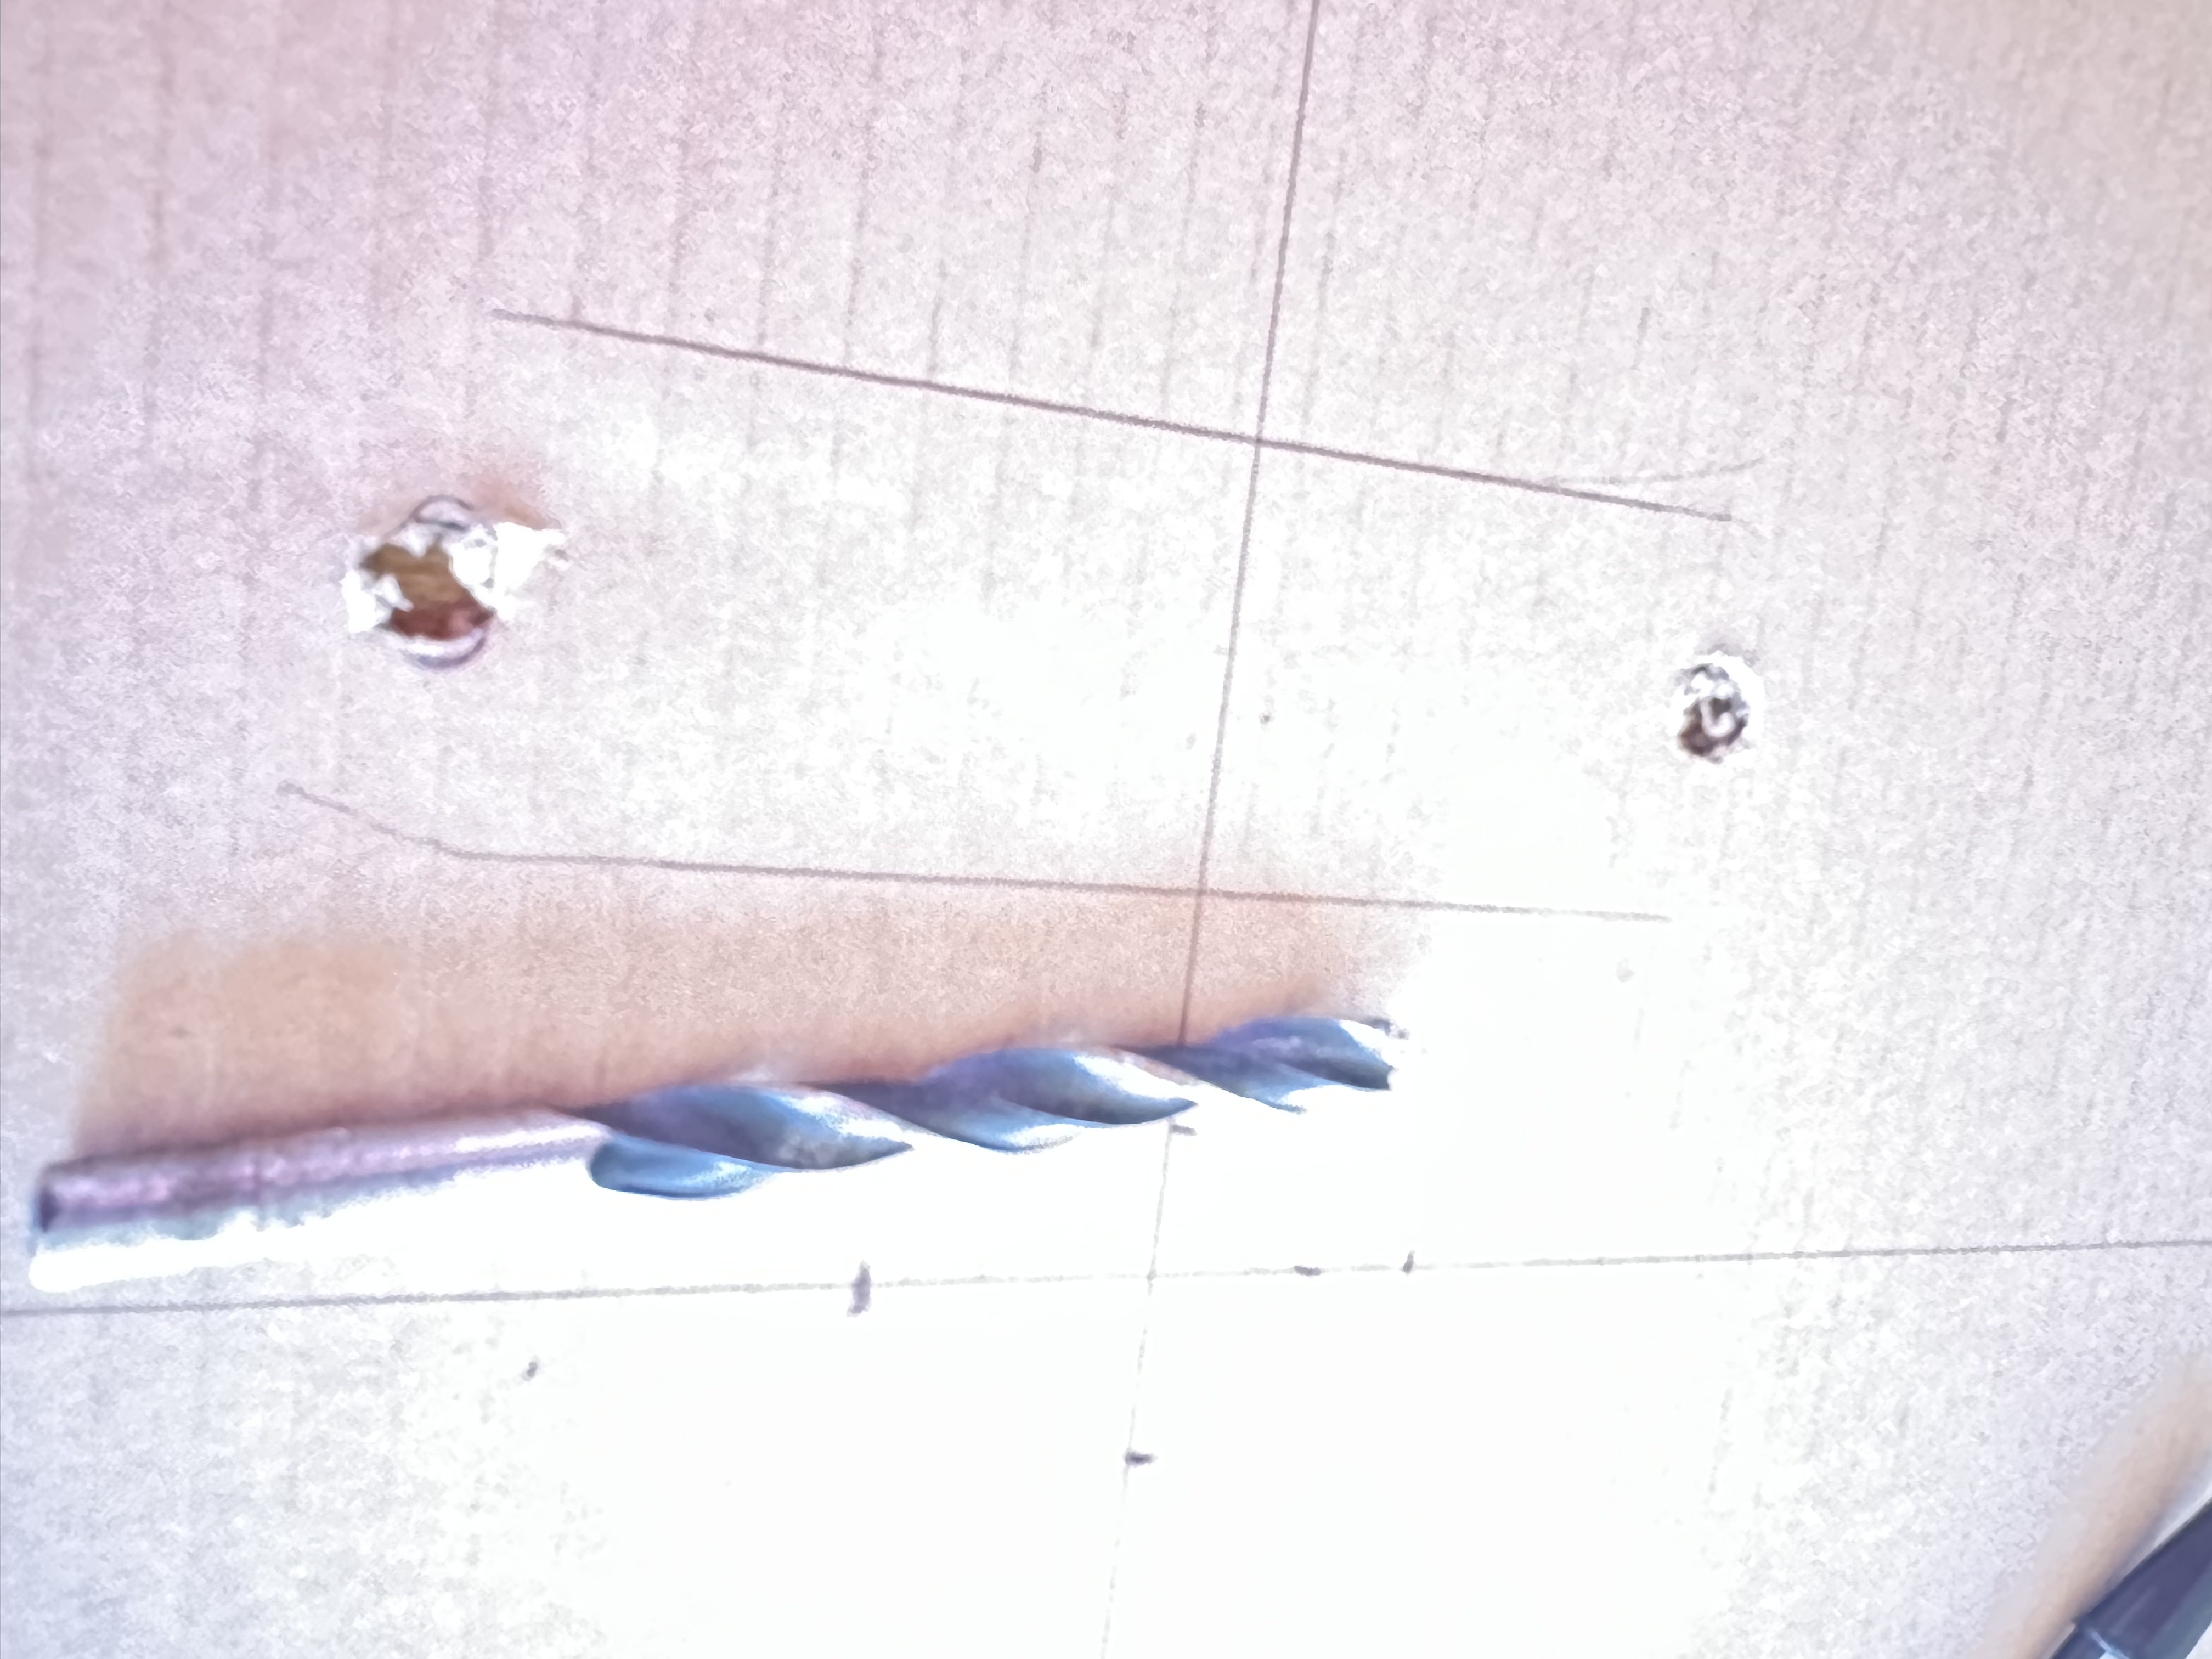

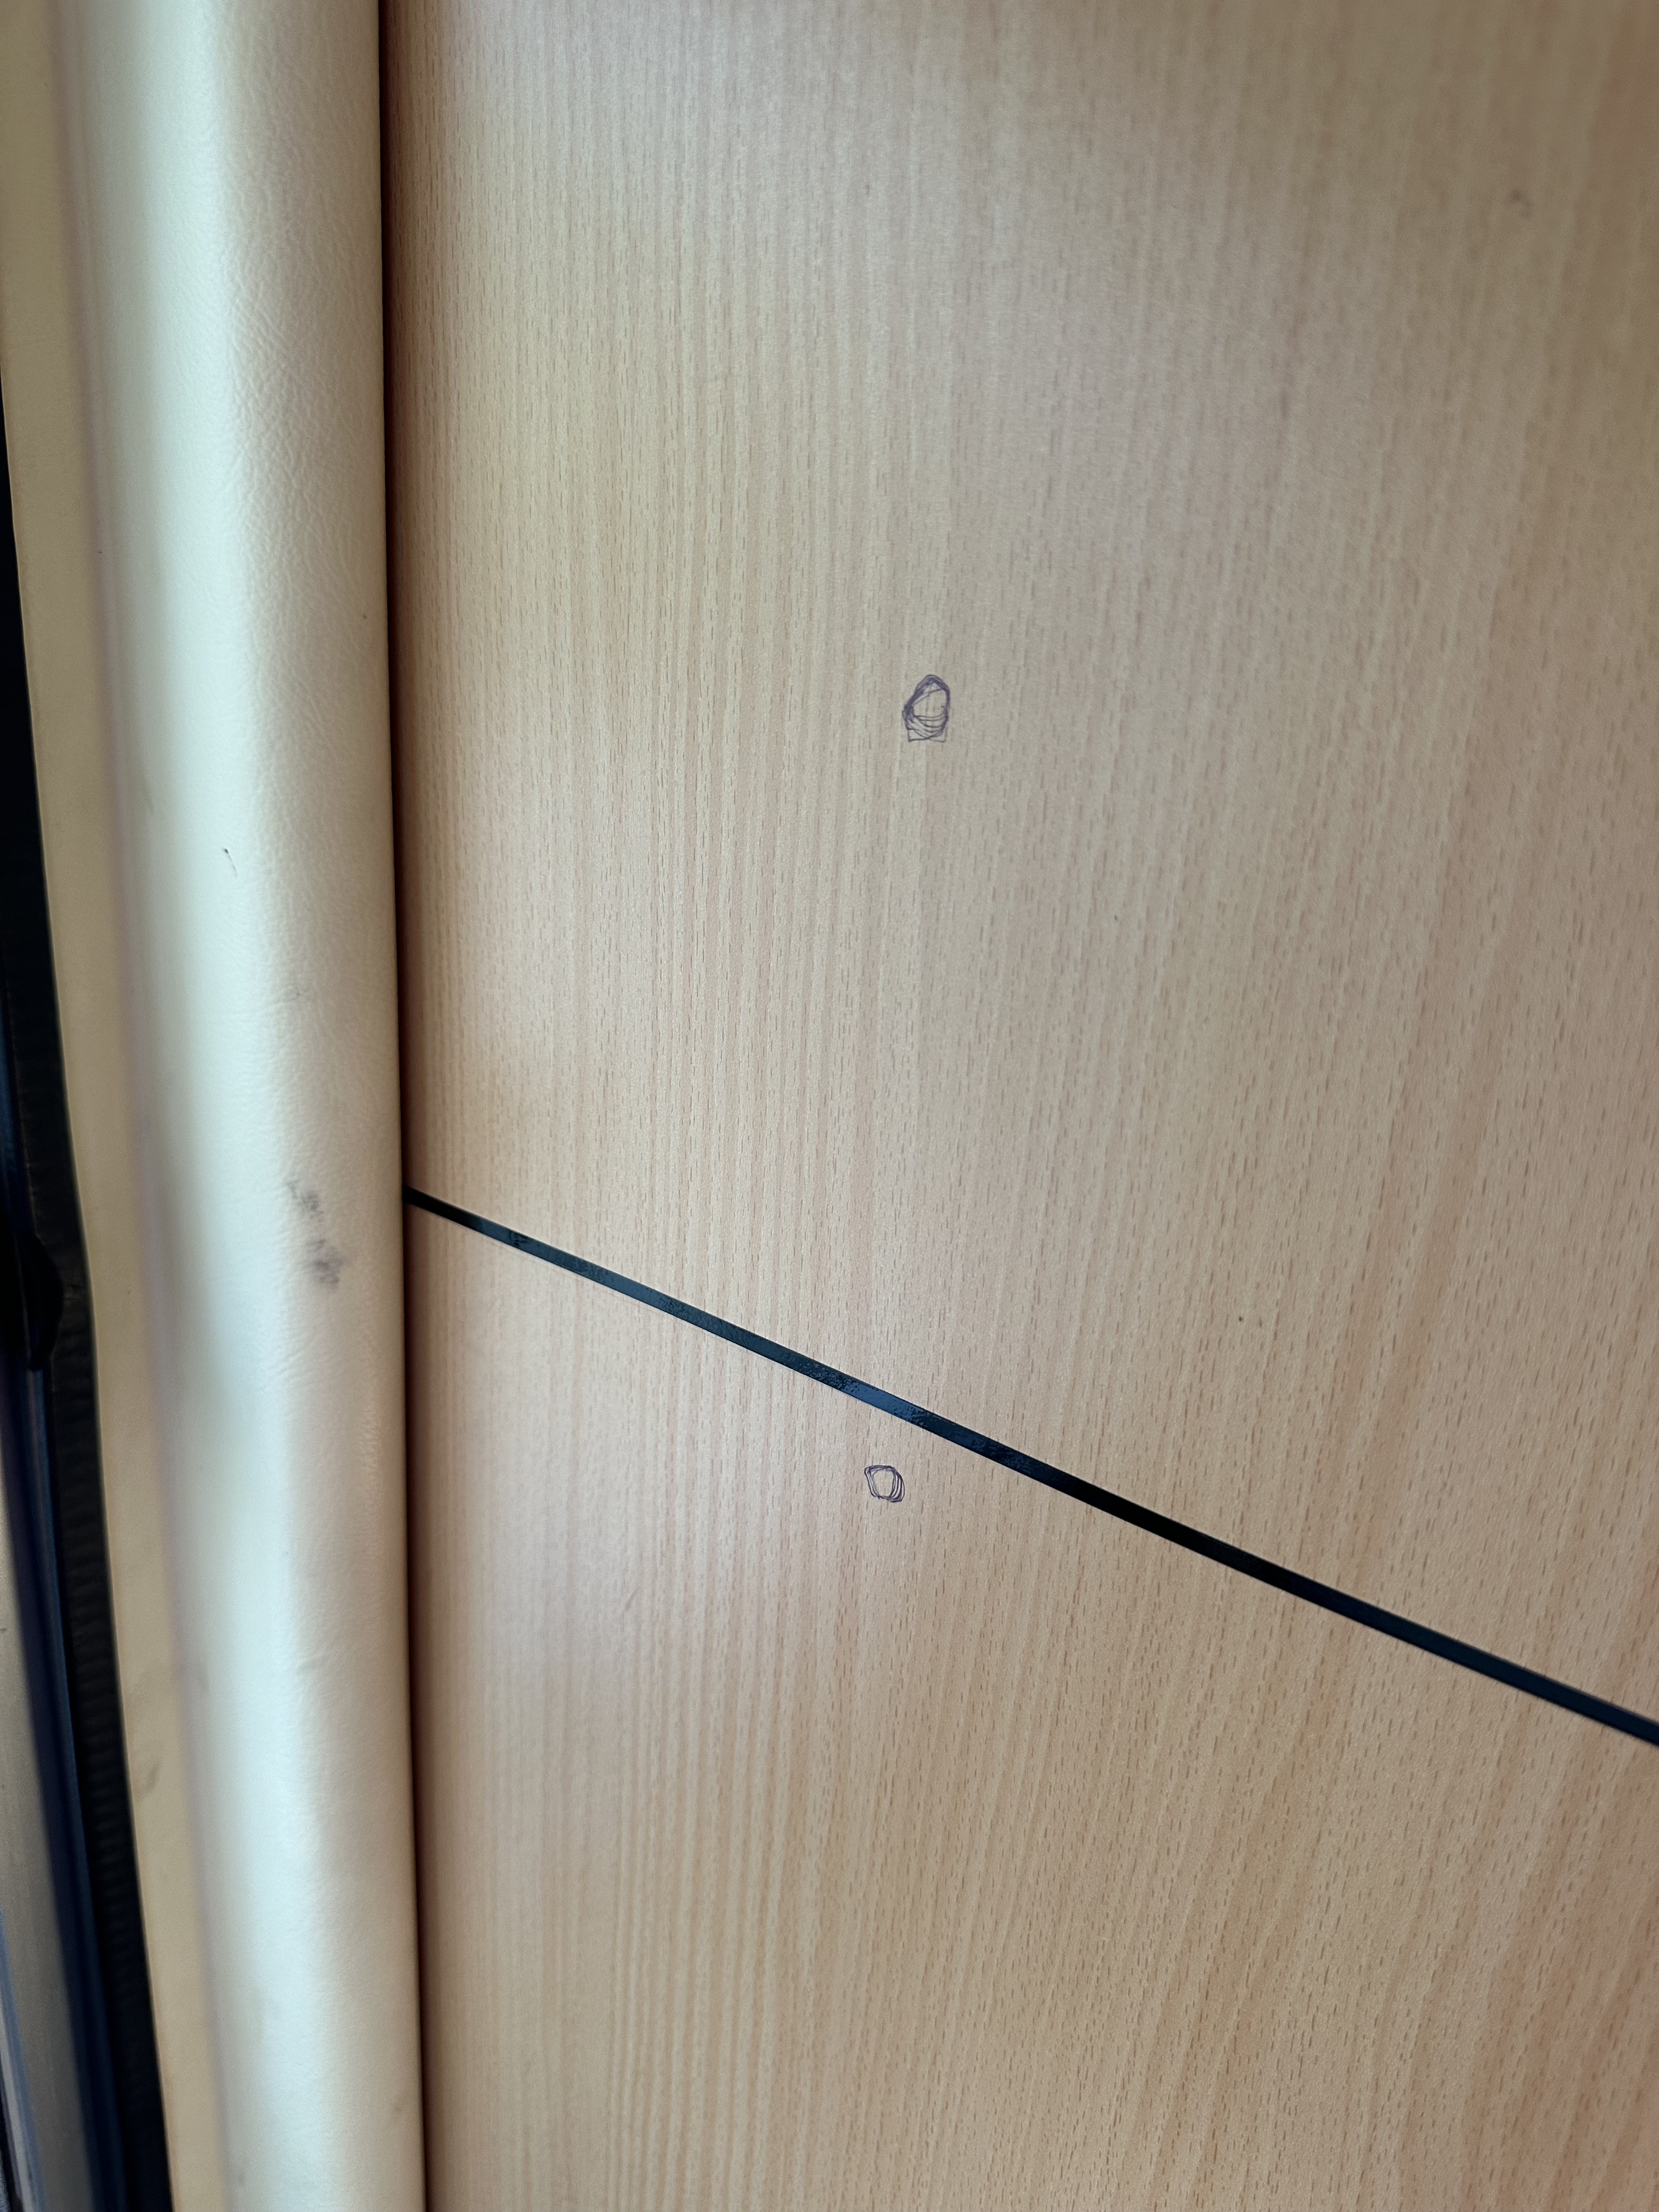
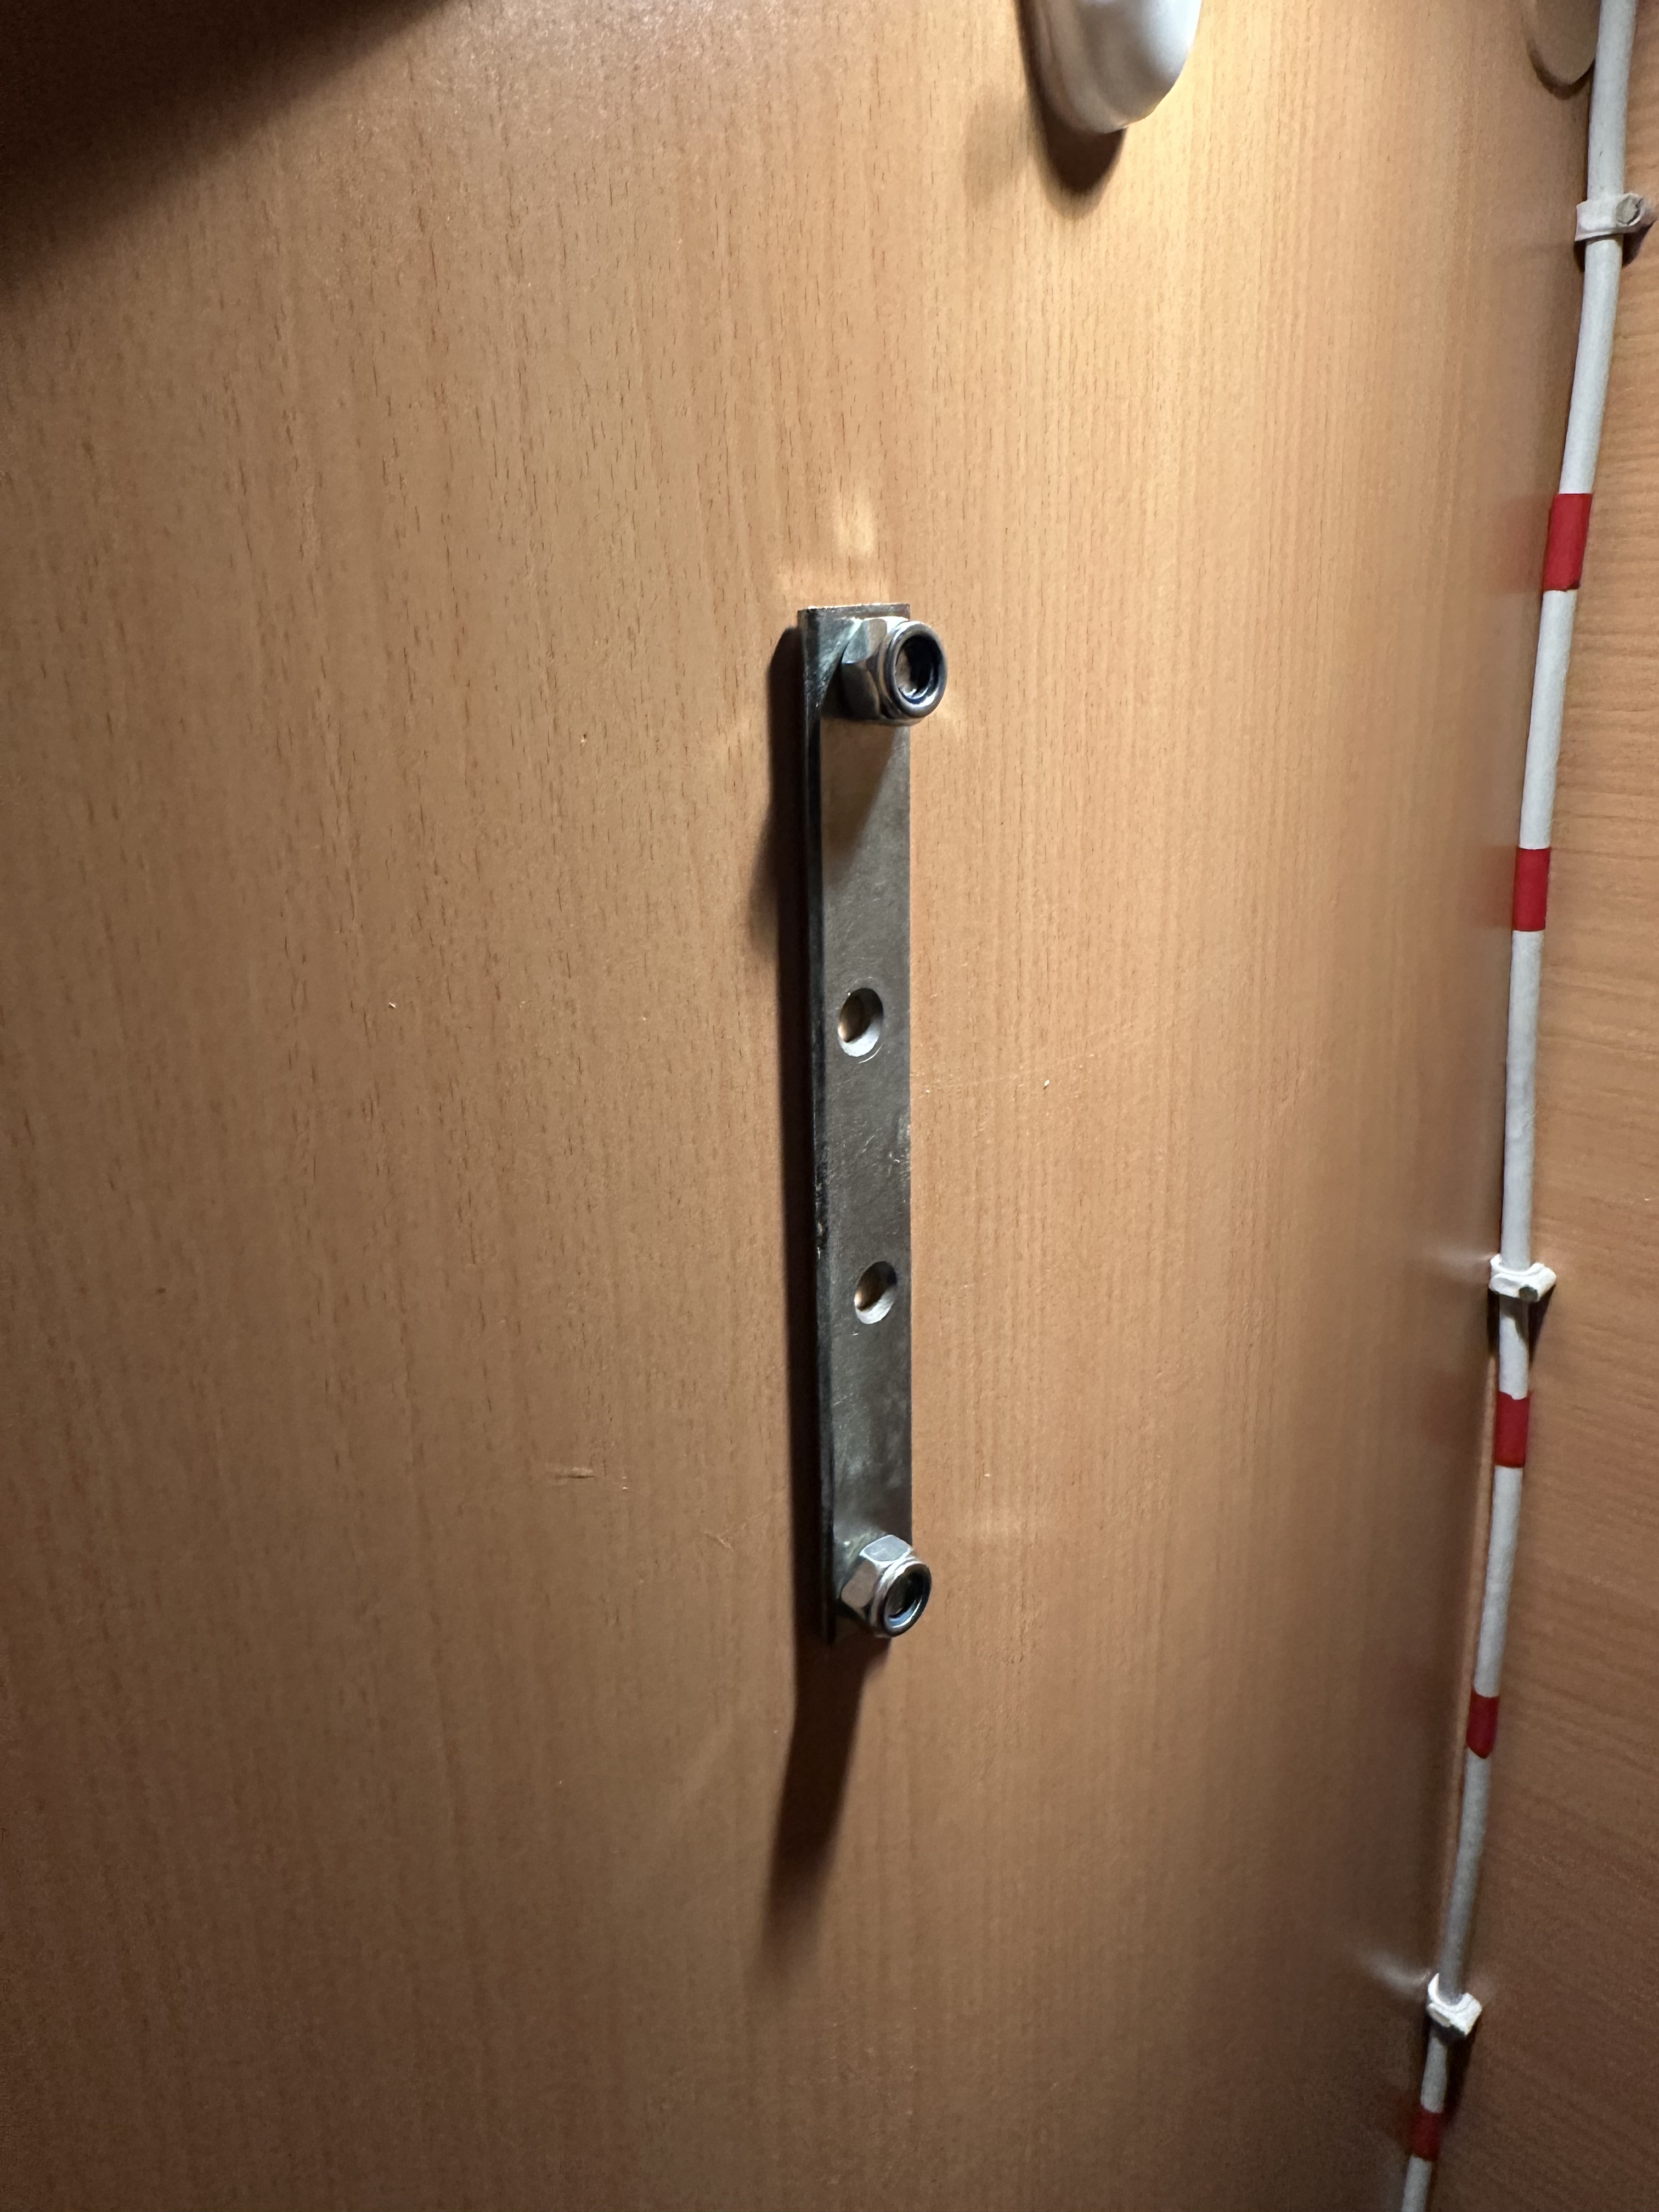
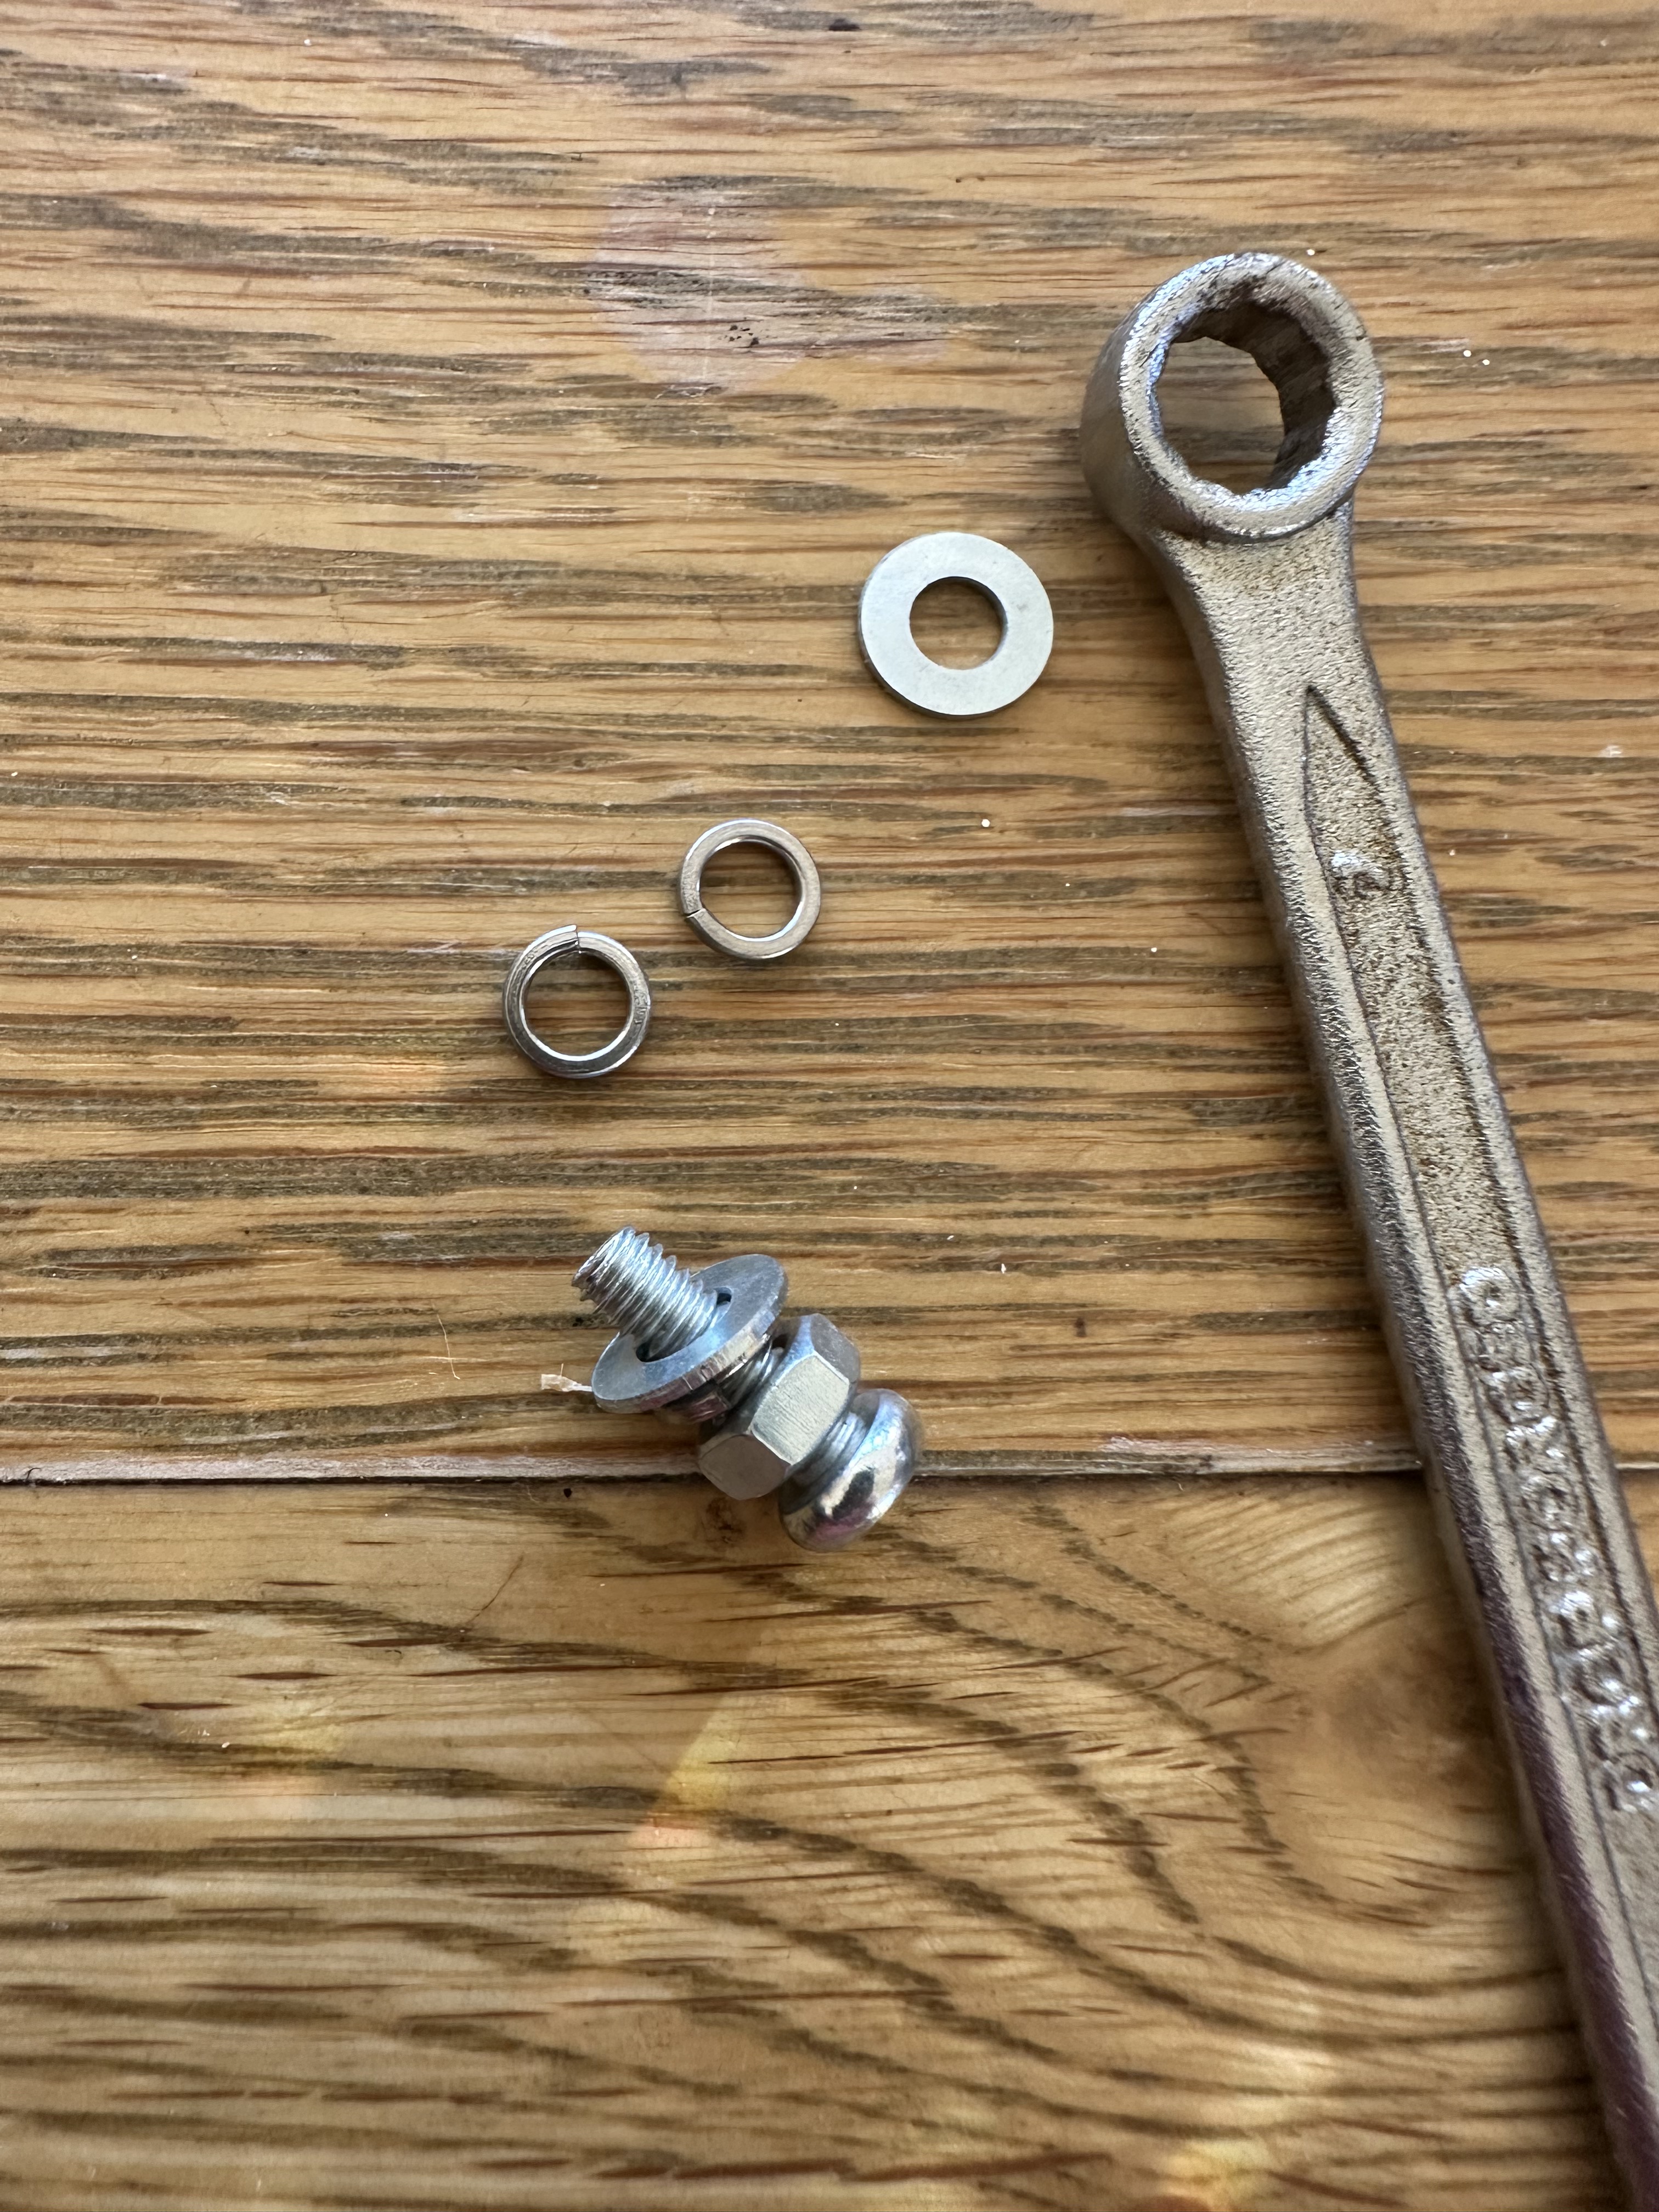
Many people like to use cordless drills – but generally speaking, for important work, I will use a corded drill – and i am fussy about my drill bits… neither of the sulks get to even know where daddy hides the bits he uses – that way they stay sharp and straight….. Once those mounting holes were drilled, it was time to offer up the bracket and secure it. The wall is not solid wood, but rather decent quality MDF – normally the inside of the bracket would be in masonry so it would not be going anywhere – even though I drilled ‘snugly’ to fit the bolts, i wanted to add an extra layer of security to the mounting so i used a metal plate that I had spare to split the load a tough – I also ensured tht I used Spring /Split washers to take any movement – notwithstanding drylock nuts being used – I did say it was over engineered!
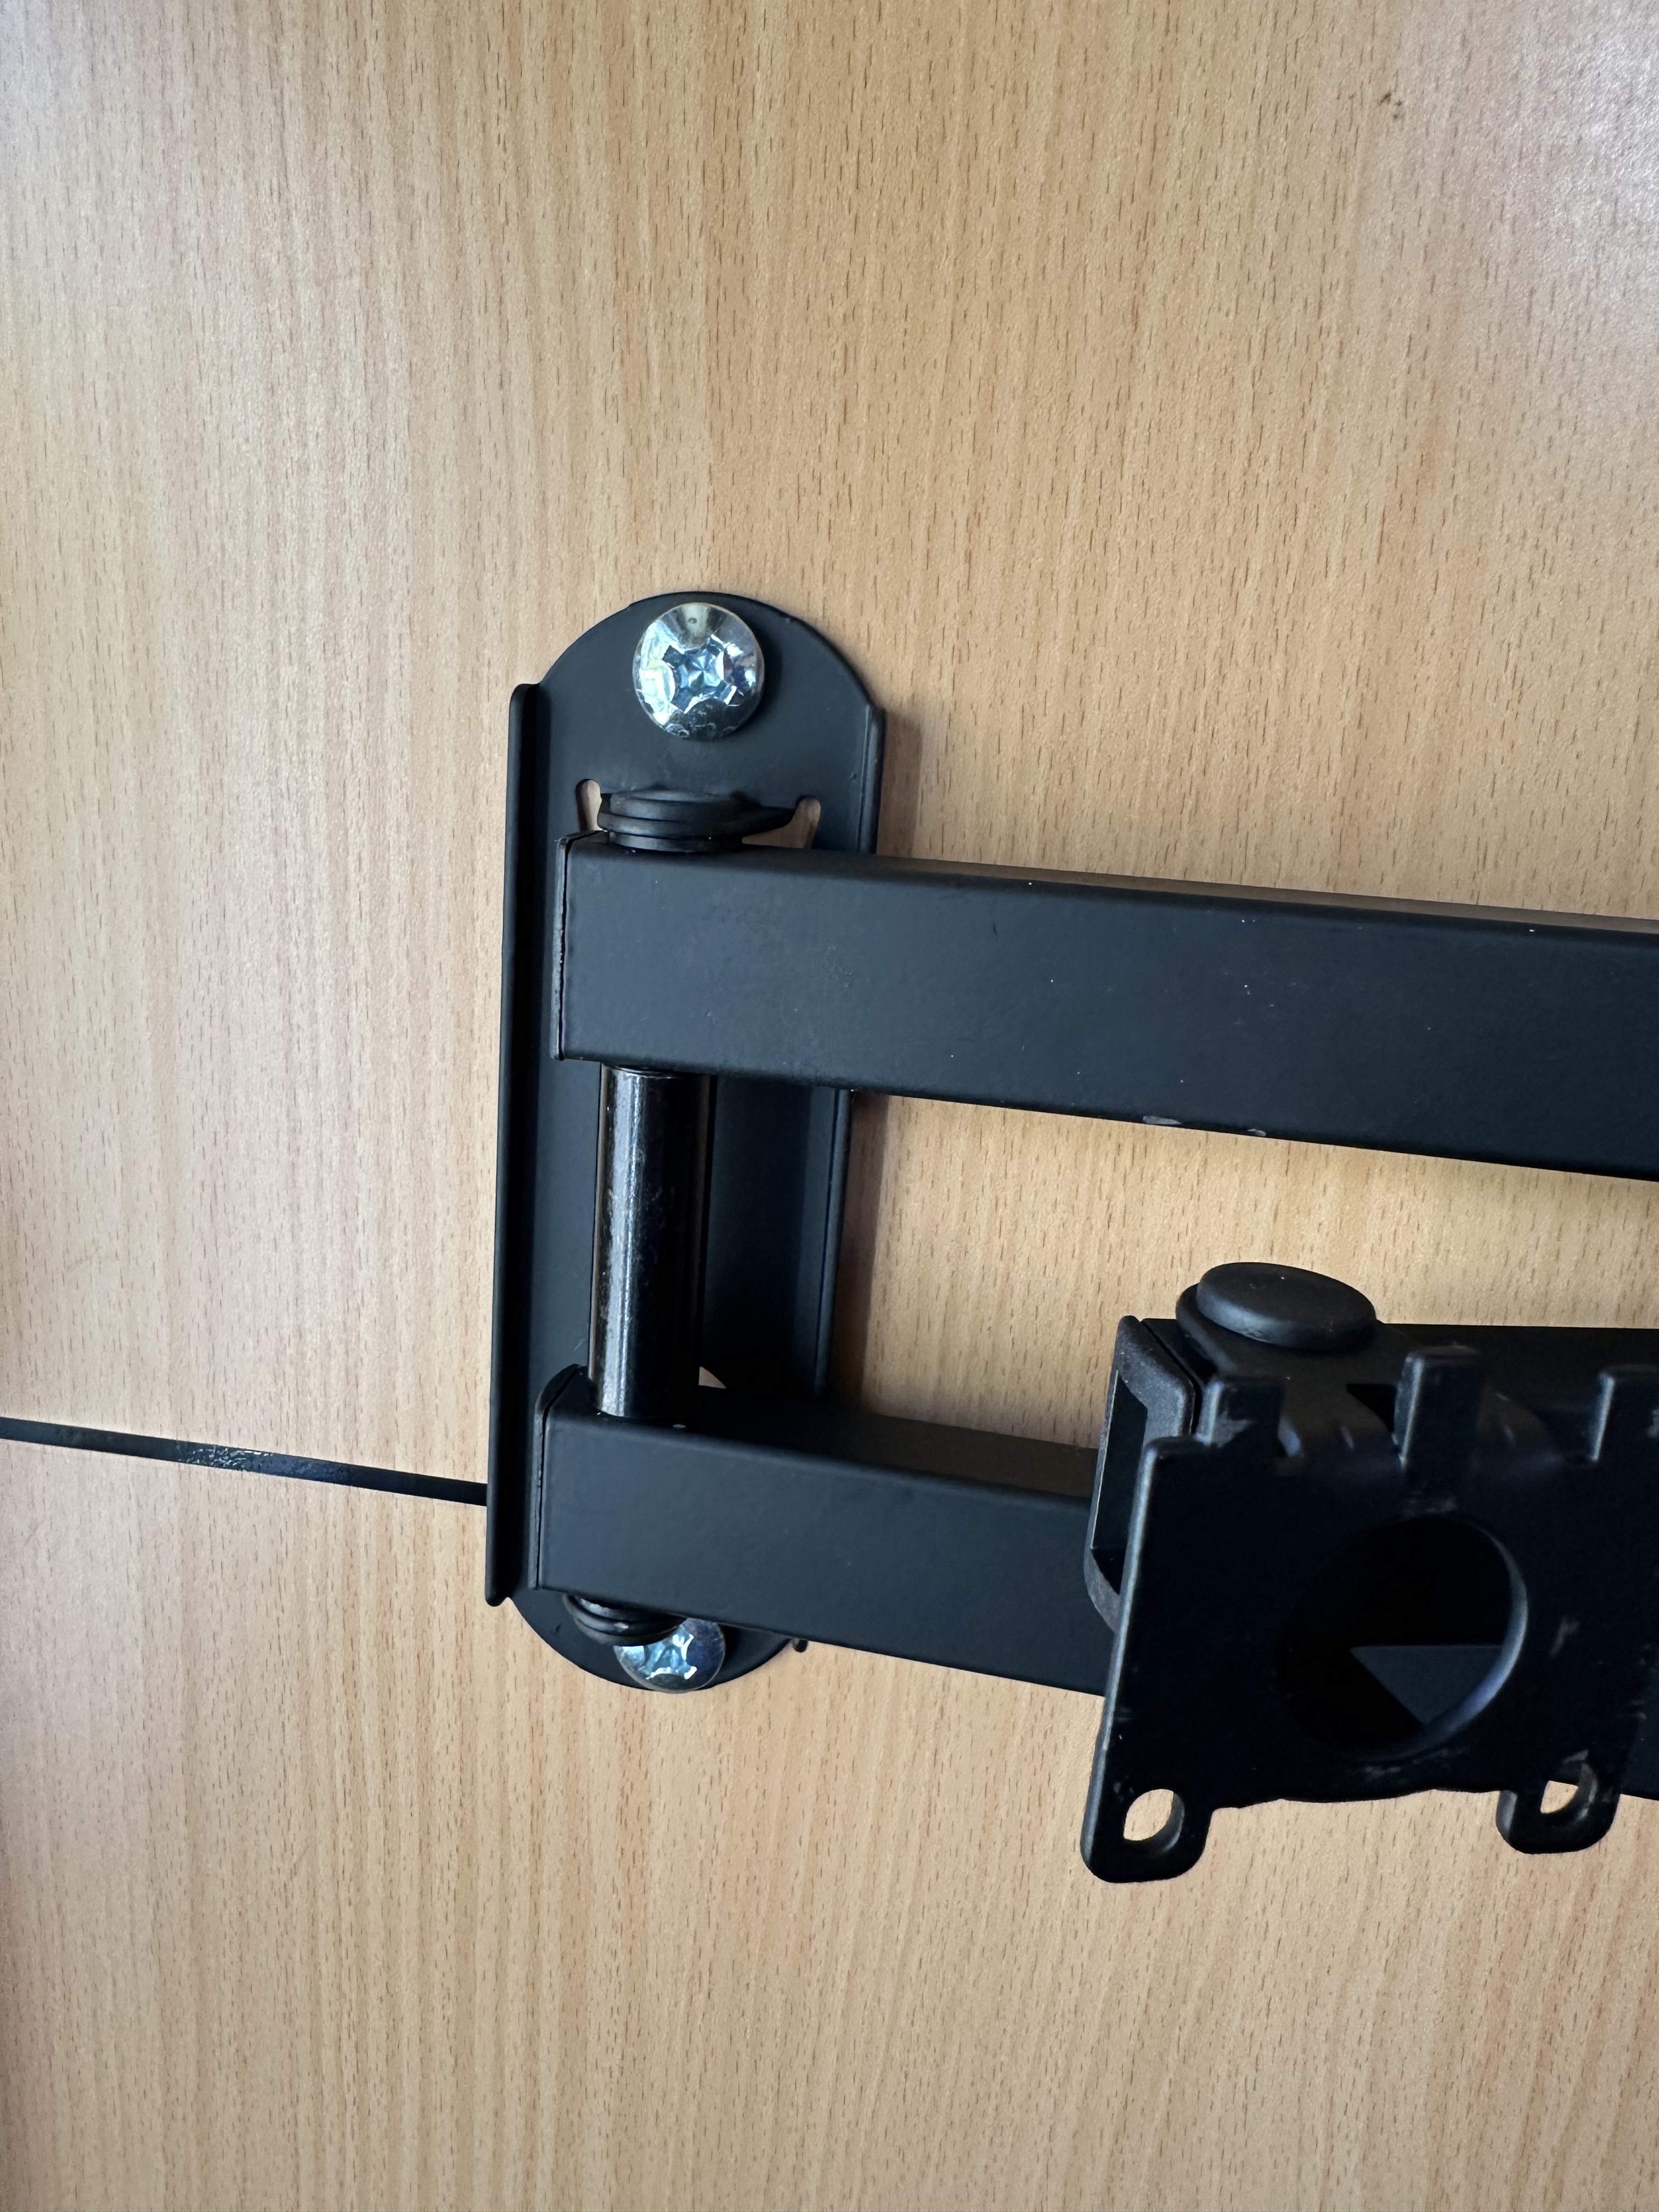
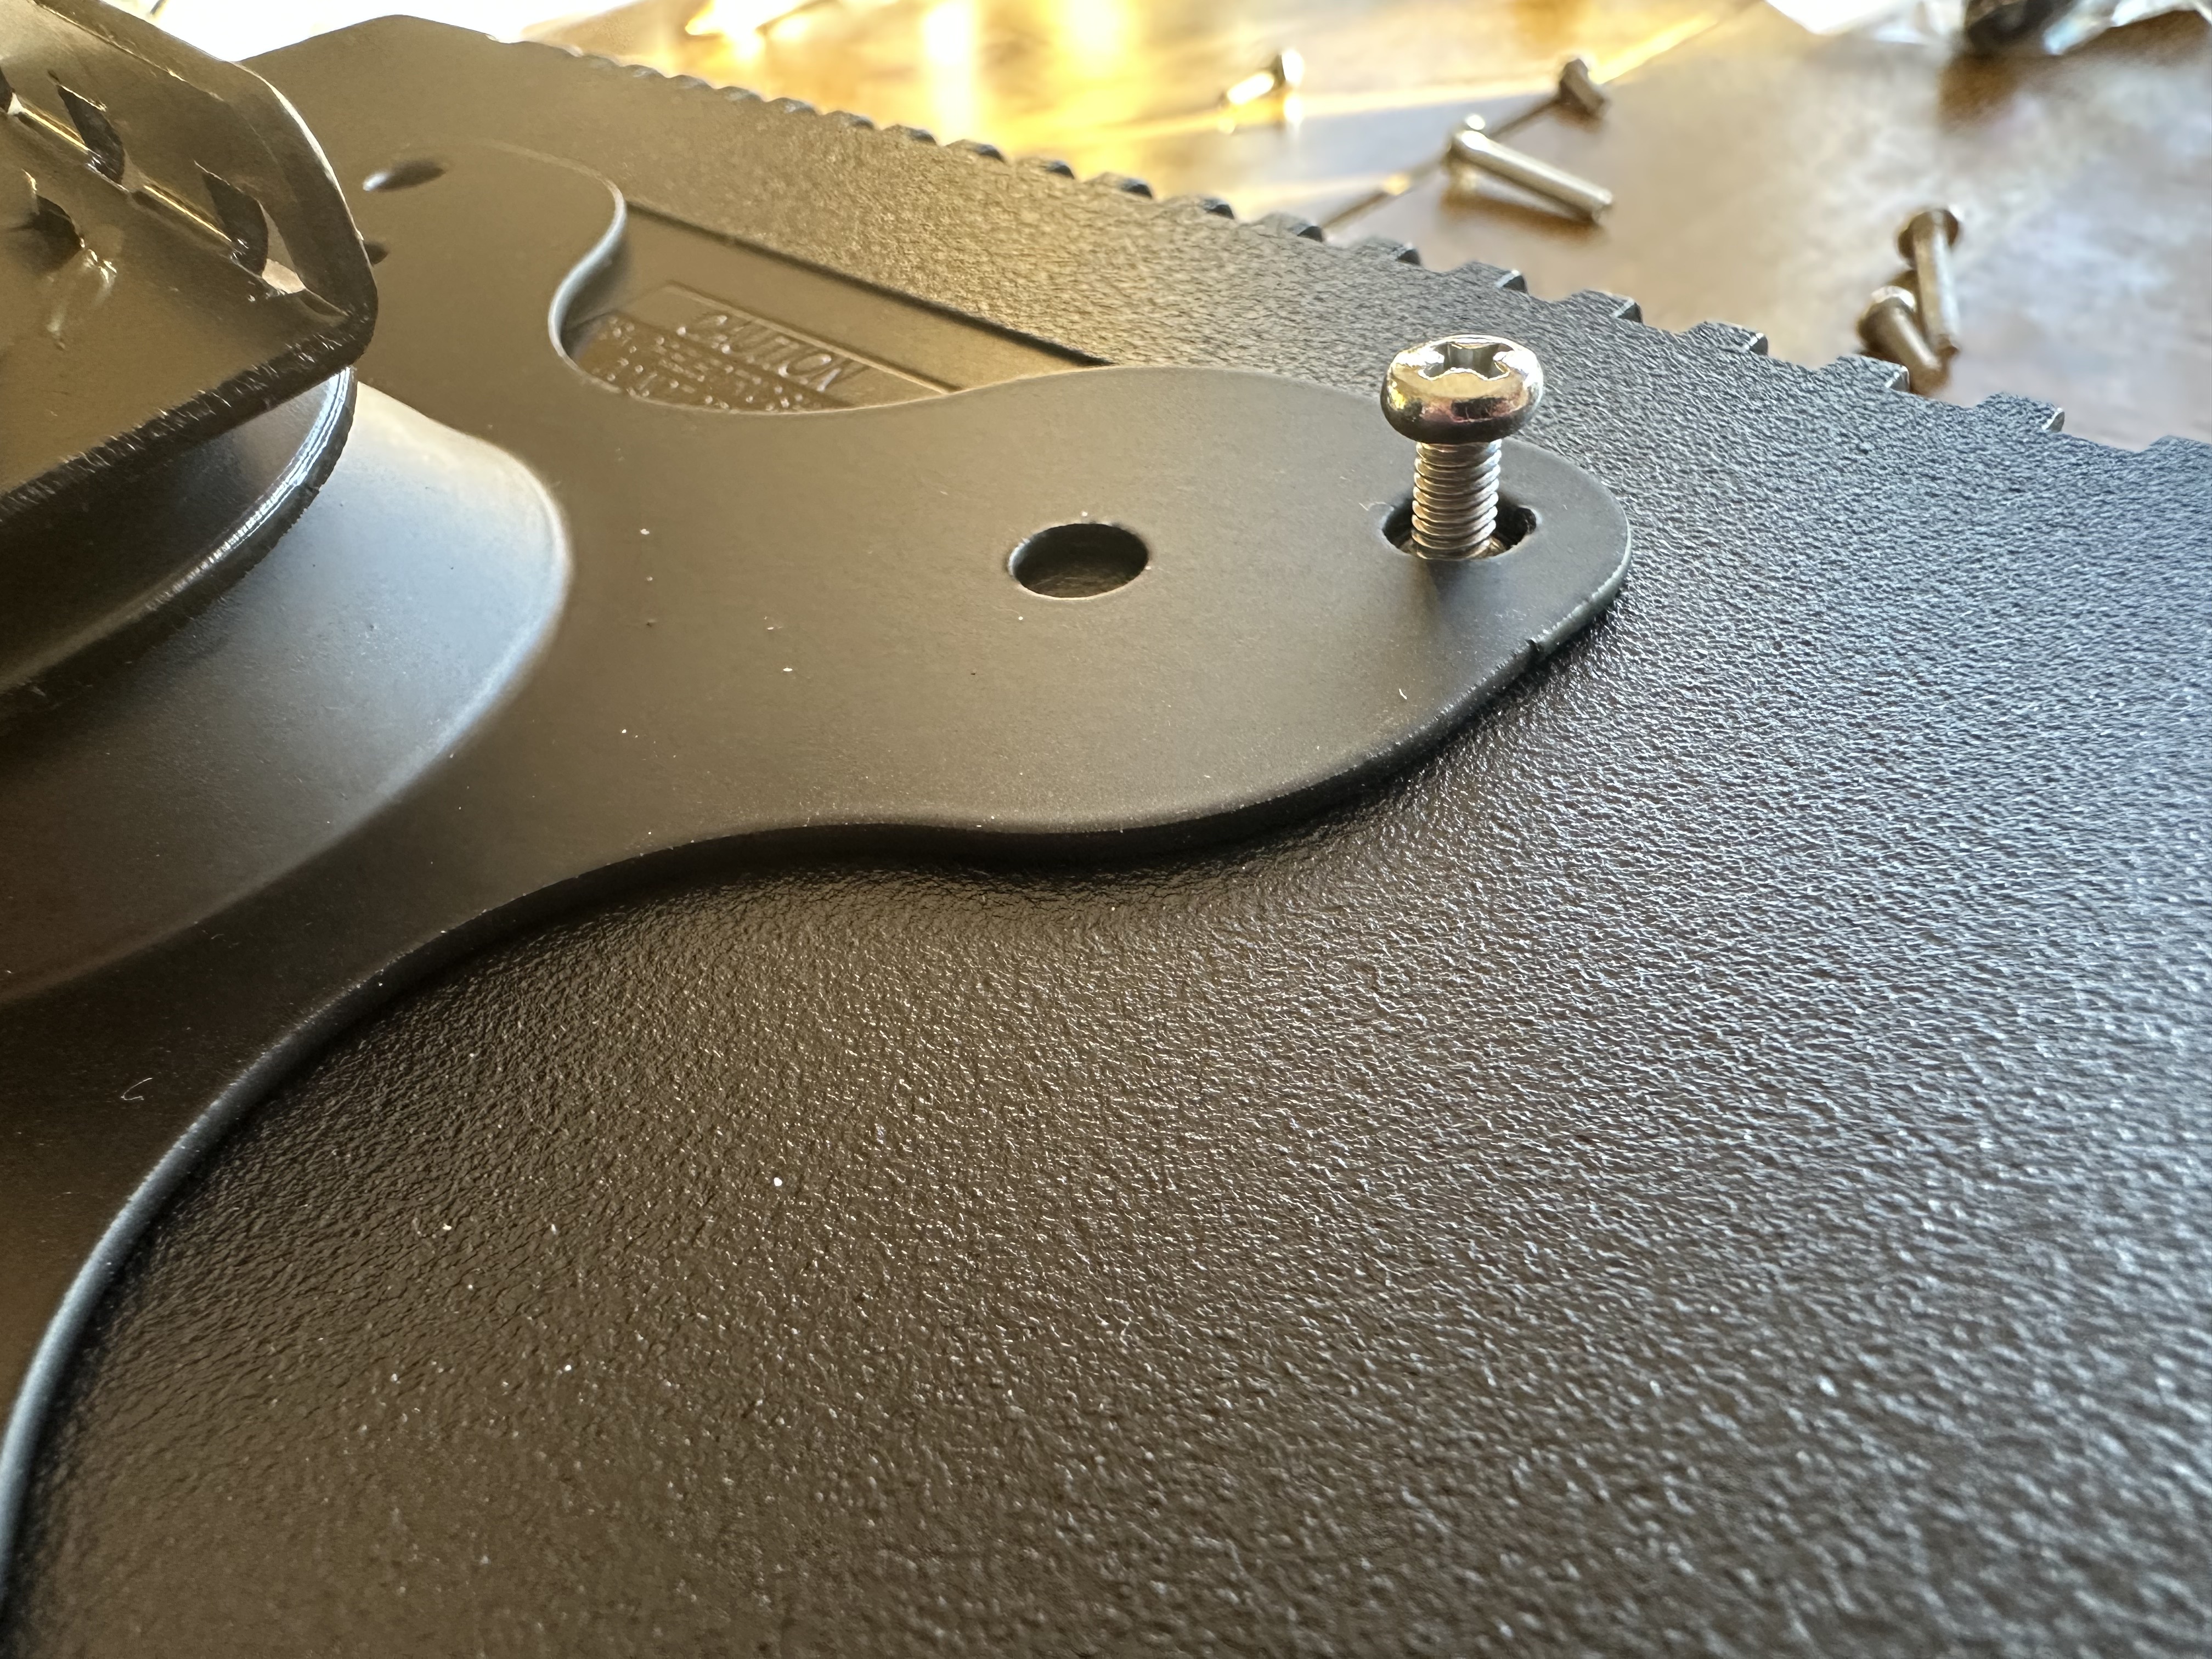
So – bracket up and fixed – time to put the mounting plate on to the TV – but its also time to slow down here…. the bolts that came with the bracket were actually going to be too long for the TV – and even though the back of the TV did have blanks at the end of the thread – I wantned to ensure that the bolts worked to hold everything correctly with out being loose…. Some might have grabbed a dremel and cuth the bolts shorter – I went for the more elegant, over engineered solution – a trick taught me by my late father. Its actually very simple, and makes perfect sense. Start by putting a nut onto the thread, and winding it up – then place a washer in situ, offer the thread up and tighten it with the screw driver till it reaches its stop. Then tighted the nut down the thread onto the washer – it will not work loose and it will remain snug / tight!
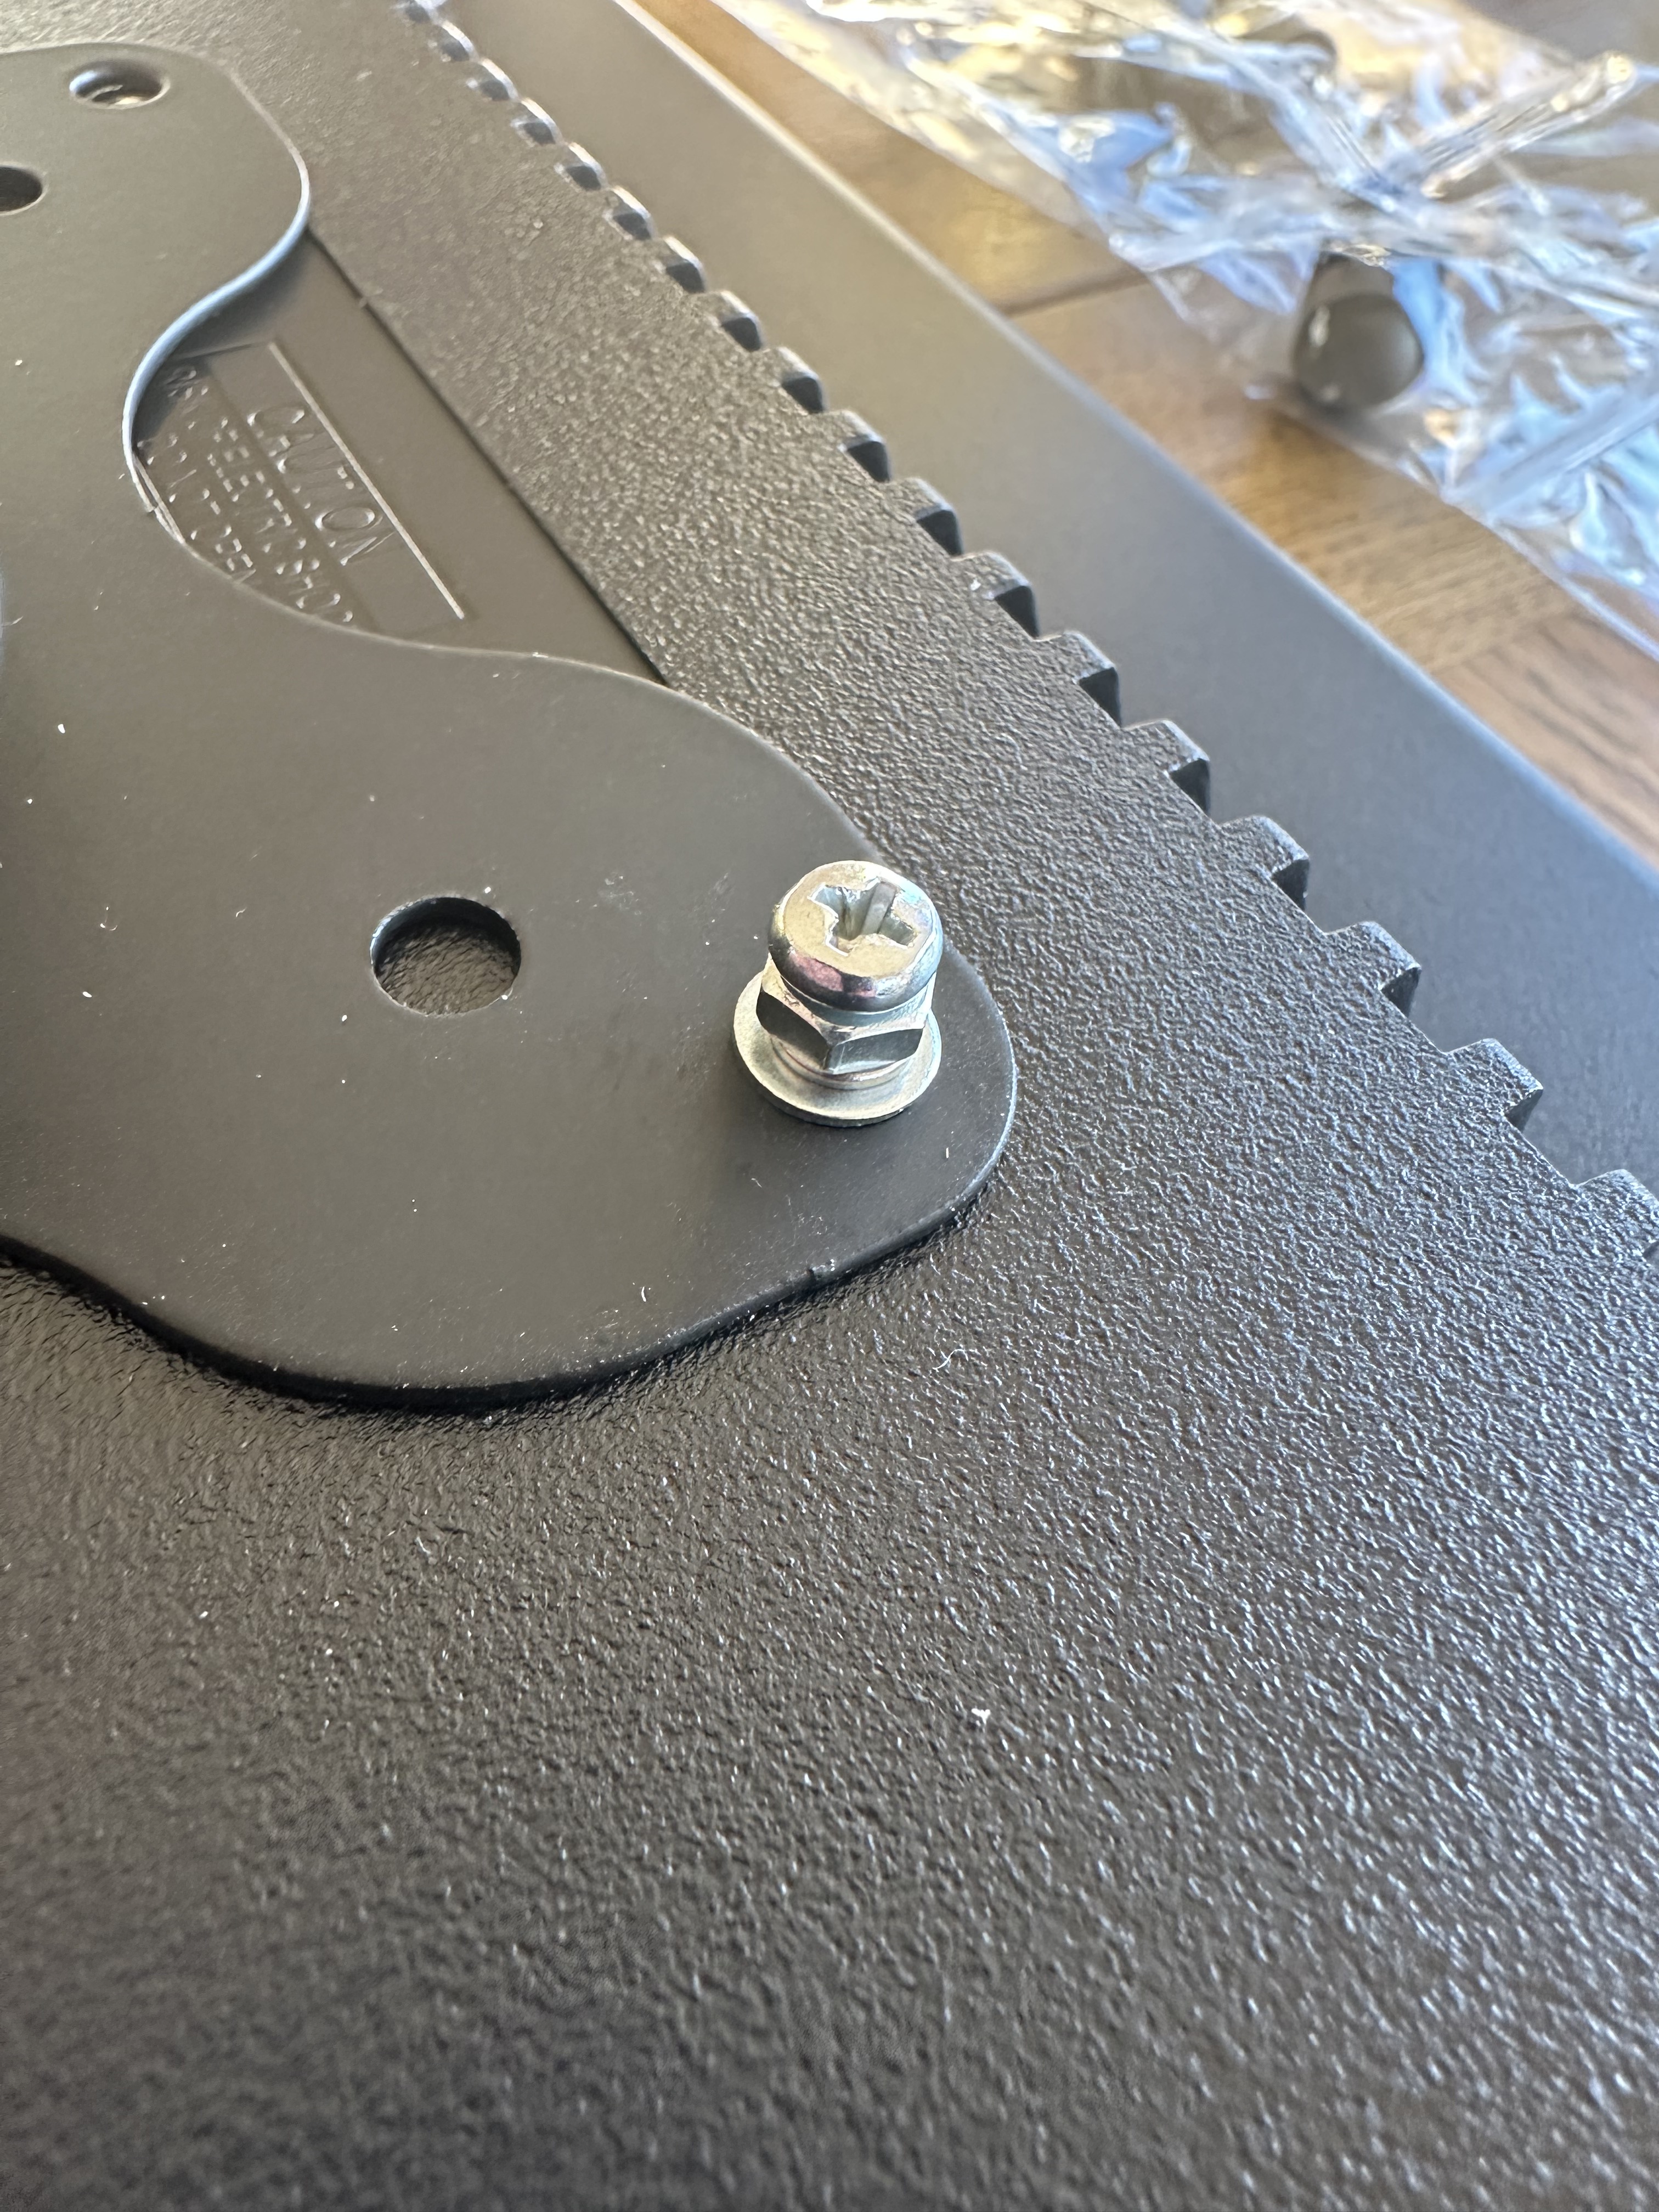
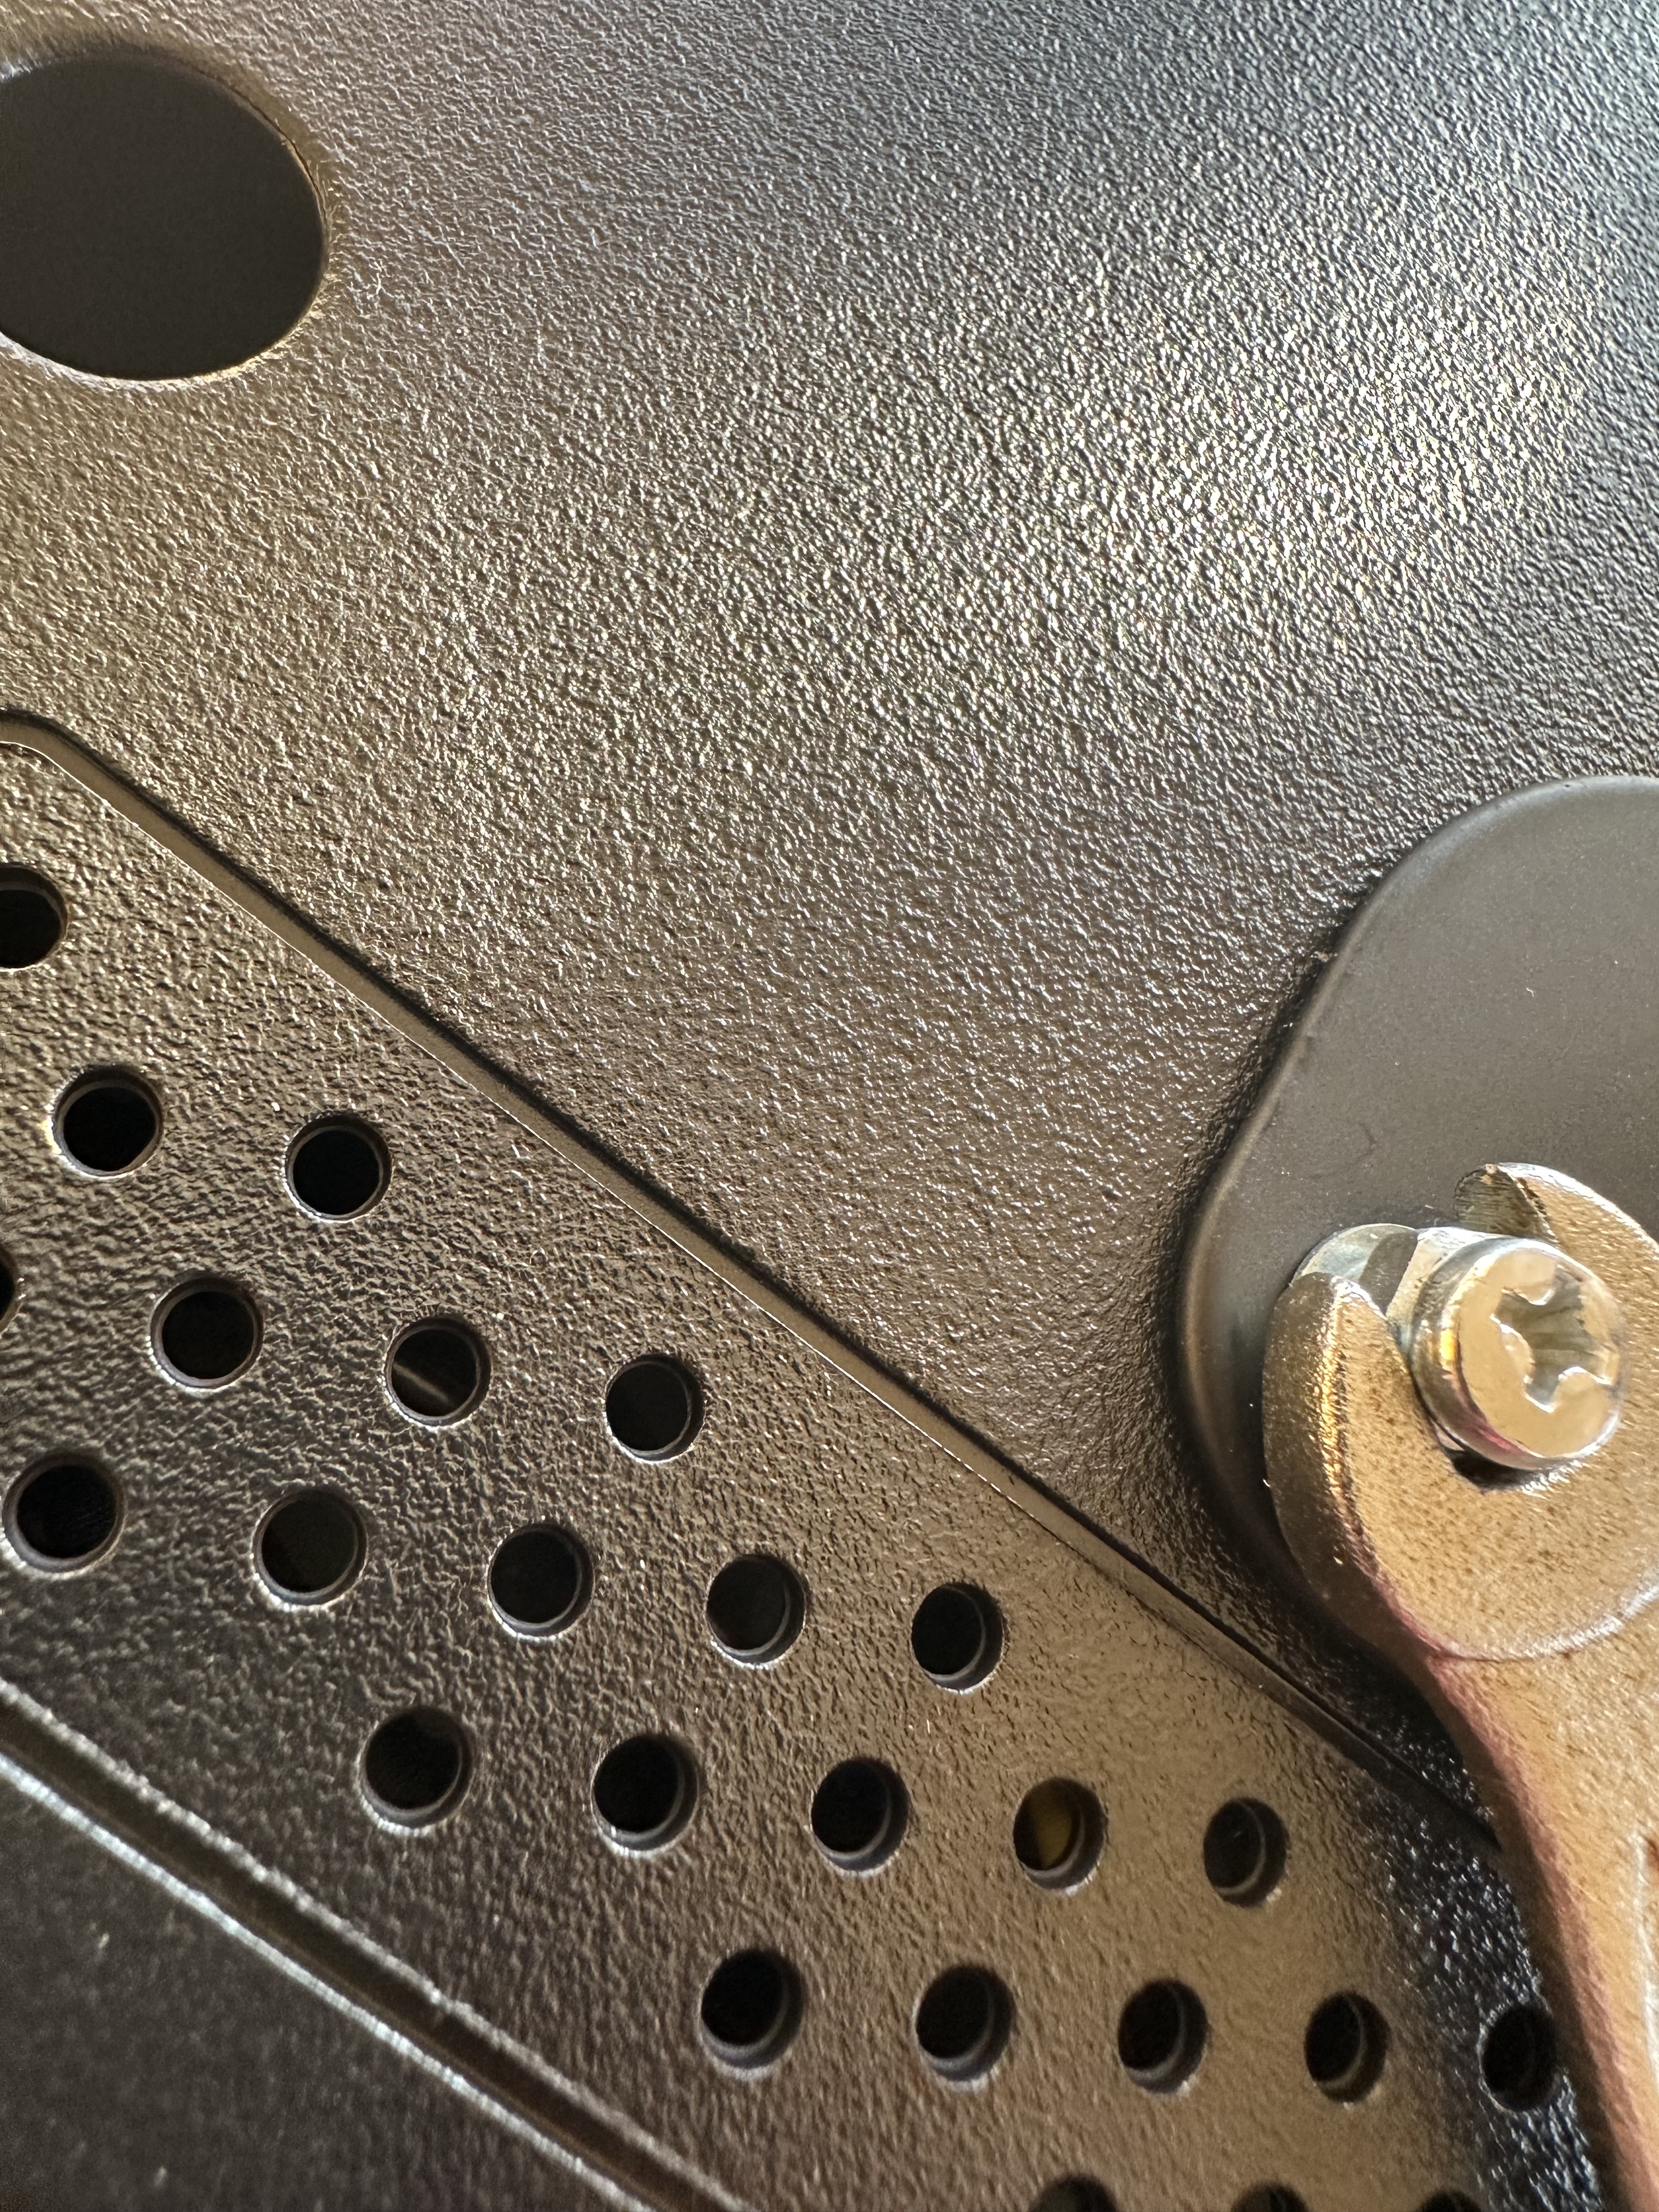
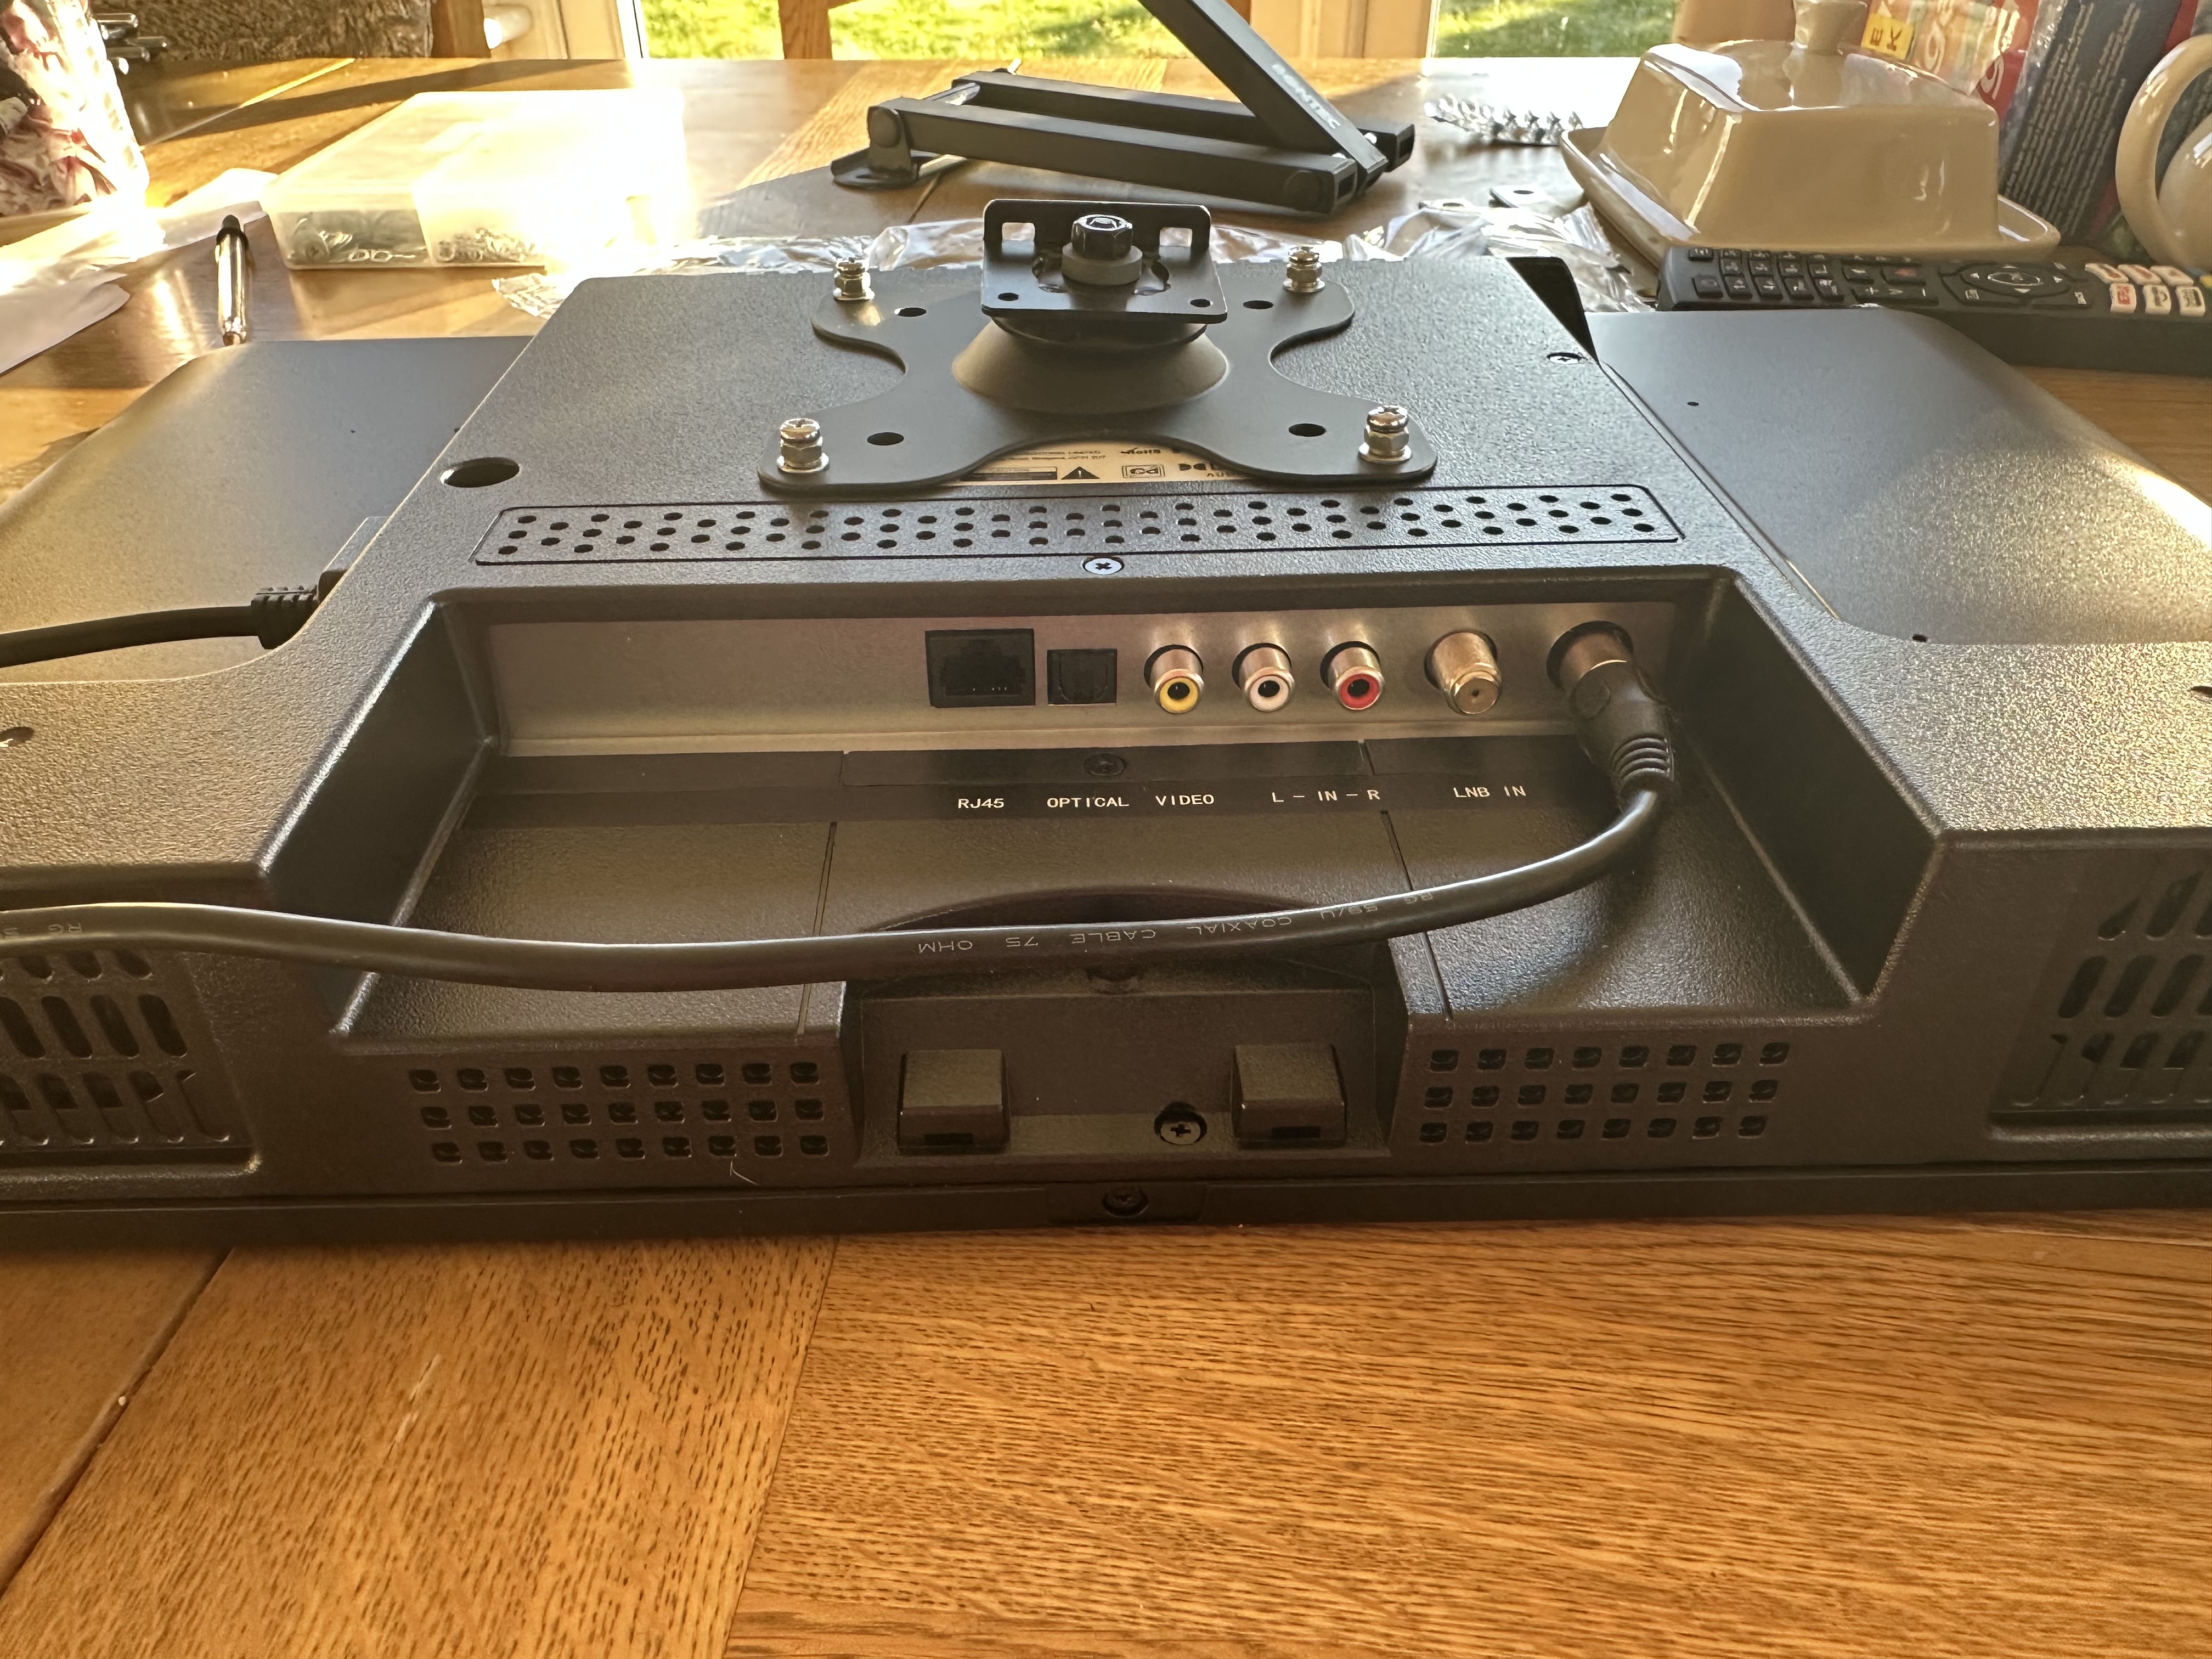
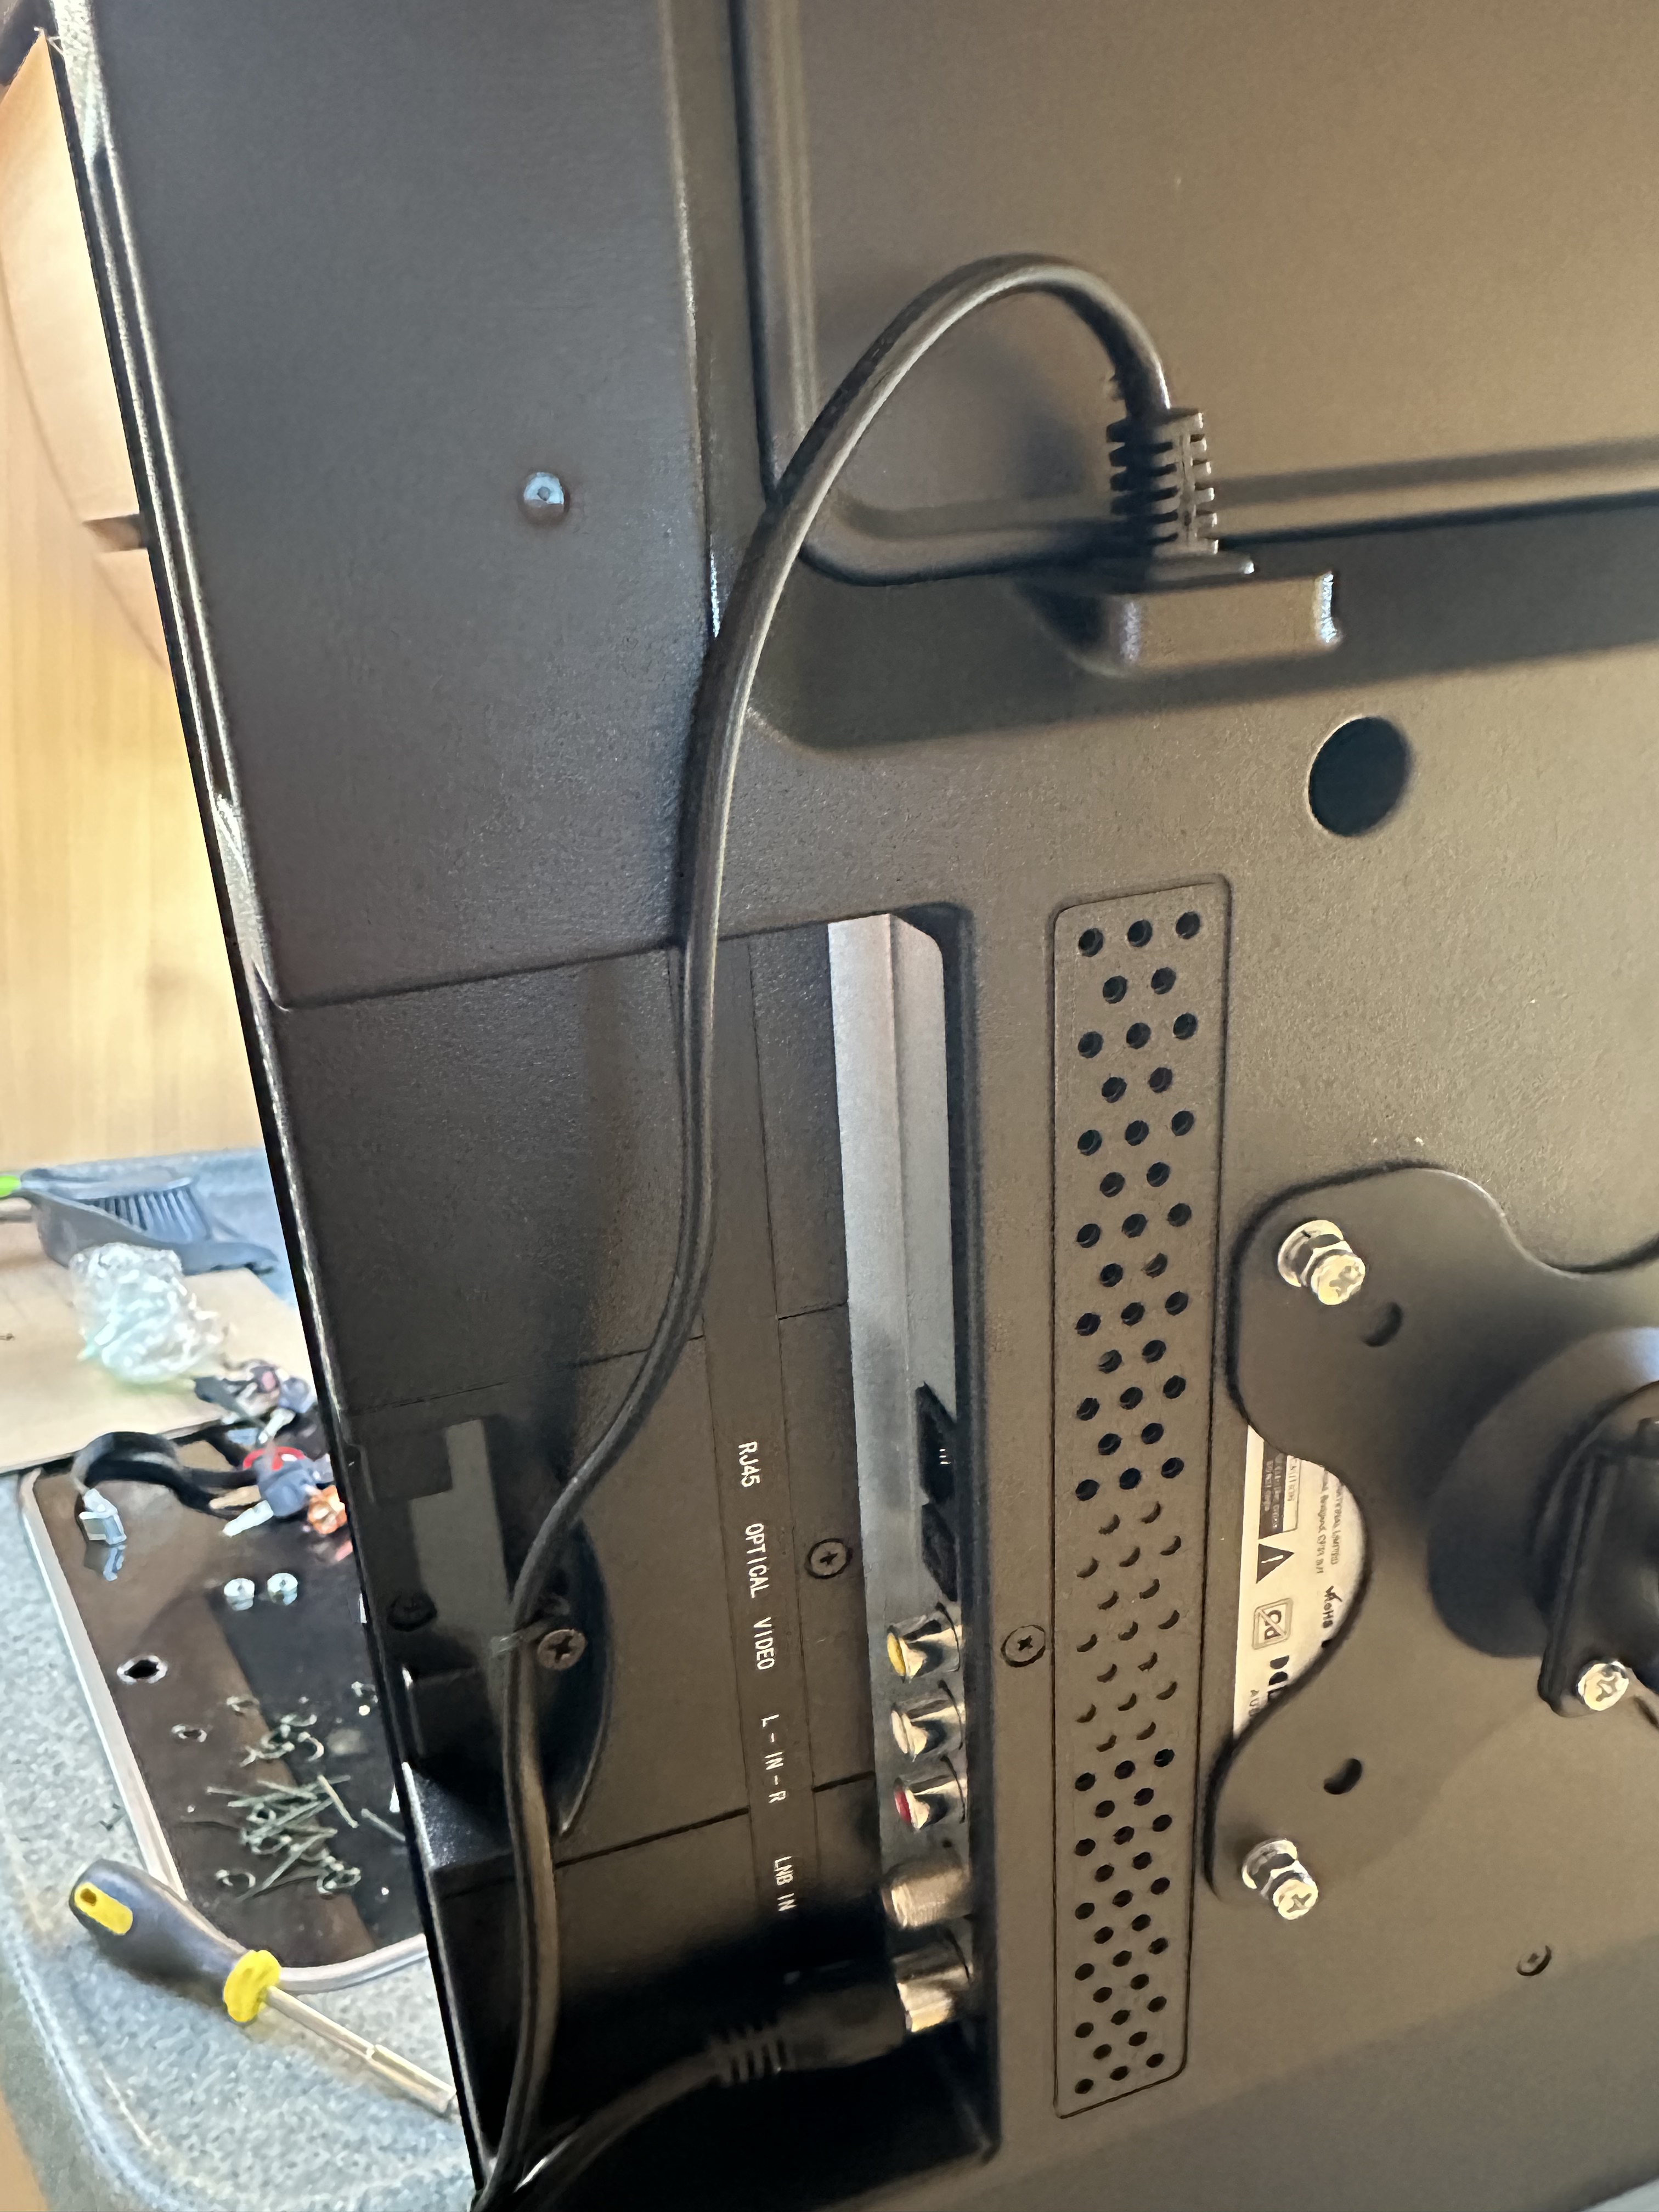
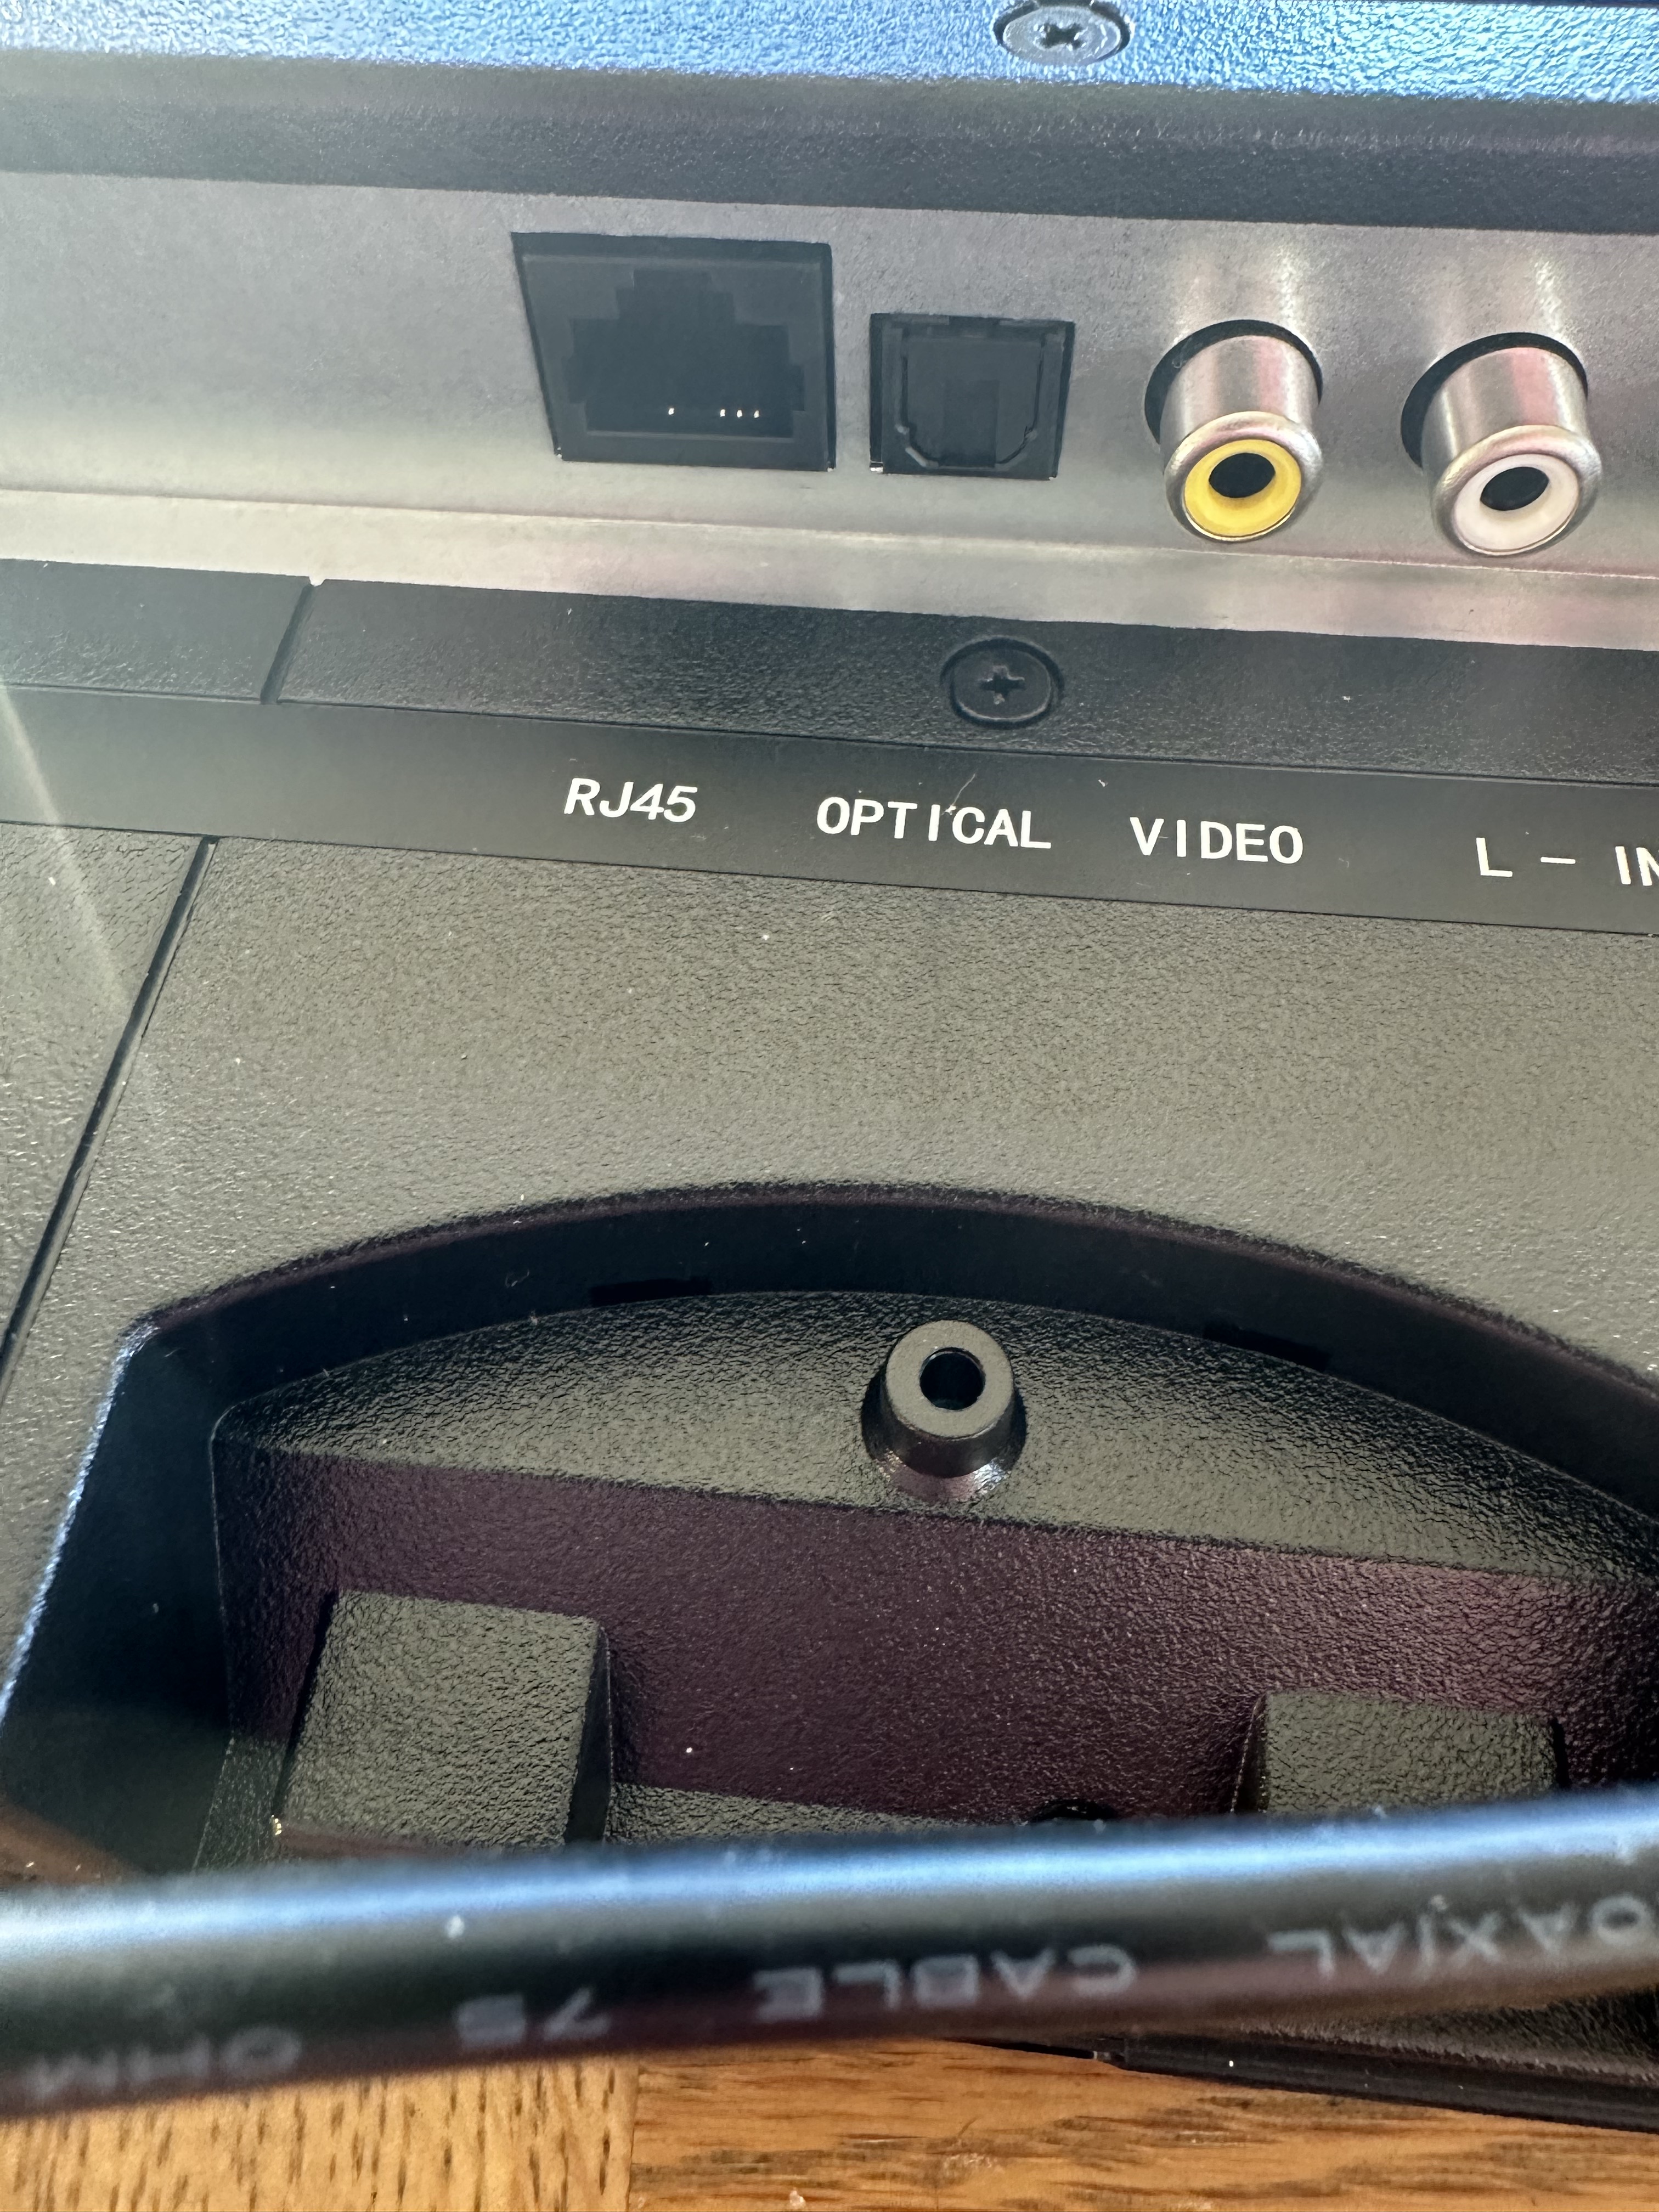
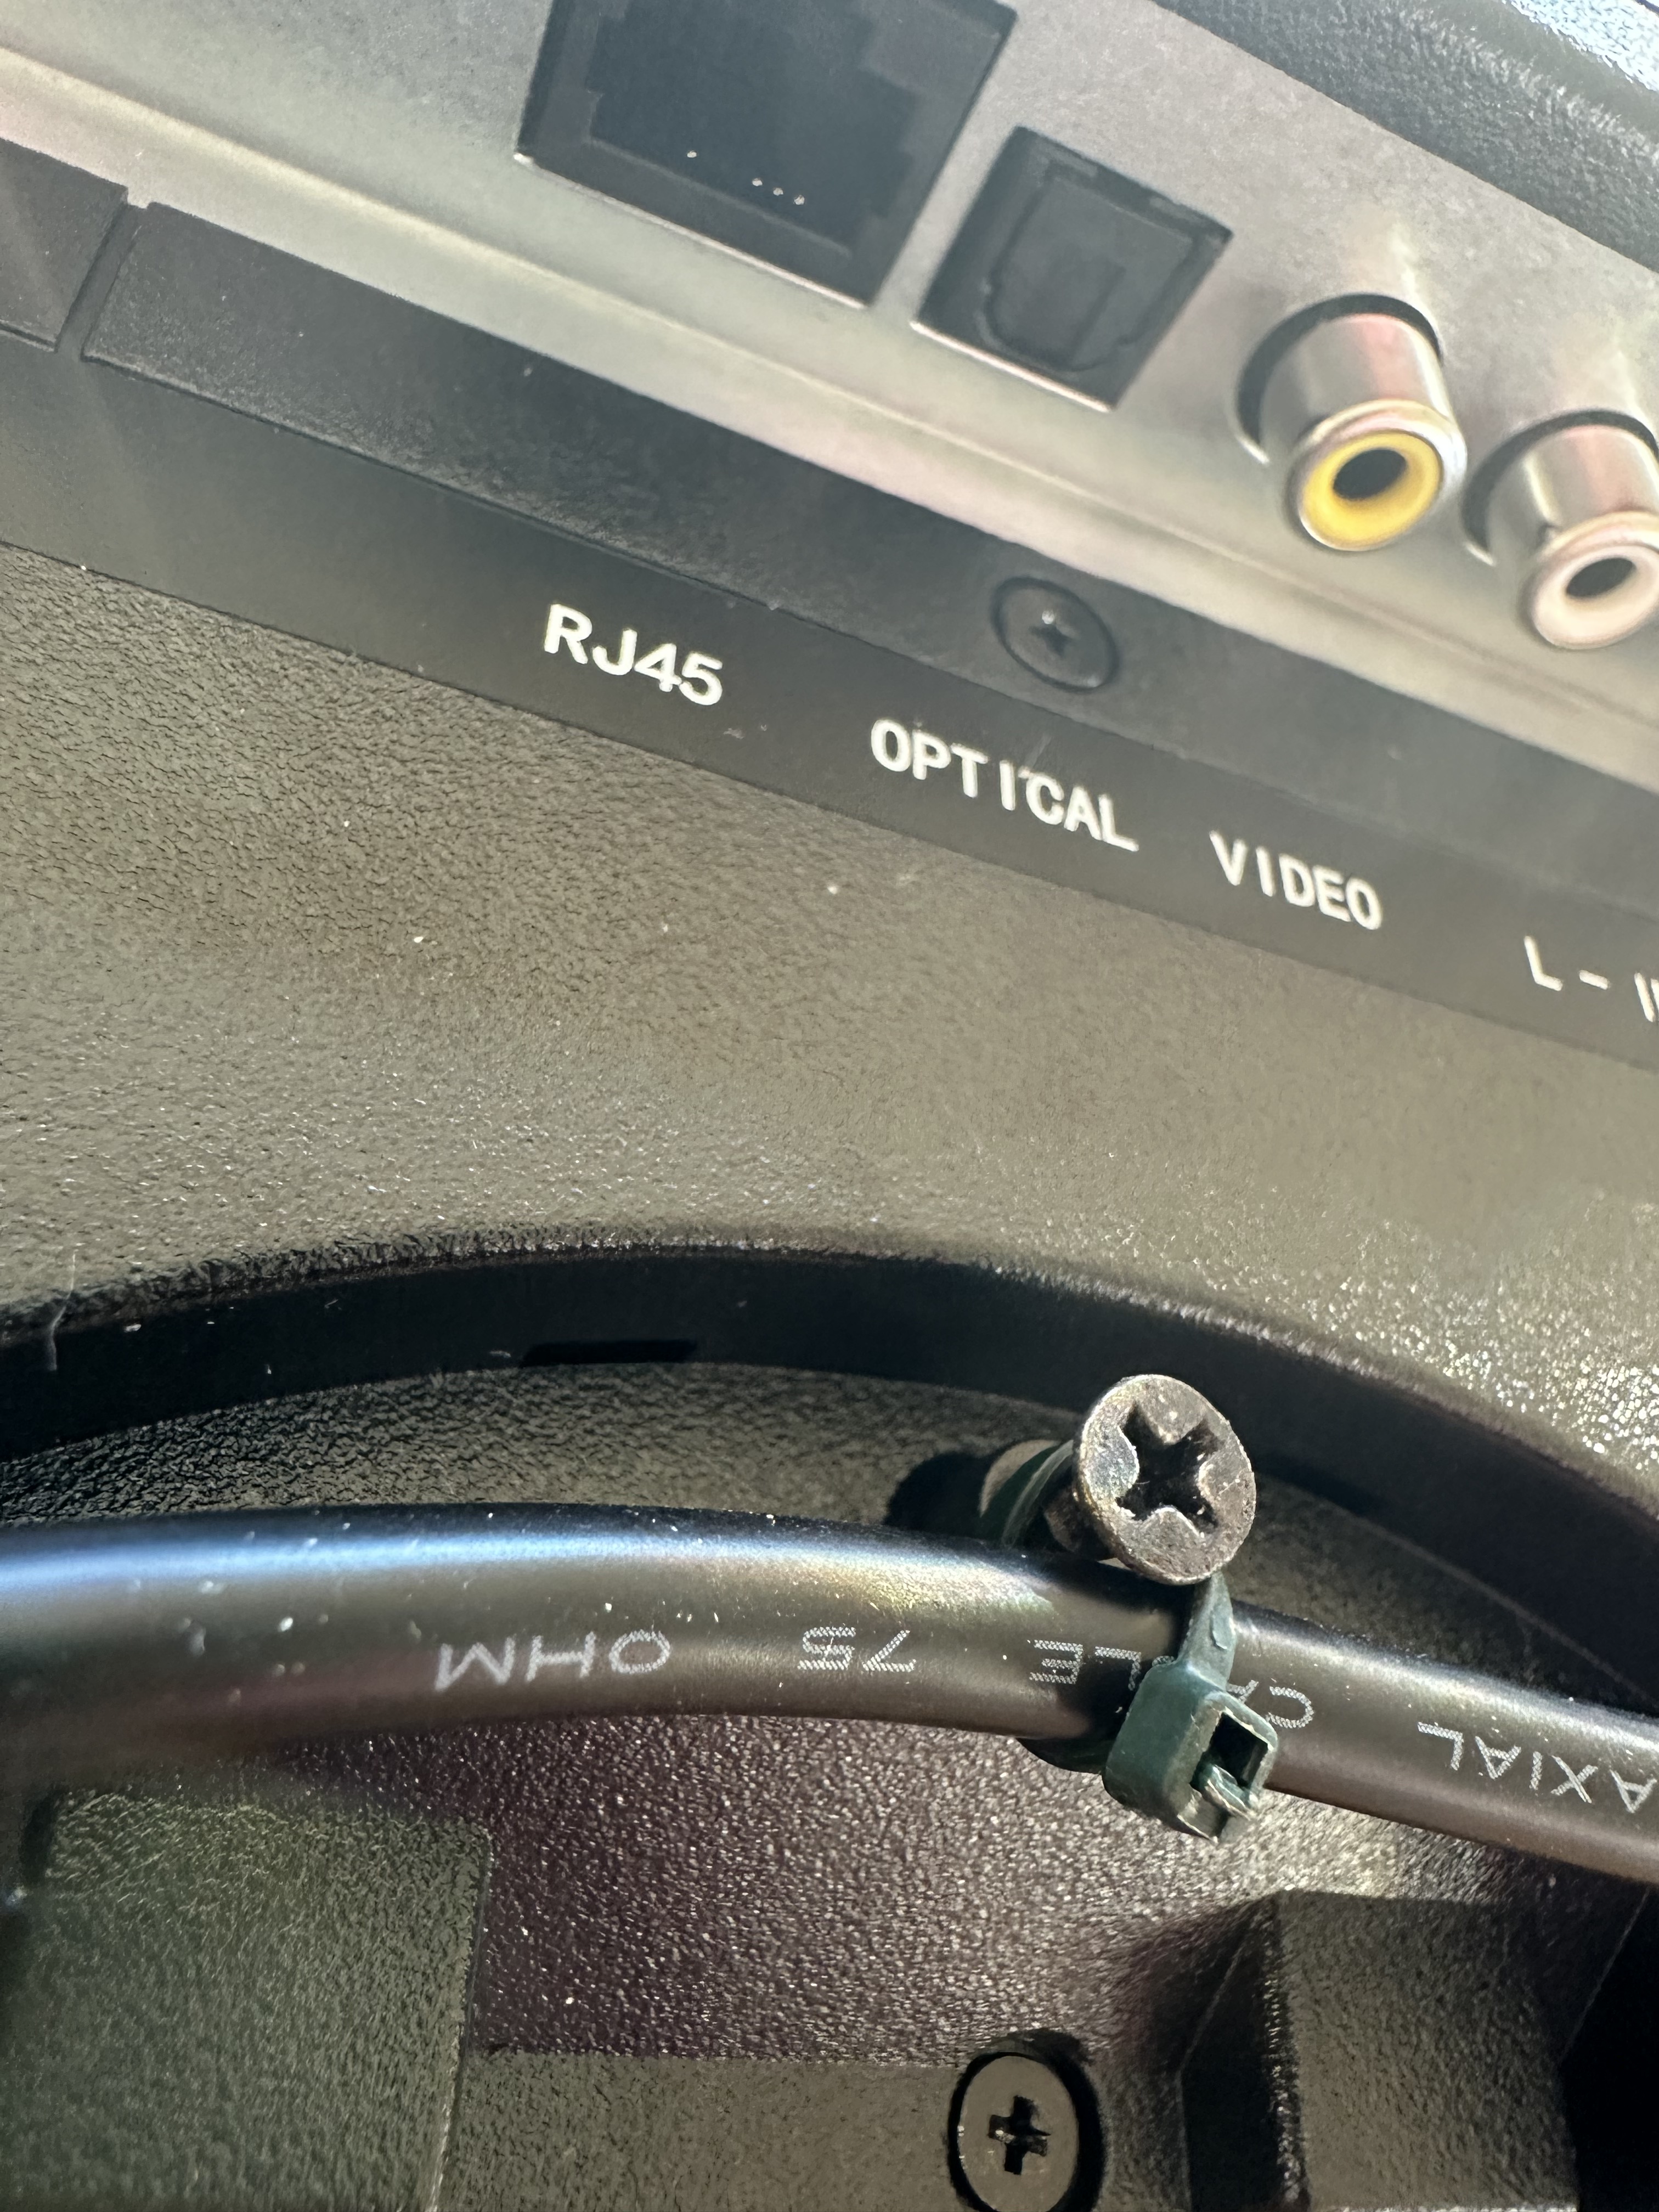
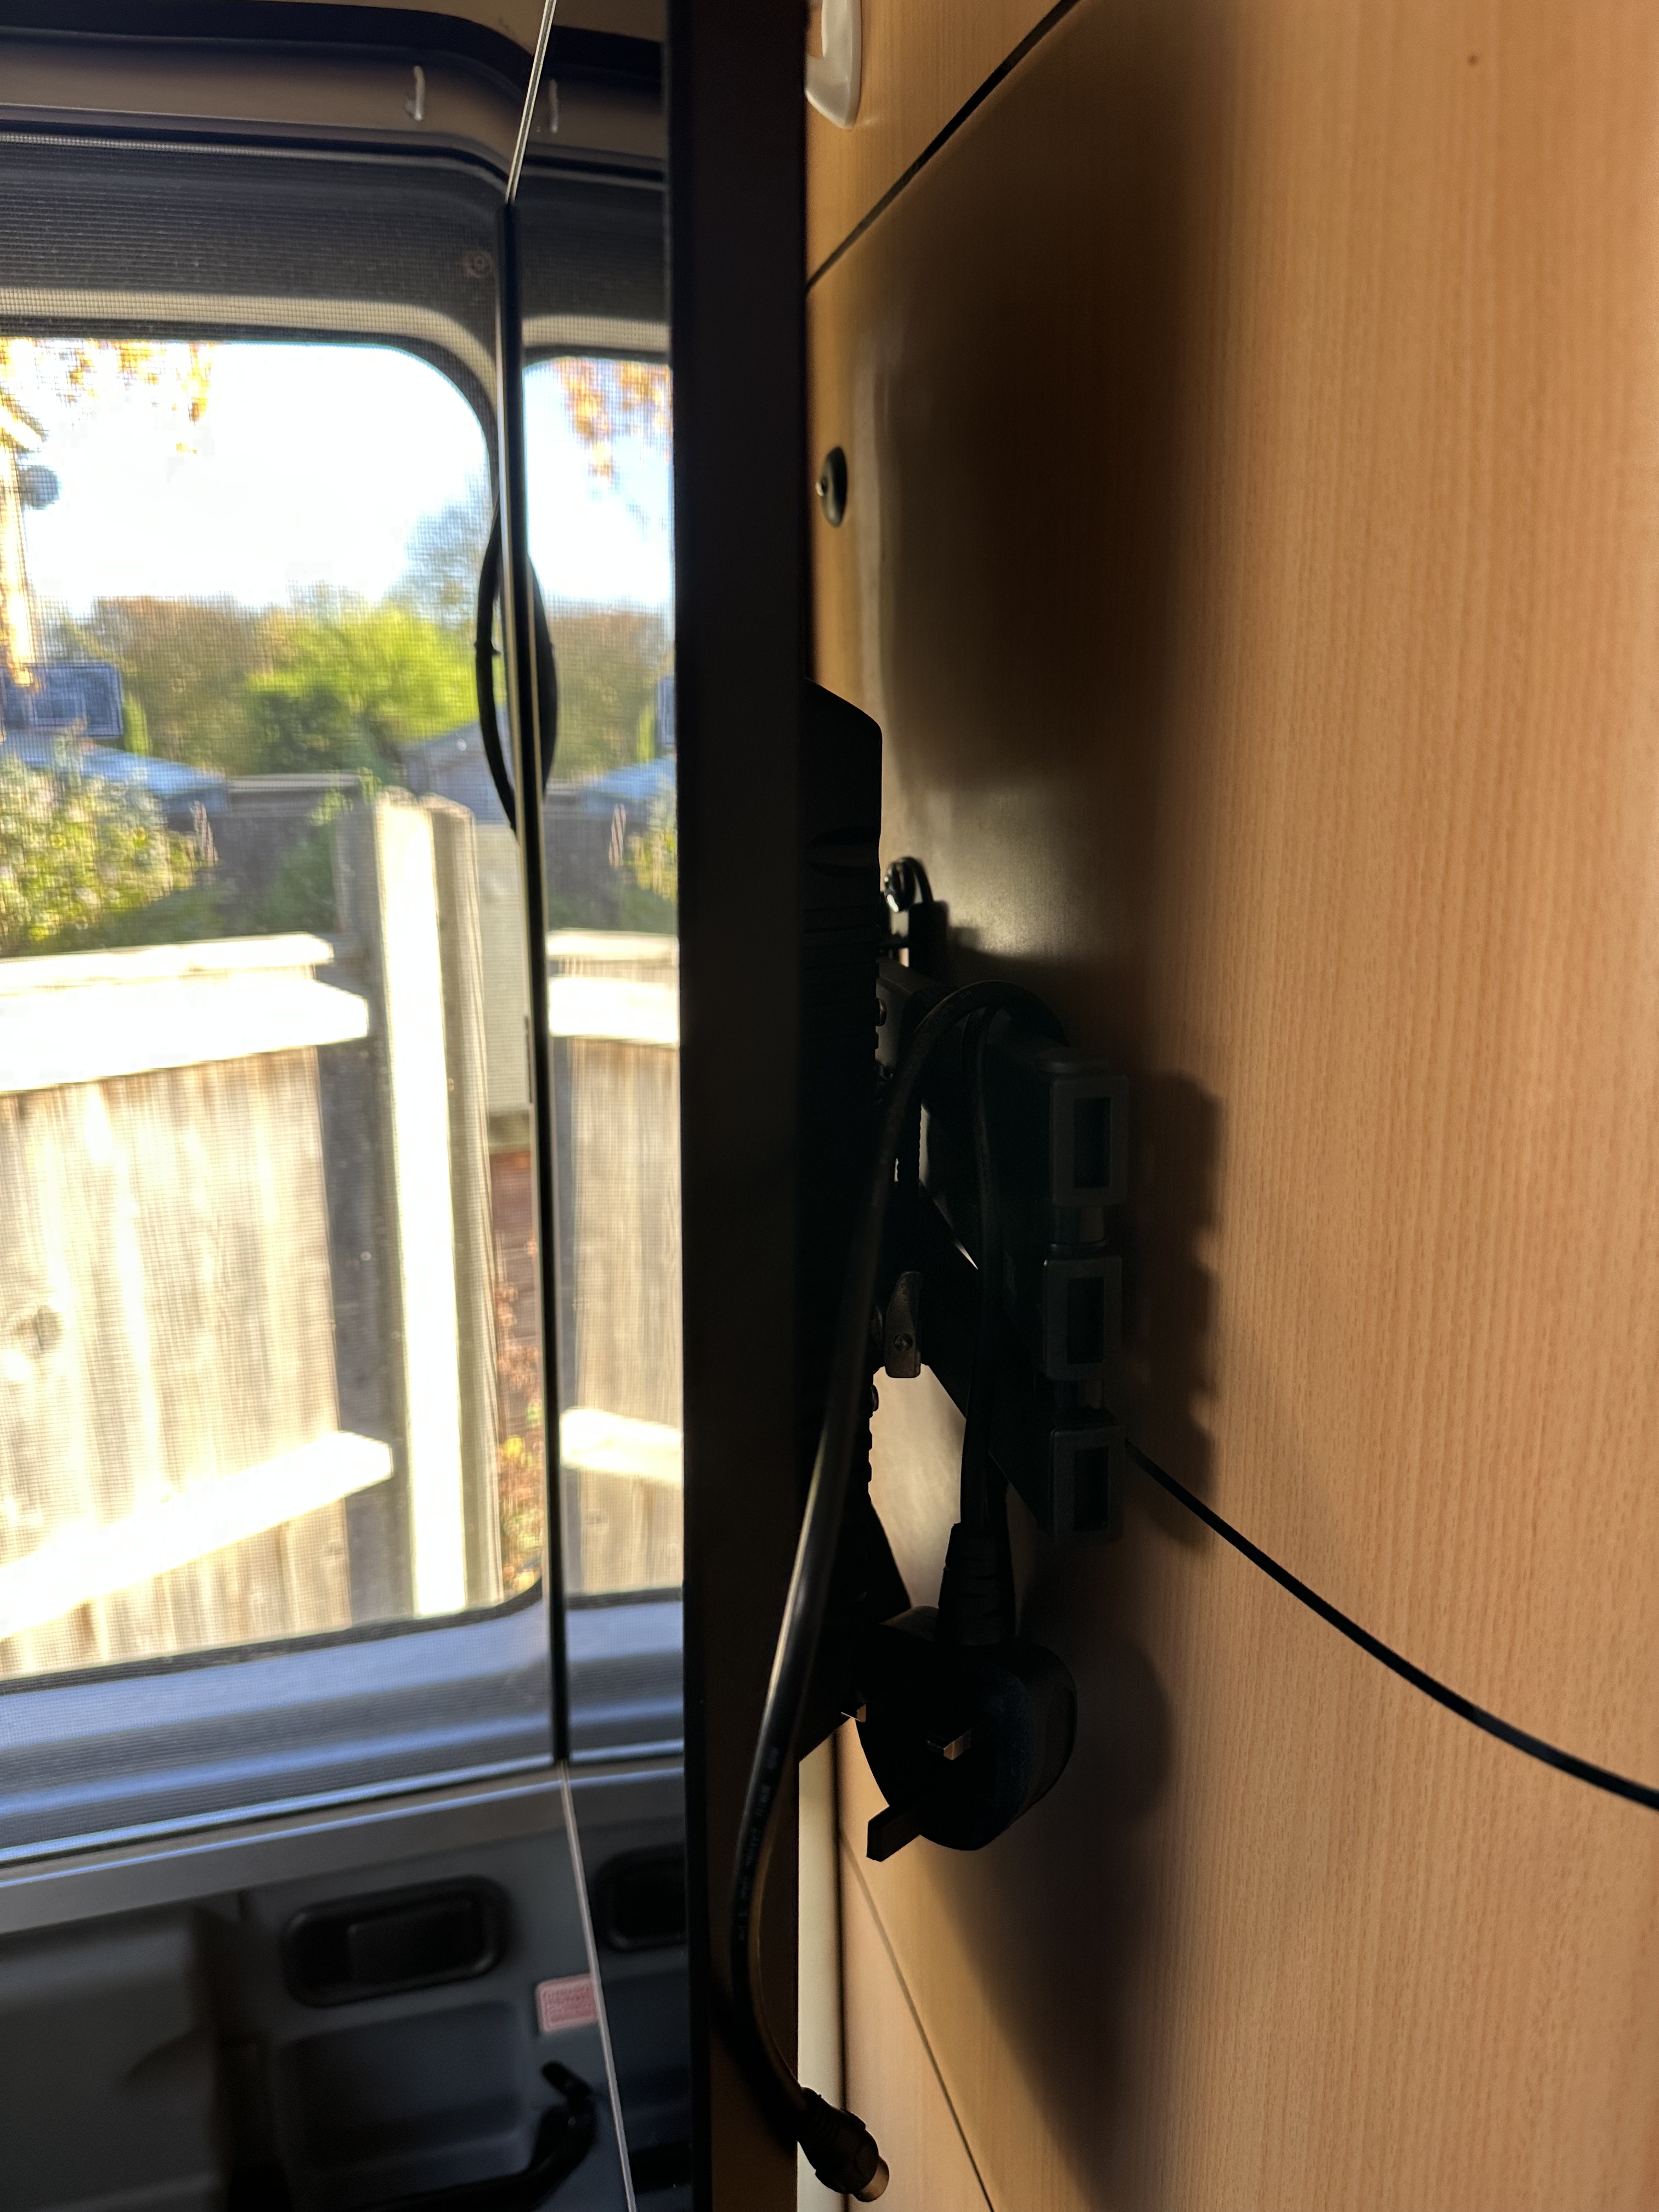
So – Thats all good – but, I do not like trailing wires – not because i am some form of Health and Safety Nazi, but its the aesthetics….. I sat back and thought about it, and realised that there were some unused screw holes on the base and it would be a shame to not make use of them. I started initially by running the leads out in a neat line, using the effective mounts – but, it looked like shite – when it was plugged in, so I went back and reworked it all – i ensured i left a decent loop from the mains feed, and then brought that back to meet the aerial line; I noted that the lines would fit snugly together, so used a fair few cable ties to make it look neat and presentable.

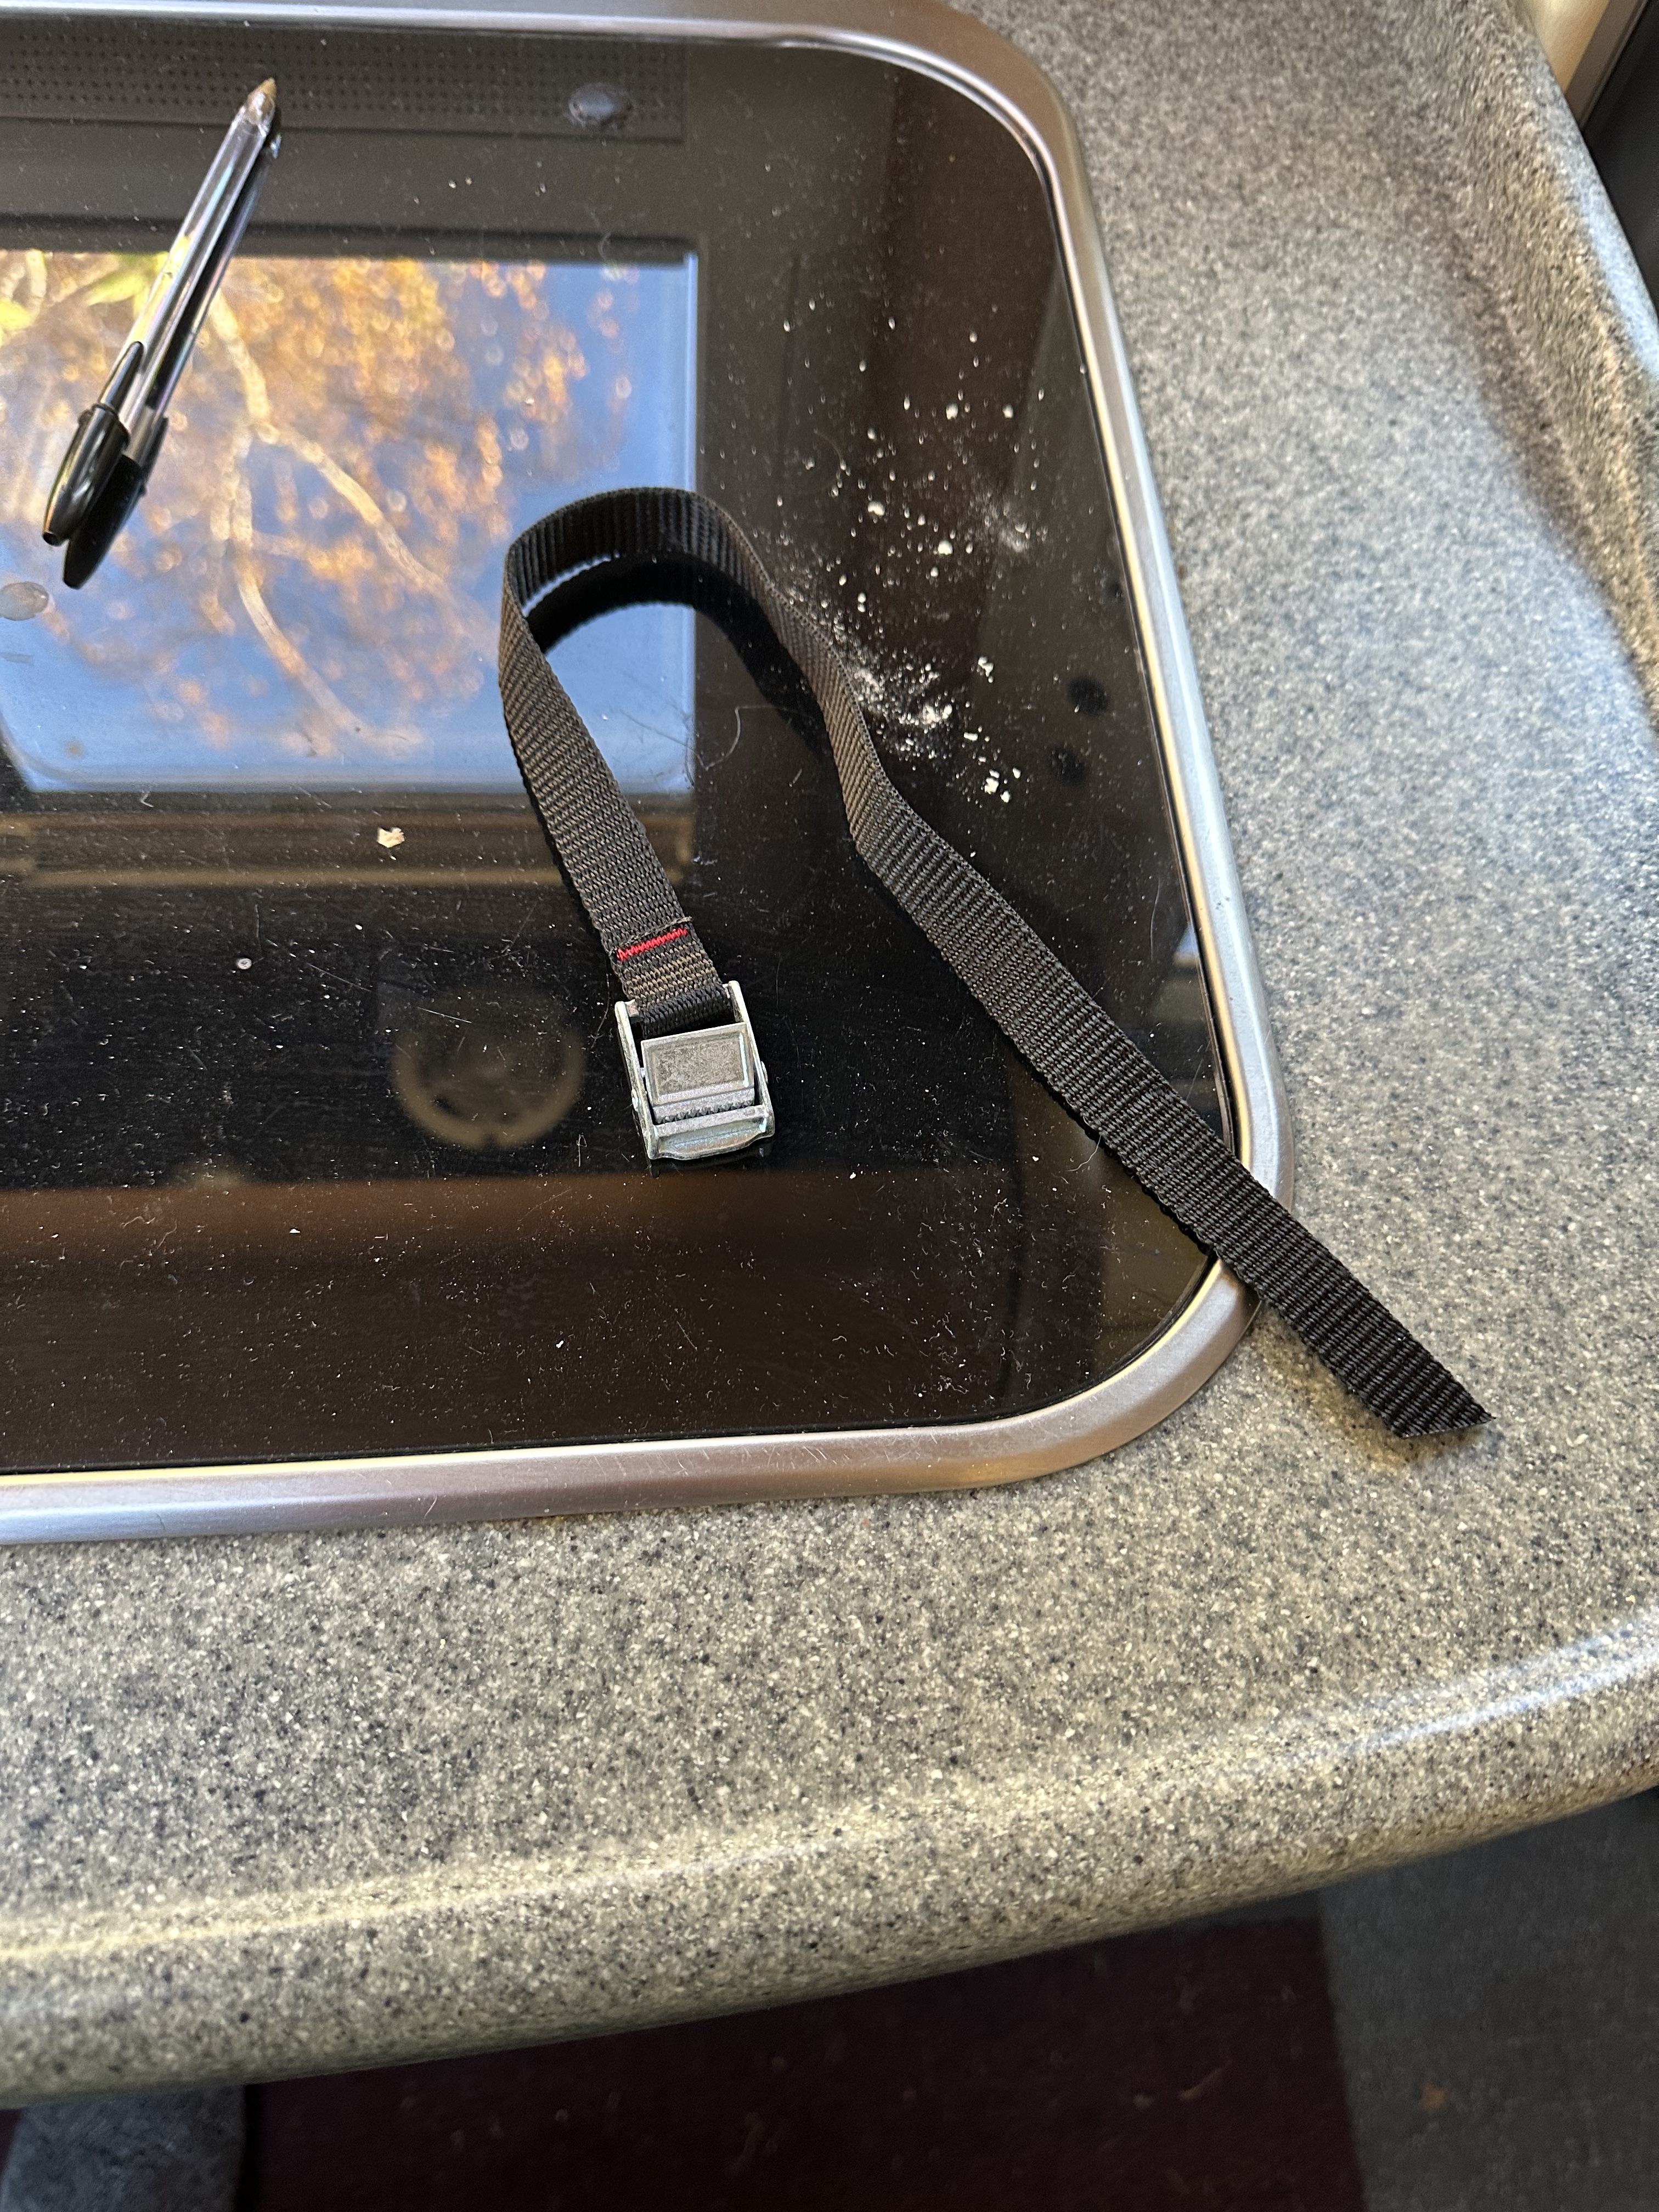
And for when in transit – this is an important strap to fit…. the arms on the bracket ‘scissor’ out – so applying this strap stops them moving out, and keeps the screen secure – SIMPLES!
So – how did it all end up – I am very pleased! I think that i will invest in a thin ratchet spanner so i can keep the central spindle tight – and i think, and knowing, that it will always work loose, i will fit that and forget it – it has to be worth blowing a couple of quid for piece of mind!
Anyway – Jobs a guddun as we say in these parts 🙂

Leave a comment