
One of the things that often annoys me are those people who leave indicators on…. it’s a bit like, give us a clue… which way will you go next….
I am of course NOT referring to assorted Richard Craniums who normally seem to drive clapped out BMW 3 series with badly apple M stickers – though I am rapidly coming to the conclusion that many Audi drivers are also born again twats – indicators seemingly being an optional extra that the factory doesn’t bother fitting as none of their testosterone inspired drivers use the bloody things BUT- I digress!
Ever since I got Ziggy, the indicators have never self cancelled – and I was not certain if that was because of the age – though I suspected not, or that some part just didn’t work. Anyway, today I managed to negotiate some play time and set to work.
I had read up on this subject, and it seems that this is quite a common problem, and a replacement switch ranges from £75 for us old school, airbag free drivers, to north of £300…. maintaining my avowed Red Sea pedestrian principles, I decided to take things apart and have a look. On the assorted forums it states that you can envisage the switch gear by taking the shrouds off – for a variety of reasons I decided that actually, I wanted the wheel off as well – just in case I needed to fit a new part.
Taking the steering wheel off is no actual biggie in my opinion – and can be done easily at home with very few tools – mainly a 24mm socket / ratchet set. First get the steering set straight, then carefully pry up and off the horn – BEWARE there are two electrical connectors under it, so go easy tiger…..
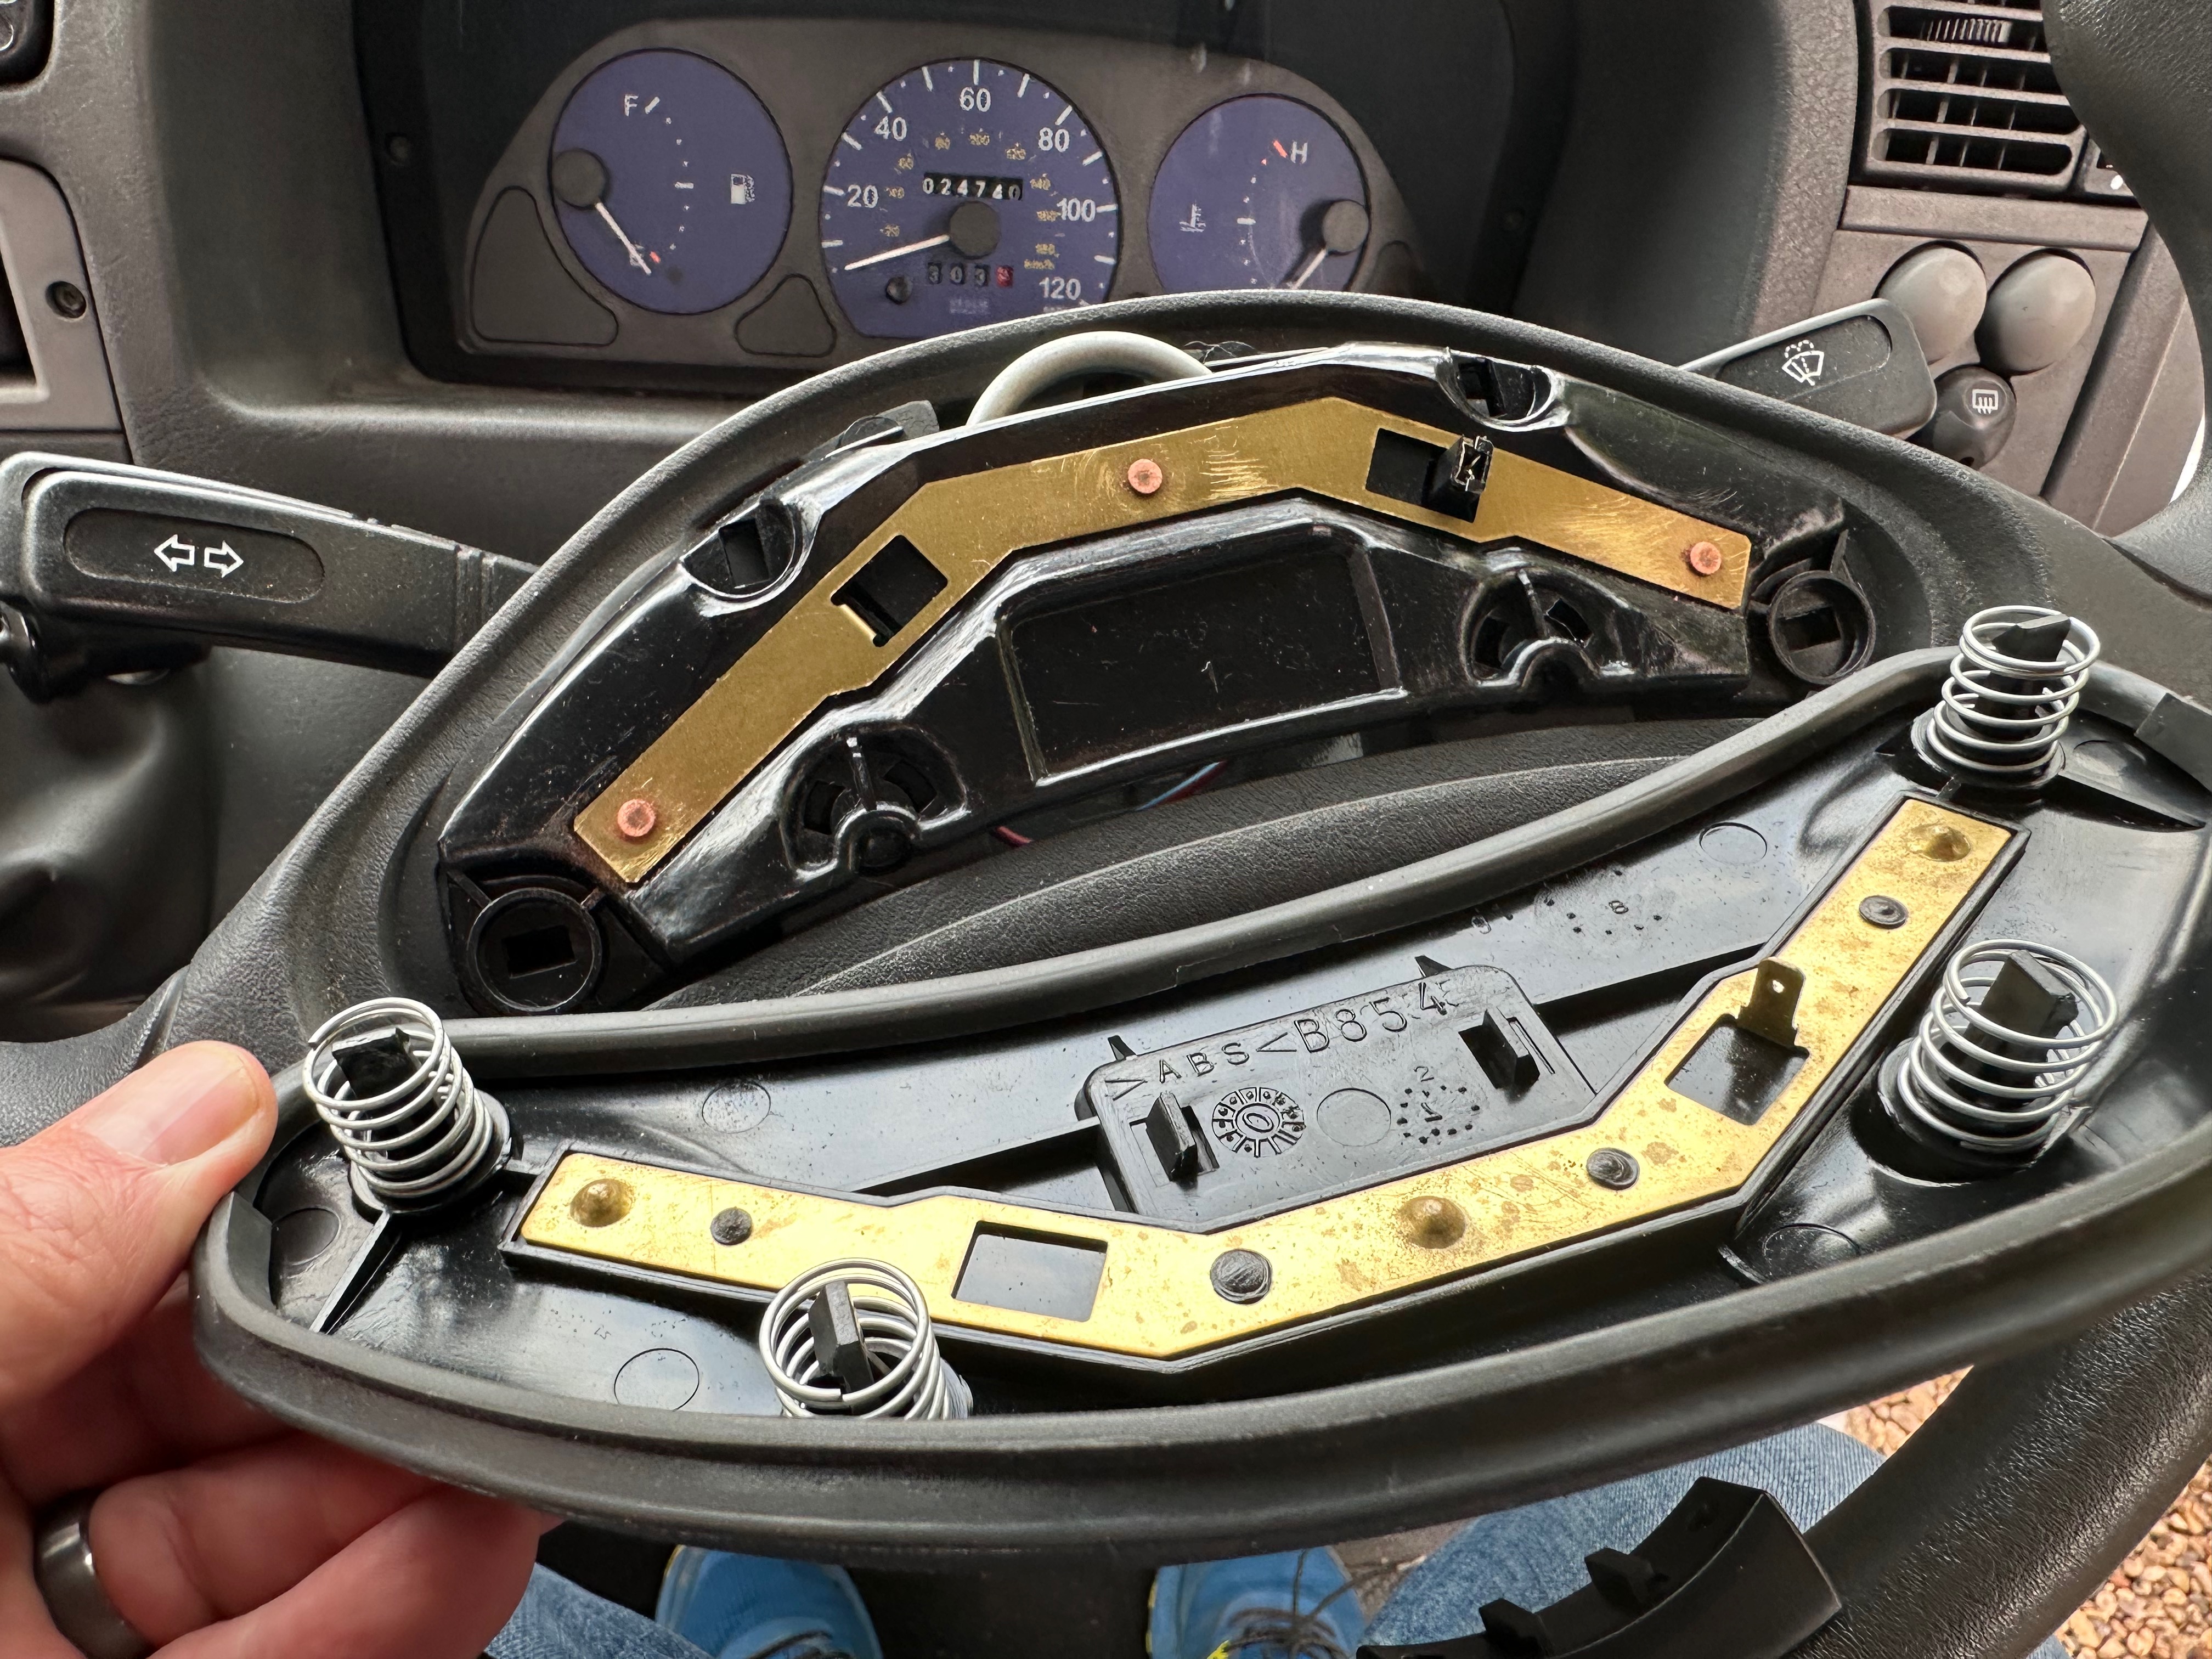
Here you can see the two sides of the horn, and one of the connectors through the horn switch – please note, that as I have the horn apart, I have not only given the exposed copper a bit of a clean, but also a light sanding to aid connectivity.
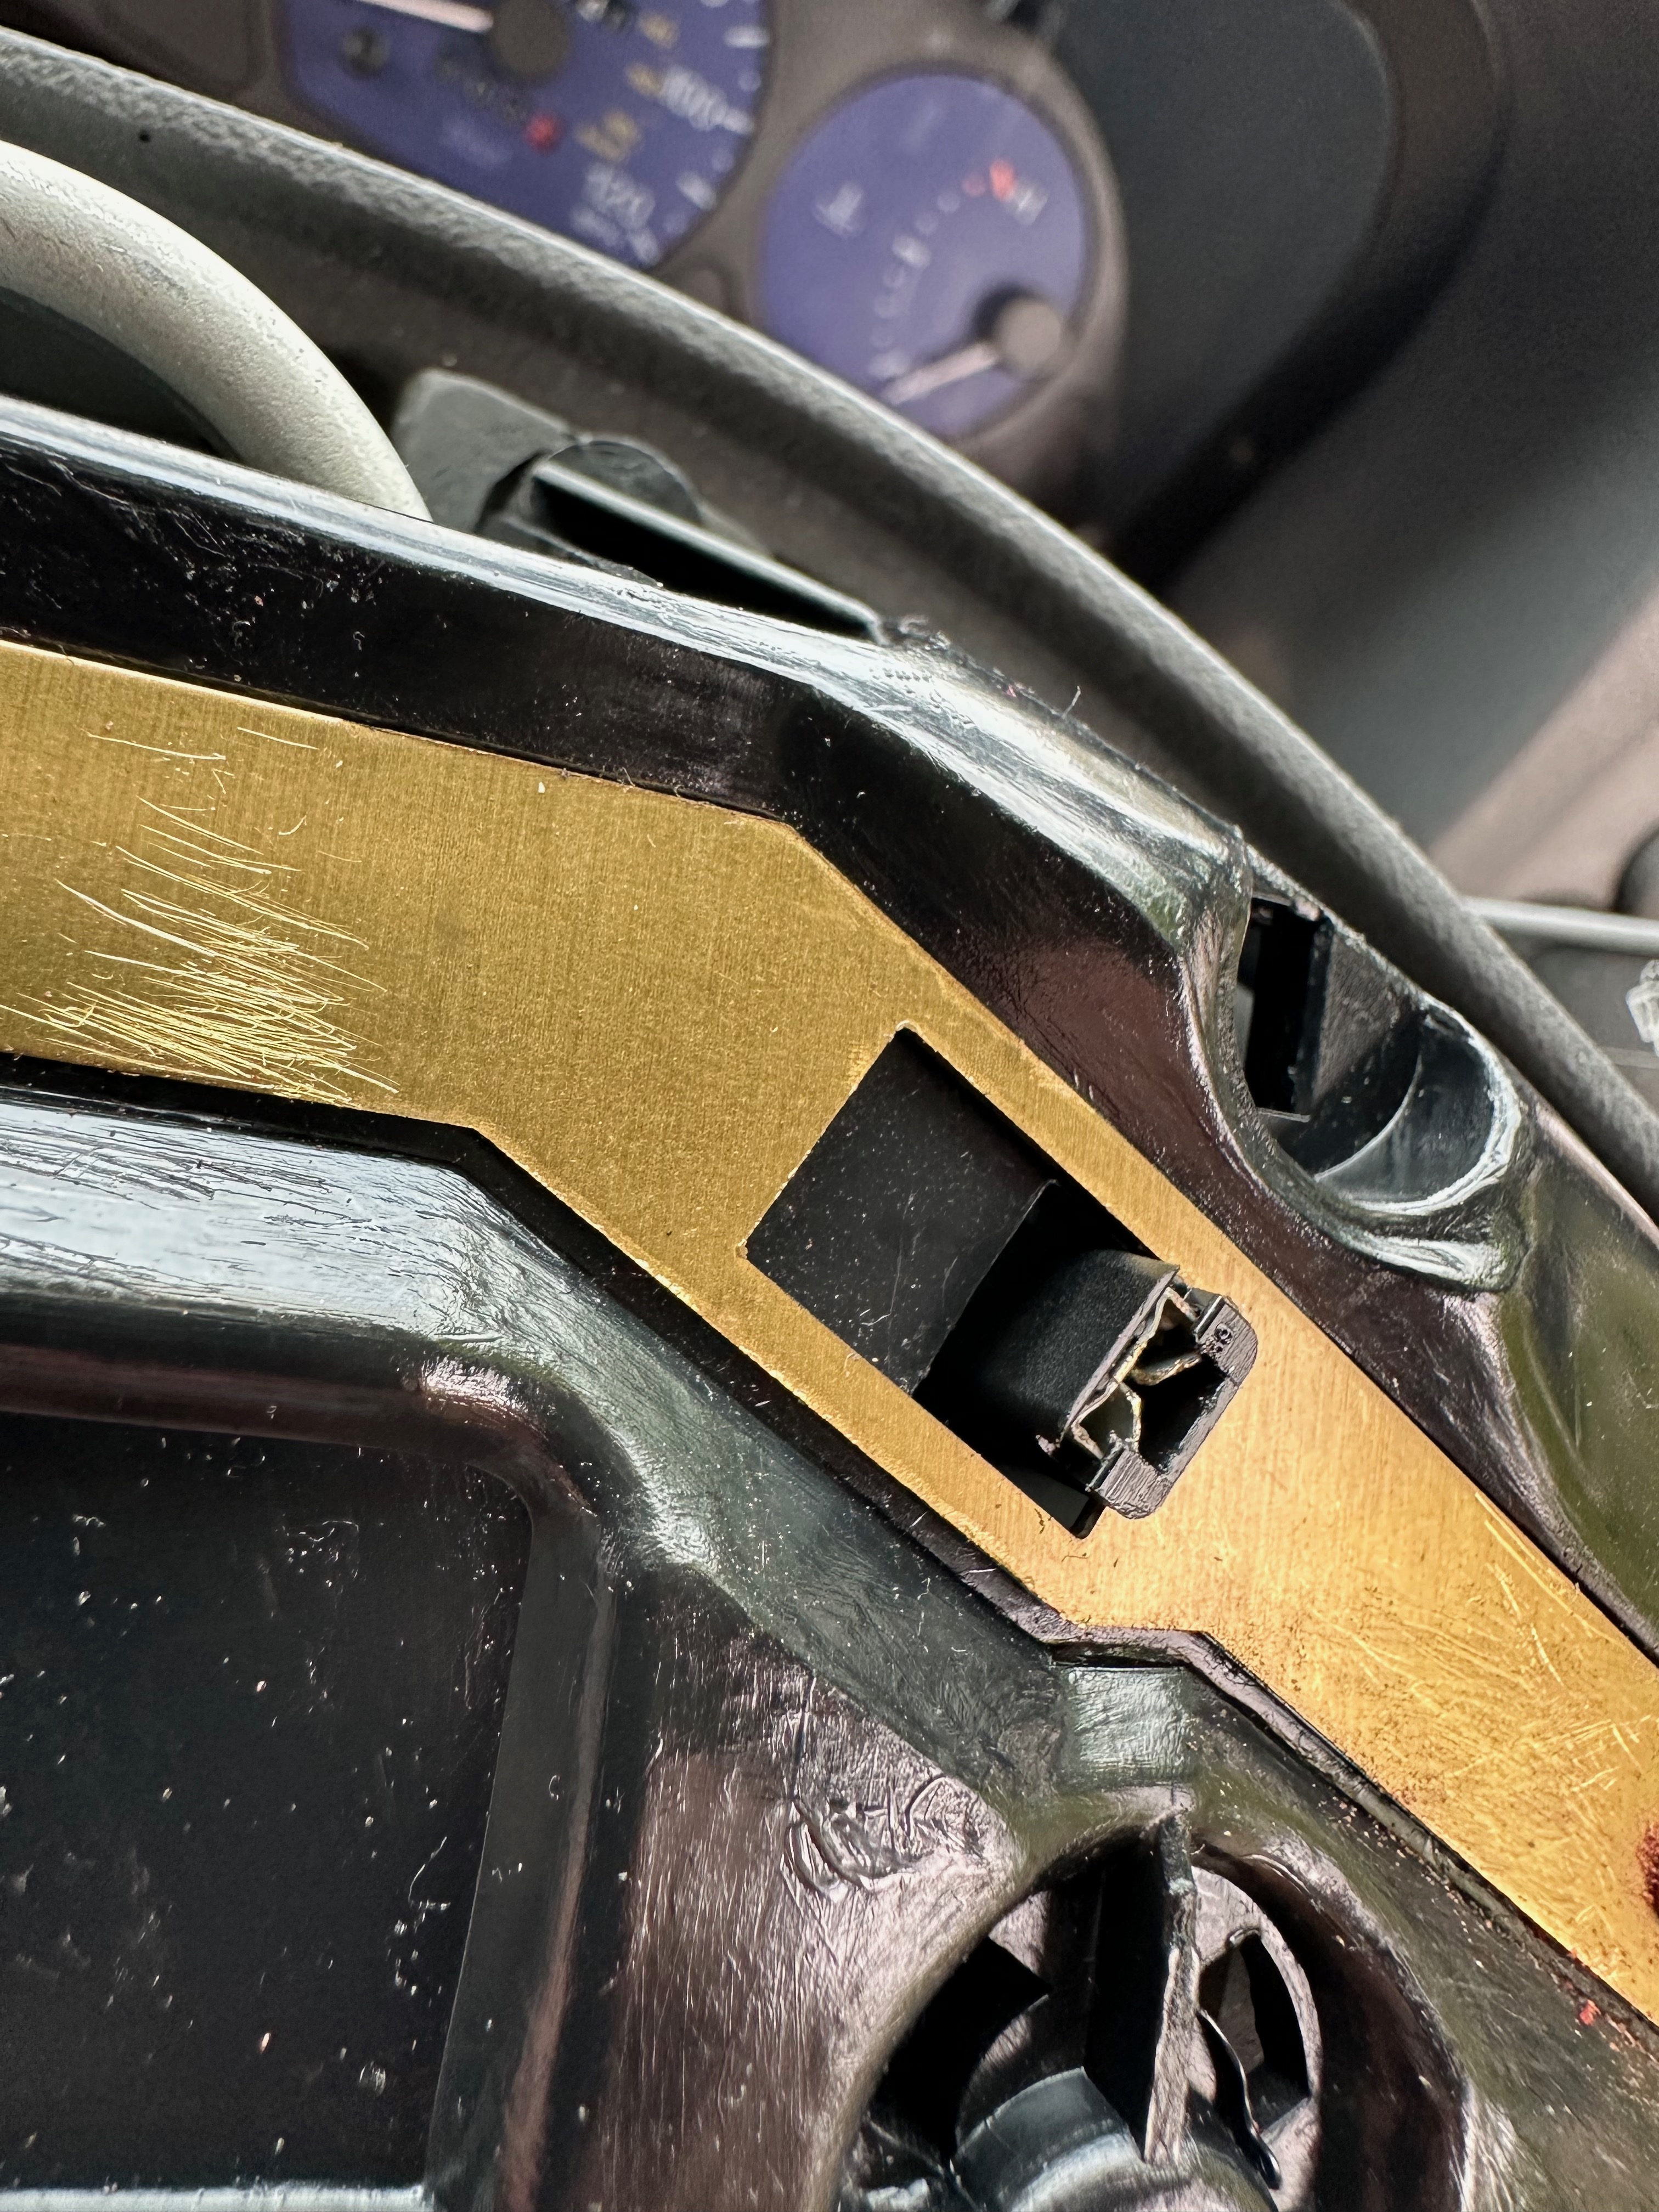
Under the horn itself, is a rubber surround that is held in place by quite deep lugs – the lugs are set in a rubber, and are a bit tight to remove – but I found using a broad tip flat screw driver, and working carefully you can pry it up – be gentle as it seems some previous gorilla had split around one retainer as can be seen below:

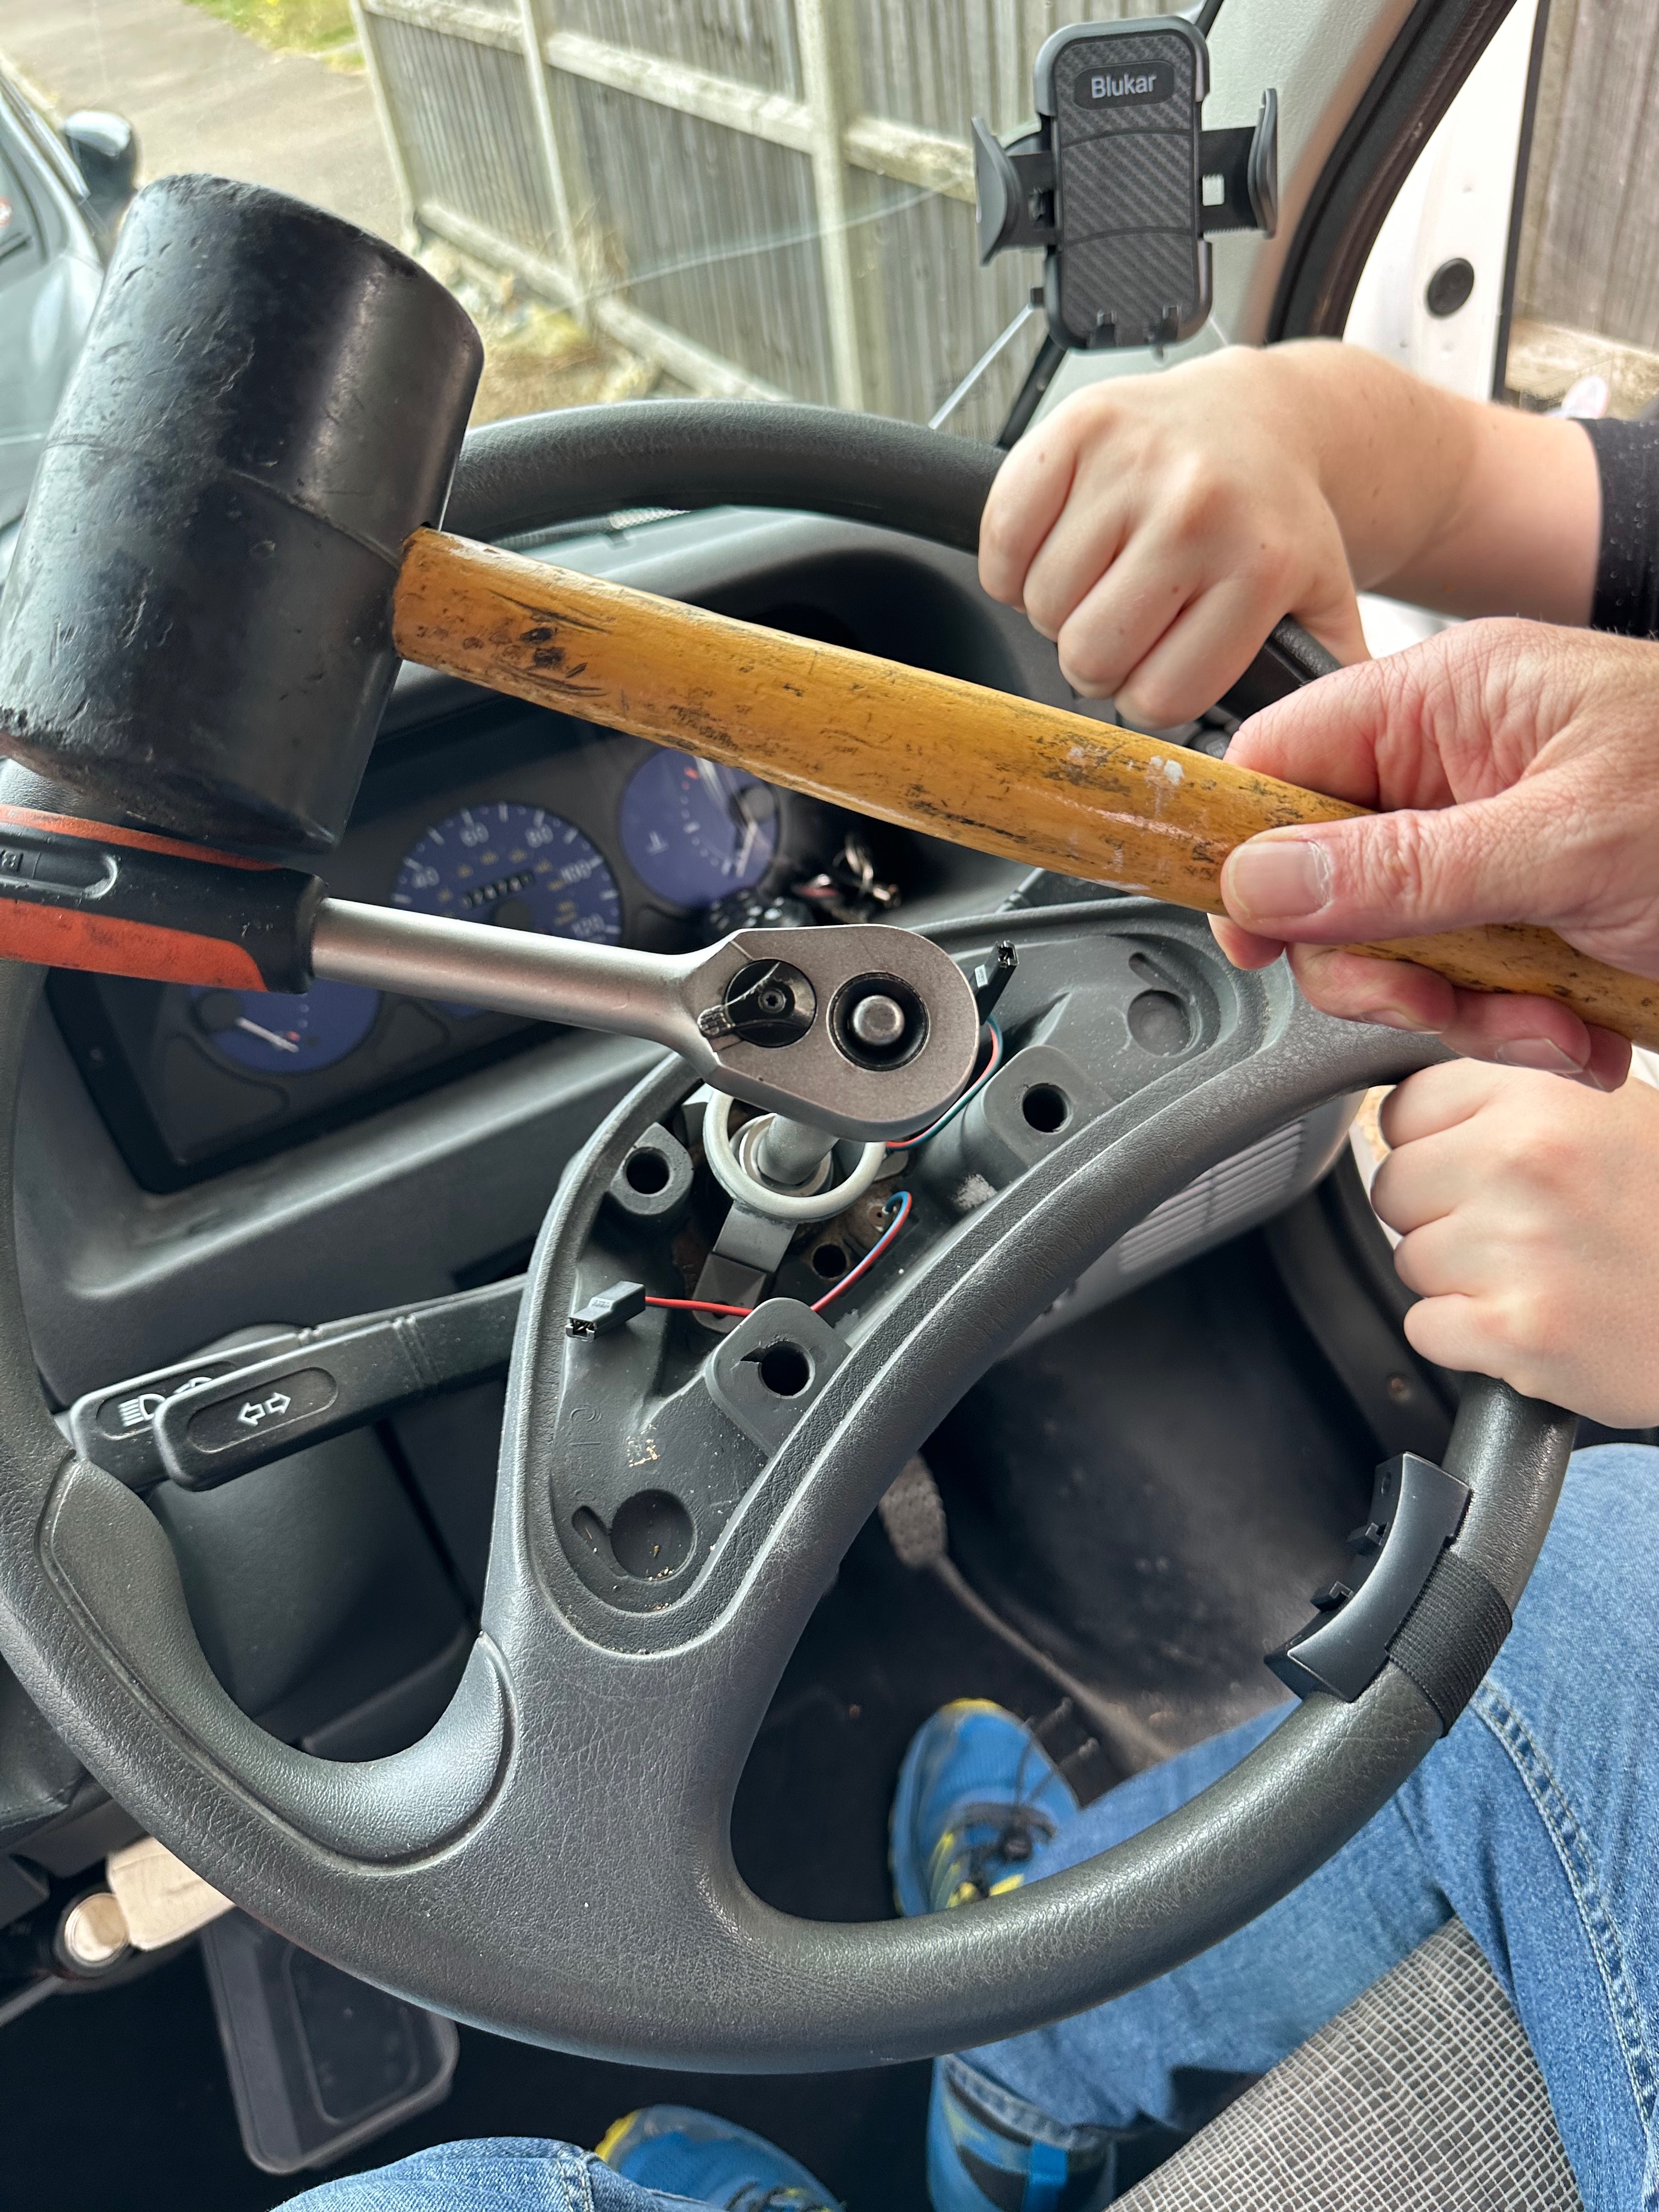
Once that is removed, then you can see the nut that literally holds the steering wheel on. The nut size is 24mm so use a 24 socket with a short extension bar and then your ratchet. Now – you are unlikely to get this undone on your own…. so, calling for the aid of Sulk senior, I got his to hold the steering wheel, while I got some tension onto the ratchet – and then hit the ratchet bar with a rubber mallet – the shock will break the seal of the nut and then you can undo it. DO NOT TAKE IT OFF TOTALLY – unless of course you like to hurt yourself…. Let me explain, the wheel is still, even with no nut on, stuck on the pawls of the steering column – now you can get all gorilla on it and yak upwards a few times but, you will smack the steering wheel into your face – I wonder how I found out…. so – when the nut is loose, then loosen the wheel – if needs be with a tap from the rubber mallet – when its loose, then take the nut off and then left the wheel off.
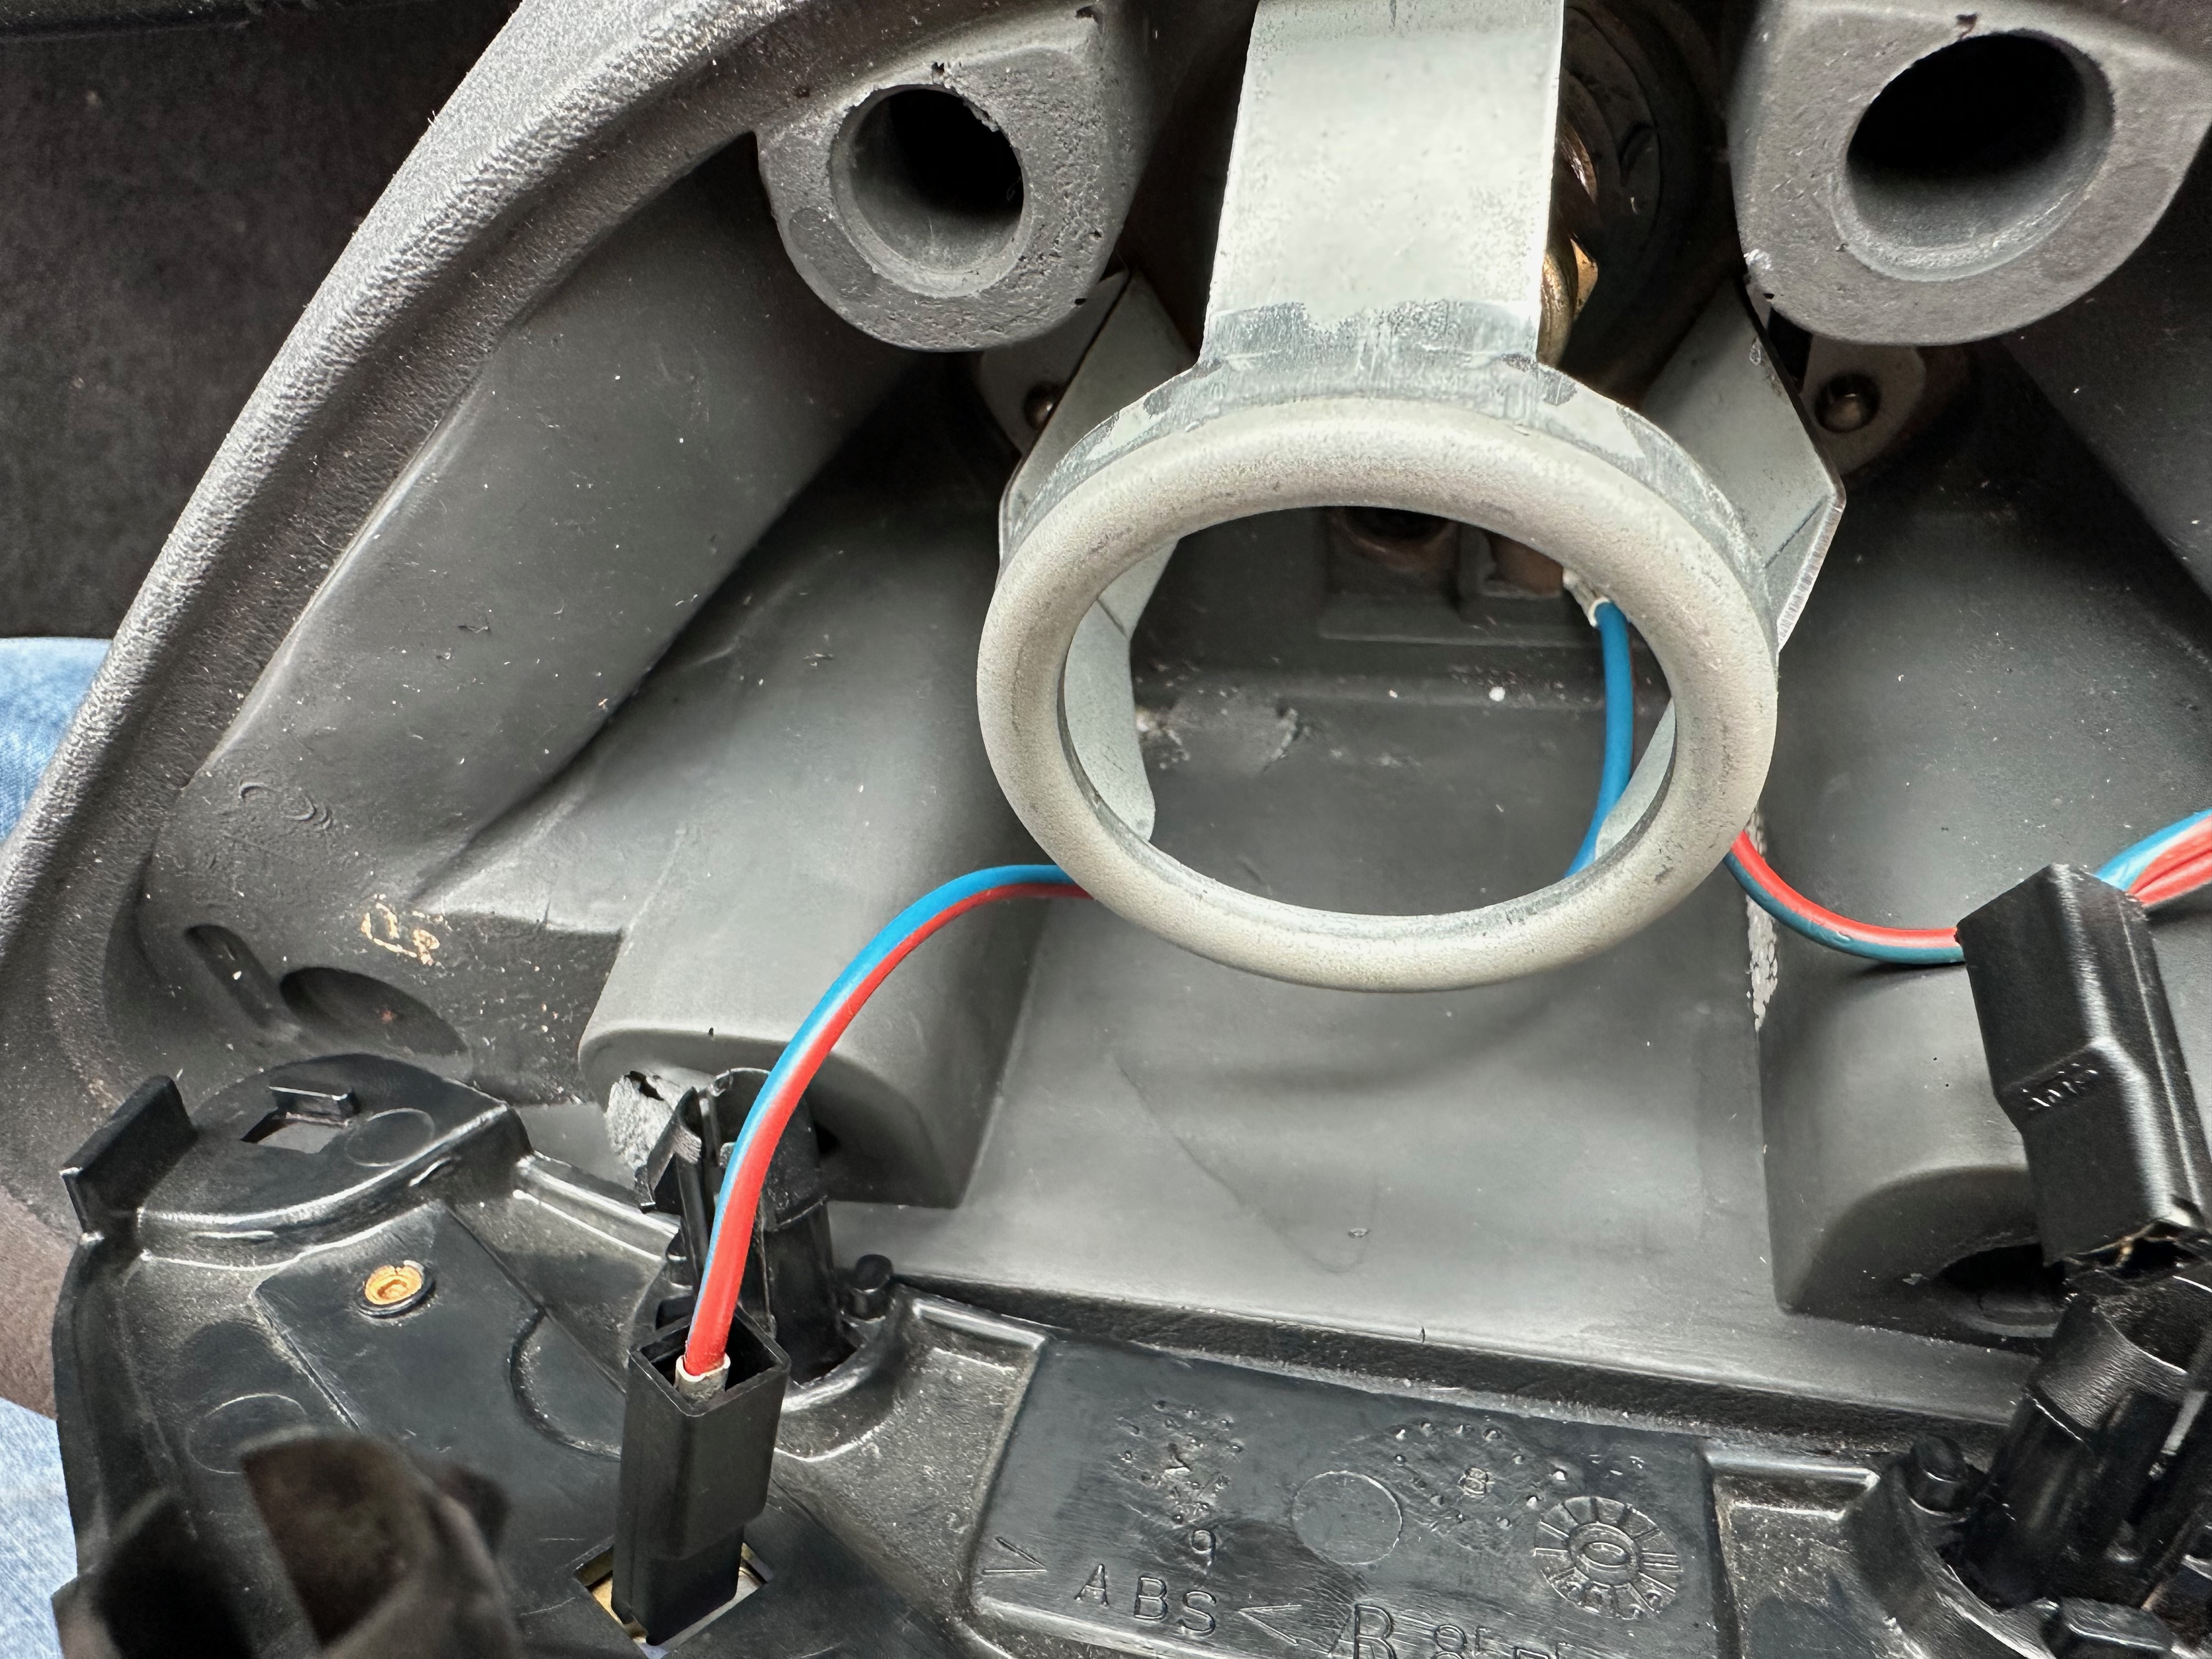
As soon as the wheel was off, I could see the problem….. at the Bottom of the steering wheel, at 6 o clock is a hole – and the self cancelling works by a pin lodging in the hole – as the wheel turns, it cancels the switch – simple, but effective – but look here:
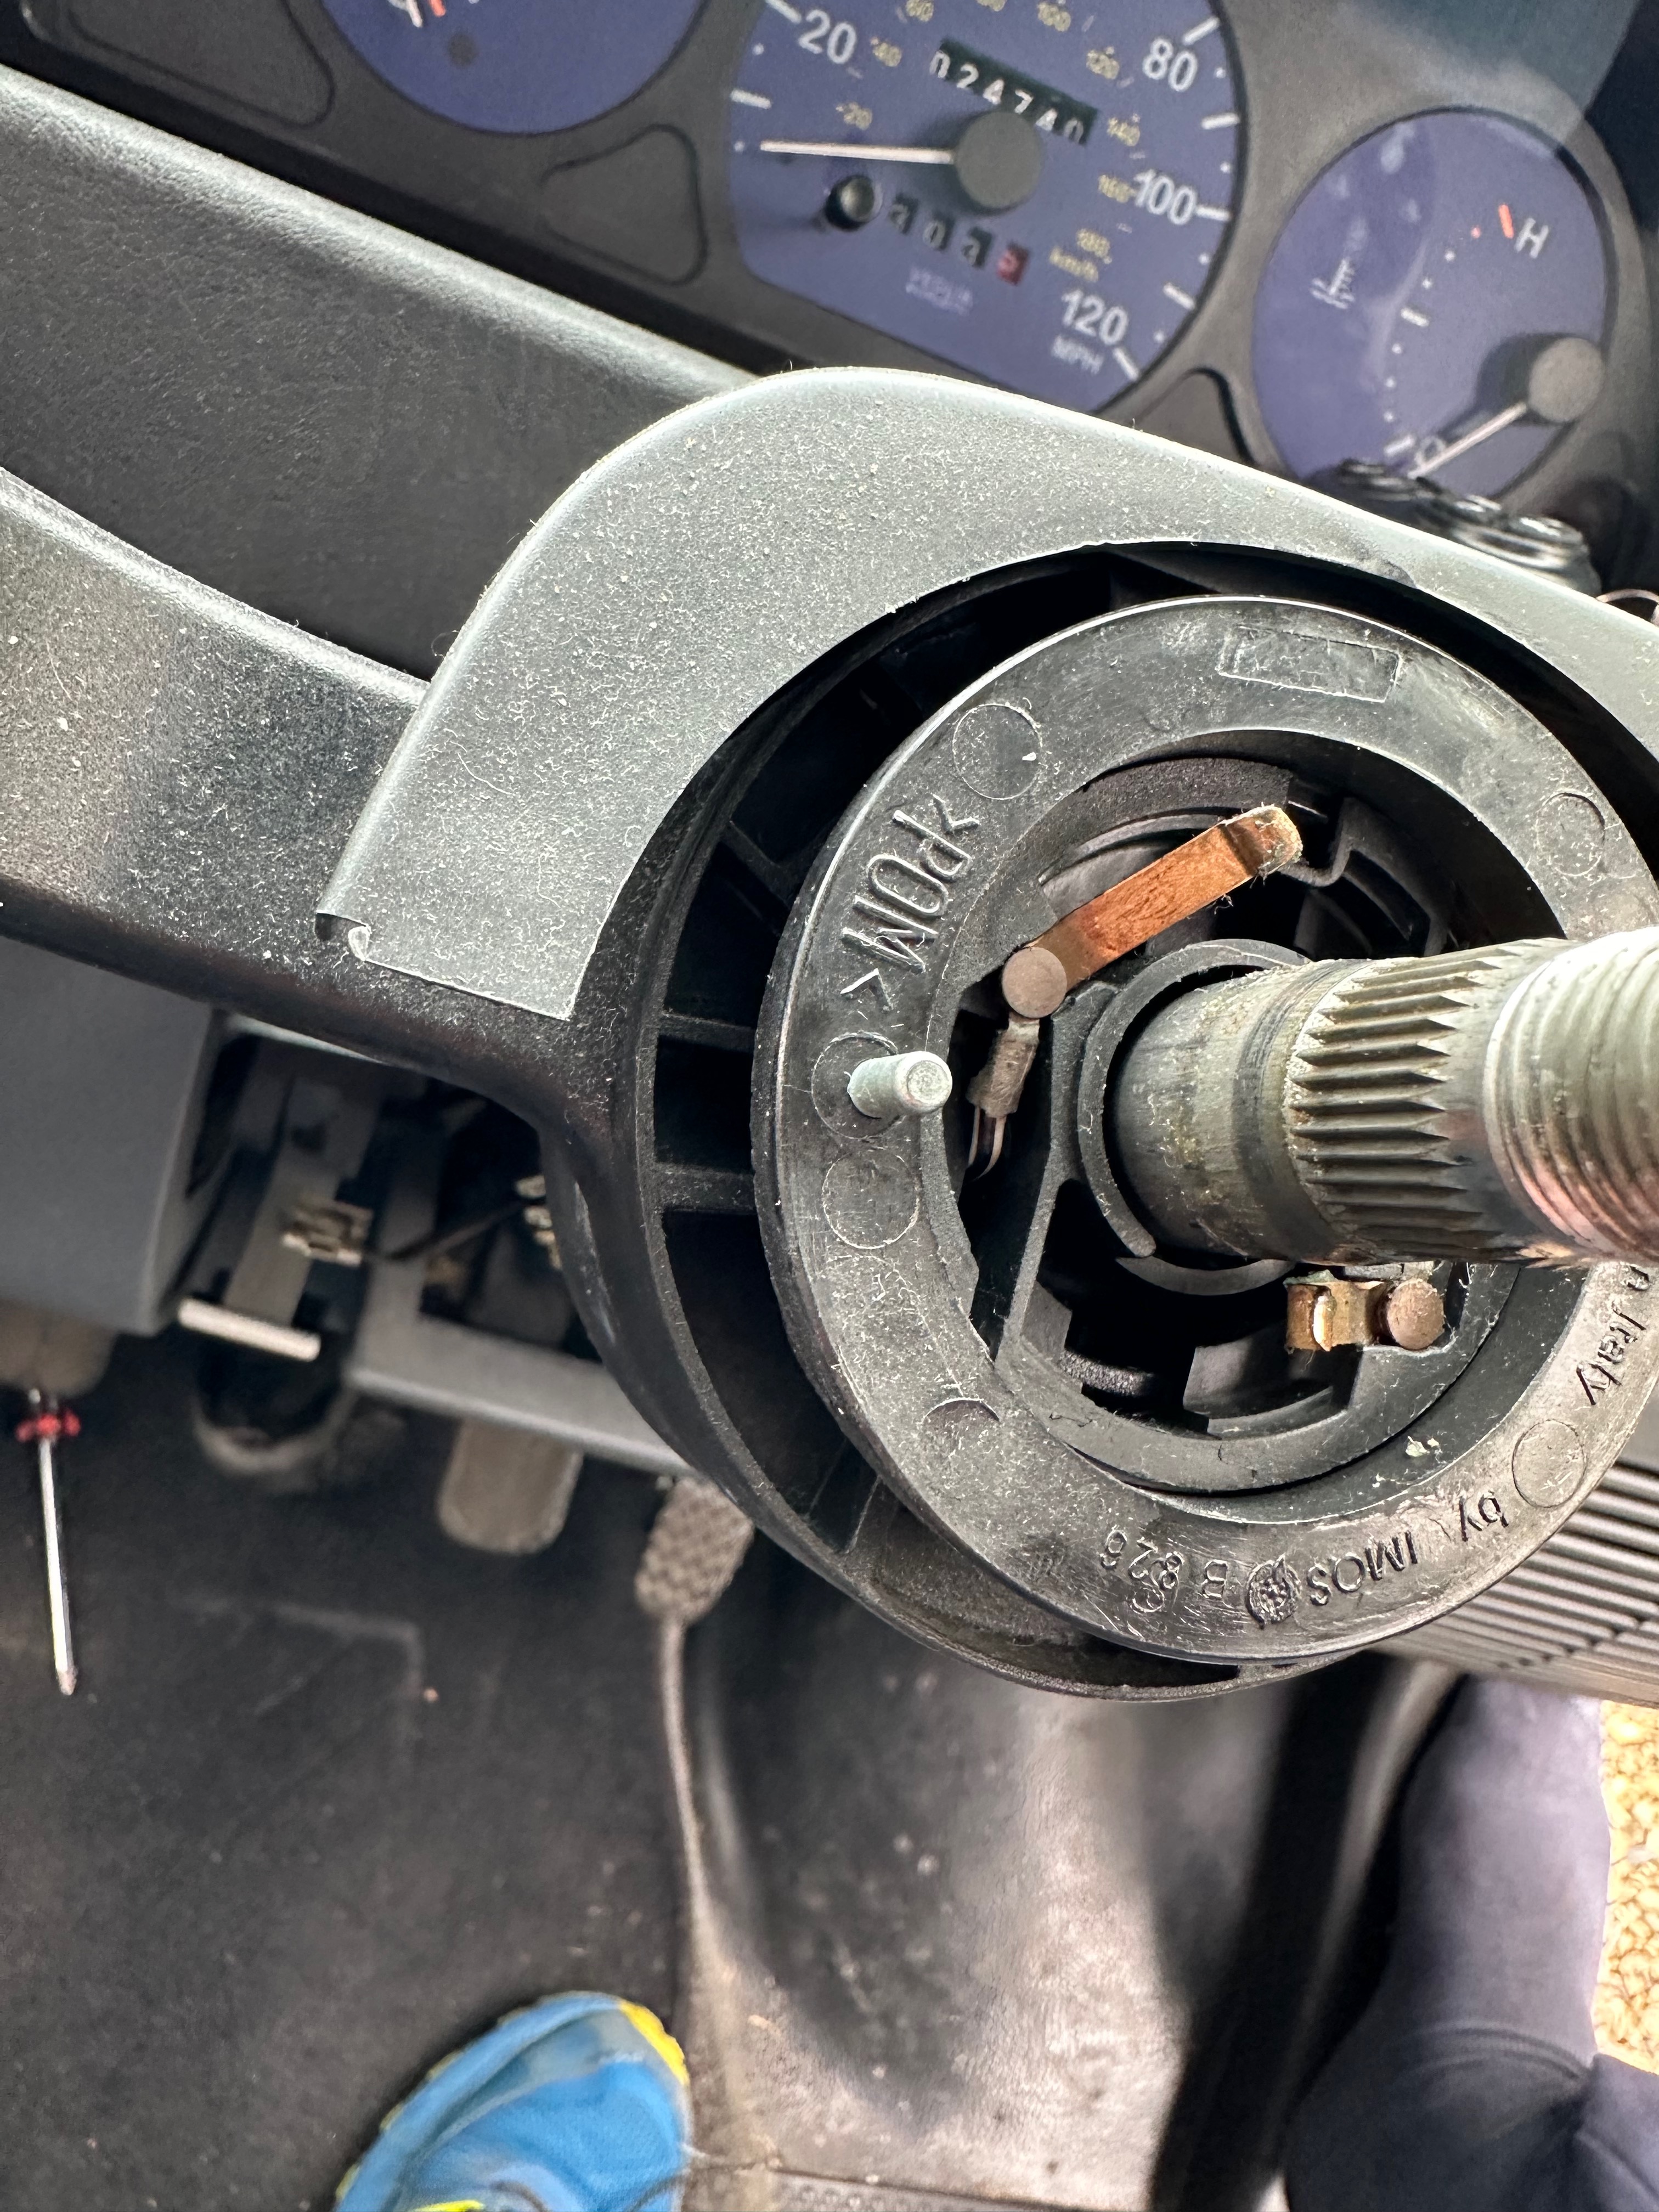
The pin is clearly at 9 o clock….. so, I sat and pondered and noted that the disc the pin is on just freely rotated – so needed just to line up and that should be it…. so, I moved it and then offered the steering wheel back up – no, the pin did not engage….. so I could not get the wheel any further down ….. then I had a light bulb moment – my apologies, but I did not take a decent photo of this, I was pretty pleased so got excited and forgot to take pictures – but here is an image purloined from a well known parts supplier….
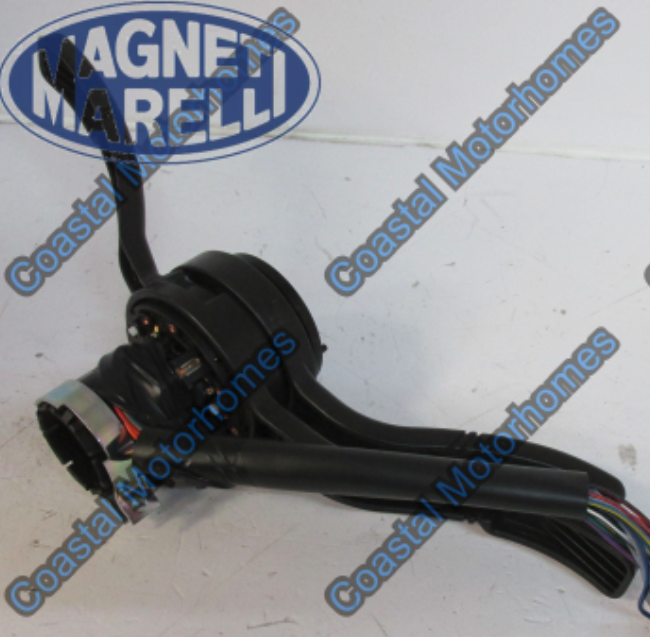
In the bottom left corner, where the M is from Motorhomes you can see a metal band – and that band secures the whole switch to the steering column…. so, I slackened it off, put the steering wheel on – not bolted! and then moved the switch assembly UP and then smiled as I saw that the pin now sat securely in its recess… Its a size 8 socket that I then used to nip it up tight.
Once that was snug, I then reassembled the wheel and the horn – I didn’t use a torque bar on the nut, but ensured it was tight – a little nip with the mallet trick again!
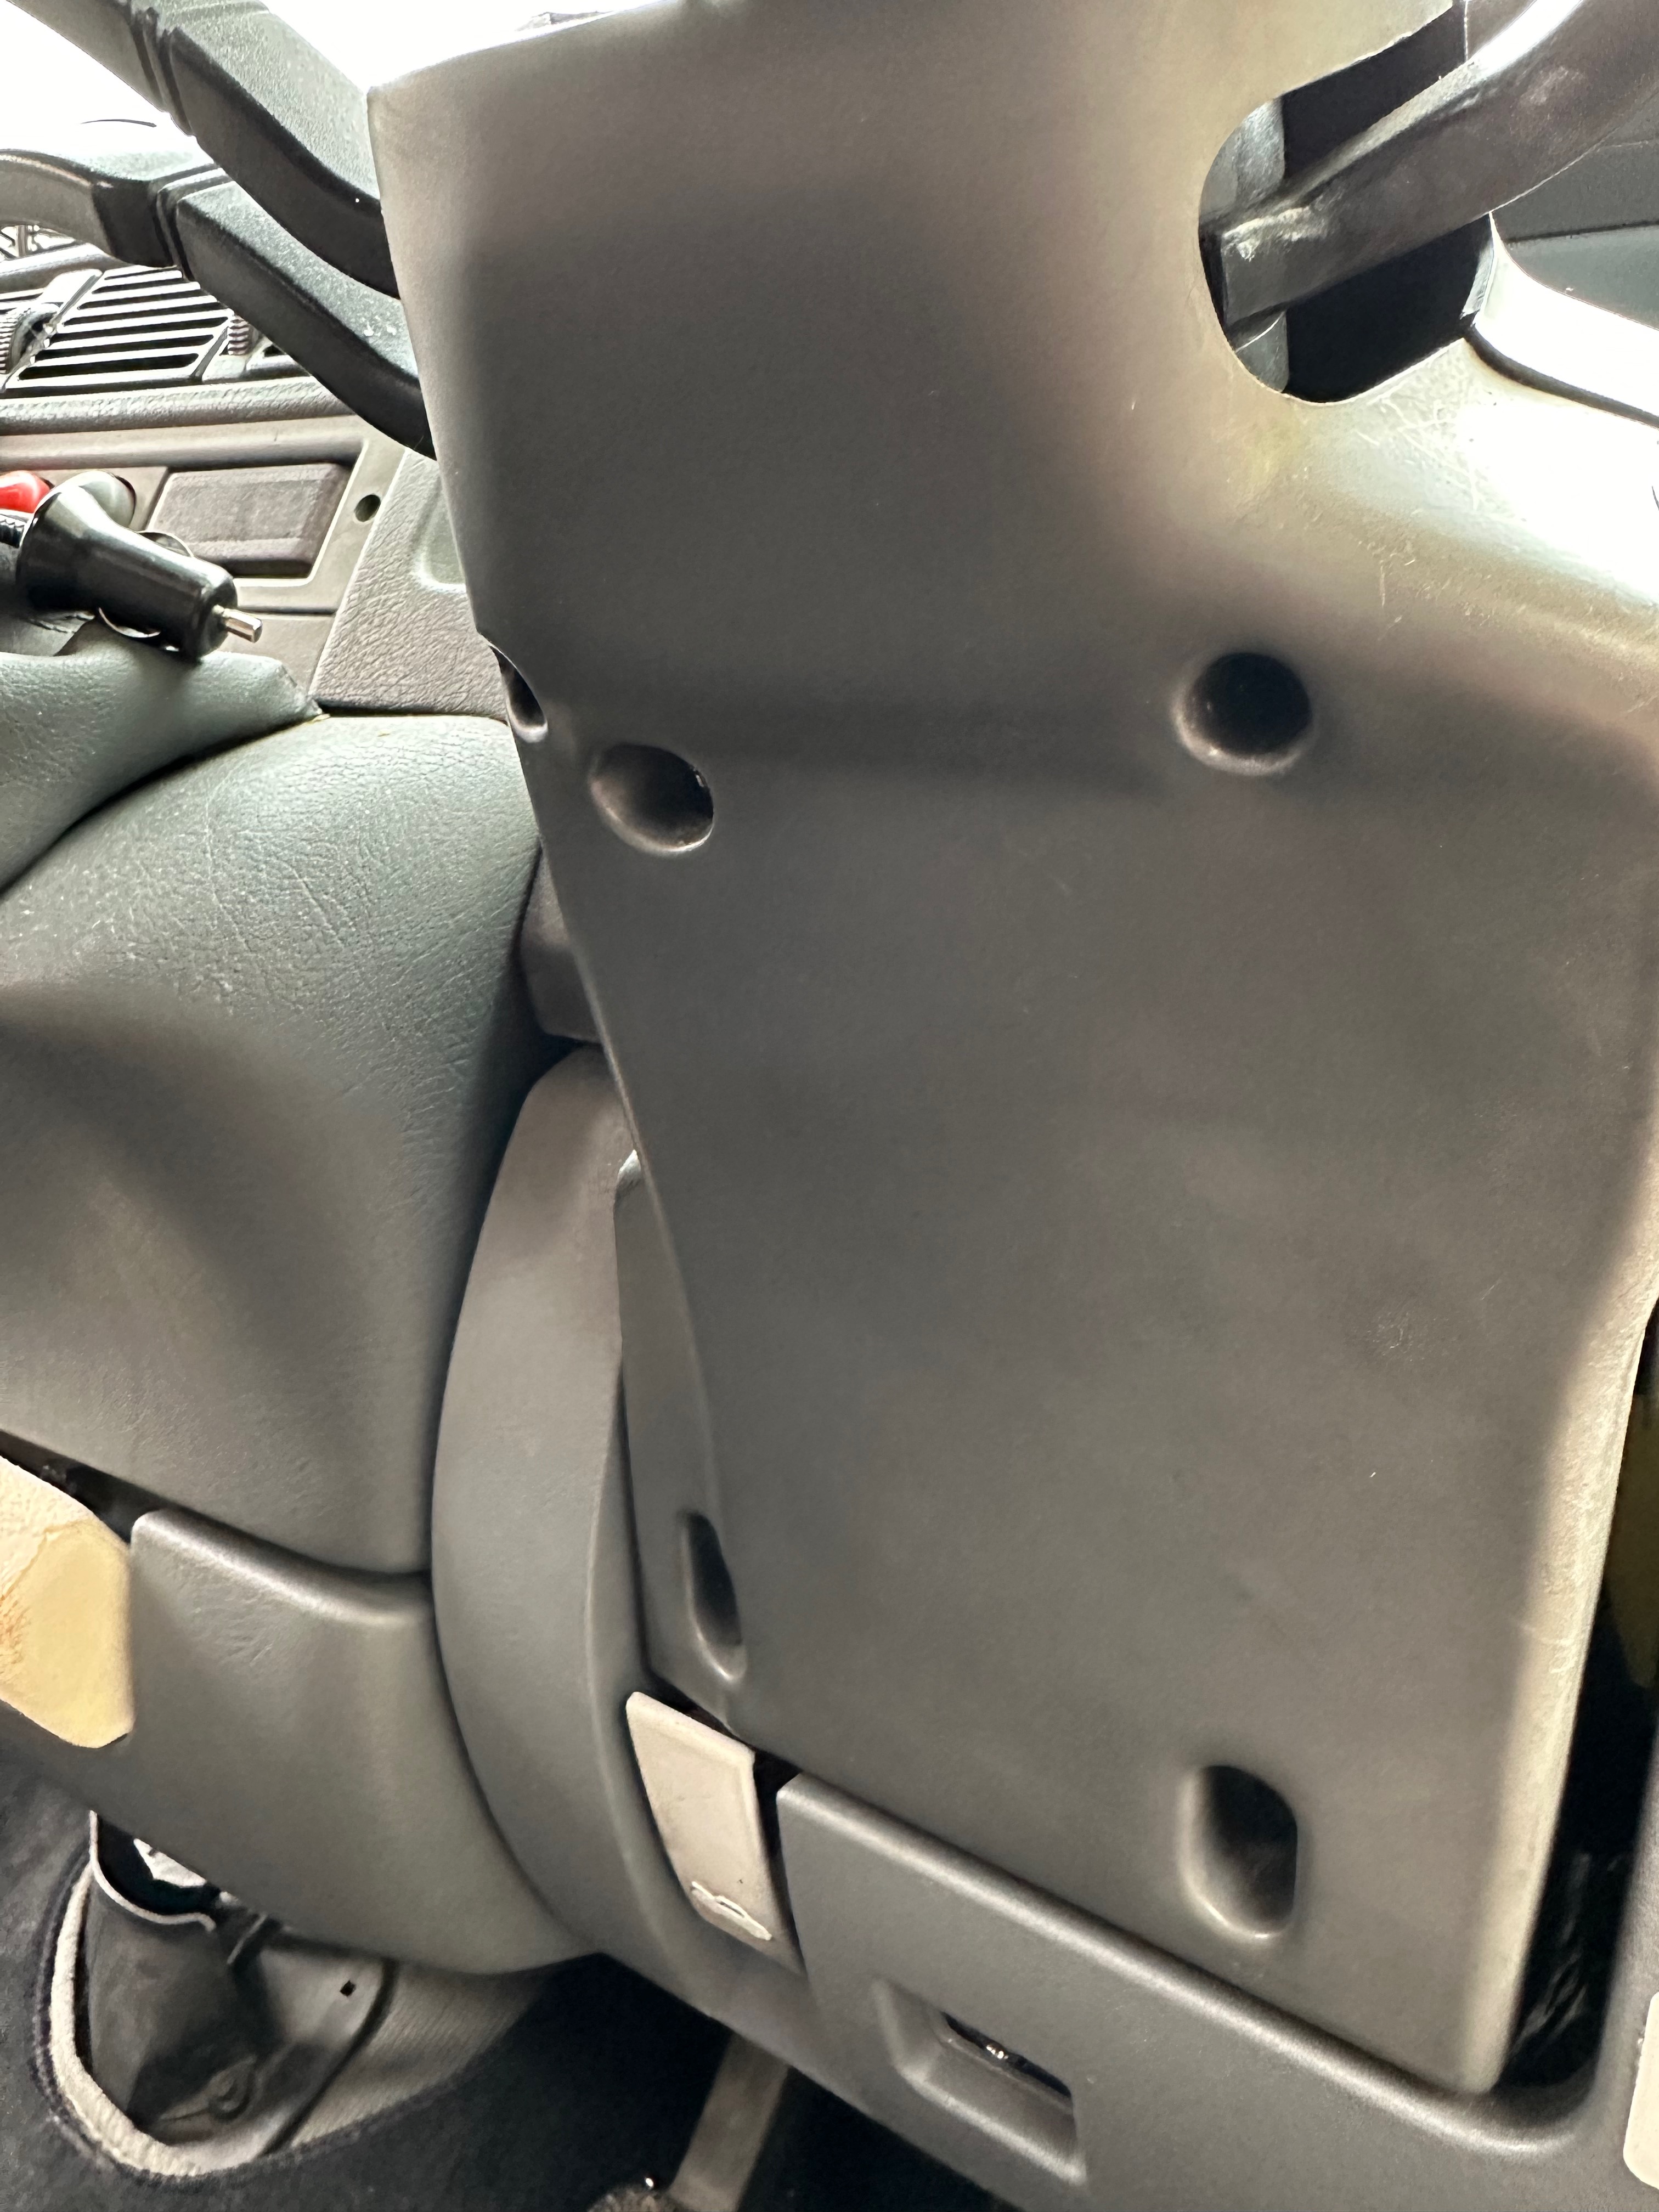
As and when this happens again, it won’t be necessary to take the steering wheel off – but undo the FIVE screws in the lower shroud – not the one off left centre is not straight – its on a diagonal to fir to the steering column.
Am rather pleased with what turned out to be quite an easy straightforward fix – total cost being nothing beyond half an hour time wise….

Leave a comment